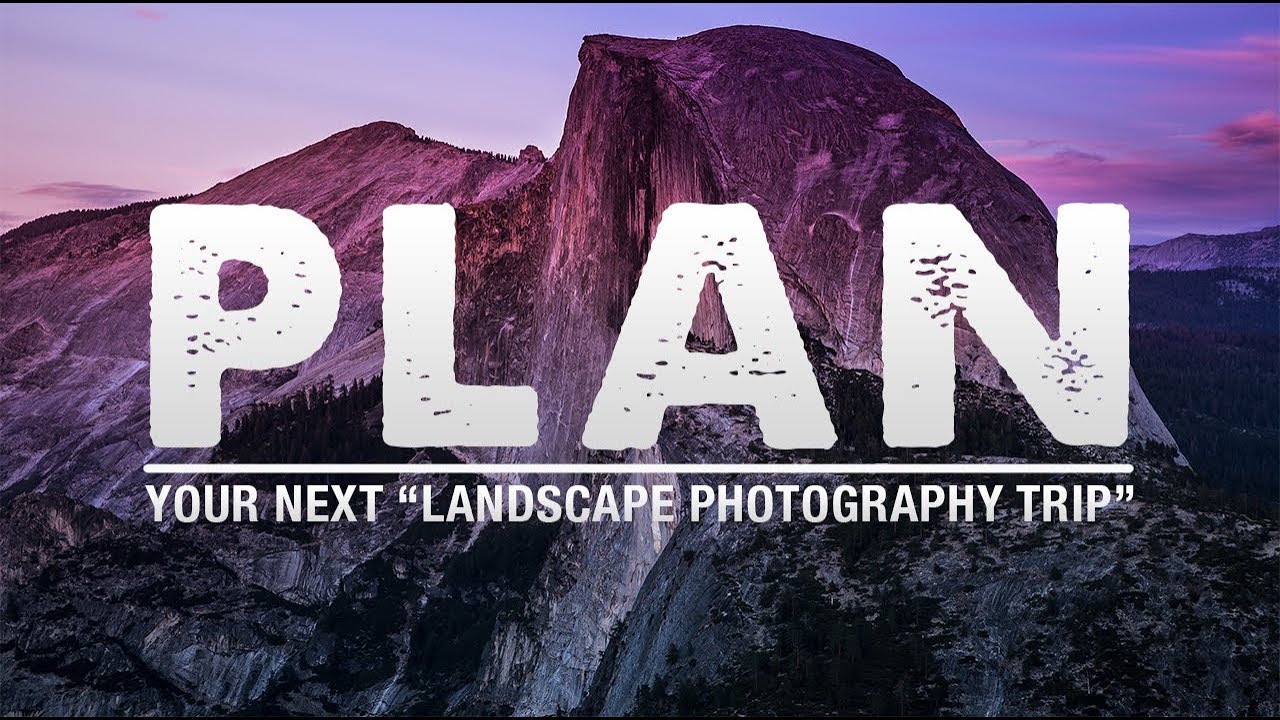
Most of my best-planned shoots have happened on trips that weren’t really photography trips at all. A week in the Cascades with the kids. A long weekend in coastal Oregon that my wife organized. A family jaunt to the coast where I had maybe three mornings to myself before anyone else was awake. Those constraints are real, and if you’ve ever stood in a parking lot at golden hour, half-guilty that you’re not back at the cabin making dinner, you know exactly what I mean.
The challenge isn’t finding beautiful places. It’s making every limited window count. That requires a different kind of preparation than a solo dedicated shoot where you can pivot freely. When the family is along, your scouting time is close to zero and your margin for error shrinks accordingly. That’s exactly the problem that Mark Denney addresses directly in this tutorial. Watch the full tutorial on YouTube - he frames it around a family trip to Yosemite, and the honesty of that framing is what makes it useful. This isn’t abstract advice for a solo photographer with unlimited days. It’s a working system for the rest of us.
What follows is my breakdown of his five-step process, with some notes from my own experience layered in.
Step 1: Generate a Long List of Target Locations Before You Narrow Anything Down
 Google search results for “top photo locations in Yosemite”
Denney starts with Google, which might sound too simple to mention, but the method matters. He searches for something like “top photo locations in Yosemite” and reads through several articles before making any decisions. The goal at this stage is not to build a perfect itinerary - it’s to cast a wide net. He aims for roughly ten candidate locations even if he only has time for three or four.
Google search results for “top photo locations in Yosemite”
Denney starts with Google, which might sound too simple to mention, but the method matters. He searches for something like “top photo locations in Yosemite” and reads through several articles before making any decisions. The goal at this stage is not to build a perfect itinerary - it’s to cast a wide net. He aims for roughly ten candidate locations even if he only has time for three or four.
This approach works because it prevents fixation. If you go in committed to two locations and one of them is inaccessible or blown out by smoke or just not working on the day you arrive, you have nowhere to pivot. The long list gives you options that already exist in your head before you need them. I do this with a simple note in my phone - nothing elaborate, just a ranked list I can pull up when the morning alarm goes off at four and I need to make a fast call about where to point the truck.
Step 2: Use 500px to Study What’s Actually Possible at Each Location
 500px search results showing multiple versions of Tunnel View, Yosemite
Once Denney has his location list, he moves to 500px and searches each location by name. He’s not looking for inspiration in the abstract sense. He’s doing visual reconnaissance - studying how different photographers have handled the same compositions under different weather and light conditions. A foggy version of Tunnel View tells him what the scene looks like with flat, low-contrast light. A shot with a rainbow shows him what a wet day can yield. A black and white conversion reveals the underlying tonal structure.
500px search results showing multiple versions of Tunnel View, Yosemite
Once Denney has his location list, he moves to 500px and searches each location by name. He’s not looking for inspiration in the abstract sense. He’s doing visual reconnaissance - studying how different photographers have handled the same compositions under different weather and light conditions. A foggy version of Tunnel View tells him what the scene looks like with flat, low-contrast light. A shot with a rainbow shows him what a wet day can yield. A black and white conversion reveals the underlying tonal structure.
This is enormously practical. Before I ever walk into a location, I want to know its range - what it looks like at its worst and at its best. 500px tends to surface high-quality work, which means you’re studying shots that were made with intention, not just snapshots. Flickr works for this too, and honestly Flickr sometimes shows you more obscure angles that haven’t been as heavily processed. Use both if you have time.
Step 3: Scout Compositions with Google Maps Satellite View
 Google Maps satellite view showing terrain around a Yosemite viewpoint
This is the step most photographers skip and then regret. Denney pulls up Google Maps in satellite view and zooms into each candidate location to understand the physical layout - where the road access is, where you can actually stand, which direction the terrain faces, and whether there are obstructions that wouldn’t be obvious from a photograph.
Google Maps satellite view showing terrain around a Yosemite viewpoint
This is the step most photographers skip and then regret. Denney pulls up Google Maps in satellite view and zooms into each candidate location to understand the physical layout - where the road access is, where you can actually stand, which direction the terrain faces, and whether there are obstructions that wouldn’t be obvious from a photograph.
Understanding compass orientation before you arrive means you already know whether a given spot faces east for sunrise or west for sunset. I’ve been burned by this before - driven hours to a location only to realize the face I wanted to shoot was in full shadow by the time I arrived. Satellite view won’t show you everything, but it tells you enough to avoid the most avoidable mistakes.
Step 4: Check Sun Position and Timing with PhotoPills or The Photographer’s Ephemeris
 PhotoPills sun arc overlay on map showing golden hour timing
Once Denney knows where he wants to be and roughly which direction he’ll be shooting, he maps the sun and moon positions. He uses PhotoPills for this, which overlays sun and moon arcs directly onto a map so you can see exactly where the light will fall at any given time on any given date.
PhotoPills sun arc overlay on map showing golden hour timing
Once Denney knows where he wants to be and roughly which direction he’ll be shooting, he maps the sun and moon positions. He uses PhotoPills for this, which overlays sun and moon arcs directly onto a map so you can see exactly where the light will fall at any given time on any given date.
If you’ve never used PhotoPills, the learning curve is maybe an hour. It’s worth every minute. You enter your location, set the date, and the app shows you sunrise and sunset directions, golden hour windows, and the exact moment the sun will crest a ridge or dip behind a peak. For a family trip where you might only have one or two usable mornings, knowing that golden light hits your chosen viewpoint at 6:22 a.m. rather than 7:05 a.m. is the difference between being there and missing it entirely. The Photographer’s Ephemeris is a solid free alternative if you’re not ready to commit to PhotoPills.
Step 5: Check Weather Forecasts Close to Departure - and Build in Flexibility
 Weather app showing multiday forecast for Yosemite valley
Denney checks detailed forecasts in the days immediately before the trip, not weeks out. Long-range forecasts are mostly noise. What you want is a three to four day window you can actually trust, and you want to look for the edges - the morning after a storm clears, the afternoon before a front moves in. Those transition moments are where dramatic landscape light tends to live.
Weather app showing multiday forecast for Yosemite valley
Denney checks detailed forecasts in the days immediately before the trip, not weeks out. Long-range forecasts are mostly noise. What you want is a three to four day window you can actually trust, and you want to look for the edges - the morning after a storm clears, the afternoon before a front moves in. Those transition moments are where dramatic landscape light tends to live.
He also makes the point that a “bad” weather day isn’t wasted - it’s often a reassignment. If the sky is flat and grey, that might be the day to cover the family activity you’ve been putting off, which then frees up the next clear morning with no guilt attached.
One More Thing: Build Your Shot List the Night Before, Not the Morning Of
I’ve added a step that Denney doesn’t explicitly cover but that I’ve found essential on family trips. The night before each shooting morning, I take fifteen minutes to confirm my top two or three locations, check the updated forecast, verify the sun timing, and set a precise alarm. That’s it. Fifteen minutes of calm deliberate preparation means I’m out the door with a clear head instead of fumbling with my phone in the dark trying to remember where I wanted to go.
My kids think I’m eccentric for the 4 a.m. alarm and the lucky hat I wear on every shoot. But on the mornings I come back with something real - light on water, mist in a canyon, a composition that actually held - they see it on the back of the camera and they get it. The preparation is invisible to them. The image is not.
The single most important idea in Denney’s tutorial is this: when photography time is limited, preparation does the scouting for you. Every hour you spend on research before the trip is an hour you don’t have to spend confused and underprepared in the field. Get your locations locked, study the light, know the terrain, and then all you have to do is show up.
Watch the full tutorial on YouTube - Denney walks through each of these tools on screen, which makes the workflow much easier to replicate the first time through.
Comments
Leave a Comment