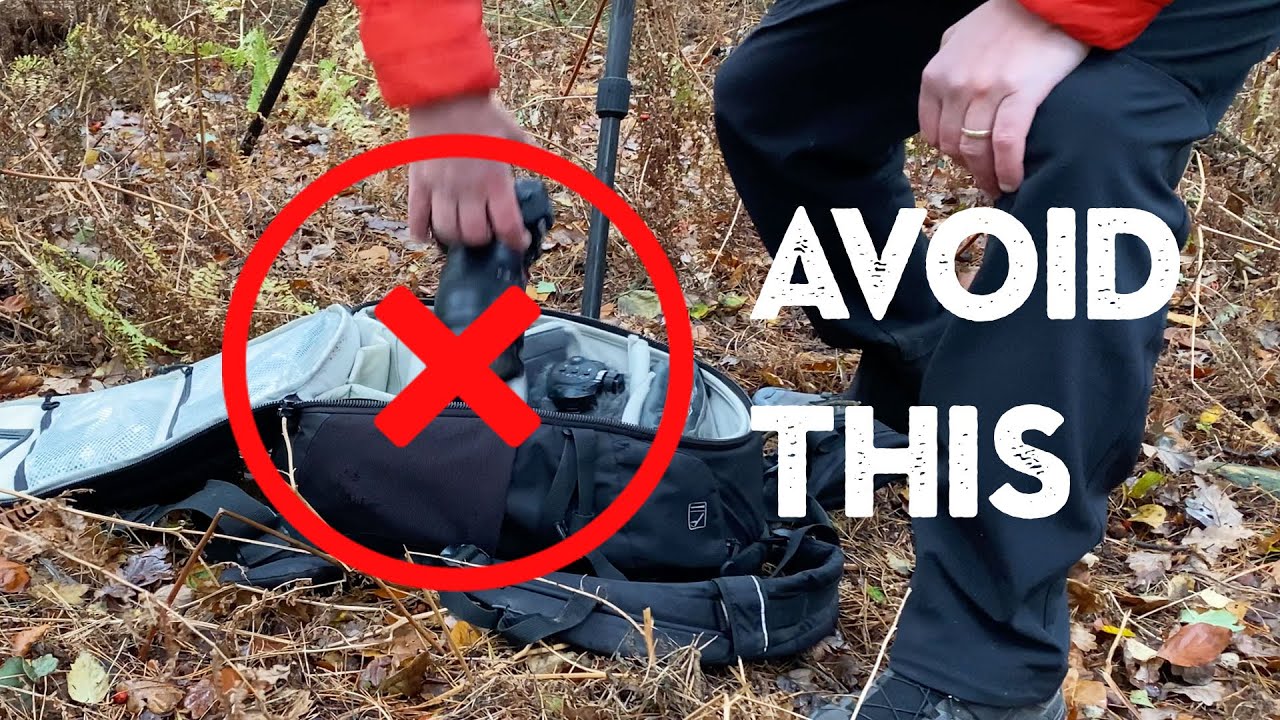
I’ve been doing this for two decades and I still catch myself doing it. I pull up to a location before sunrise, step out of the truck, and before the door is even fully closed I’m reaching for my camera bag. There’s a kind of urgency that kicks in at golden hour, this anxious voice that says the light is burning, the fog is lifting, and you are wasting it. The problem is, that urgency is exactly what kills the photo.
In this Nigel Danson tutorial, Watch the full tutorial on YouTube, Danson puts a name to the habit most of us would rather not admit we have: arriving at a location and shooting immediately instead of looking first. He films the whole thing during a pre-dawn walk through an autumn woodland, which makes it unusually honest. You see him actively practicing what he’s teaching, which is rarer than it should be. What he lays out in three simple tips reframes the whole approach to arriving at a location, and for photographers who feel like they’re working hard but not getting images that match the effort, it’s worth sitting with carefully.
My old mentor used to say the mountain doesn’t care about your schedule. I hated hearing that at 22. By 40, it had become the thing I tell every student on my workshops.
Step 1: Begin Observing the Moment You Start Walking
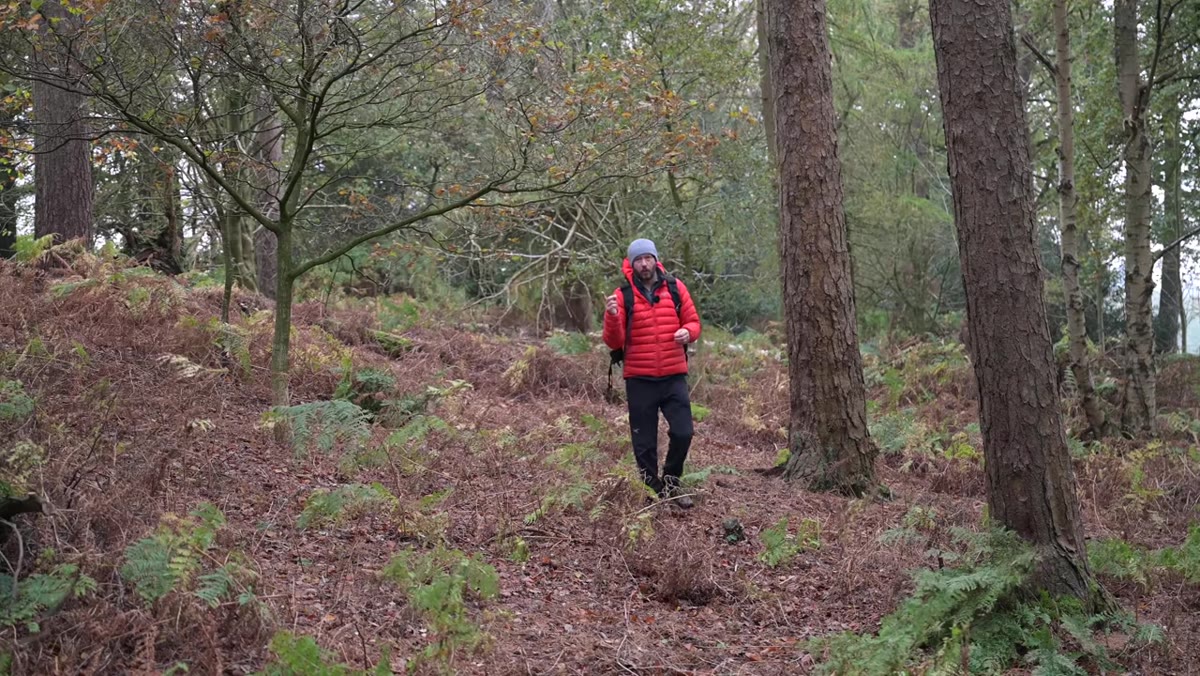 Nigel walking through misty autumn woodland before sunrise
The observation phase doesn’t start when you find a composition. It starts the second your boots hit the ground. As you walk toward your intended location, your eyes should be doing real work: reading the light, scanning how it falls on different surfaces, noticing which direction feels more alive. This is not vague advice. Specifically, you’re asking yourself questions. Is the light stronger coming from one angle than another? Are foreground elements like ferns or grasses laying in a way that creates natural leading lines? Are there shapes in the middle distance that change depending on which direction you face?
The key shift here is treating the walk in as productive field time, not dead time. Most photographers mentally clock out until they reach their “spot.” Danson’s point is that the landscape is already showing you things during that walk, and if you’re staring at your phone or locked in your own head, you miss the setup work that leads to a strong image.
Step 2: Look in All Directions, Not Just Forward
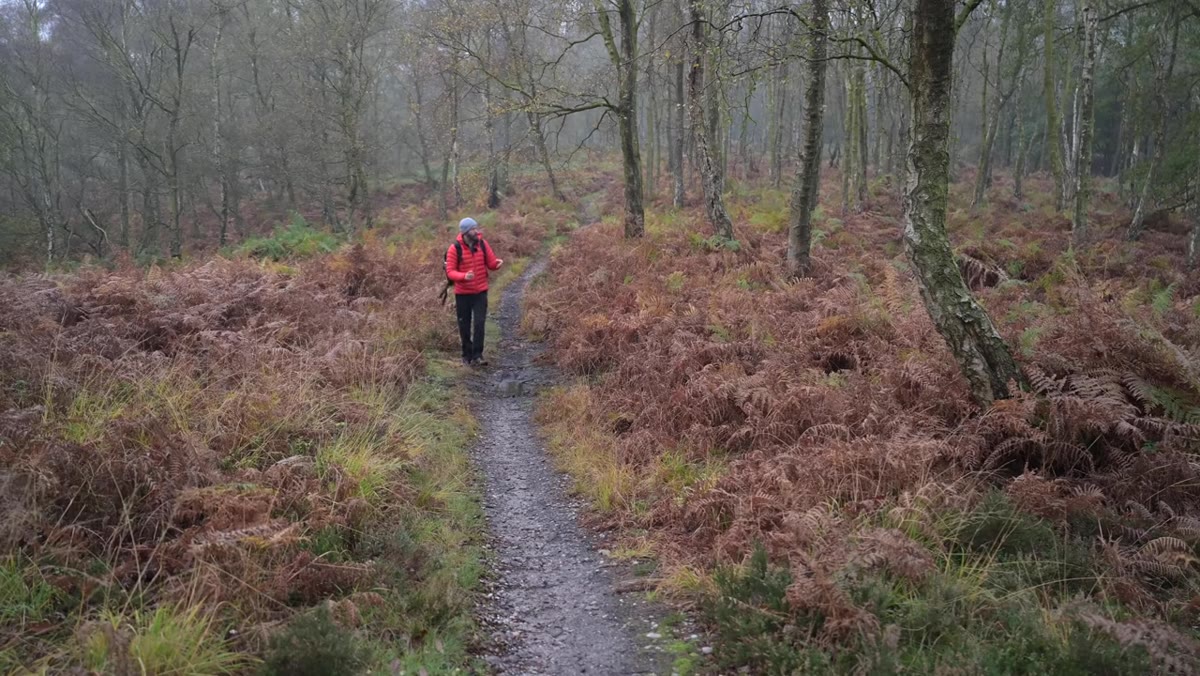 Nigel turning to look behind him while walking through ferns
Directional bias is a real problem in the field. We tend to walk toward something and look at it, which means we photograph the thing we planned to photograph and nothing else. Danson catches himself doing exactly this and makes a point of stopping to look behind him, to his left, to his right. He notices that the light actually looks more interesting in a direction he wasn’t originally heading.
Practically speaking, build in a physical habit here. Every few minutes during your approach, stop and do a slow 360-degree scan. You are not necessarily looking for a final composition yet. You are cataloging: the way light wraps around a particular tree trunk, a break in the canopy that creates a natural frame, a patch of color in the bracken that might anchor a foreground. This inventory becomes enormously useful when you do plant your tripod and start making compositional decisions.
Step 3: Let the Light Tell You What to Photograph
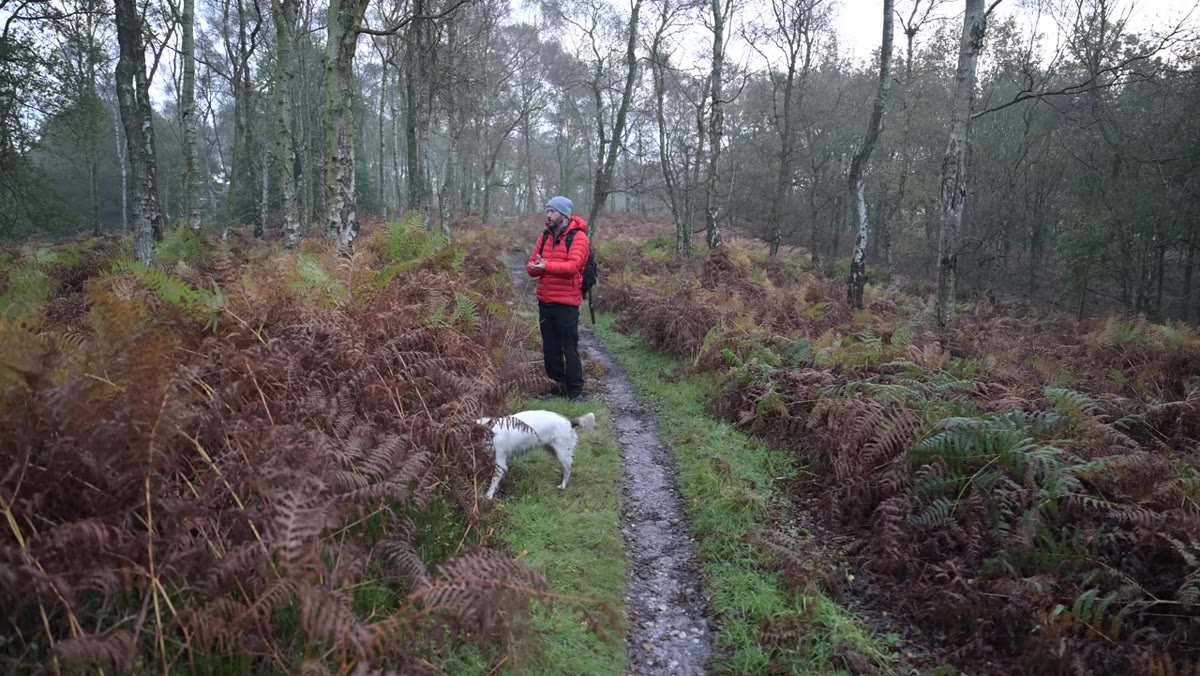 Morning light filtering through trees onto golden fern foliage
Danson makes an observation that cuts to the heart of how experienced landscape photographers actually work: he follows the light rather than forcing the light to fit a predetermined subject. In the woodland he’s filming in, he notices that the ferns catch the morning color more effectively when viewed from one angle, and that detail shifts where he decides to focus his attention.
This is a different way of thinking than most beginner photographers use. Beginners arrive with a subject in mind. Working photographers arrive with a subject in mind but stay willing to abandon it when something better reveals itself. The light is the subject. The trees and ferns and fog are just the materials it has to work with that morning. Ask yourself: where is the light doing the most interesting thing right now? Start there.
Step 4: Simplify What You’re Seeing Before You Reach for the Camera
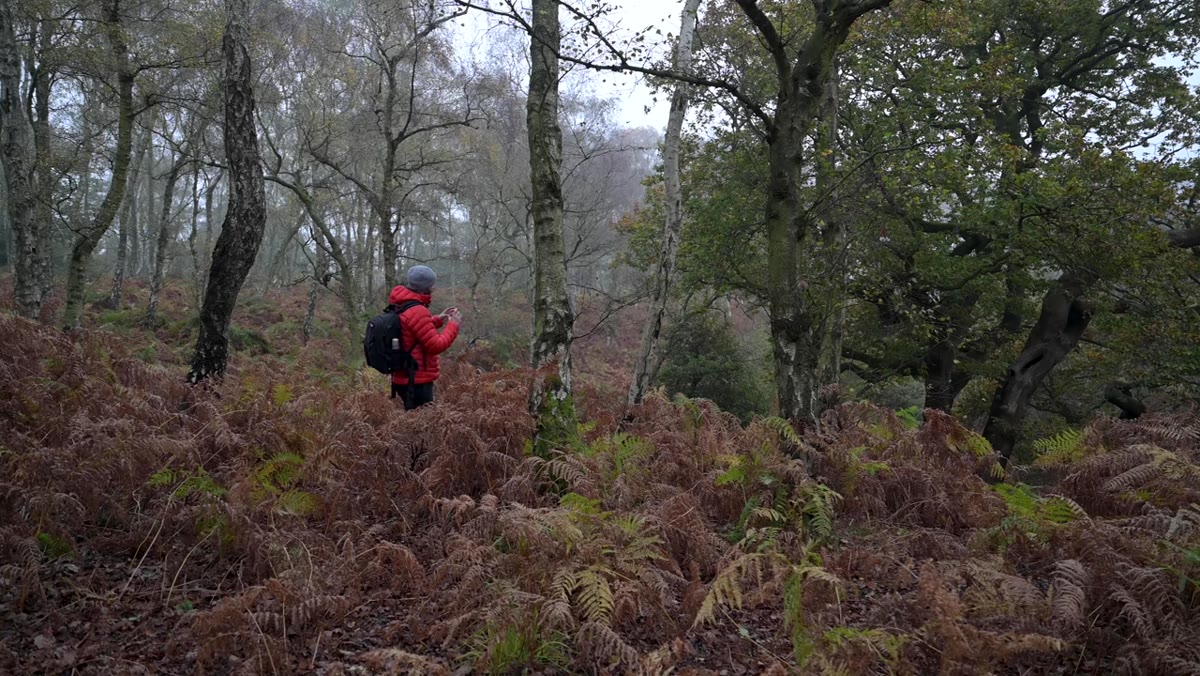 Nigel evaluating a mix of silver birch and oak trees for composition
Once Danson identifies something worth photographing, his next instinct is to simplify it. He looks at a scene with two distinct types of trees, silver birch and older oak, and immediately starts working out how to resolve the visual complexity. The camera doesn’t clean up a cluttered scene automatically. If anything, it amplifies confusion.
Before you set up your tripod, mentally remove elements. Squint at the scene if it helps. Ask: what is the one thing this image is actually about? A foreground texture, a single strong tree, the quality of the fog? Everything in the frame should either support that anchor or be cropped out. If you can’t identify a single subject while standing there looking at it with your own eyes, the photograph won’t find one either.
Step 5: Give the Whole Process Enough Time
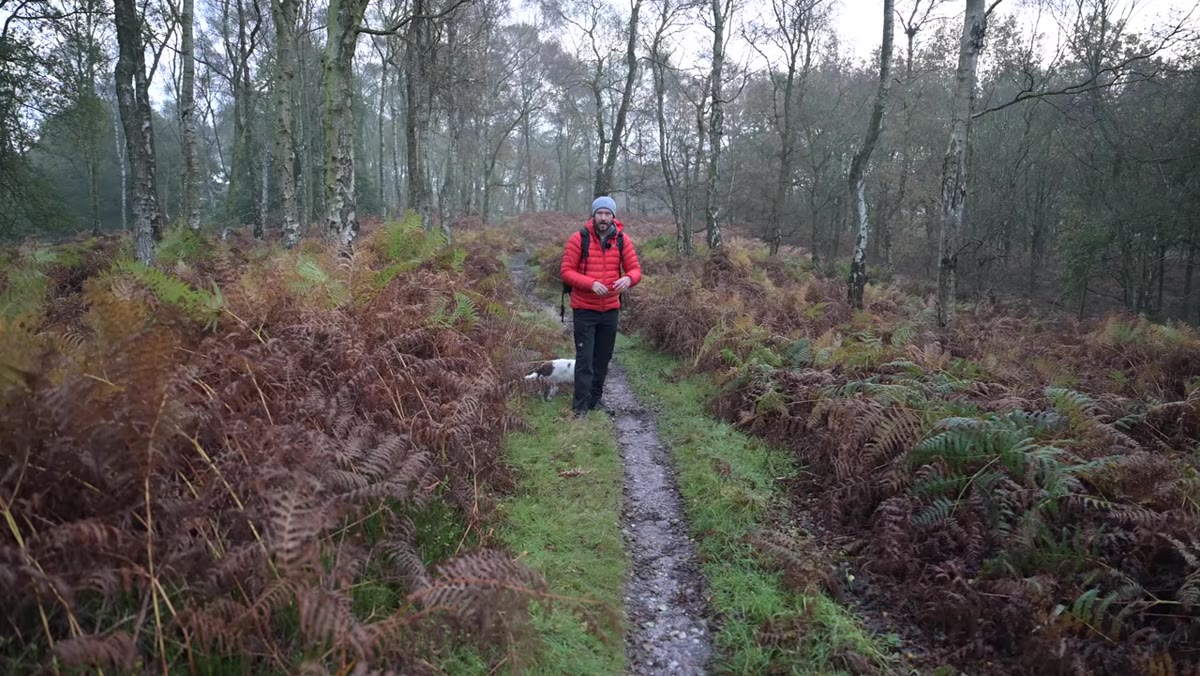 Wide view of woodland path in low pre-dawn light
Danson notes that landscape photographers often have 30 to 60 minutes before conditions peak, more reliably at sunset than sunrise. That window is not just waiting time. It is working time. Use it to walk farther than you think you need to, to test multiple viewpoints, to let the light develop and show you what it’s capable of.
The practical implication is simple: arrive earlier than you think you need to. Not just a few minutes early, genuinely early. If golden hour starts at 6:40am, be on location walking at 6:00. The observation phase requires time to do anything useful, and if you arrive just as the light peaks, you will shoot in a panic and wonder later why the images feel rushed.
What I’d Add After 20 Years in the Field
Danson’s framework works because it addresses something behavioral, not technical. This is not about your histogram or your focal length. It is about the mental state you bring to a location.
I shoot a couple of rolls of film each year, mostly 4x5, specifically because it costs me money and effort for every frame. That friction forces observation. When you know you have eight shots on a sheet film holder, you stand there and you look for a long time before you ever touch the shutter. You can build that same discipline with a digital camera, but it takes conscious practice. Try arriving at your next location and giving yourself a firm rule: no camera out of the bag for the first ten minutes. Walk, look, scan, simplify in your head. By the time you pull out the gear, you’ll already know what you’re after.
The single most important lesson in Danson’s tutorial is that the photograph begins before you ever raise the camera. Observation is not a precursor to the work. It is the work. Everything else, the settings, the composition, the timing, serves decisions that only good observation makes possible.
Watch the full tutorial on YouTube and pay attention to how Danson moves through the landscape. The teaching is not just in what he says. It’s in watching someone who genuinely looks before they shoot.
Comments
Leave a Comment