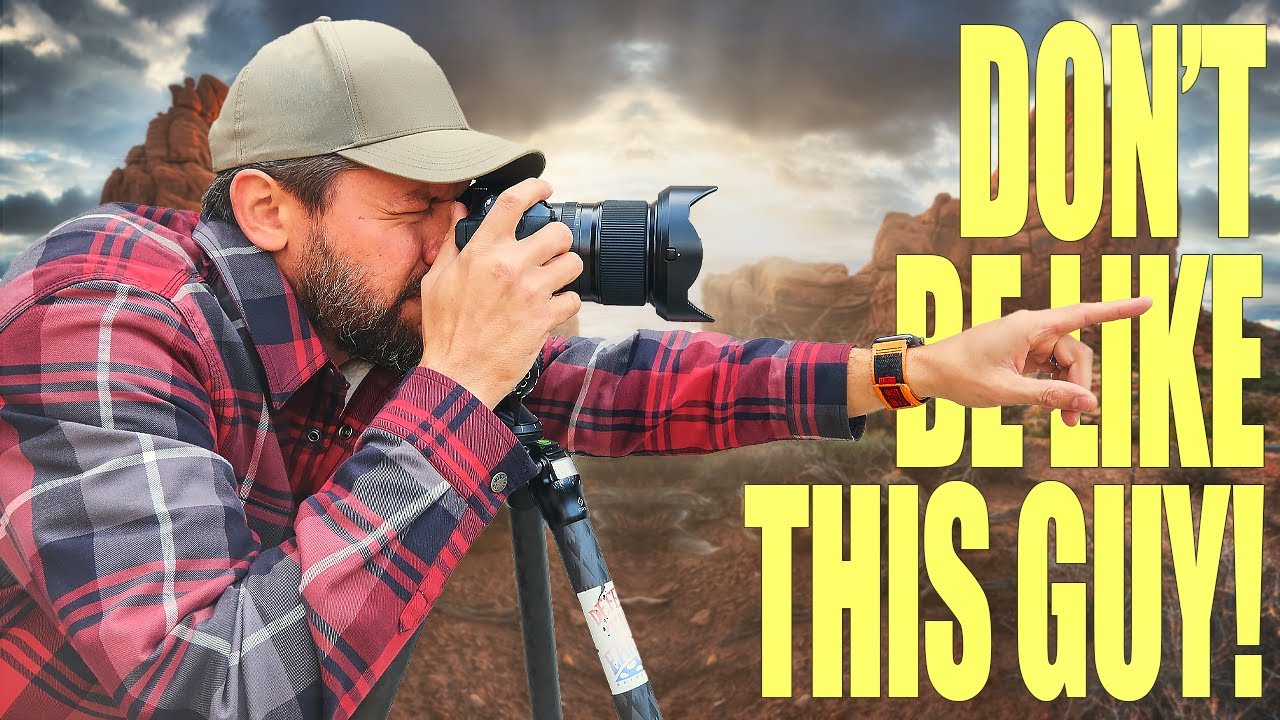
There’s a specific kind of frustration I know well. You drive out before dawn, find the location you scouted, wait for the light, press the shutter, and come home with something that looks… fine. Not bad. Just unremarkable. The kind of image that could have been taken by anyone standing in that spot, because in a very real sense, it could have been. That’s the problem nobody talks about enough: most of us are defaulting to the same perspective, the same focal lengths, the same compositional instincts, because those defaults are baked into the way human beings physically move through the world.
I’ve been thinking about this lately, and when I came across Watch the full tutorial on YouTube from Mark Denney, it crystallized something I’ve known intuitively for years but hadn’t articulated cleanly. Denney brings together several compositional techniques into one consolidated walkthrough, and even after two decades of doing this professionally, I found myself nodding along and, in a couple of places, genuinely reconsidering my own habits. What follows is my breakdown of the techniques he covers, with the practical layer added from my own time in the field.
The core insight driving everything Denney teaches here is deceptively simple: our eyes sit at the top of our heads, and we all walk around at roughly the same height. Eye-level photographs, no matter how technically clean, show the world exactly as everyone already sees it. The fix isn’t complicated, but it does require intention.
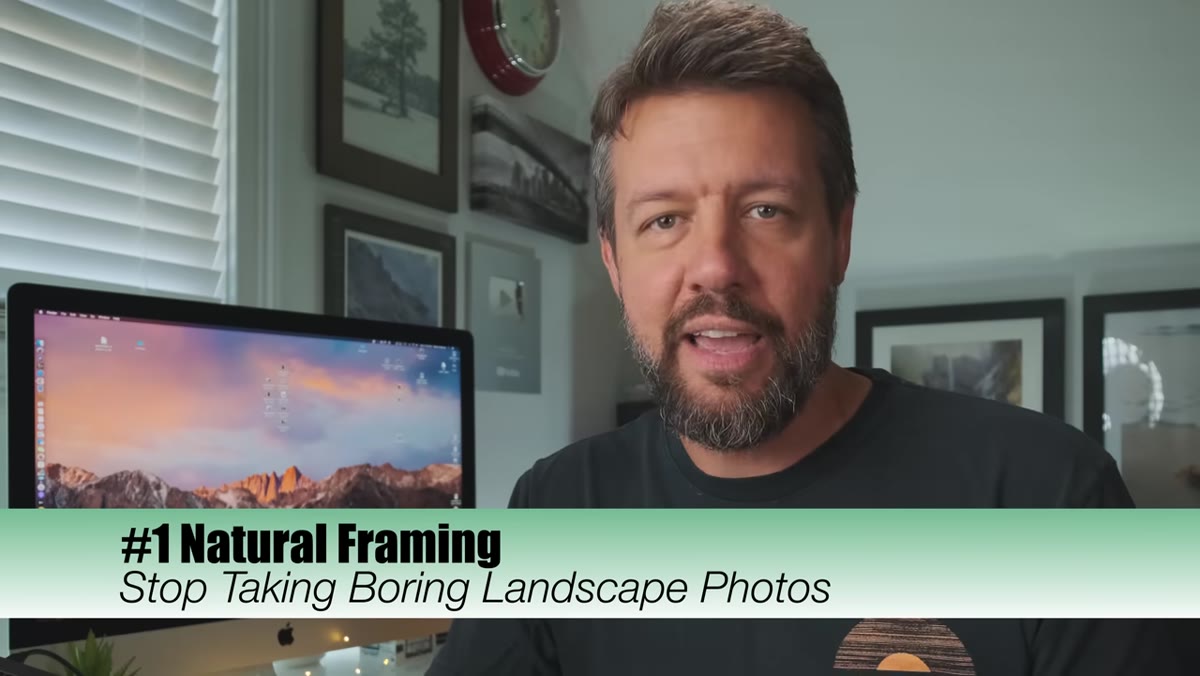
Step 1: Use Natural Framing to Create Depth and Context
 Trees and branches framing Yosemite Falls between them
Natural framing means using elements already present in the landscape, trees, rock formations, cave openings, overhanging branches, to create a border or window around your primary subject. Denney points to examples from Utah slot canyons, Acadia’s boulder beach, and Yosemite Falls flanked by tree trunks. The reason this works visually is that it gives the eye a path. Instead of landing on the subject and bouncing around the frame, the viewer is guided inward.
The practical challenge is that natural framing requires you to slow down and literally change where you’re standing. It won’t present itself from the obvious vantage point. Walk the perimeter of your scene before you set up a tripod. Look backward, look sideways, crouch down and look up. The frame is often behind you or off to one side. I keep this at the front of my mind specifically because it’s easy to miss when you’re tired and the light is moving fast.
Step 2: Vary Your Focal Length Before You Vary Your Position
 Wide angle shot of Iceland landscape showing cluttered, unfocused scene
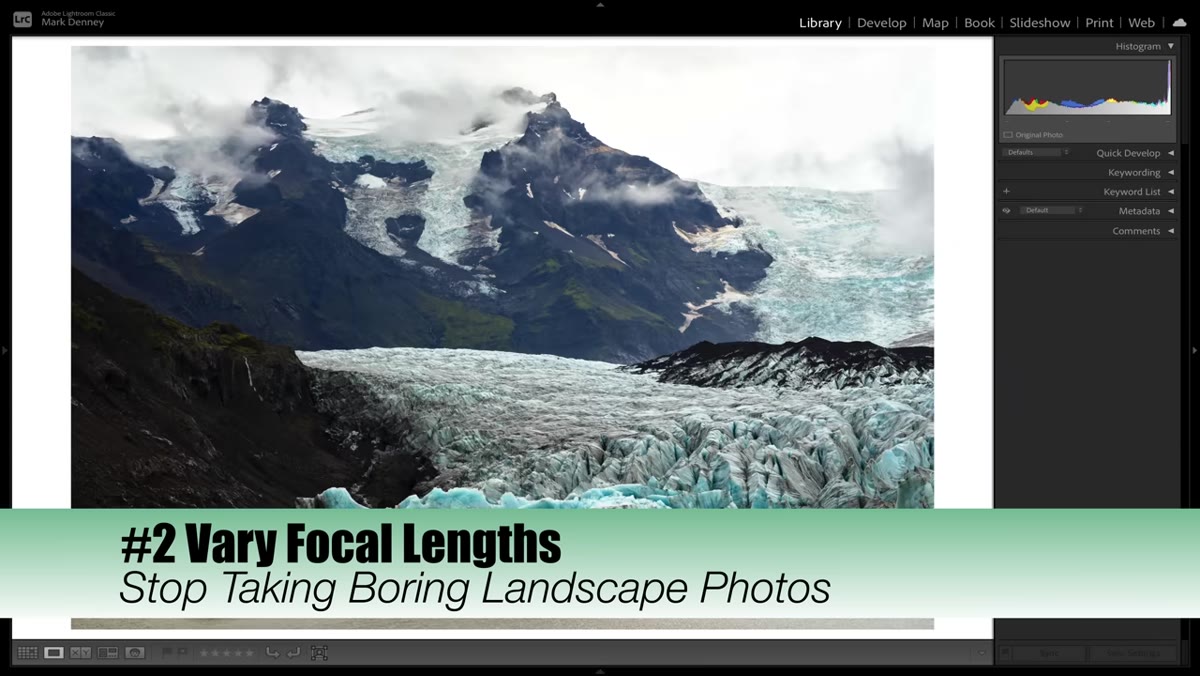
The temptation in the field is to find a composition and commit to it. Denney pushes back on this hard. Using Iceland as his example, he shows what the scene looked like at a wide focal length, everything visible, technically correct, but directionless. The image doesn’t know what it wants to be. Switching to a longer focal length compresses the scene, eliminates visual noise, and forces the viewer’s attention onto a specific element.
This is one of the most underused moves in landscape photography. Before you pack up and walk to a new spot, zoom in. Shoot at 50mm, then 100mm, then 200mm if you have it. You are not moving your feet, you are changing what the camera decides matters. Often the most interesting image from a location isn’t the grand vista but the compressed mid-ground detail that a telephoto reveals. I bring at least two lenses on every single outing specifically because of this. The wide angle gets me oriented; the longer focal length usually gets me the keeper.
Step 3: Get Low, or Get High - Just Get Off Eye Level
 Illustration of eye-level perspective versus varied camera height
This is the technique that underlies everything else Denney covers, and it’s the one most beginners skip because it requires physical effort. Eye-level photography is comfortable. Getting your camera six inches off the ground means wet knees, a cold belly, and the distinct possibility that your lucky hat falls into a tidal pool. Worth it.
When you get low, foreground elements suddenly have weight and presence. Rocks, grasses, ice, and wet sand that were invisible from standing height become the anchor of the composition. Getting high, a boulder, a hillside, a second-story pull-off on a mountain road, flattens the scene differently and reveals patterns and shapes that ground-level perspective hides entirely. The rule I follow: every location gets at least three camera heights before I settle. Kneeling height, ground level, and standing. It takes five minutes and consistently produces better options than committing to the first position.
Step 4: Actively Search for the Composition, Don’t Wait for It to Announce Itself
 Photographer scanning environment to identify framing opportunities
Denney makes an important distinction that I think gets lost in how composition is usually taught. Techniques like natural framing and perspective shifts aren’t things that happen to you. They require active searching. If you walk to a viewpoint and immediately raise the camera, you’ve already surrendered most of your compositional options.
The habit I’ve built over the years is to spend the first ten or fifteen minutes at a new location without the camera up at all. I’m looking for frames within frames, for how the light is moving, for what’s going to change as the sun drops. A mentor I once spent time with in the field used to say that the landscape doesn’t restructure itself for your convenience, so you’d better learn to look. That patience, that active visual searching, is the difference between a photograph that surprises people and one that simply documents that you were present.
What I’d Add from My Own Experience
The techniques Denney covers are all about combating default behavior. But there’s one layer he doesn’t dig into that I’d add: the relationship between these techniques and revisiting locations. The first time I visit anywhere, I’m orienting. I’m finding the wide compositions, the obvious anchors, the eye-level reads. The second visit is where the real work starts, because now I know what’s already been seen. That’s when I start hunting low angles and natural frames in earnest, because the familiar version of the place no longer satisfies me.
This is why I keep detailed notes on every location I shoot, not just GPS coordinates but height experiments that worked, natural frames I found and ones I missed, focal lengths that surprised me. It turns a single visit into a compounding investment. The images from my third or fourth visit to a place are almost always stronger than anything I shot the first time, and these compositional habits are the reason why.
The single most important thing to take from Denney’s tutorial is this: if you’re taking the camera to your eye from the same height, the same distance, and the same focal length every time, you are not really making compositional decisions. You’re accepting the default. Everything he covers, natural framing, focal length variation, perspective shifts, is a method for overriding that default consciously and deliberately.
Watch the full tutorial here and see his examples firsthand: Watch the full tutorial on YouTube. Then go somewhere you’ve already been and shoot it like you’ve never seen it before.
Comments
Leave a Comment