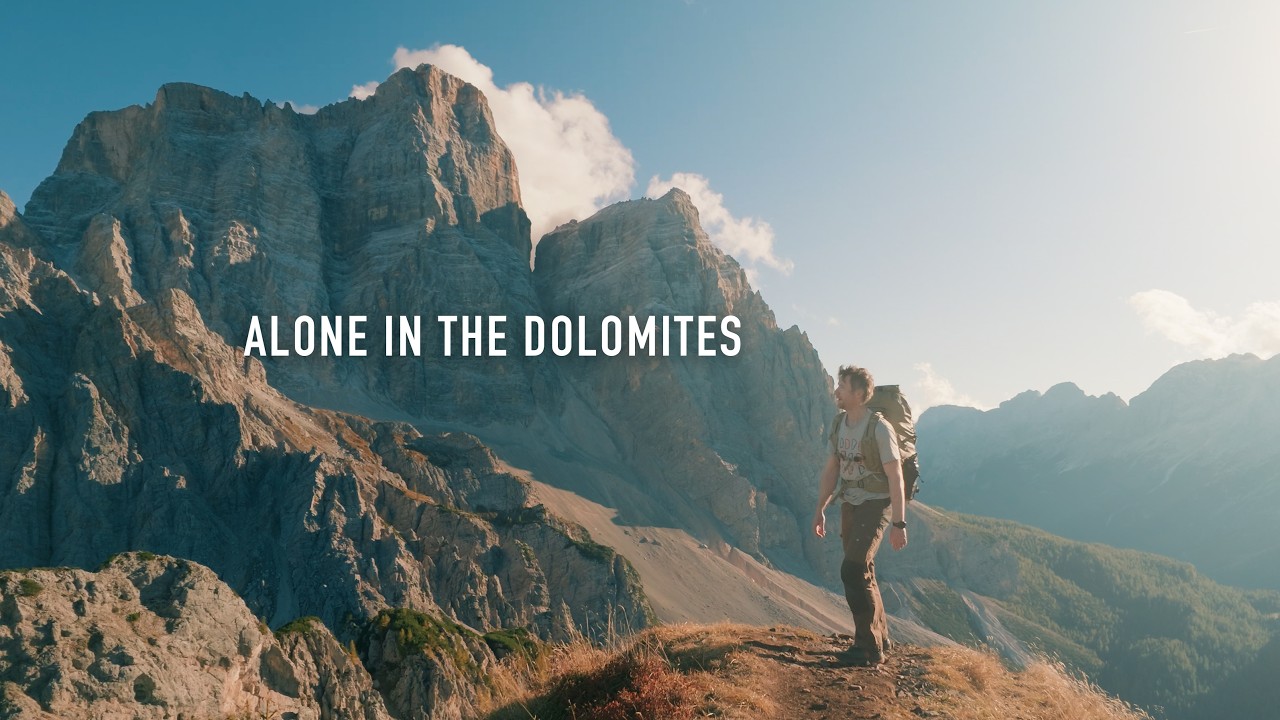
There’s a version of landscape photography that looks like pure instinct. You park the van, grab the camera, golden light pours over the peaks, and everything clicks. And then there’s the real version, which is what Thomas Heaton captures honestly in his latest Dolomites tutorial. He drives three days from the UK, arrives just in time for a stunning evening shoot, and then wakes up the next morning to flat light, no clouds worth shooting, and nothing that composes into anything worth keeping. I’ve had mornings like that in the Cascades more times than I can count. The mountain doesn’t care that you drove through the night to get there.
What makes Watch the full tutorial on YouTube worth your time isn’t the dramatic summit payoff at the end. It’s the unglamorous middle section, where Heaton goes back to the van, opens a guidebook, checks the weather, and builds a plan for the afternoon. That process, boring as it sounds, is the actual craft. And watching a seasoned photographer work through it in real time teaches you more than any highlight reel could.
The video follows Heaton across multiple days in the Italian Dolomites during autumn, specifically around the area above Cortina d’Ampezzo, culminating in a steep hike up to Col de la Puina at sunset. Below is a breakdown of what he does and how you can apply the same approach on your own mountain shoots.
Step 1: Arrive Early Enough for a Scouting Session
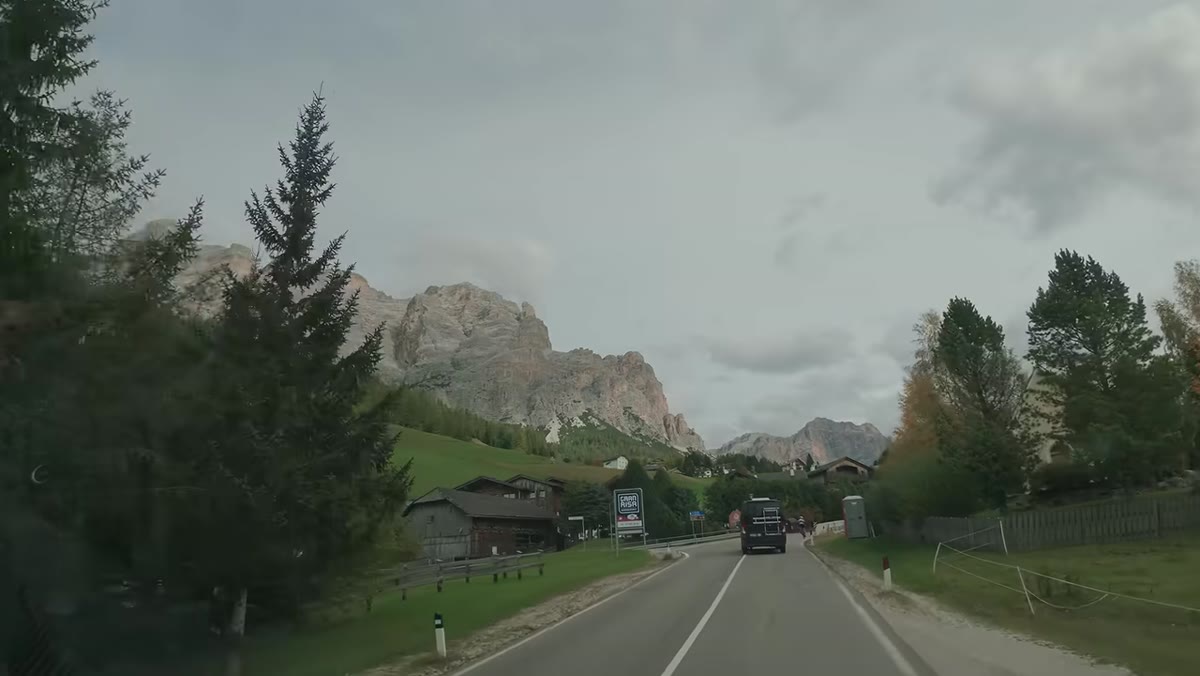 Thomas arriving in the Dolomites at golden hour for evening shoot
Heaton pulls into the Dolomites in time for an evening shoot on day one, and it pays off immediately. He describes the light as incredible and comes away with strong frames. But the real value of that arrival isn’t just the images. It’s that he now knows the terrain, the sight lines, and the character of the light before he has to make decisions under pressure the following morning. If you’re traveling to a new location, try to arrive with at least one hour of usable light before your first planned shoot. That scouting session, even if it produces great shots, is really about orientation. Where does the ridge catch color first? Where does shadow fall early? You want those answers before sunrise day two.
Step 2: Accept the Difficult Morning Without Forcing Shots
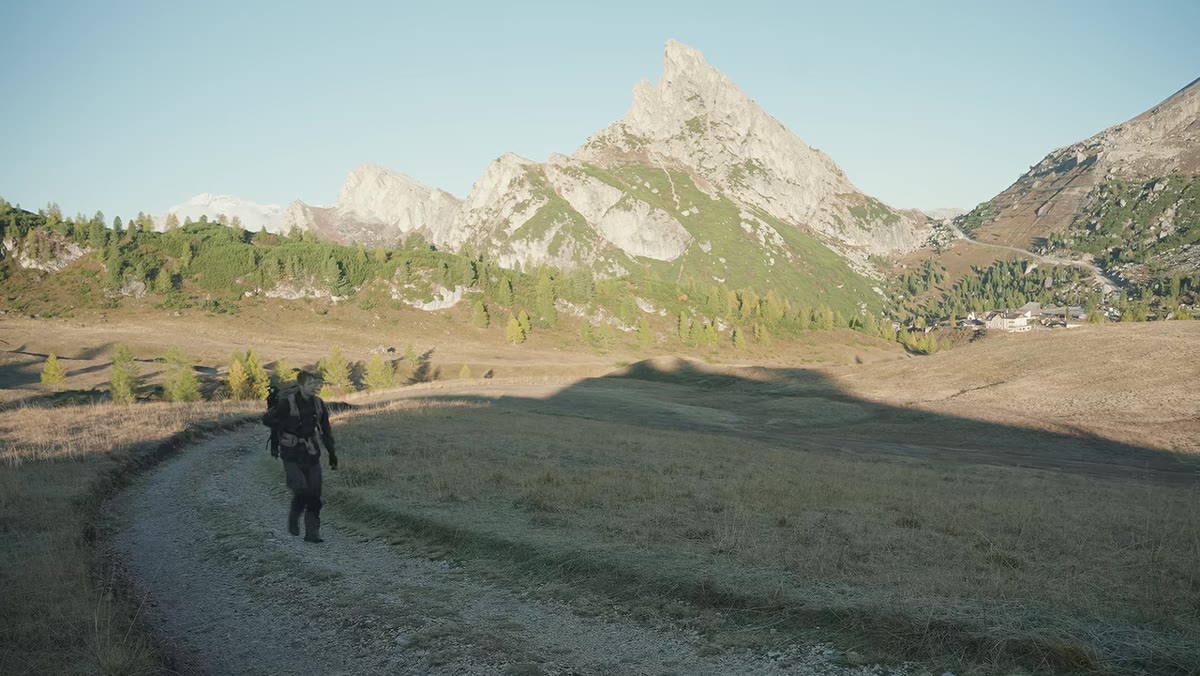 Heaton standing near ski slope in flat morning light with no clouds
The next morning, Heaton is back in the same spot at minus one degree Celsius with a cloudless sky and light that’s doing nothing interesting. He’s honest about it: he can’t find a composition worth making. Rather than forcing mediocre frames just because he’s there, he walks back to the van. This is harder than it sounds. After a long drive, with limited days on location, the pressure to produce is real. But empty miles on your memory card from a bad session are less damaging than training yourself to accept weak images. If the conditions aren’t working within the first 20 minutes of serious looking, change the plan. That’s not failure. That’s field judgment.
Step 3: Use Downtime to Research and Rebuild Your Plan
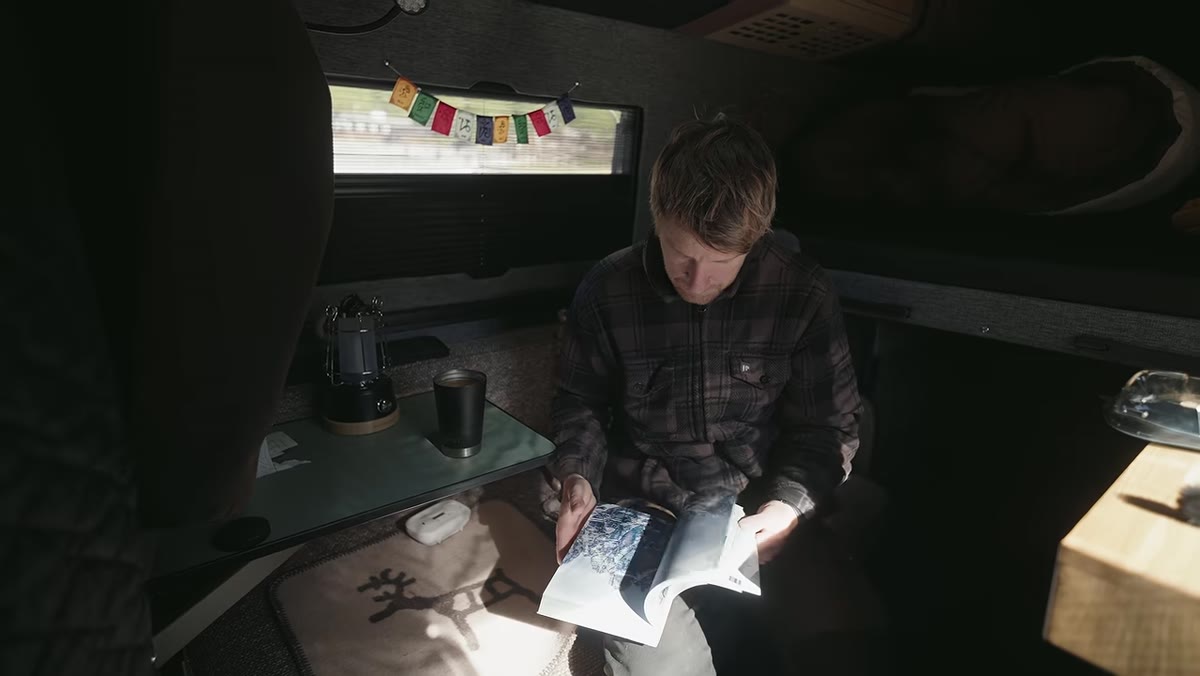 Heaton consulting Dolomites photography guidebook over coffee
Back at the van, Heaton does something I do on every multi-day trip: he opens a location-specific guidebook, checks the weather forecast, and picks a target for the afternoon. He names the balance he’s looking for: flexibility and spontaneity on one side, specific knowledge of where he’s going for morning shoots on the other. The guidebook he references is a Dolomites-specific photography guide, the kind that tells you not just that a location is beautiful but which direction it faces and when the light hits. Those details matter enormously for planning. On my own trips I pair a guidebook like that with The Photographer’s Ephemeris or PhotoPills to confirm sun angle and golden hour timing before I commit to a hike.
Step 4: Prepare Your Kit for Altitude and Temperature Drop
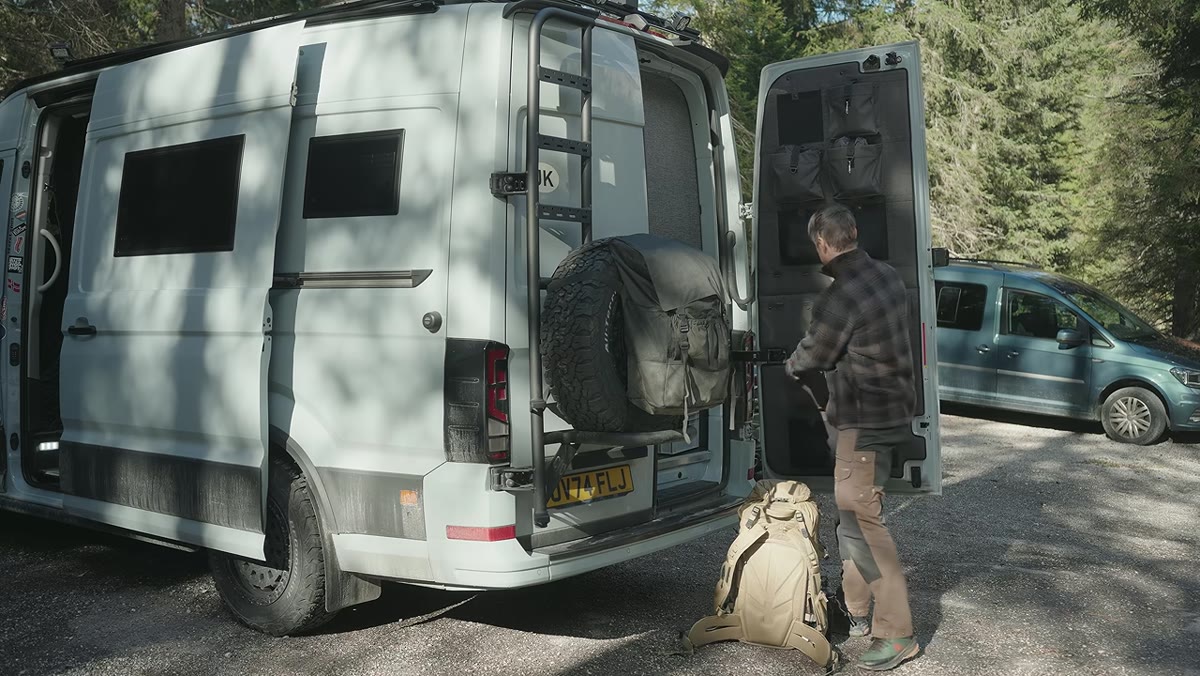 Heaton packing water gloves hat and headlamp before the hike
Before leaving for the afternoon hike up Col de la Puina, Heaton runs through his kit out loud: water from a mountain spring, gloves, a hat, a headlamp, and snacks. The summit sits just under 2,500 meters. He notes it will be colder up top than at the trailhead, which sounds obvious but is easy to underestimate when you’re warm in a parking lot at midday. For any mountain shoot above 2,000 meters, I treat layers and a headlamp as non-negotiable, not optional. You are almost always hiking down in the dark after a sunset session. Pack for that descent before you leave the car, not when you’re standing on a cold summit realizing you forgot your light.
Step 5: Hike Ahead of the Light to Claim Your Position
 Steep final approach to mountain peak with dramatic views opening up
Heaton pushes hard up the final steep section specifically to arrive at the summit well before golden hour. He notes that the conditions shift quickly on days like this, moving from unphotographable to spectacular in minutes. If you arrive at the summit breathless and behind schedule, you’ll be scrambling to find a composition while the light peaks, which is exactly when you need to be calm and already set up. My rule on any summit shoot is to be in position at least 45 minutes before the light I’m chasing. That gives you time to recover physically, scout the foreground, level the tripod properly, and settle into the moment before the window opens.
Step 6: Stay Alert for Unexpected Company and Composition Competition
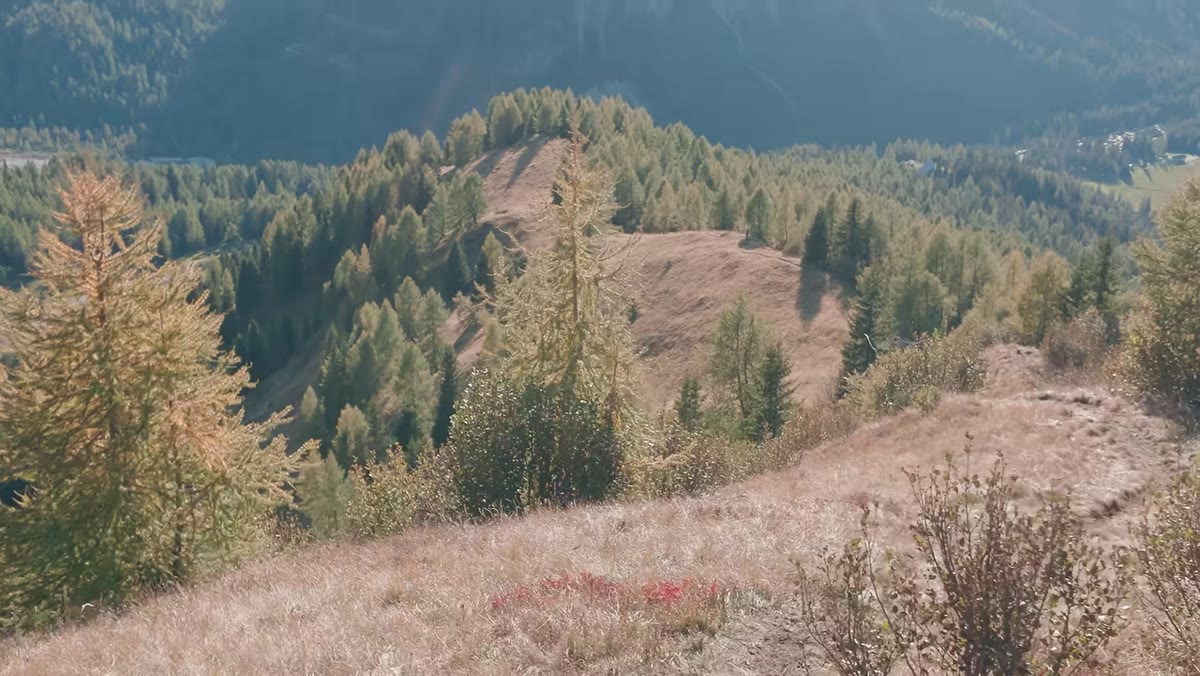 Lone figure with tripod visible on the trail behind Heaton
Midway up the trail, Heaton spots another photographer following the same path. It’s a small, funny moment in the video, but it carries a real lesson. Popular viewpoints in the Dolomites, particularly at golden hour, draw photographers. The earlier you arrive and the more specifically you’ve researched your foreground, the less likely you are to be jostling for the same patch of ground at the worst possible moment. If someone else does arrive, treat it as a creative prompt. Move ten meters, change your focal length, or go wider than you planned. Sharing a location doesn’t have to mean sharing an identical composition.
A Note from My Own Experience
I once spent two days in fog on the Oregon coast after a six-hour drive, and I came home with one usable frame. That image is now my best-selling print. The conditions I couldn’t control forced me into slower, more deliberate work than I would have done on a clear evening. Heaton’s Dolomites morning is the same kind of story told in real time. The sessions that strip away your plan are often the ones that reveal what you actually know how to do. Don’t skip to the highlight reel. Sit with the fog.
The single most important thing this video reinforces is that field planning is not the opposite of spontaneity. It’s what makes spontaneity possible. When you know where you’re going, what the light will do, and what’s in your pack, you free up mental space to actually see. Heaton’s pivot from a dead morning to a brilliant summit session works because he stopped, thought, and committed to a specific plan with enough lead time to execute it well.
Watch the full tutorial on YouTube and pay close attention to the sections most creators would cut: the van coffee, the guidebook, the kit check. That’s where the real teaching lives.
Comments
Leave a Comment