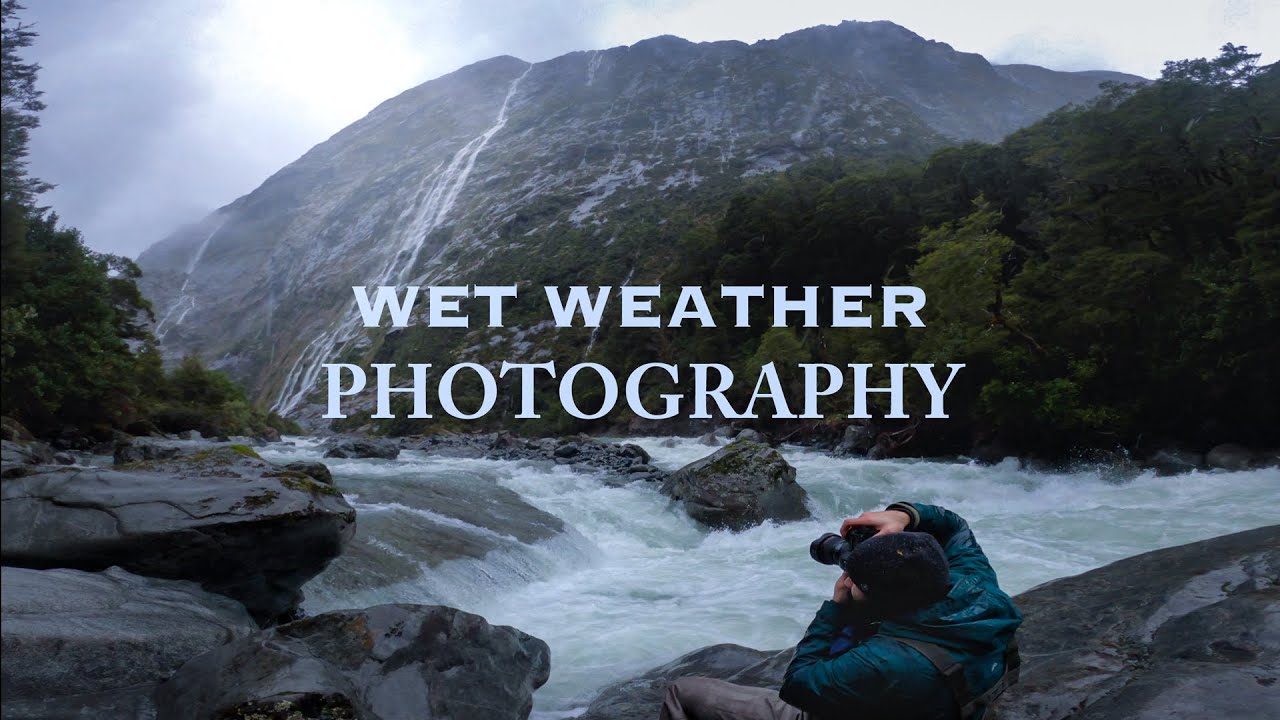
Most photographers I know pack up when the rain starts. I used to be one of them. Twenty years of early mornings and stubborn weather have since taught me that the shots worth printing almost always come from the days that felt least cooperative. Rain flattens harsh light, feeds waterfalls, and drapes mountains in atmosphere you simply cannot manufacture in post. The problem has never been the weather. The problem is not having a system for working in it.
That’s exactly what caught my attention in this William Patino tutorial filmed in Fiordland, New Zealand. Watch the full tutorial on YouTube. Patino takes his friend Michael into genuinely difficult conditions and walks through the decisions that lead to a strong final frame. What I appreciate about his approach is how practical it stays. No lamenting the weather, no waiting for a break in the clouds. Just problem-solving in real time.
If you photograph wet landscapes and you’re still wrestling with whether to bother with a tripod in moving water and unstable terrain, this tutorial gives you a clear, workable alternative. Here’s how the technique breaks down.
Step 1: Pack Light and Protect Smart
 Photographer holding camera and large microfiber towel in rain
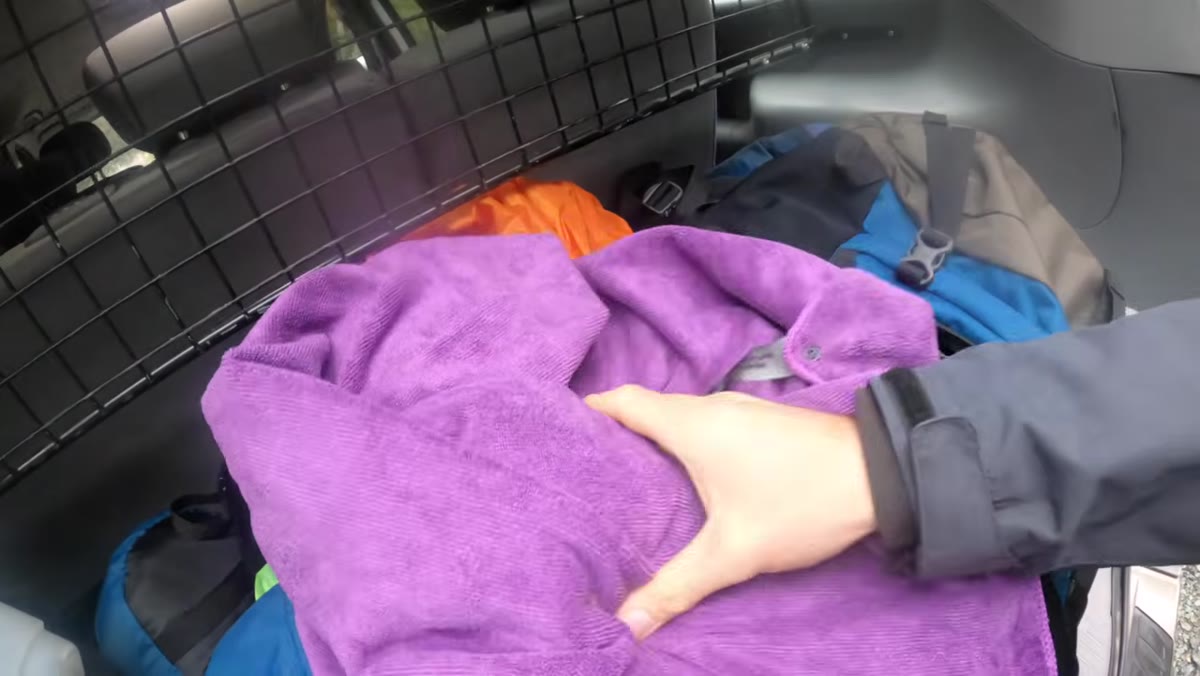
Patino’s kit for this shoot is a camera and a large microfiber towel. That’s the whole answer to the question of shooting in rain. Not a rain cover, not a tent, not waiting for the weather to ease. The towel serves double duty: wiping the front element between shots and throwing over the body when you need to move. I keep a similar cloth in every bag I own. The mental shift here matters too. If you’ve pre-decided that your gear needs to stay dry, you’ll spend the shoot managing anxiety instead of managing light.
Photographer holding camera and large microfiber towel in rain
Patino’s kit for this shoot is a camera and a large microfiber towel. That’s the whole answer to the question of shooting in rain. Not a rain cover, not a tent, not waiting for the weather to ease. The towel serves double duty: wiping the front element between shots and throwing over the body when you need to move. I keep a similar cloth in every bag I own. The mental shift here matters too. If you’ve pre-decided that your gear needs to stay dry, you’ll spend the shoot managing anxiety instead of managing light.
Modern weather-sealed cameras can take far more punishment than most photographers give them credit for. Trust your equipment, keep the towel handy, and move.
Step 2: Read the Scene for Layered Depth Before You Set Up
 Wide view of river valley showing mountain peak and waterfalls
Before Patino places Michael anywhere specific, he talks through what the scene offers as layers. There’s a rock shelf in the foreground, a river mid-ground, forested slopes behind that, and a mountain peak with waterfalls as the background anchor. He’s building a mental stack before he ever touches a camera setting. This is compositional thinking that I try to practice every time I walk into a new location, and it’s the step most people skip because they’re eager to start shooting.
Wide view of river valley showing mountain peak and waterfalls
Before Patino places Michael anywhere specific, he talks through what the scene offers as layers. There’s a rock shelf in the foreground, a river mid-ground, forested slopes behind that, and a mountain peak with waterfalls as the background anchor. He’s building a mental stack before he ever touches a camera setting. This is compositional thinking that I try to practice every time I walk into a new location, and it’s the step most people skip because they’re eager to start shooting.
The key question he asks is whether moving in one direction will cost him the peak. That’s the right question. Every step in or out changes which elements you keep and which you sacrifice. Walk the scene. Look at it from three or four positions before you commit.
Step 3: Use Exposure Bracketing Handheld Instead of a Tripod
 Michael setting up camera composition near river in rain
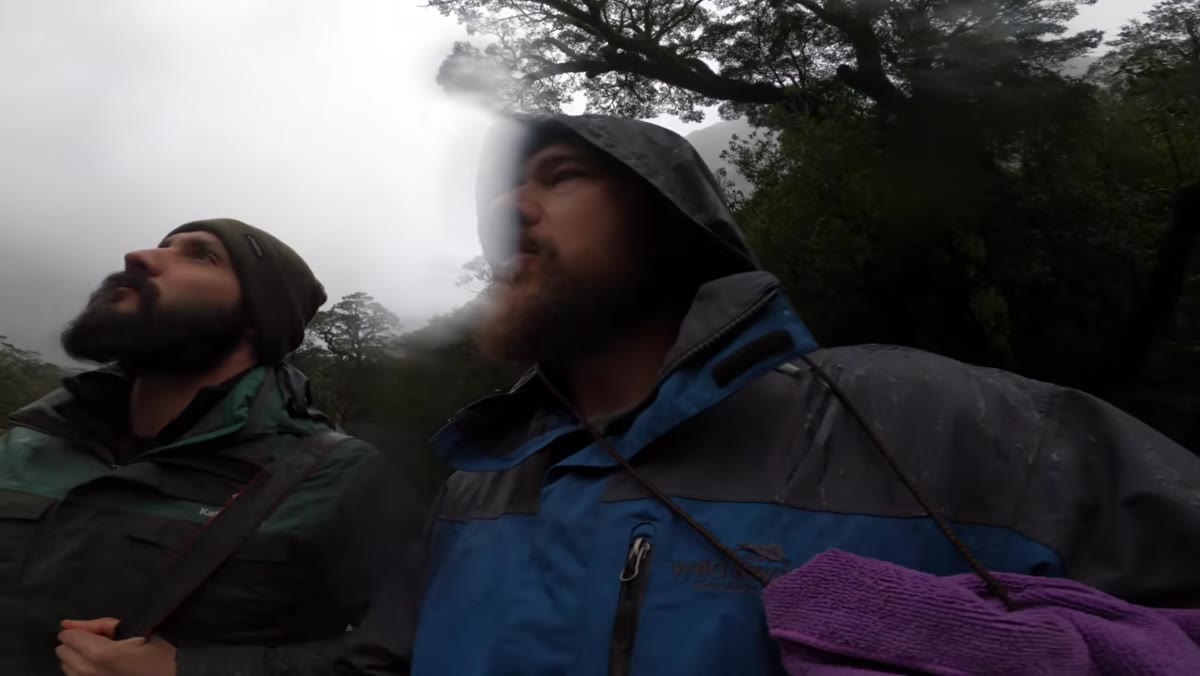
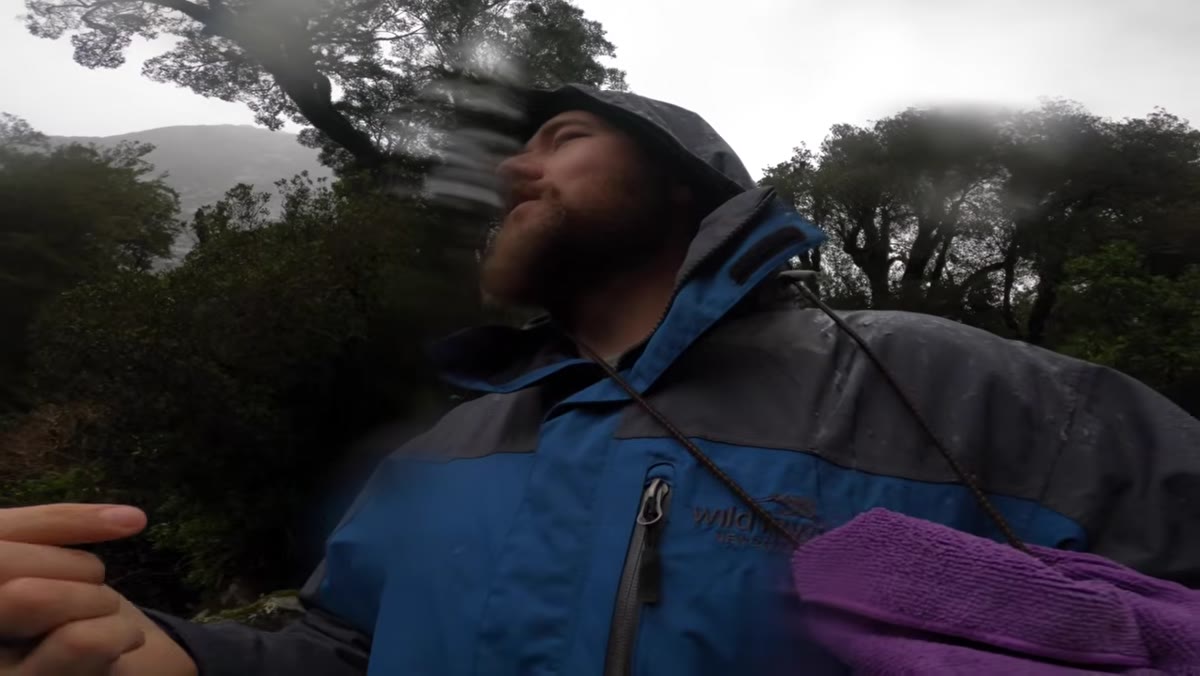
This is the technical heart of the tutorial and the idea I found most immediately useful. Rather than fighting with tripod legs on wet, unstable river terrain, Patino recommends shooting a bracketed series handheld. The target is one sharp frame at roughly 1/20th of a second, plus slower exposures that will capture motion blur in the water. Those slower frames get blended in post to give the water its silky movement, while the sharp frame anchors the detail in the rocks and foliage.
Michael setting up camera composition near river in rain
This is the technical heart of the tutorial and the idea I found most immediately useful. Rather than fighting with tripod legs on wet, unstable river terrain, Patino recommends shooting a bracketed series handheld. The target is one sharp frame at roughly 1/20th of a second, plus slower exposures that will capture motion blur in the water. Those slower frames get blended in post to give the water its silky movement, while the sharp frame anchors the detail in the rocks and foliage.
For photographers on DSLRs without in-body stabilization, which is Michael’s situation in the video, this still works. You’re not relying on a single perfectly sharp slow exposure. You’re giving yourself a usable sharp base and creative options for the water separately. Set your ideal shutter speed, engage bracketing so the camera fires the additional exposures automatically, and work quickly. In moving weather, conditions shift faster than you think.
Step 4: Get Into the Water to Find the Right Angle
 Photographers wading in river toward waterfall wearing waders
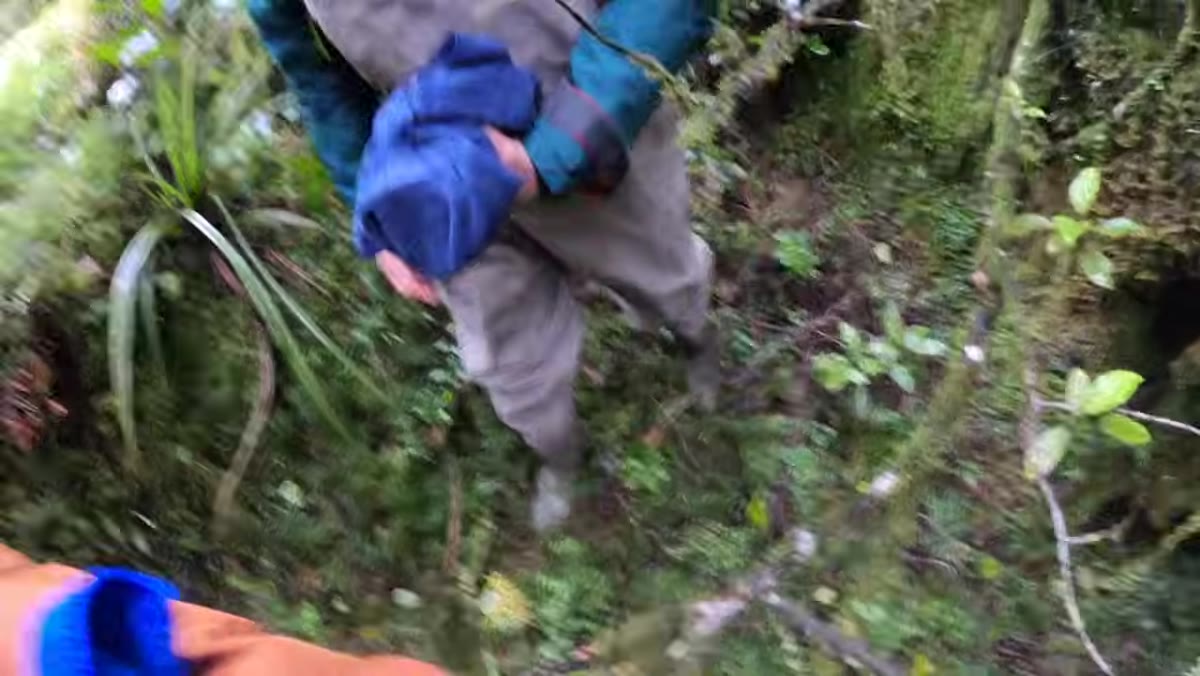
When Patino spots a waterfall coming off the cliffs further up the valley, he doesn’t photograph it from the bank. He puts on waders and crosses the river to get in front of it. The river itself becomes the foreground lead-in only when you’re actually standing in it at the right depth and distance. From the bank, that leading line often flattens out or gets blocked by near-shore debris.
Photographers wading in river toward waterfall wearing waders
When Patino spots a waterfall coming off the cliffs further up the valley, he doesn’t photograph it from the bank. He puts on waders and crosses the river to get in front of it. The river itself becomes the foreground lead-in only when you’re actually standing in it at the right depth and distance. From the bank, that leading line often flattens out or gets blocked by near-shore debris.
This is a commitment decision that changes the shot entirely. I’ve ruined more good compositions by staying comfortable on dry land than I care to admit. If the scene has water in it and the image isn’t working, the answer is usually to get closer to the water, or in it.
Step 5: Frame With Available Rock and Terrain
 Final composition showing rocks framing river leading to waterfall
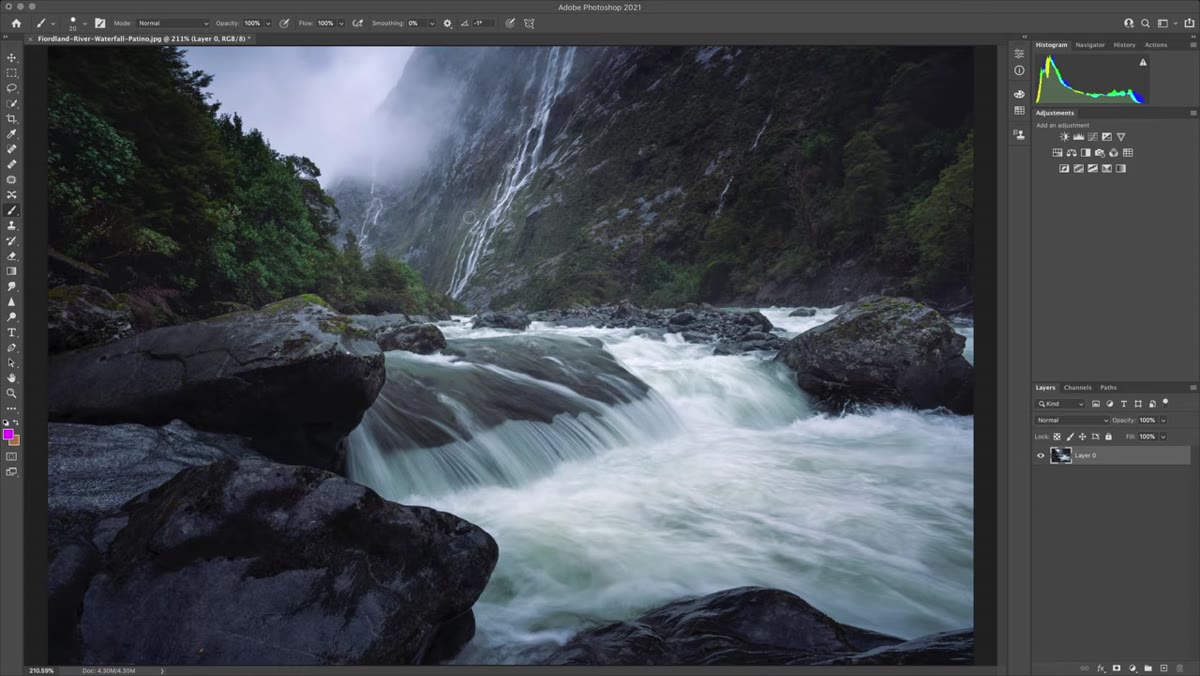
Patino describes his final composition by pointing out how rocks on the right, left, and bottom of the frame create a natural border that focuses the eye on the river channel and the waterfall beyond it. This is intentional framing using what the location provides. The river stays as open visual space that pulls attention through the middle of the frame rather than letting the eye wander to the edges.
Final composition showing rocks framing river leading to waterfall
Patino describes his final composition by pointing out how rocks on the right, left, and bottom of the frame create a natural border that focuses the eye on the river channel and the waterfall beyond it. This is intentional framing using what the location provides. The river stays as open visual space that pulls attention through the middle of the frame rather than letting the eye wander to the edges.
The height decision is equally deliberate. Too low and the near section of river disappears, killing the lead-in. Too high and the foreground rocks vanish, and the frame loses its grounding. He finds the position where both are present simultaneously. That might be inches of difference. Take your time adjusting height before you shoot your final set.
Step 6: Know When to Move On
 Rain intensifying as photographers prepare to leave first location
There’s a moment in the field where you’ve worked a composition as far as it can go, and the weather is pushing harder than your patience. Patino reads this clearly at their first location and makes the call to move up the valley. That decision is what leads them to the stronger waterfall frame. Staying too long at a mediocre position out of sunk-cost thinking is one of the more invisible mistakes in landscape photography.
Rain intensifying as photographers prepare to leave first location
There’s a moment in the field where you’ve worked a composition as far as it can go, and the weather is pushing harder than your patience. Patino reads this clearly at their first location and makes the call to move up the valley. That decision is what leads them to the stronger waterfall frame. Staying too long at a mediocre position out of sunk-cost thinking is one of the more invisible mistakes in landscape photography.
This takes practice. The mountain doesn’t care about your schedule, as a mentor once told me, and it’s still the most useful thing anyone has ever said to me about this work. Read the conditions, read what the scene is giving you, and be willing to walk toward something better.
A Note on Blending in Post
The handheld bracketing method Patino demonstrates only pays off if you’re comfortable combining exposures afterward. In practice, this means aligning layers in Photoshop or Lightroom, masking the water region from a slower frame onto your sharp base, and matching exposure and color temperature across the blend. It’s a moderate-skill technique, not an advanced one, but it does require intention. I’d suggest practicing it first on a scene without rain pressure, maybe a creek near home on an overcast afternoon, before you’re standing in a river in Fiordland trying to remember your layer mask shortcuts.
The other thing worth noting is that Patino offers a RAW file from this shoot for anyone who wants to practice the edit directly. That kind of hands-on access to another photographer’s actual file is genuinely valuable. Download it, process it your own way, and see what decisions you’d make differently.
Rainy conditions are not a compromise. They are a different kind of access to a landscape, one that most photographers leave to the people willing to get wet. The single most transferable idea from this tutorial is the handheld bracket approach: sharp base frame, slower motion frames, blend in post, no tripod required. It removes the biggest logistical friction point from shooting in moving water and unstable terrain, and it opens locations that would otherwise require gear setup that nobody wants to do in a downpour.
Watch the full tutorial on YouTube to see the Fiordland footage and the final composition Patino and Michael landed on. It’s worth watching for the location alone.
Comments
Leave a Comment