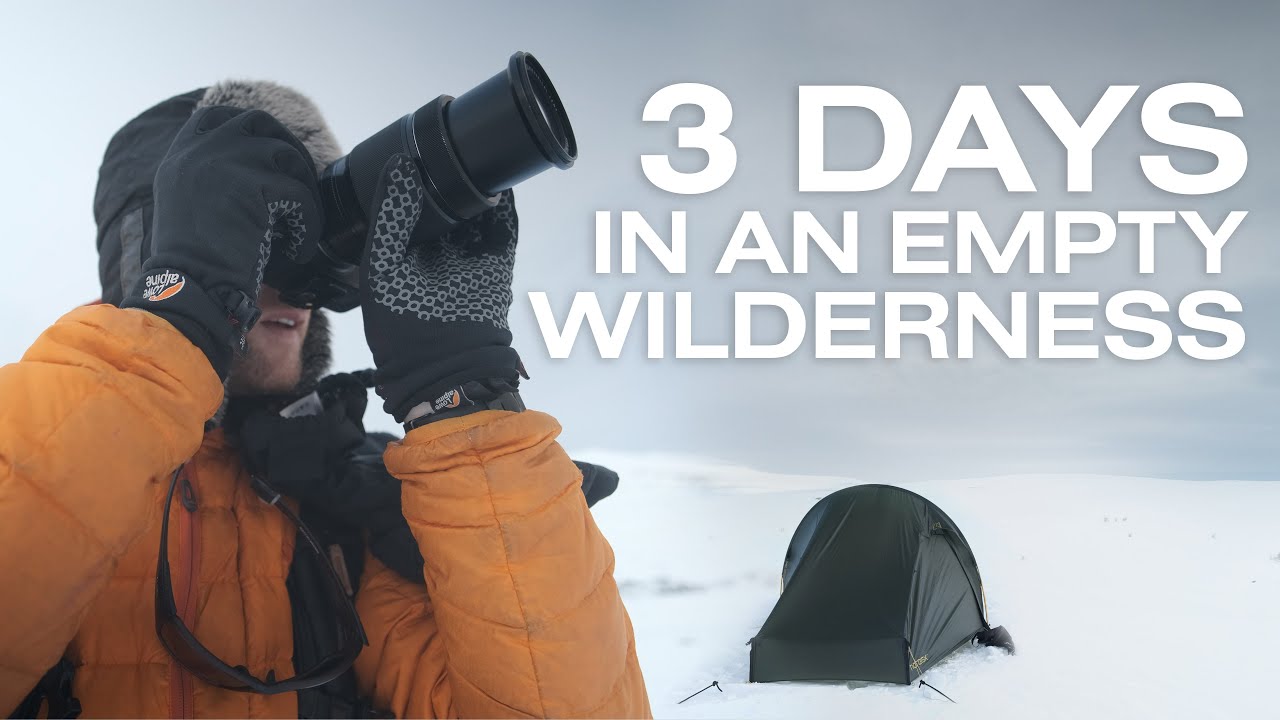
There’s a particular kind of creative pressure that comes from being dropped into a new landscape with a camera and a deadline. No scouting, no familiar light, no mental map of where the good compositions hide. I’ve been in that position more times than I can count, and I still find it uncomfortable in exactly the right way. It forces you back to fundamentals. When I came across Watch the full tutorial on YouTube, Thomas Heaton’s documentary-style expedition into the Swedish wilderness, I found myself taking notes less like a viewer and more like a student. Not because I hadn’t thought about these things before, but because watching someone else work through them in real conditions has a way of sharpening what you already half-know.
The setup here matters: Heaton joins a scientific expedition retracing a route from 1872, traveling by ski into sub-zero terrain with a tent, improvised snow pegs, and a camera bag. The photography is almost incidental to the survival logistics, which is exactly what makes it instructive. When conditions are hard, you stop obsessing over perfect technique and start making fast, honest decisions. That’s when you find out what you actually believe about composition and light.
What follows is a breakdown of the core field craft and photographic thinking from that video, organized the way I’d teach it in one of my winter workshops here in the Oregon Cascades.
Step 1: Embrace the Last-Minute Reality of Field Photography
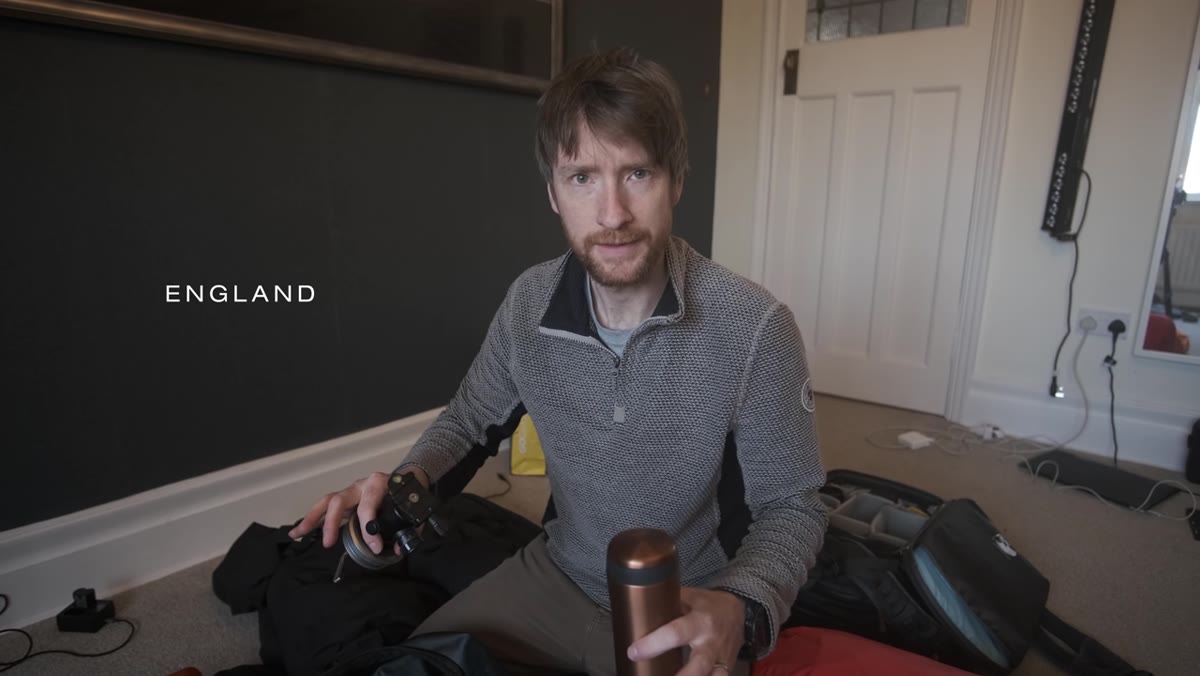 Thomas packing a first aid kit quickly before departure
Heaton is refreshingly candid about the chaos of his preparation. He acknowledges getting a last-minute invitation and scrambling to get his kit together, including fabricating his own snow pegs from scratch because standard tent stakes are useless in deep snow. The lesson here isn’t “be disorganized.” It’s that experienced photographers build flexible systems they can deploy fast, because the opportunity rarely waits.
My own approach is to keep a winter kit semi-permanent from November through March. Spare hand warmers in every pocket, a weatherproofed body always with a mid-range zoom attached, and a checklist laminated in the lid of my pelican case. The goal is to remove as many friction points as possible so that when someone calls and says “conditions are perfect, can you leave in an hour,” the answer is yes.
Step 2: Prioritize Shelter and Camp Setup Before the Camera Comes Out
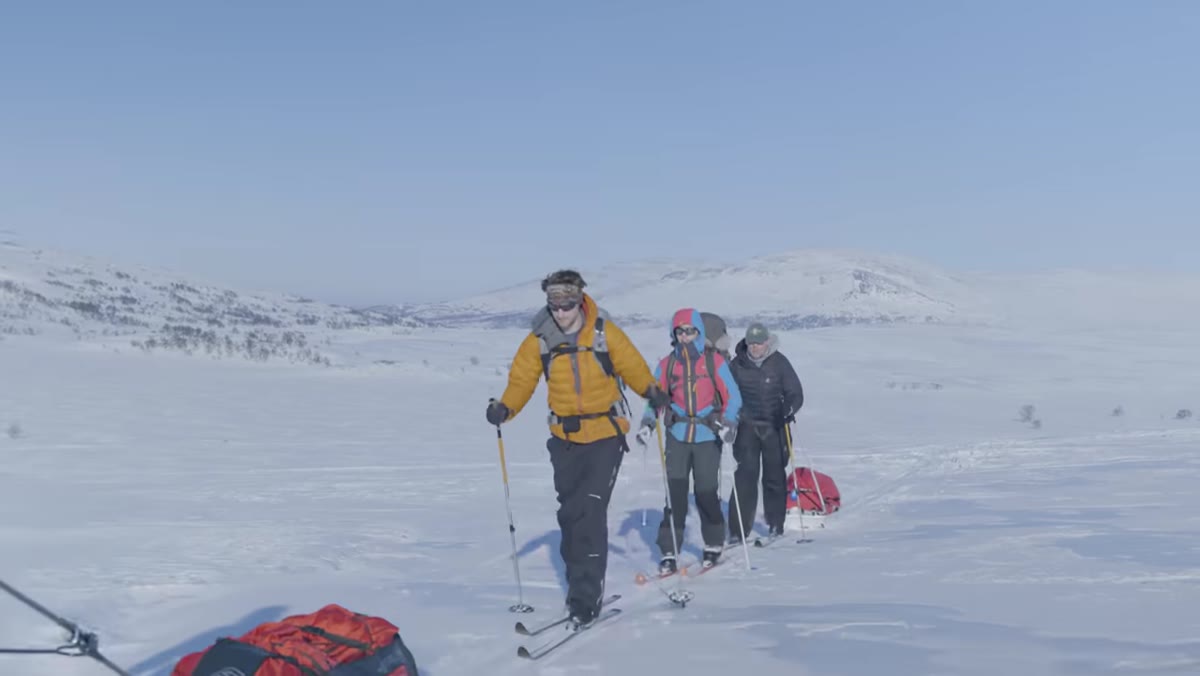 Thomas setting up a tent in snow at first camp with group tents visible
This might feel like logistical advice rather than photographic advice. It is both. Heaton spends his first evening entirely on camp logistics and explicitly notes that he had no time to shoot or explain what was happening. That’s honest, and it’s important. In winter wilderness photography, your physical wellbeing is the foundation everything else rests on. If you’re cold, disoriented, or under-sheltered, your creative judgment degrades before you even notice it happening.
The practical takeaway: on multi-day winter shoots, build in a buffer. Arrive with enough daylight margin to set up properly, eat something warm, and do a short walk around the location before dark. Even fifteen minutes of low-pressure observation before the light fades will pay dividends at dawn.
Step 3: Use Morning’s First Light for Location Scouting, Not Just Shooting
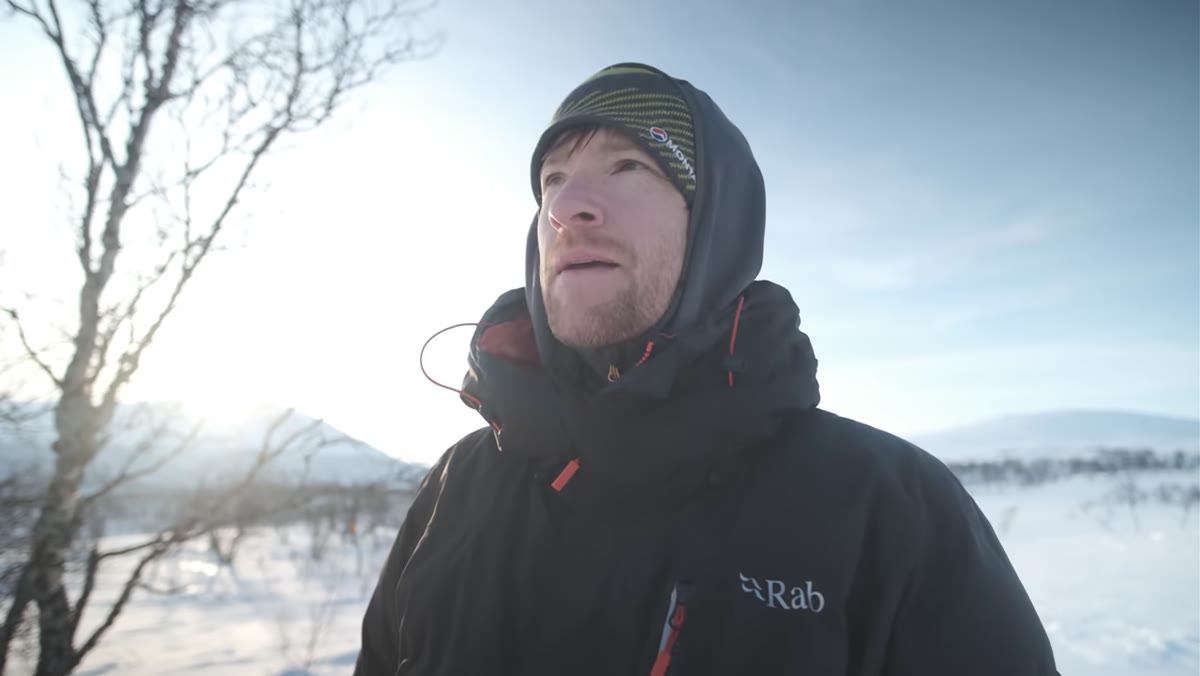 Thomas walking around camp at dawn among birch trees in snow
After a full night’s sleep, Heaton wakes to coffee and immediately takes a short walk to find his first composition. He’s deliberate about this, noting that the birch forest around camp feels messy and chaotic. What he wants, and what he goes looking for, is something cleaner. He finds it just behind the camp: a minimal, spare frame that distills the landscape down to its essential quality.
This is a discipline worth internalizing. The first twenty minutes of morning light are precious, but spending five of them walking rather than shooting often yields better results than planting a tripod at the first plausible foreground. I still catch myself rushing to shoot before I’ve actually looked. The camera stays in the bag until I’ve walked a small circle and committed to a direction. It’s a habit I picked up from a mentor who used to say that the mountain doesn’t care about your schedule. The light will do what it does. Your job is to already be in the right place when it arrives.
Step 4: Shoot Minimalism Intentionally with the Right Focal Length
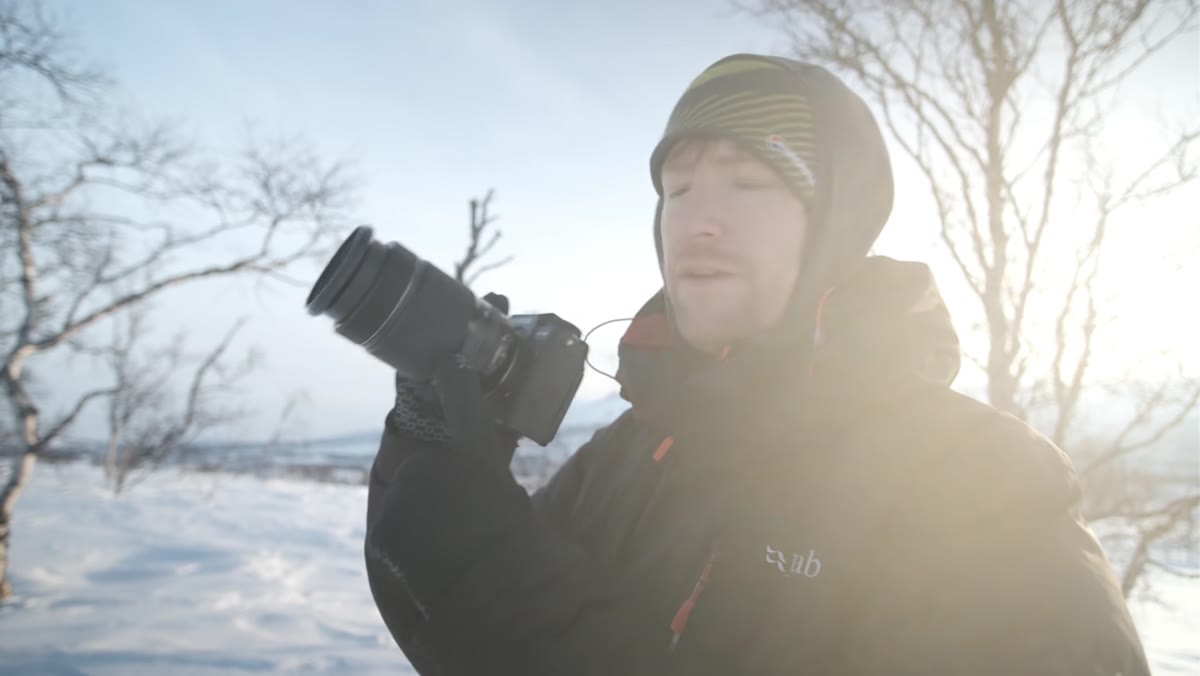 Fujifilm XT4 with 55-200mm lens shown in Heaton’s hands in the field
Heaton shoots this expedition with a Fujifilm XT4 and a 55-200mm lens, and his choice is telling. In a wide, featureless snow landscape, a telephoto focal length does something a wide angle can’t: it compresses space, isolates subject from background, and strips out the visual noise that makes a wintery scene feel cluttered rather than calm. He identifies a simple, graphic composition of snow and sparse trees and uses the longer end of that lens to remove everything that doesn’t contribute to the frame.
If you’re shooting minimalist winter scenes, resist the instinct to go wide just because the landscape is big. Wide lenses in flat snow can flatten everything into nothing. A 100-200mm range forces you to select, to decide what belongs in the frame and what gets left out. That act of subtraction is where minimalist photography actually happens. I often shoot a scene at multiple focal lengths, but on pure snow days, the telephoto card rarely leaves my hand.
Step 5: Let the Environment Define Your Creative Parameters
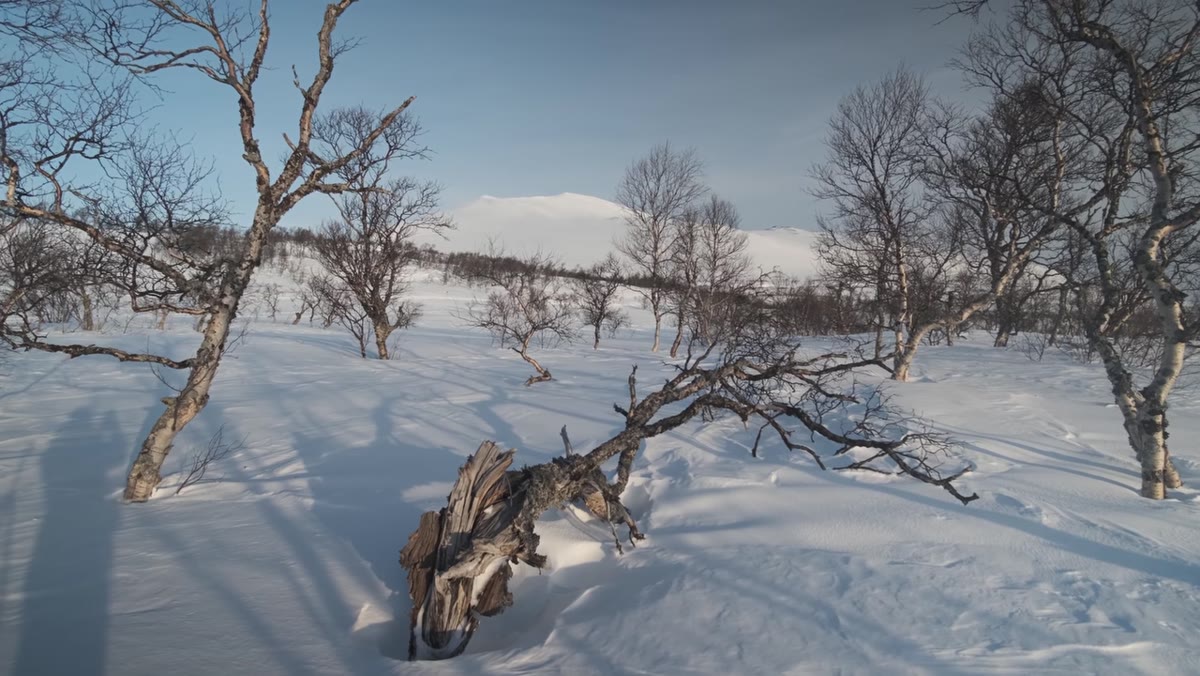 Thomas describing the barren snow landscape and what drew him to the expedition
Heaton is explicit about what he hoped this trip would give him: that snow-covered, minimalist, almost monochromatic landscape he describes as his visual language. He knew before he arrived what he was looking for, not a specific shot, but a quality of light and space that the environment either offers or doesn’t. His job in the field is to recognize it when it appears.
This is a more advanced mindset than it sounds. Knowing your own aesthetic well enough to identify it in an unfamiliar landscape requires time spent looking at your own work honestly. I go back through my catalog every few months specifically looking for the images I still love two years later. Those are the ones that tell me something true about what I actually respond to. Take that inventory seriously. It becomes a compass in the field.
A Note from My Own Winter Shoots
One thing the video reinforced for me is the relationship between discomfort and creative clarity. When Heaton talks about the wind and cold and the last-minute scramble, he isn’t complaining. He’s describing conditions that cut out distraction. I’ve had some of my most focused shooting days in genuinely miserable weather, not because suffering is virtuous, but because cold hands and a clear objective leave no room for overthinking.
My one addition: in extreme cold, battery management is as important as composition. I carry three batteries per body minimum, rotating them through an inside pocket close to my core. Cold kills battery life faster than anything else in the field. A dead battery at the moment the light breaks is its own kind of expedition failure.
The single most important lesson from this tutorial is deceptively simple: know what you’re looking for before you get there, and be patient enough to wait until you find it. Heaton travels hours by ski into a frozen landscape and his first shot is a quiet stand of bare trees in clean snow. Not dramatic. Not technically complex. Just honest, intentional, and true to his vision.
Watch the full tutorial on YouTube to follow the full expedition, including how the conditions and light evolve over four days of wilderness travel.
Comments (2)
Just used this on a wedding shoot edit. Client was thrilled.
Finally someone explains this in a way that actually makes sense.
Leave a Comment