I’ve been waking up before dawn for twenty years, dragging gear up ridgelines and wading into cold rivers while most people are still asleep. The photography part has always felt natural. The editing part, for a long time, did not. My hard drive used to be a graveyard of presets, third-party plugins, and luminosity masking panels I’d convinced myself I needed. Every new tool promised to unlock something. Mostly they just added noise to my workflow and a kind of inconsistency I couldn’t shake, where one image would look one way and the next would look completely different, even from the same morning light.
What eventually changed things for me mirrors almost exactly what William Patino describes in his tutorial, Watch the full tutorial on YouTube. His insight is disarmingly simple: stop adding, start removing. Strip the workflow back to manual adjustments you understand, tools you own completely, and a clear sequence you can repeat. What he calls the LCL method, light, color, and local adjustments, is not revolutionary on paper. But the discipline behind it is.
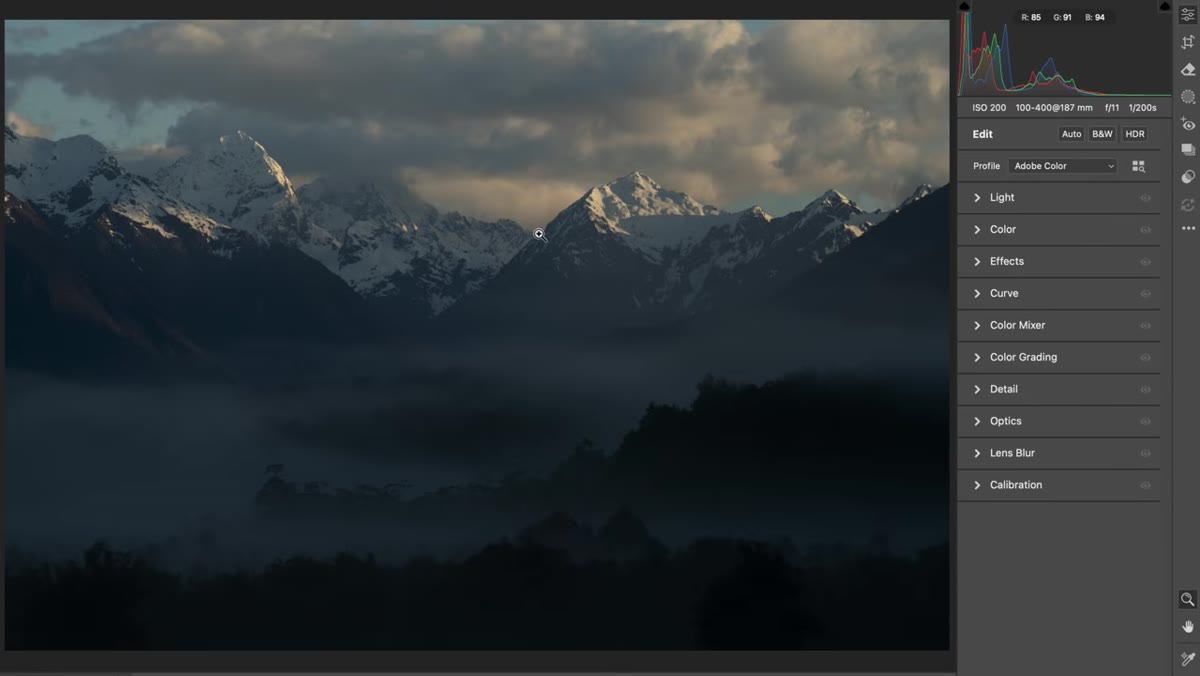
The tutorial walks through a full RAW edit of a mountain landscape with layered forest, morning mist, and low-angle warm light. It’s exactly the kind of scene I shoot here in the high desert and Cascades, and watching him work through it methodically gave me language for things I’d been doing instinctively but inconsistently. Here’s the full walkthrough.
Step 1: Evaluate the Image Before Touching a Single Slider
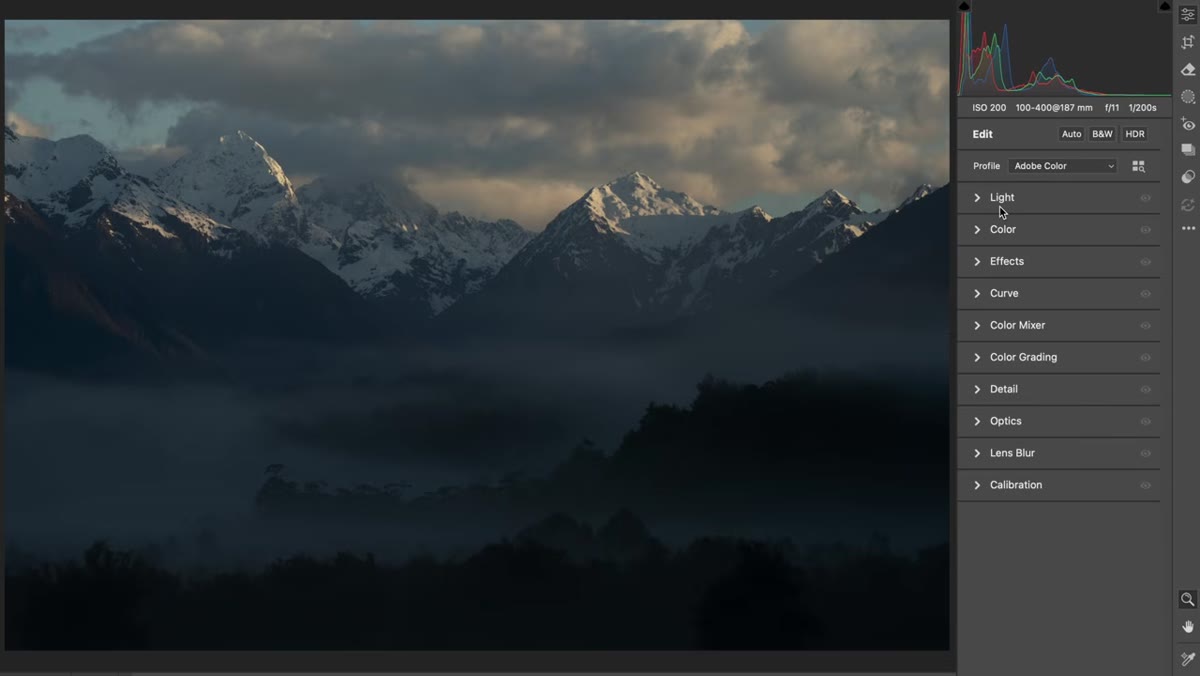
 William assessing unedited RAW file in Camera Raw
Before opening any panel, Patino studies the image. He identifies the subject, the light source, the depth cues, and the emotional pull of the scene. For his mountain shot, that means noting the snow-capped peaks as the focal point, the mist creating separation between forest layers, and the warm morning light brushing the clouds. Only after that assessment does he form a clear intention: brighten the scene, reveal hidden detail, and amplify the contrast between warm and cool tones.
This step costs nothing and changes everything. I mentor photographers at my workshops who go straight to the exposure slider the moment a file opens. The result is editing by reaction rather than intention. Spend sixty seconds asking what the image is already doing well, what it needs, and what you want someone to feel when they look at it. Your adjustments will be more purposeful and far fewer.
Step 2: Choose Your Software and Commit to It
 Camera Raw interface open with clean panel layout visible
Patino works in Adobe Camera Raw, opened directly through Photoshop. He’s clear that Lightroom or Capture One work just as well. The software is not the point. The point is using whatever gives you clean global adjustment controls and a local adjustment brush, then staying there. He manually organizes his RAW files into folders on a portable hard drive, skipping catalog software entirely.
I run a similar setup. The catalog systems always felt like overhead. What matters is that your software doesn’t think for you. Patino specifically gave up all presets, automated tools, and plugin panels so that every result he gets, he can reproduce and explain. That kind of ownership over your own work builds confidence in a way no preset ever can.
Step 3: Work the Light First (The “L” in LCL)
 Exposure and tone sliders being adjusted in Camera Raw
The first active phase of Patino’s LCL method is light. This means working through your global tone controls in a logical order: exposure, then highlights and shadows to recover detail, then whites and blacks to set the contrast anchors. For his mountain scene, he lifts overall exposure to open up the midtones, pulls highlights to bring back detail in the bright clouds, and raises shadows to reveal texture in the darker forest areas.
The key discipline here is restraint. Each slider should do one specific job. Pushing exposure up and then compensating with an aggressive highlight pull creates muddy midtones. Work incrementally, zoom into different parts of the frame as you go, and keep checking that the detail you’re revealing actually serves the image’s focal point. Light adjustments shape what the viewer sees first.
Step 4: Shape the Color Second (The “C” in LCL)
 Color temperature and tint controls highlighted in Camera Raw
Once the tones are set, Patino moves to color. For this scene, his goal is to deepen the interplay between the warm morning light on the peaks and the naturally cool shadows and midtones in the mist and forest. He works with white balance, temperature, and tint to reinforce what the camera already captured rather than inventing a new palette.
This distinction matters. He is not adding a color grade. He is extracting what was already there in the RAW data and making it more legible. If your camera captured warm golden light at 6am, your job in this phase is to honor that, not override it with a stylized look. Keep color adjustments tied to what the scene actually looked like. That’s what separates editing that feels real from editing that looks processed.
Step 5: Refine Locally with a Brush (The “L” in LCL)
 Local adjustment brush being applied to mountain peaks area
The final phase is local adjustments, targeted corrections applied to specific areas of the frame using the adjustment brush. Patino uses this to direct the viewer’s eye, brightening the mountain peaks slightly to pull attention upward and reinforcing the light that was already falling there. He is not creating light that doesn’t exist. He is amplifying the light that does.
Keep local adjustments subtle. A brush set to a small exposure lift of plus 0.3 to 0.5 on a key focal area is usually enough. Feather the brush edge so the adjustment blends invisibly. When local corrections are visible as corrections, they’ve gone too far. The goal is for the finished image to look inevitable, as if the light simply fell that way.
What Twenty Years in the Field Adds to This
The mentor who taught me most told me once that the mountain doesn’t care about your schedule. I think about that in editing too. The image doesn’t care how many plugins you own or how complicated your process is. It only responds to clear decisions made with steady hands. What Patino’s LCL sequence gave me was permission to stop performing complexity and start making decisions.
One thing I’d add from my own practice: the edit should reinforce what made you stop and raise the camera in the first place. If you’ve forgotten that feeling by the time you sit down at a screen, go back to the moment. What was the light doing? What stopped you? Let that memory govern your choices more than any slider value.
The single most important thing this tutorial reinforced for me is that a great edit is defined by what you leave out. Strip back to light, color, and targeted local work. Know your tools well enough to do it all by hand. Build a sequence and repeat it until it becomes instinct.
Watch the full tutorial on YouTube and work through it with one of your own RAW files open alongside it. That’s the only way any of this sticks.
Comments (1)
Love how you break down complex stuff into manageable steps.
Leave a Comment