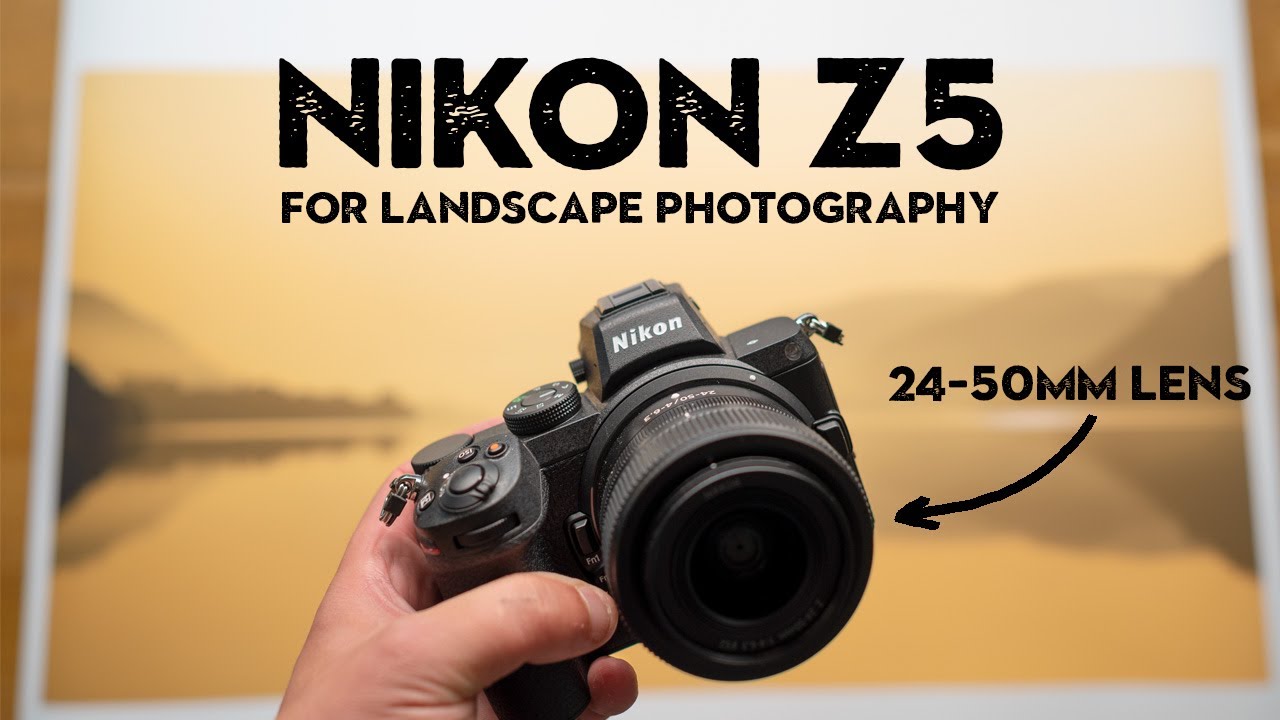
There’s a specific kind of frustration that every landscape photographer knows: you’re watching extraordinary light develop in front of you, and by the time you’ve locked your tripod down and dialed in your settings, it’s gone. I’ve stood in enough pre-dawn fields in central Oregon to understand that the camera you can use right now is often more valuable than the camera with the theoretically better specs still in the bag. That tension between preparation and spontaneity is exactly what drew me to Watch the full tutorial on YouTube when Nigel Danson took the Nikon Z5 and its 24-50mm kit lens into the Lake District for a proper field test.
What makes Danson’s approach worth studying isn’t the gear itself. It’s the way he thinks out loud about why certain camera features matter to working photographers in real conditions. This isn’t a spec-sheet walkthrough. It’s a practical demonstration of how a lightweight mirrorless system changes your decision-making in the field, and that’s a conversation I find myself having with students in my own workshops constantly. The Z5 sits below the Z6 in Nikon’s mirrorless lineup, but watching this tutorial, I kept recognizing situations from my own mornings out.
Step 1: Arrive Early and Shoot Handheld First
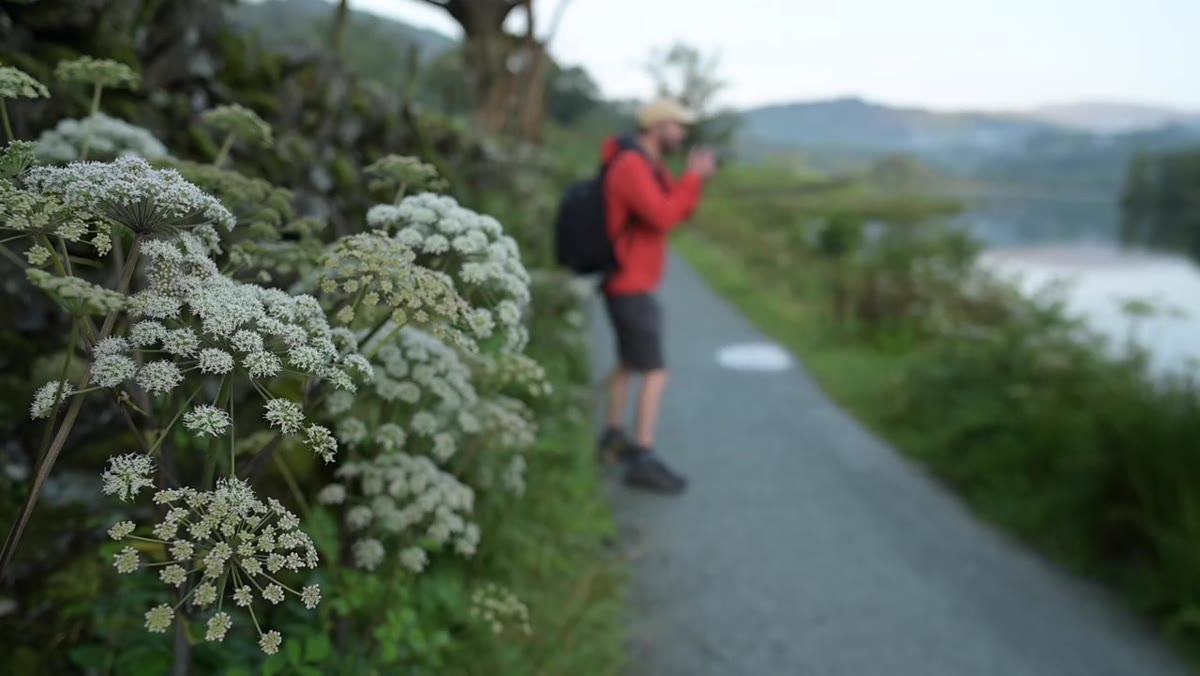 Nigel shooting handheld in low light near a stone hut
Before the tripod comes out, Danson makes a move I respect: he shoots handheld while scouting. He’s just arrived at a stone hut location in the Lake District, the sun barely risen, and rather than burning time setting up his tripod in uncertain light, he works the scene handheld at 50mm. The thinking here is sound. Handheld shooting during the scout phase lets you test compositions quickly without committing. You see what works, then plant the tripod once you’ve got a clear visual intention.
Nigel shooting handheld in low light near a stone hut
Before the tripod comes out, Danson makes a move I respect: he shoots handheld while scouting. He’s just arrived at a stone hut location in the Lake District, the sun barely risen, and rather than burning time setting up his tripod in uncertain light, he works the scene handheld at 50mm. The thinking here is sound. Handheld shooting during the scout phase lets you test compositions quickly without committing. You see what works, then plant the tripod once you’ve got a clear visual intention.
This only works if you trust your stabilization, which leads directly to the next step.
Step 2: Understand What Your IBIS Actually Buys You
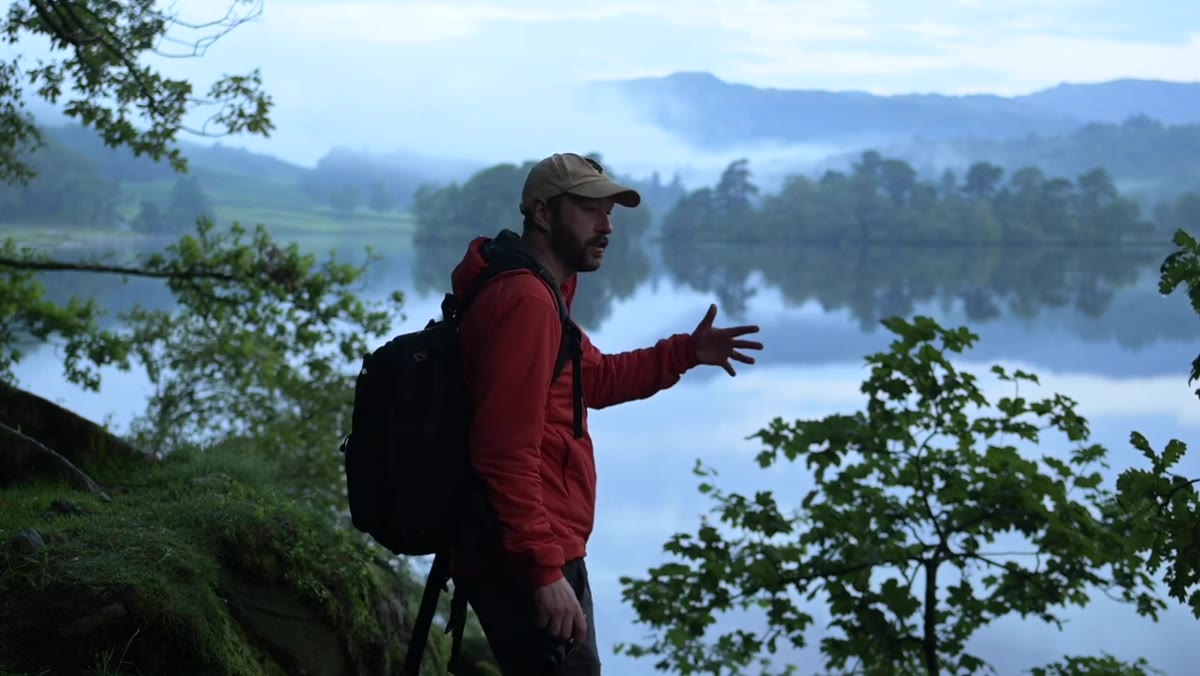 Nigel explaining IBIS stops while walking with camera
Danson walks through a calculation that every mirrorless shooter should have memorized. The old rule is simple: your minimum handheld shutter speed equals one over your focal length. At 50mm, that’s 1/50th of a second. With five stops of in-body image stabilization, you divide that shutter speed by two for each stop. One stop gets you to 1/25th. Two stops, 1/12th. Three, 1/6th. Four, 1/3rd. Five stops out, and you’re shooting at around 1/6th of a second handheld with a reasonable expectation of sharpness.
Nigel explaining IBIS stops while walking with camera
Danson walks through a calculation that every mirrorless shooter should have memorized. The old rule is simple: your minimum handheld shutter speed equals one over your focal length. At 50mm, that’s 1/50th of a second. With five stops of in-body image stabilization, you divide that shutter speed by two for each stop. One stop gets you to 1/25th. Two stops, 1/12th. Three, 1/6th. Four, 1/3rd. Five stops out, and you’re shooting at around 1/6th of a second handheld with a reasonable expectation of sharpness.
That matters enormously in the low-contrast, dim conditions of early morning landscape work. You can keep your ISO lower, hold a narrower aperture for depth of field, and still walk a scene without lugging the tripod to every position. I’m not suggesting you ditch the tripod entirely. But knowing your stabilization floor changes how aggressively you scout and how quickly you can respond when conditions shift unexpectedly.
Step 3: Use the Kit Lens as a Legitimate Creative Tool
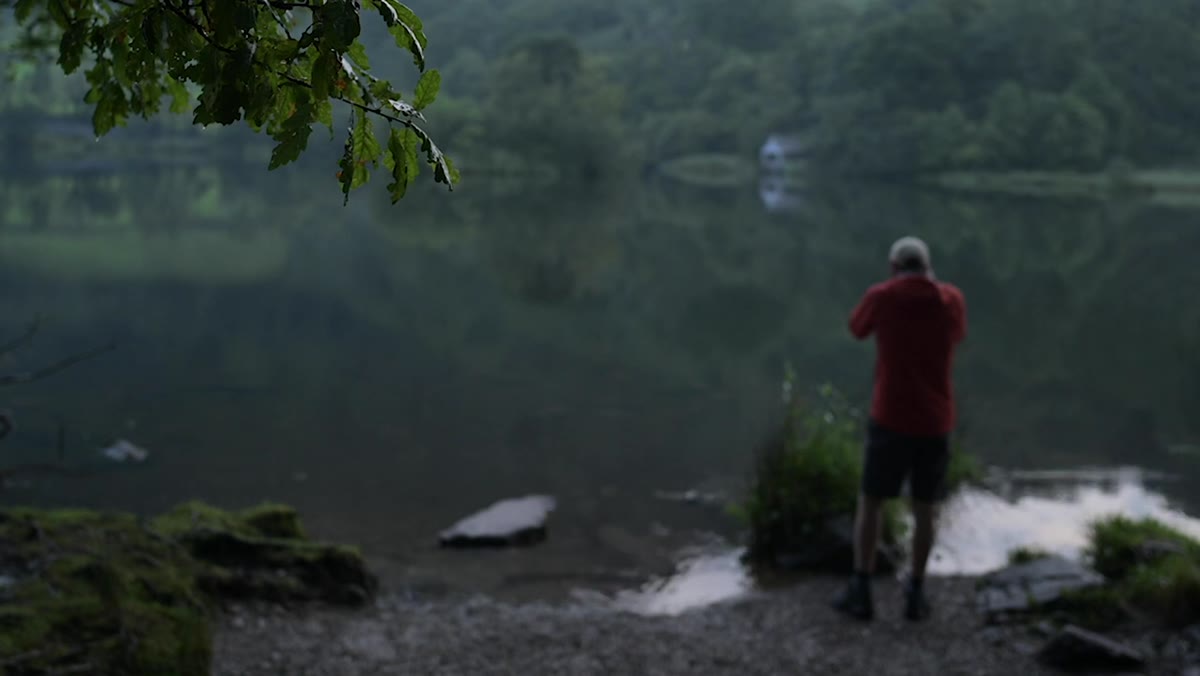 Close view of 24-50mm lens on camera body
There’s a reflex among serious photographers to dismiss kit lenses, and I’ll admit I’ve been guilty of it. Danson challenges that directly by shooting the entire session with the 24-50mm lens that ships with the Z5 as a bundle. What he keeps returning to is the weight. This is a lens light enough that carrying the full system feels closer to carrying a compact camera than a professional kit.
Close view of 24-50mm lens on camera body
There’s a reflex among serious photographers to dismiss kit lenses, and I’ll admit I’ve been guilty of it. Danson challenges that directly by shooting the entire session with the 24-50mm lens that ships with the Z5 as a bundle. What he keeps returning to is the weight. This is a lens light enough that carrying the full system feels closer to carrying a compact camera than a professional kit.
For landscape work specifically, the 24-50mm range covers the most common compositional needs: wide enough at 24mm for broad vistas and foreground interest, and 50mm gives you a natural compression that’s honest and clean. The sharpness Danson gets in the resulting images is not a compromised result. On a 24-megapixel full-frame sensor, a well-designed compact zoom can deliver files that hold up to serious scrutiny. Don’t let the price point of a kit bundle convince you otherwise.
Step 4: Prioritize Flexibility Over Setup Perfection
 Nigel composing near trees with clouds forming behind mountains
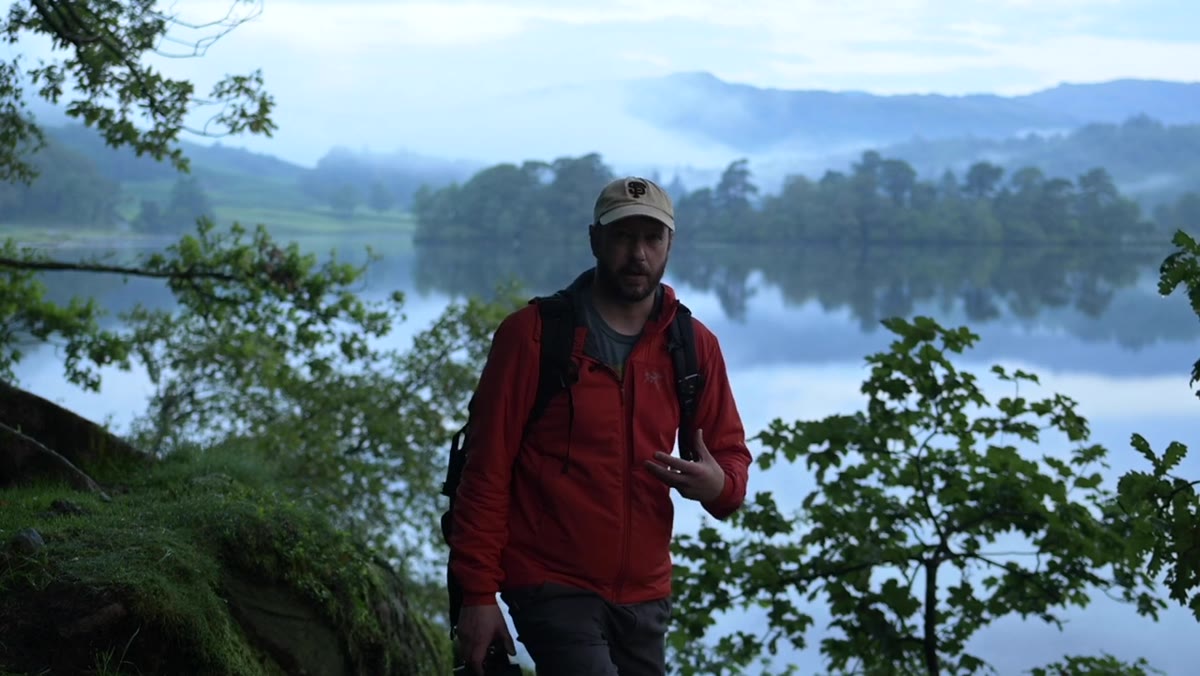
This is the step that most tutorial videos skip, because it’s philosophical rather than technical. Danson makes the point explicitly: the value of a camera isn’t primarily in its megapixels or even its sensor performance. It’s in how usable it is as a tool in your hands, in real conditions, under time pressure. He’s watching mist move through mountains and he needs to react, not configure.
Nigel composing near trees with clouds forming behind mountains
This is the step that most tutorial videos skip, because it’s philosophical rather than technical. Danson makes the point explicitly: the value of a camera isn’t primarily in its megapixels or even its sensor performance. It’s in how usable it is as a tool in your hands, in real conditions, under time pressure. He’s watching mist move through mountains and he needs to react, not configure.
I’ve had a mentor tell me once that the mountain doesn’t care about your schedule. He was right. Conditions in the Lake District, or on the flanks of the Cascades where I work, don’t pause for you to perfect your setup. The photographer who can move quickly and still produce a sharp, well-exposed frame is the one who comes home with images. Build your workflow around speed and flexibility, then layer in precision when the scene gives you time for it.
Step 5: Watch Your Highlights When Mist and Backlight Mix
 Mist returning behind location, light visible through clouds
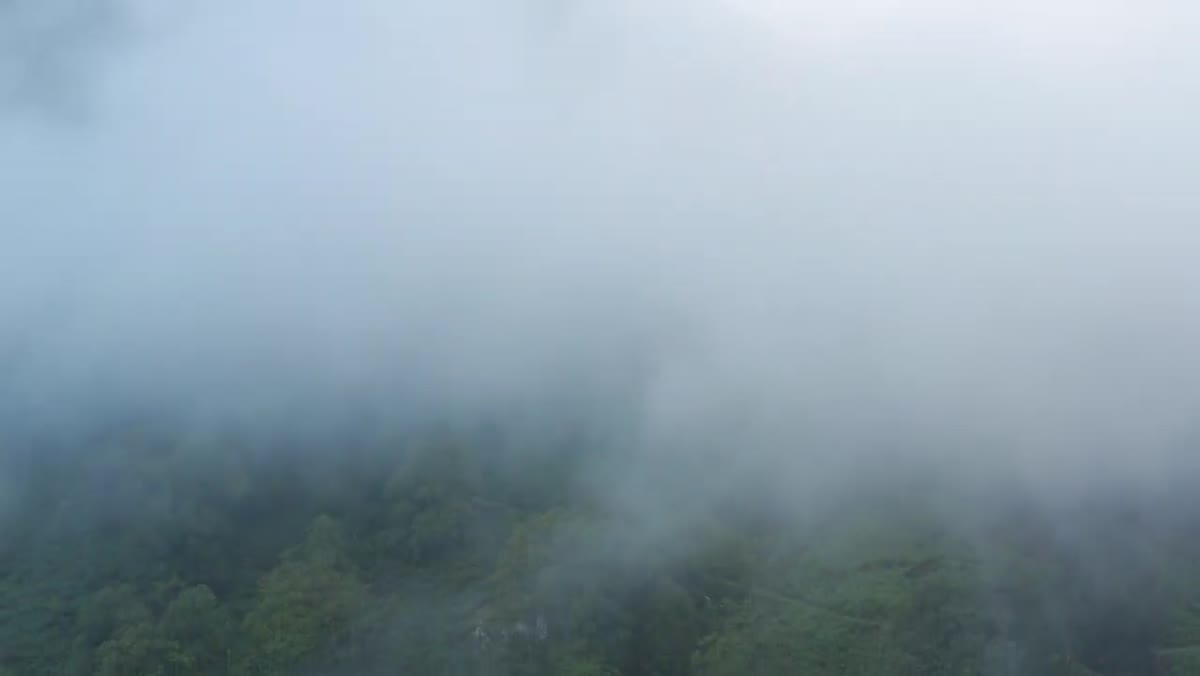
Danson gets lucky. The mist rolls back in and the light behind the scene creates exactly the atmospheric quality that makes Lake District photography so compelling. His immediate reaction is to flag the highlight risk. Mist softens contrast but backlight pushing through it can blow out fast, especially when the exposure is balanced toward darker foreground elements.
Mist returning behind location, light visible through clouds
Danson gets lucky. The mist rolls back in and the light behind the scene creates exactly the atmospheric quality that makes Lake District photography so compelling. His immediate reaction is to flag the highlight risk. Mist softens contrast but backlight pushing through it can blow out fast, especially when the exposure is balanced toward darker foreground elements.
The practical move here is to expose to protect the brightest part of the frame, then recover shadow detail in post. On a modern full-frame sensor like the Z5, the dynamic range is wide enough to pull back shadow information substantially without introducing ugly noise. What you cannot recover is blown highlights. When light and mist are interacting this way, use your histogram, not your LCD preview, and keep the right edge of that histogram from clipping.
Step 6: Transition to Tripod Once Composition Is Confirmed
 Nigel mounting camera on tripod with mist in background
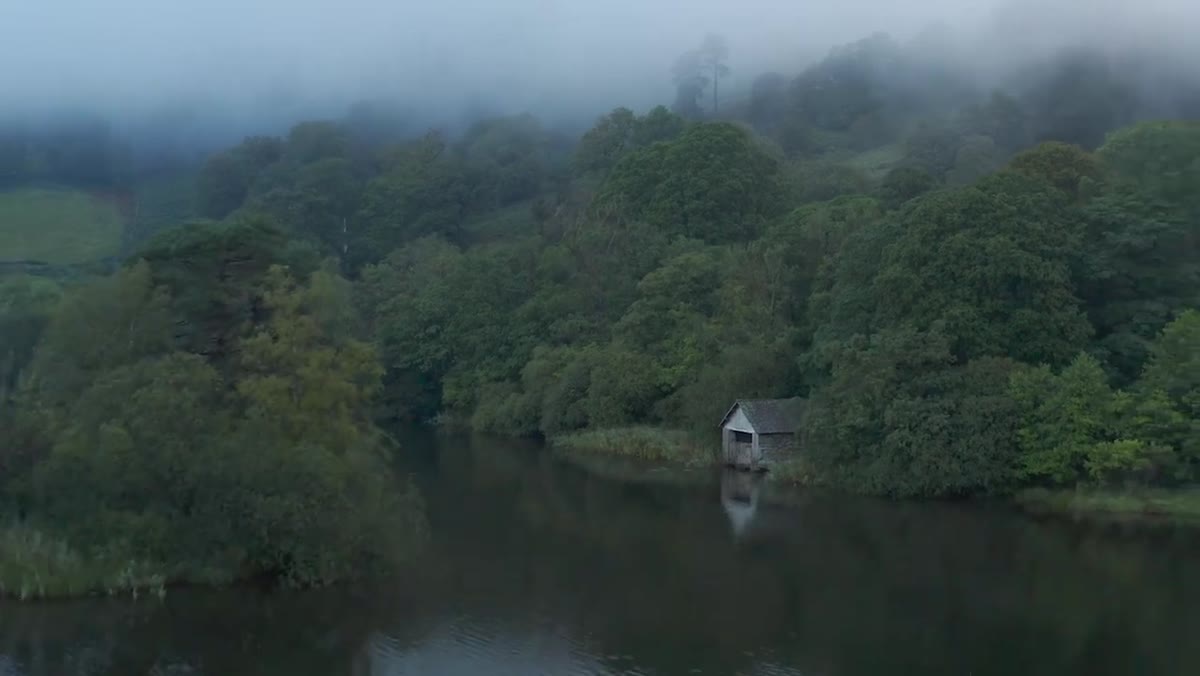
Once the composition is locked and conditions are worth committing to, Danson moves the camera to the tripod. This is the correct order of operations. Scout and react handheld, then stabilize once you know what you’re after. The tripod allows longer exposures for silkier water, lets you fine-tune framing without fighting camera movement, and removes any remaining sharpness variables from the equation.
Nigel mounting camera on tripod with mist in background
Once the composition is locked and conditions are worth committing to, Danson moves the camera to the tripod. This is the correct order of operations. Scout and react handheld, then stabilize once you know what you’re after. The tripod allows longer exposures for silkier water, lets you fine-tune framing without fighting camera movement, and removes any remaining sharpness variables from the equation.
At this point the IBIS becomes less relevant. What matters is that you’ve already used the handheld phase to find the shot. The tripod is where you execute it with precision.
What I’d Add From My Own Experience
The piece of this tutorial that resonates most with my own field practice is the argument for system weight as a creative factor. Over twenty years shooting landscapes, I’ve watched photographers arrive with heavy kits and spend so much mental energy managing gear that they stop reading the light. I wear the same beat-up hat every time I go out partly as a ritual, a signal to my brain that we’re in observation mode now. A lighter camera system can do something similar: it lowers the physical and cognitive overhead of carrying it, so more attention stays on the landscape itself.
If you’re coming from a heavier DSLR kit, I’d encourage you to spend a full morning deliberately hiking further than you normally would with your mirrorless setup. You’ll start to understand intuitively how that weight reduction opens up positions and angles you would have skipped before.
The single most important thing this tutorial demonstrates is that camera usability in real field conditions outweighs spec-sheet comparisons every time. A 24-megapixel full-frame body with solid IBIS and a lightweight zoom lens, in the hands of a photographer who knows how to read light and react quickly, will produce extraordinary landscape images. The rest is refinement.
Watch the full tutorial on YouTube to see the Lake District conditions Danson works through and the resulting images from the Z5 in action.
Comments (2)
Shared this with my photography group. Everyone loved it.
Simple but effective. Sometimes that's all you need.
Leave a Comment