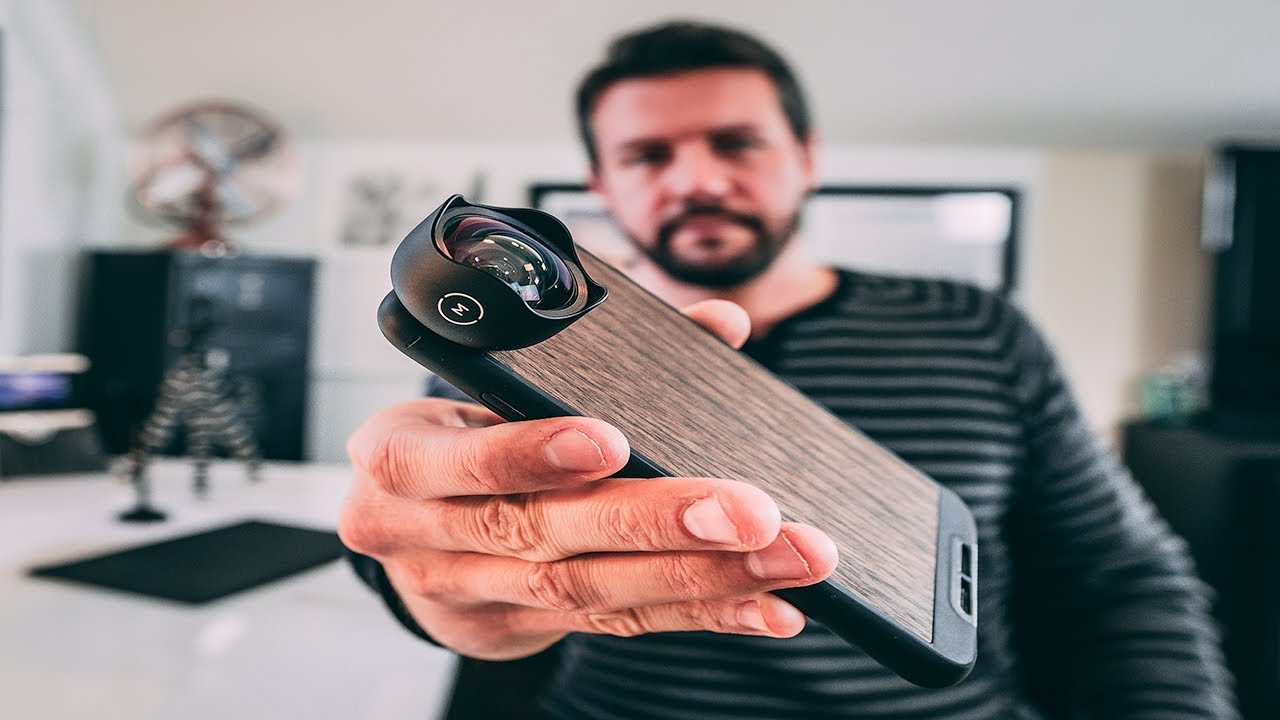
My phone has always been a scouting tool. I use it to document compositions I want to return to with my full kit, note the direction of light at a specific time of day, and occasionally fire off a quick frame for social media when the light does something unexpected and my pack is still in the truck. For years, that felt like an honest division of labor: the DSLR for the real work, the phone for logistics.
But that line has been blurring. Smartphone sensors have come a long way in a short time, and I’ve found myself grudgingly impressed by what a modern iPhone can capture in good light. The gap isn’t closed, not by a long stretch, but it’s narrower than I’d like to admit. So when I came across this Mark Denney tutorial on using Moment lenses for landscape photography, I paid attention. Mark is thoughtful about gear in a way that doesn’t tip into obsession, and I trusted he wouldn’t waste my time on a gimmick. Watch the full tutorial on YouTube before or after you read this, depending on how you like to learn.
What follows is my breakdown of what Mark covers, with enough practical detail that you can make a real decision about whether this system fits your workflow.
Step 1: Understand What the Moment System Actually Is
 Moment lens and case shown side by side on table
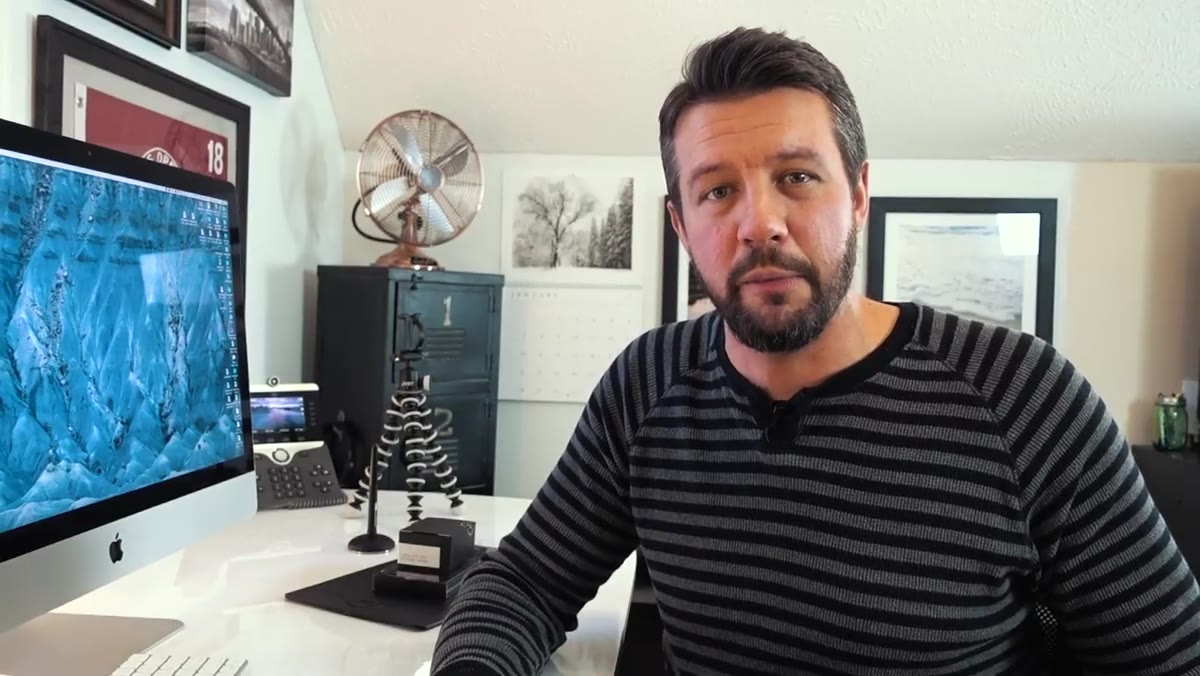
Before buying any add-on lens for your phone, you need to understand how it attaches, because that determines how reliable it’s going to be in the field. Moment doesn’t use a simple clip mechanism. Instead, you buy a Moment-specific case for your phone, and the lens screws directly into a mount built into the case near the camera module. That bayonet-style connection locks the lens in place with a firm, positive click.
Moment lens and case shown side by side on table
Before buying any add-on lens for your phone, you need to understand how it attaches, because that determines how reliable it’s going to be in the field. Moment doesn’t use a simple clip mechanism. Instead, you buy a Moment-specific case for your phone, and the lens screws directly into a mount built into the case near the camera module. That bayonet-style connection locks the lens in place with a firm, positive click.
This matters more than it sounds. Clip-on lenses, as Mark points out, introduce alignment problems. If the lens isn’t sitting perfectly over the camera element, you get light leak and soft edges. The case-and-mount system eliminates that variable entirely. You’re either locked in or you’re not.
Step 2: Choose the Right Case for Your Shooting Style
 Walnut wood trim Moment case held up to camera
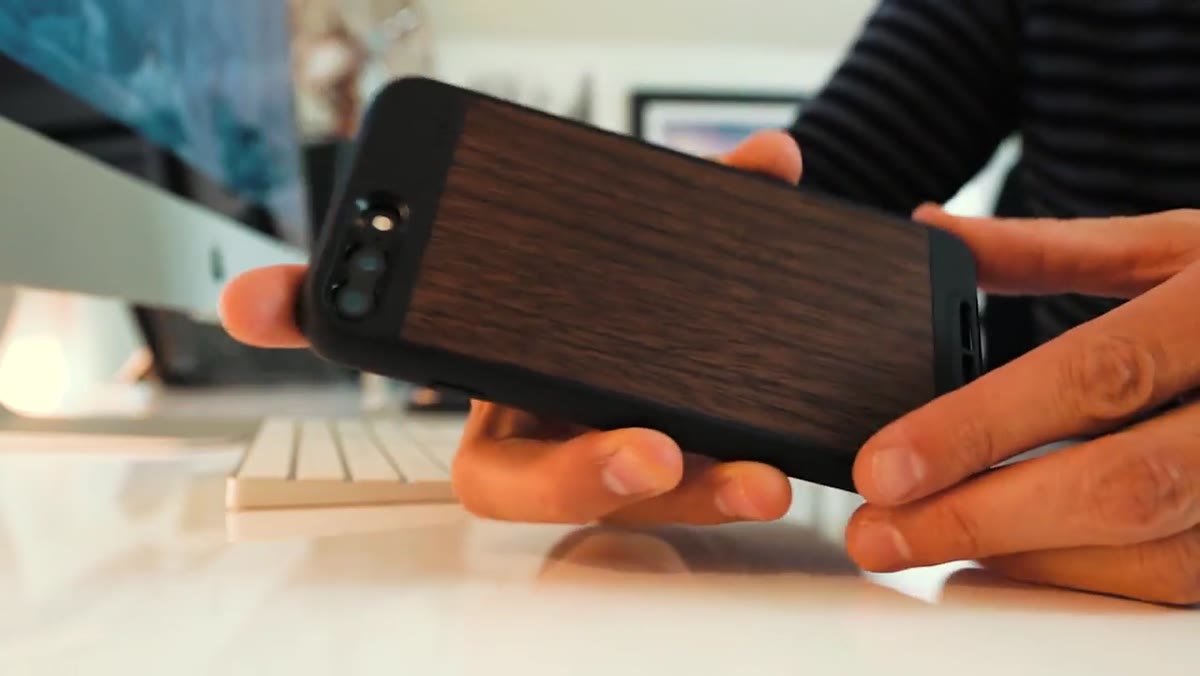
Moment offers their cases in several materials and finishes. Mark went with a walnut wood trim version for his iPhone 8 Plus, noting that it adds minimal bulk and feels like a proper case rather than a photography accessory bolted onto something it doesn’t belong on. There are also more subdued options if wood grain isn’t your thing.
Walnut wood trim Moment case held up to camera
Moment offers their cases in several materials and finishes. Mark went with a walnut wood trim version for his iPhone 8 Plus, noting that it adds minimal bulk and feels like a proper case rather than a photography accessory bolted onto something it doesn’t belong on. There are also more subdued options if wood grain isn’t your thing.
The practical consideration here is protection versus weight. I spend a lot of early mornings in wet grass and near moving water, and any case I’m going to use seriously needs to handle a drop and some moisture. Look at the case material before you commit. A case that looks good on a desk but feels flimsy in January along a riverbank isn’t doing you any favors.
Step 3: Select the Right Focal Length for Landscape Work
 18mm Moment wide-angle lens close-up in hand
Moment produces several lens options: fisheye, wide-angle, and telephoto, among others. For landscape photography specifically, Mark chose the 18mm wide-angle. This is the most intuitive choice for the genre. Wide-angle focal lengths naturally emphasize foreground elements, expand the sense of space in a scene, and suit the compositions most landscape photographers already gravitate toward.
18mm Moment wide-angle lens close-up in hand
Moment produces several lens options: fisheye, wide-angle, and telephoto, among others. For landscape photography specifically, Mark chose the 18mm wide-angle. This is the most intuitive choice for the genre. Wide-angle focal lengths naturally emphasize foreground elements, expand the sense of space in a scene, and suit the compositions most landscape photographers already gravitate toward.
The fisheye is a creative tool but not a general-purpose landscape option. The distortion is pronounced and works against the clean, grounded look that most landscape images aim for. The telephoto has its uses for compressing distant ridgelines or pulling in a moon, but if you’re buying one Moment lens for landscape work, the wide-angle is the right starting point.
Step 4: Evaluate the Build Quality Before You Commit to It
 Lens sitting in palm, showing compact size and metal construction
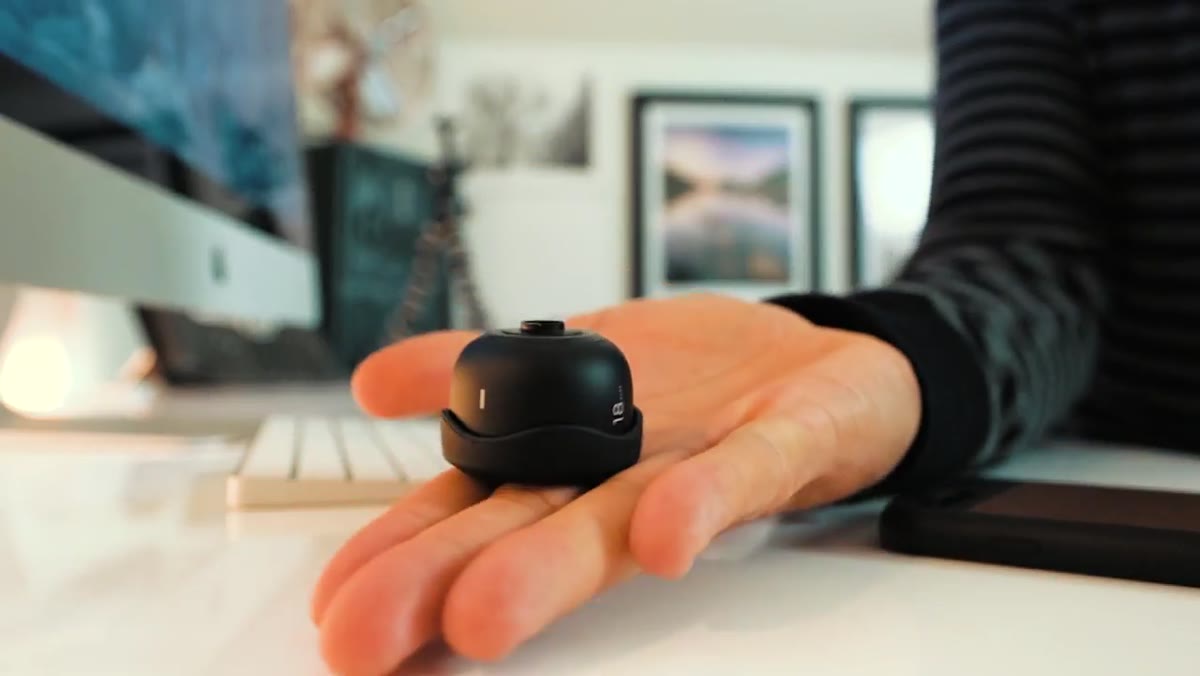
Mark makes a point that I think is worth repeating: when you pick up the Moment lens, it has a weight that signals quality. It’s not heavy in a way that would make you think twice about dropping it in a jacket pocket, but it has enough heft to distinguish it from the plastic clip-on lenses you can buy for a few dollars. The construction is metal and glass, not polycarbonate.
Lens sitting in palm, showing compact size and metal construction
Mark makes a point that I think is worth repeating: when you pick up the Moment lens, it has a weight that signals quality. It’s not heavy in a way that would make you think twice about dropping it in a jacket pocket, but it has enough heft to distinguish it from the plastic clip-on lenses you can buy for a few dollars. The construction is metal and glass, not polycarbonate.
This is a real consideration when you’re working in the field. Cheap optics fog, scratch, and degrade in ways that show up in your images. A lens that feels substantial in the hand usually has glass elements worth protecting. Moment’s lenses are designed for people who want to take the results seriously, even if the camera is a phone.
Step 5: Attach and Align the Lens Before the Shot, Not During It
 Lens being twisted into mounted case, locking into position
In use, attaching the Moment lens takes a few seconds. You align the tabs on the lens with the grooves on the case mount, press lightly, and rotate until it locks. Mark describes this as feeling solid and reliable, and that’s the key practical advantage over clip-on systems.
Lens being twisted into mounted case, locking into position
In use, attaching the Moment lens takes a few seconds. You align the tabs on the lens with the grooves on the case mount, press lightly, and rotate until it locks. Mark describes this as feeling solid and reliable, and that’s the key practical advantage over clip-on systems.
Develop the habit of attaching the lens before you’re standing in front of the shot. If you’re scrambling to lock a lens onto your phone while the light is changing, you’ll either rush the alignment or miss the moment entirely. I keep mine ready to go when I’m in scout mode, the same way I set my tripod head before I start walking toward a composition, not after.
Step 6: Set Your Phone Camera Manually Before Shooting
 Smartphone camera being used in landscape field setting
A lens upgrade only helps if the camera settings behind it are doing their job. Mark doesn’t spend much time on this in the tutorial, but it’s worth being explicit: shoot in the highest quality format your phone offers, use a third-party camera app that gives you manual control over ISO, shutter speed, and white balance, and shoot RAW if your phone supports it.
Smartphone camera being used in landscape field setting
A lens upgrade only helps if the camera settings behind it are doing their job. Mark doesn’t spend much time on this in the tutorial, but it’s worth being explicit: shoot in the highest quality format your phone offers, use a third-party camera app that gives you manual control over ISO, shutter speed, and white balance, and shoot RAW if your phone supports it.
Auto mode will make decisions based on what it thinks you want, which is almost never what a landscape photographer actually wants. Lock exposure manually, use the lowest native ISO the scene allows, and shoot in RAW so you have real latitude in post. The Moment lens improves your optical quality. Manual settings protect that investment.
A Note from the Field: Scouting Has Changed for Me
I want to be honest about where this fits in my own practice. I’m not replacing my mirrorless kit with a phone and a Moment lens. That’s not the point. But I’ve started treating my phone as a more capable scouting instrument than I used to. When I find a composition I want to revisit at golden hour, I shoot it with the wide-angle Moment lens attached so I have a better reference image. The field of view is closer to what I’ll actually be shooting, and the image quality is good enough that I can evaluate light direction and foreground options seriously.
The other thing I’ve noticed: the Moment case stays on the phone permanently, so the lens is always one quick rotation away. That frictionlessness matters more than I expected. The best scouting tool is the one you actually use.
The single most important takeaway from Mark’s tutorial is this: the Moment system earns its cost through reliability of attachment and quality of glass, two things that separate it from every cheap clip-on alternative. If you’re using your phone seriously for landscape work, even just for scouting and social media, that reliability changes how you use it.
Watch the full tutorial on YouTube to see Mark walk through the hardware in person and share his early impressions from the field.
Comments
Leave a Comment