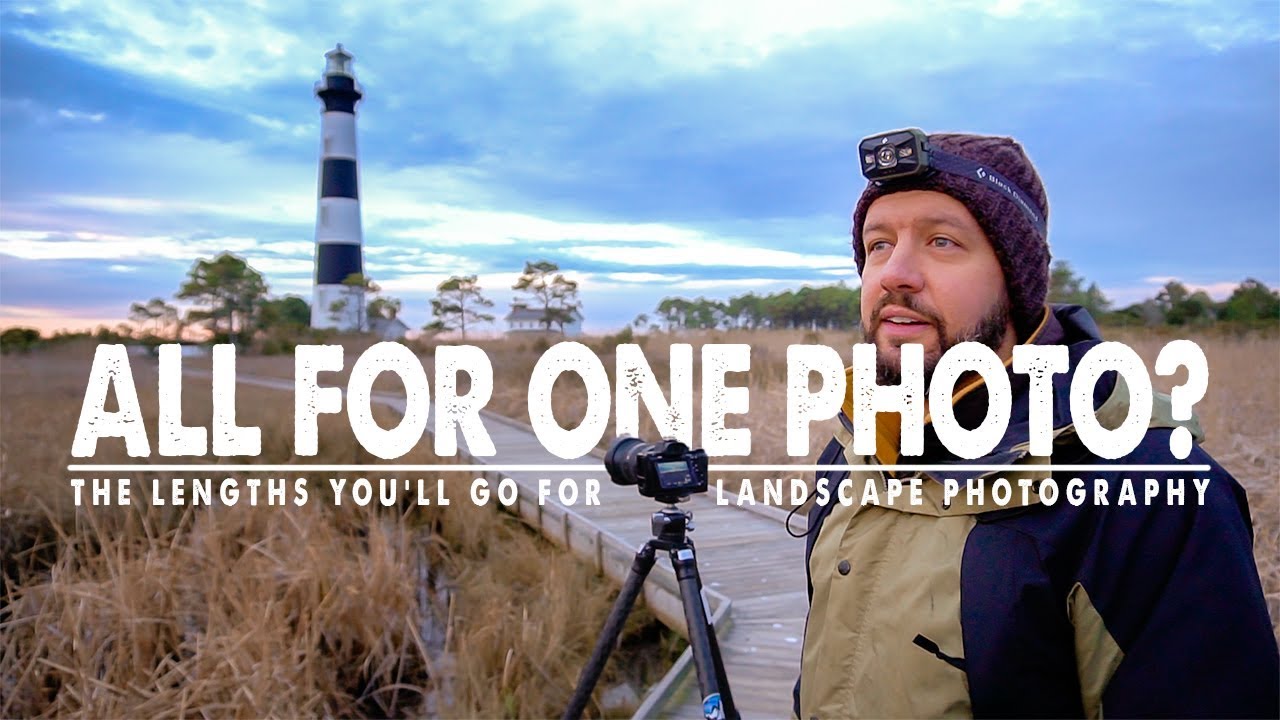
There’s a question I get at almost every workshop I run: how do you know when a shot is worth the effort? My honest answer is that the math rarely adds up on paper. A 4-hour drive, a night sleeping in the cold, an alarm set before civilization wakes up - none of that pencils out unless you’ve made your peace with the fact that sometimes the image is the whole point. That’s the thing I recognized immediately when I watched this tutorial by Mark Denney, where he documents an entire sunrise mission to the Bodie Island Lighthouse in North Carolina. Watch the full tutorial on YouTube
What Denney captures here isn’t just a pretty lighthouse photo. It’s a blueprint for how a working photographer commits to a single image with intention - from reading a weather app the night before to sleeping in a truck bed to arrive early enough to actually find a composition in the dark. I’ve done versions of this my whole career. I once drove six hours to the Oregon coast and sat in fog for two days, came home with one frame, and that foggy, muted print became my best seller. The commitment to the process is the work. Denney gets that, and this video shows it clearly.
What follows is a breakdown of how he approaches the entire shoot, from planning to arrival to composition scouting. These are the steps I pulled out for my own notes.
Step 1: Choose a Target and Commit to It
 Google Earth view of Bodie Island Lighthouse and surrounding area
Denney doesn’t wander into a location hoping something presents itself. He picks one subject - the Bodie Island Lighthouse - and builds everything around it. The commitment to a single target changes how you prepare. You stop hedging and start solving specific problems: where does the sun rise relative to the structure, what foreground elements are available, where can I physically stand? Pick your subject before you leave the house, and the rest of the planning becomes a series of answerable questions rather than open-ended guessing.
Google Earth view of Bodie Island Lighthouse and surrounding area
Denney doesn’t wander into a location hoping something presents itself. He picks one subject - the Bodie Island Lighthouse - and builds everything around it. The commitment to a single target changes how you prepare. You stop hedging and start solving specific problems: where does the sun rise relative to the structure, what foreground elements are available, where can I physically stand? Pick your subject before you leave the house, and the rest of the planning becomes a series of answerable questions rather than open-ended guessing.
Step 2: Read the Weather with Precision, Not Just a Glance
 Clear Outside weather app showing cloud layer breakdown by altitude
The tool Denney uses here is the Clear Outside app, which breaks cloud cover into three altitude bands - high, mid, and low. He’s specifically hunting for a forecast with heavy high cloud cover and minimal mid or low clouds. High clouds catch and scatter warm light during the golden hour without blocking the sun entirely. Mid and low clouds are the killers - they sit between you and the horizon and snuff out the color before it has a chance to develop. Check your forecast the evening before and look at all three layers, not just the general “partly cloudy” summary most apps give you. That detail is the difference between driving out and staying home.
Clear Outside weather app showing cloud layer breakdown by altitude
The tool Denney uses here is the Clear Outside app, which breaks cloud cover into three altitude bands - high, mid, and low. He’s specifically hunting for a forecast with heavy high cloud cover and minimal mid or low clouds. High clouds catch and scatter warm light during the golden hour without blocking the sun entirely. Mid and low clouds are the killers - they sit between you and the horizon and snuff out the color before it has a chance to develop. Check your forecast the evening before and look at all three layers, not just the general “partly cloudy” summary most apps give you. That detail is the difference between driving out and staying home.
Step 3: Arrive the Night Before
 Truck setup for overnight camping near the lighthouse location
This is the move most photographers skip because it feels excessive. Denney drives out the night before and sleeps in his truck rather than waking at 1:30 AM and driving four hours in a rush. His reasoning is practical and worth internalizing: arriving exhausted and rushed in the dark, with no time to scout, is a recipe for a mediocre shot and a frustrating experience. Arriving the evening before gives you time to walk the area while there’s still light, note where the path and boardwalk are, get a feel for the space, and simply sleep. I keep a kit in my truck for exactly this reason - a sleeping bag, a foam pad, blackout panels for the windows. You don’t need a hotel. You need to be there.
Truck setup for overnight camping near the lighthouse location
This is the move most photographers skip because it feels excessive. Denney drives out the night before and sleeps in his truck rather than waking at 1:30 AM and driving four hours in a rush. His reasoning is practical and worth internalizing: arriving exhausted and rushed in the dark, with no time to scout, is a recipe for a mediocre shot and a frustrating experience. Arriving the evening before gives you time to walk the area while there’s still light, note where the path and boardwalk are, get a feel for the space, and simply sleep. I keep a kit in my truck for exactly this reason - a sleeping bag, a foam pad, blackout panels for the windows. You don’t need a hotel. You need to be there.
Step 4: Do the Virtual Scouting Before You Leave Home
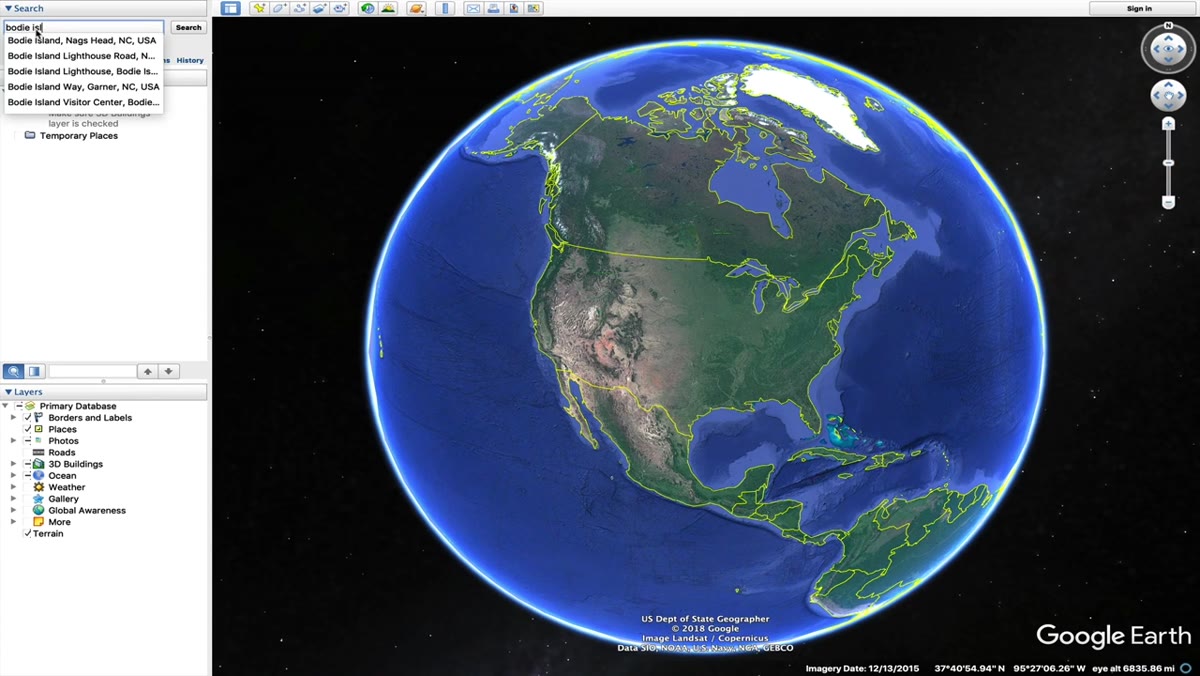 Google Earth zoomed into lighthouse with path and boardwalk visible
Denney spends real time on Google Earth before the drive, identifying the parking area, the main walking path, and a wooden boardwalk that catches his eye as a potential leading line. He’s not just looking at the lighthouse itself but at the geometry around it - what’s in front of it, what angles are available, where the sun will be positioned relative to the structure. Tools like Google Earth, The Photographer’s Ephemeris, or PhotoPills let you preview the sun’s position on any date and time before you ever leave your driveway. Arrive knowing roughly what composition you want to try, even if the light changes your mind when you get there.
Google Earth zoomed into lighthouse with path and boardwalk visible
Denney spends real time on Google Earth before the drive, identifying the parking area, the main walking path, and a wooden boardwalk that catches his eye as a potential leading line. He’s not just looking at the lighthouse itself but at the geometry around it - what’s in front of it, what angles are available, where the sun will be positioned relative to the structure. Tools like Google Earth, The Photographer’s Ephemeris, or PhotoPills let you preview the sun’s position on any date and time before you ever leave your driveway. Arrive knowing roughly what composition you want to try, even if the light changes your mind when you get there.
Step 5: Identify Your Leading Line in Advance
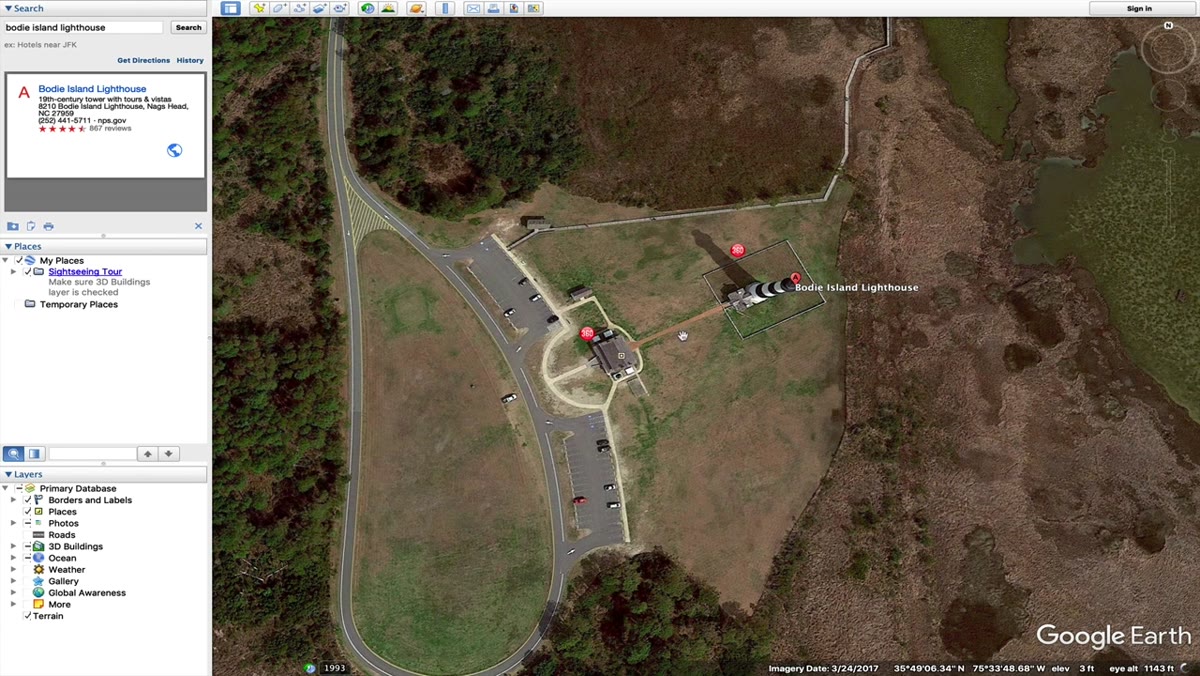 Boardwalk path approaching the lighthouse used as foreground leading line
Denney zeroes in on the wooden boardwalk as his primary compositional tool, rather than the more obvious gravel path that most photographers use at this location. A leading line from the foreground to your main subject does several things at once: it creates visual depth, gives the viewer an entry point into the frame, and anchors the composition so the image isn’t just a tall structure floating in a pretty sky. When scouting virtually, look for any linear element - a path, a fence line, a shoreline, a row of grasses - that points toward your subject. Unusual choices, like a boardwalk instead of a dirt road, are worth noting because they tend to produce images that look different from the hundreds already taken at that location.
Boardwalk path approaching the lighthouse used as foreground leading line
Denney zeroes in on the wooden boardwalk as his primary compositional tool, rather than the more obvious gravel path that most photographers use at this location. A leading line from the foreground to your main subject does several things at once: it creates visual depth, gives the viewer an entry point into the frame, and anchors the composition so the image isn’t just a tall structure floating in a pretty sky. When scouting virtually, look for any linear element - a path, a fence line, a shoreline, a row of grasses - that points toward your subject. Unusual choices, like a boardwalk instead of a dirt road, are worth noting because they tend to produce images that look different from the hundreds already taken at that location.
Step 6: Accept the Logistical Discomfort as Part of the Practice
 Interior of truck set up as sleeping quarters for overnight stay
Cold night in a truck. Dark arrival. No guarantee the light shows up. Denney names all of this directly and frames it as a commitment he’s made to himself - film six on-location videos this year, post them regardless of how awkward they feel. This kind of accountability matters for photographers too, not just video creators. The planning, the discomfort, the uncertainty - these aren’t obstacles to the shot. They are the shot. Every time I’ve put myself in a genuinely inconvenient position to be somewhere at the right moment, I’ve come away with something. Not always the image I planned, but always something I couldn’t have gotten from a comfortable distance.
Interior of truck set up as sleeping quarters for overnight stay
Cold night in a truck. Dark arrival. No guarantee the light shows up. Denney names all of this directly and frames it as a commitment he’s made to himself - film six on-location videos this year, post them regardless of how awkward they feel. This kind of accountability matters for photographers too, not just video creators. The planning, the discomfort, the uncertainty - these aren’t obstacles to the shot. They are the shot. Every time I’ve put myself in a genuinely inconvenient position to be somewhere at the right moment, I’ve come away with something. Not always the image I planned, but always something I couldn’t have gotten from a comfortable distance.
One Thing I’d Add From My Own Experience
Denney’s weather methodology is solid, but I’d push it one step further: check the forecast again right before you fall asleep at the location. Weather apps update their model runs every six to twelve hours, and a forecast that looked perfect at 8 PM can shift by midnight. I’ve been burned by that enough times that it’s now automatic for me to pull up Clear Outside or Windy one last time before I close my eyes in the truck. If the forecast turns, you can adjust your expectations or scout a backup angle. You’re already there. That’s the advantage.
The single most important idea in this tutorial is also the simplest: put yourself in the best possible position for success, and do it the night before. Everything else - the app, the Google Earth scouting, the boardwalk composition - flows from that one decision to take the shot seriously enough to sleep in a parking lot for it.
Watch the full tutorial on YouTube and see how the sunrise actually plays out.
Comments
Leave a Comment