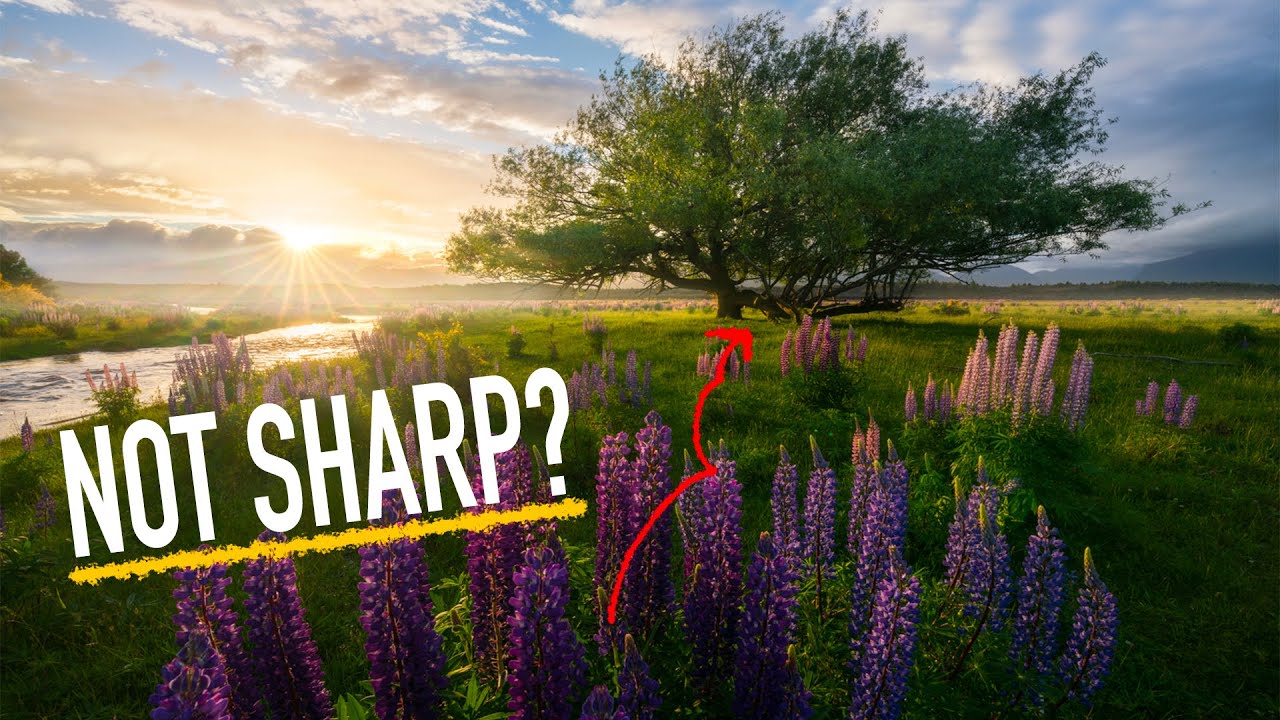
There’s a particular kind of frustration that comes from arriving at a location before first light, setting up carefully, waiting for the moment, and then getting home to find your foreground is a soft, blurry mess. I’ve done it more times than I’d like to admit, usually because I was rushing the focus step, assuming the camera would sort it out, or not thinking carefully enough about where in the scene I was actually locking focus. After two decades of shooting landscapes full time, I still find it useful to revisit the fundamentals, because fundamentals are what fail you when conditions move fast and the light won’t wait.
Watch the full tutorial on YouTube
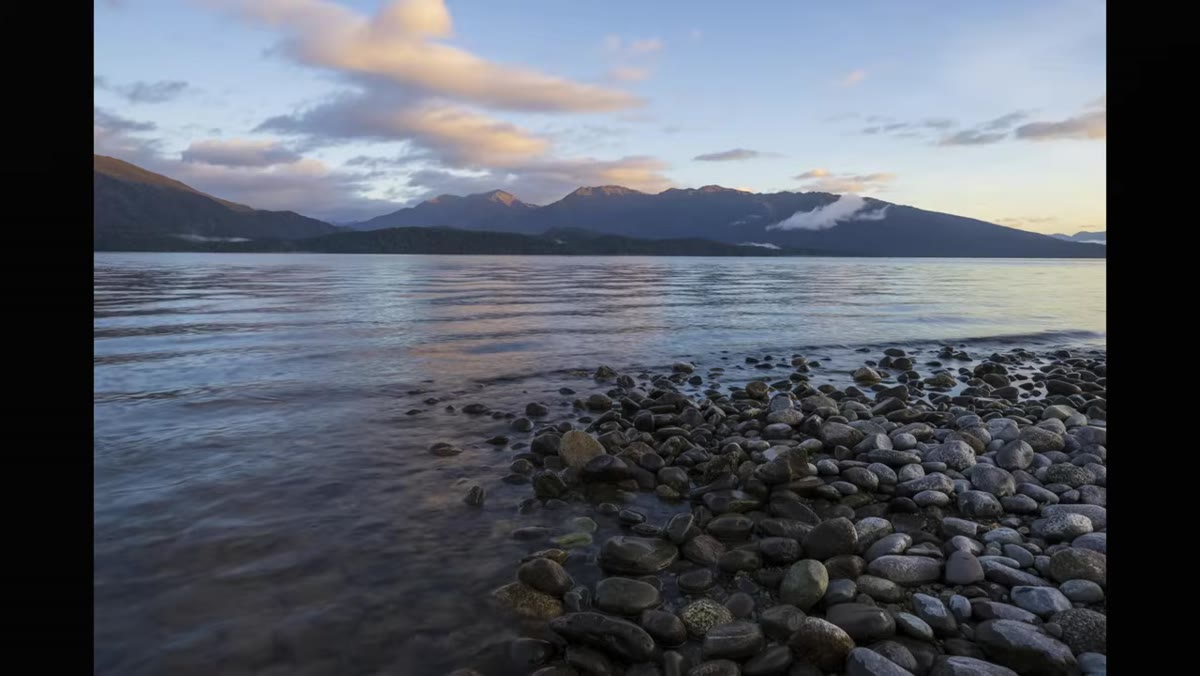
In this William Patino tutorial, shot on location at a lakefront with rocks in the foreground, open water in the midground, and mountains beyond, he walks through the exact decision process for placing your focus point in a landscape scene. It’s practical, field-tested instruction built around real compositions, not theoretical camera diagrams. What I appreciate is that he doesn’t just tell you where to focus. He shows you what happens when you get it wrong, which is often more instructive than seeing the correct result alone.
Step 1: Assess the Scene Before You Touch the Focus Ring
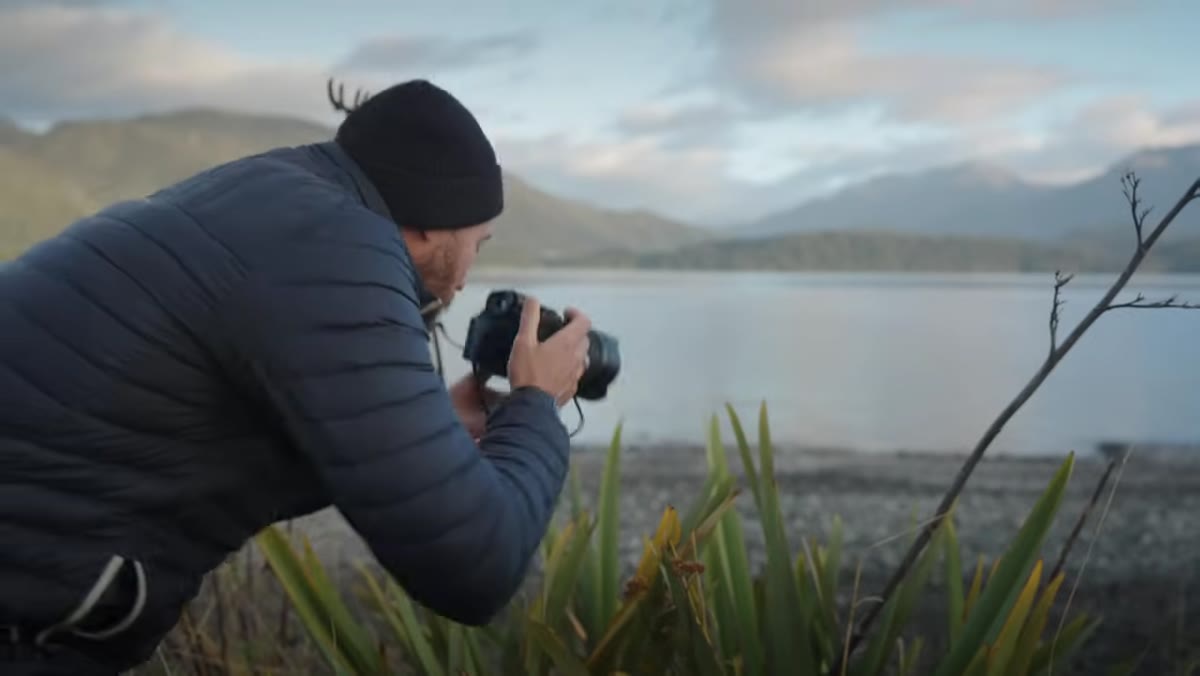
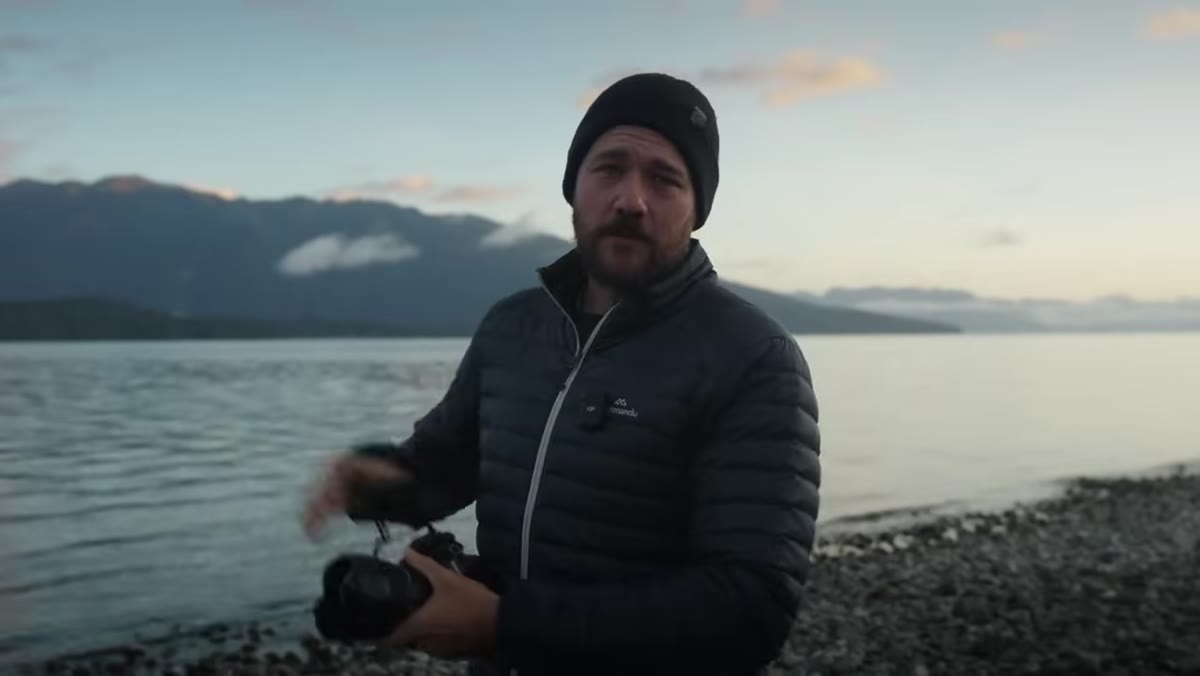 Photographer surveying a lakefront scene before shooting
Before any focus decision gets made, you need to understand what your frame actually contains. Patino frames this around a simple question: do you have something close to you and something far away in the same shot? If the answer is yes, you’re dealing with a depth-of-field challenge that needs a deliberate strategy. A composition with foreground rocks, a midground waterline, and distant peaks is the classic example. You can’t treat that scene the same way you’d treat a telephoto shot of a mountain range with no foreground at all.
Photographer surveying a lakefront scene before shooting
Before any focus decision gets made, you need to understand what your frame actually contains. Patino frames this around a simple question: do you have something close to you and something far away in the same shot? If the answer is yes, you’re dealing with a depth-of-field challenge that needs a deliberate strategy. A composition with foreground rocks, a midground waterline, and distant peaks is the classic example. You can’t treat that scene the same way you’d treat a telephoto shot of a mountain range with no foreground at all.
Get your rough composition locked in first. Know where your nearest element sits and how far back the scene extends. That spatial awareness is the foundation for every focus decision that follows.
Step 2: Set a Narrow Aperture Before You Focus
 Camera settings being adjusted, aperture visible on display
Aperture and focus point are inseparable in landscape work. Patino is direct about this: if you’re shooting a scene with significant depth, you need to close down your aperture, F11 or F16 as a starting point. A wide aperture like F2.8 or F4 produces a shallow depth of field, and no amount of clever focus placement will save you. The depth of field simply won’t stretch far enough in either direction to cover a scene that runs from near rocks to distant mountains.
Camera settings being adjusted, aperture visible on display
Aperture and focus point are inseparable in landscape work. Patino is direct about this: if you’re shooting a scene with significant depth, you need to close down your aperture, F11 or F16 as a starting point. A wide aperture like F2.8 or F4 produces a shallow depth of field, and no amount of clever focus placement will save you. The depth of field simply won’t stretch far enough in either direction to cover a scene that runs from near rocks to distant mountains.
I default to F11 on most of my wide-angle landscape work and push to F16 when I’m working close to foreground elements. The tradeoff is a slower shutter speed, which is fine on a tripod and manageable in good light. Get the aperture set before you think about where to point the focus box.
Step 3: Focus One-Third Into the Scene
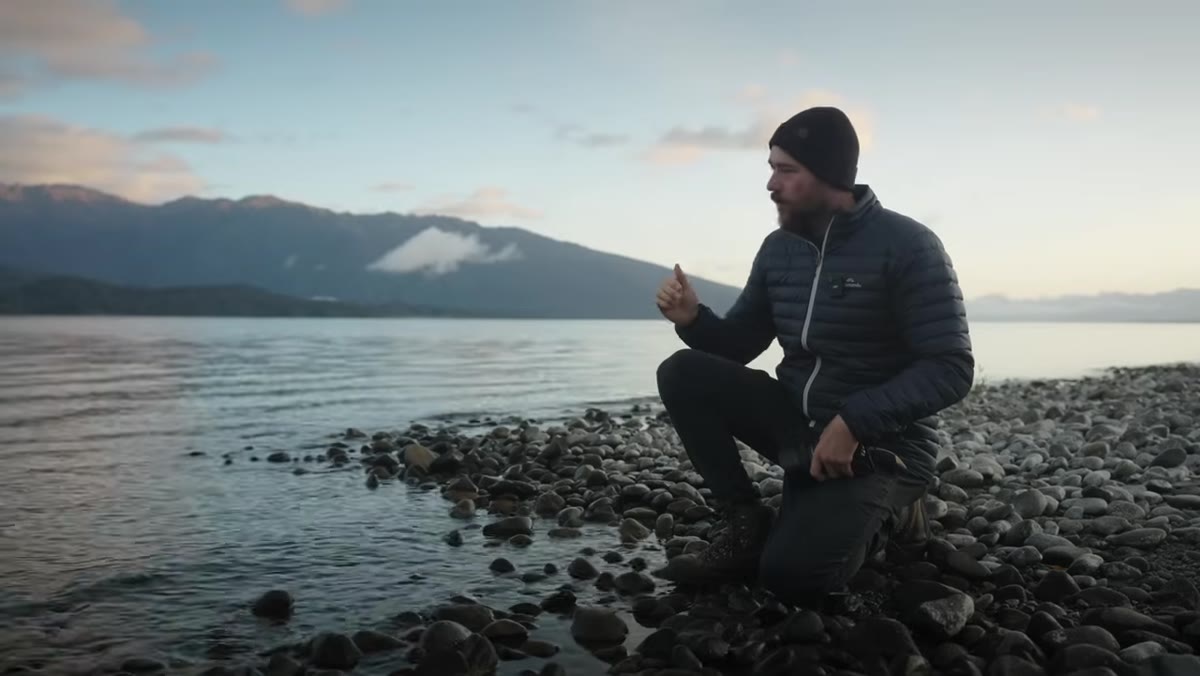 Focus point positioned one-third into the frame over midground rocks
This is the core technique, and it’s been reliable for as long as I’ve been shooting. Place your focus point approximately one-third of the way into your scene, measured from the front of the frame. Not on the nearest rock. Not on the distant ridge. Somewhere in the middle-ish zone that sits closer to the foreground than the background.
Focus point positioned one-third into the frame over midground rocks
This is the core technique, and it’s been reliable for as long as I’ve been shooting. Place your focus point approximately one-third of the way into your scene, measured from the front of the frame. Not on the nearest rock. Not on the distant ridge. Somewhere in the middle-ish zone that sits closer to the foreground than the background.
The reason this works is that depth of field doesn’t distribute evenly around your focus point. It extends farther behind the point of focus than in front of it. By focusing slightly closer than the midpoint of the scene, you’re positioning that depth of field to cover both the foreground and the background simultaneously. Patino demonstrates this with three comparison shots: focus on the foreground and the mountains go soft, focus on the mountains and the foreground goes soft, focus one-third in and the whole frame holds. The difference is immediately visible.
Step 4: Confirm Sharpness Before You Shoot
 Reviewing image on camera screen, checking focus from front to back
After placing your focus point, zoom into your live view or take a test shot and review it at 100%. Check the nearest element in your frame first, then the furthest. If both are holding sharpness, you’re good. If the foreground is soft, your focus point may have drifted too far back, or your aperture isn’t narrow enough. If the background is soft, move your focus point slightly further into the scene.
Reviewing image on camera screen, checking focus from front to back
After placing your focus point, zoom into your live view or take a test shot and review it at 100%. Check the nearest element in your frame first, then the furthest. If both are holding sharpness, you’re good. If the foreground is soft, your focus point may have drifted too far back, or your aperture isn’t narrow enough. If the background is soft, move your focus point slightly further into the scene.
This review step gets skipped constantly in the field because the light is doing something interesting and there’s pressure to shoot. Resist that pressure for sixty seconds. A soft image at full resolution is a wasted trip, and trust me, I’ve made the drive home with nothing usable more than once.
Step 5: Switch to Focus Stacking for Ultra-Close Foregrounds
 Camera repositioned very close to foreground element, inches away
When you move your camera extremely close to a foreground subject, say within a foot or two of a rock or a flower or a tide pool, the one-third rule starts to break down. The required depth of field to keep that near element sharp while also holding the background becomes physically impossible in a single frame, even at F16. Patino addresses this directly: in that situation, you focus stack.
Camera repositioned very close to foreground element, inches away
When you move your camera extremely close to a foreground subject, say within a foot or two of a rock or a flower or a tide pool, the one-third rule starts to break down. The required depth of field to keep that near element sharp while also holding the background becomes physically impossible in a single frame, even at F16. Patino addresses this directly: in that situation, you focus stack.
Focus stacking means shooting multiple frames at different focus distances and merging them in post. You might shoot one frame focused on the immediate foreground, one on the midground, and one on the background, then combine them in Lightroom or Photoshop using the auto-blend layers function. It’s a bit more work, but it’s the only technically sound solution when you’re working that close. I’d rather stack three frames than compromise a composition I drove hours to reach.
What I’d Add From My Own Experience
There’s a version of this workflow that gets even more precise, and it involves manual focus with live view magnification. On the occasions where I’m truly unsure whether my focus point is landing in the right spot, I switch off autofocus entirely, zoom my live view to 10x magnification, and manually dial the focus ring until the element I want is critically sharp. Then I confirm depth of field by stopping down and checking both ends of the frame.
I started doing this more deliberately after shooting on film for a period, where every frame cost something real and careless focus wasn’t an option. It slows you down by maybe thirty seconds per shot. But it also means you stop crossing your fingers and start knowing. In low light, near dawn, when autofocus can hunt or land slightly off, that manual confirmation has saved more shots than I can count.
The single most transferable idea from this tutorial is also the simplest: focus one-third into your scene at a narrow aperture, and check your work before you commit. That combination handles the vast majority of landscape situations you’ll encounter. Get it right in the field and you spend less time hoping the image held together, and more time actually working the scene.
Watch the full tutorial on YouTube to see the three comparison shots Patino shoots side by side. Seeing the soft-foreground and soft-background failures back to back with the correct result makes the technique click in a way that reading about it doesn’t fully replicate.
Comments
Leave a Comment