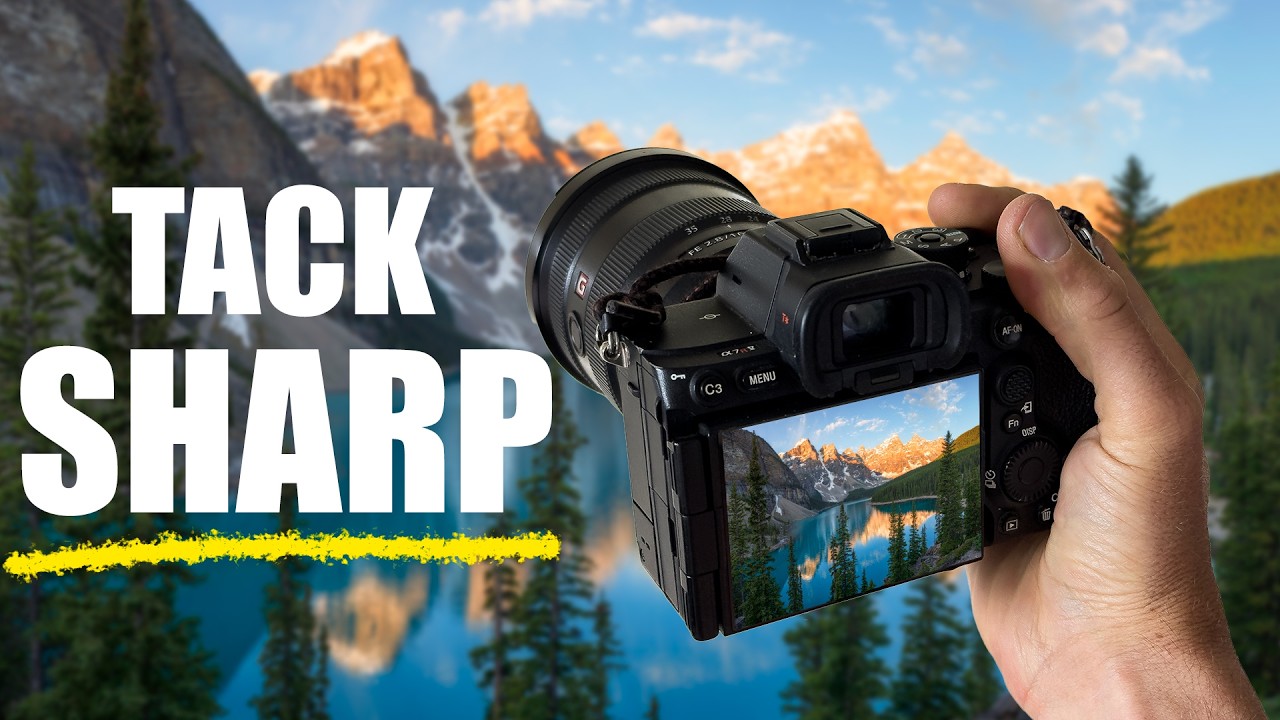
There’s a particular kind of frustration that comes with a scene that simply will not cooperate with your aperture. You’re standing in front of something extraordinary, maybe a gnarled tree pushing up from a rocky foreground with a mountain range filling the sky behind it, and no matter where you set your f-stop, something goes soft. Stop down to f16 and diffraction steals your sharpness. Open up to f8 and the foreground loses definition. I’ve spent twenty years chasing light across the Pacific Northwest, and this problem still shows up on shoots more often than I’d like to admit.
Focus stacking is the technical answer to that problem, and it’s more approachable than most photographers assume. The technique involves capturing multiple frames focused at different distances and then blending them together in post-processing so that every plane of the image is rendered sharp. In this William Patino tutorial, he walks through the entire process from field capture to final blend with a clarity that I genuinely appreciated. Watch the full tutorial on YouTube before or after reading this breakdown, whichever works best for how you learn.
What I want to do here is slow the process down a little, add some field context, and make sure you can execute every step without second-guessing yourself when you’re standing in cold water at first light with the scene changing by the minute.
Step 1: Recognize When You Actually Need to Stack
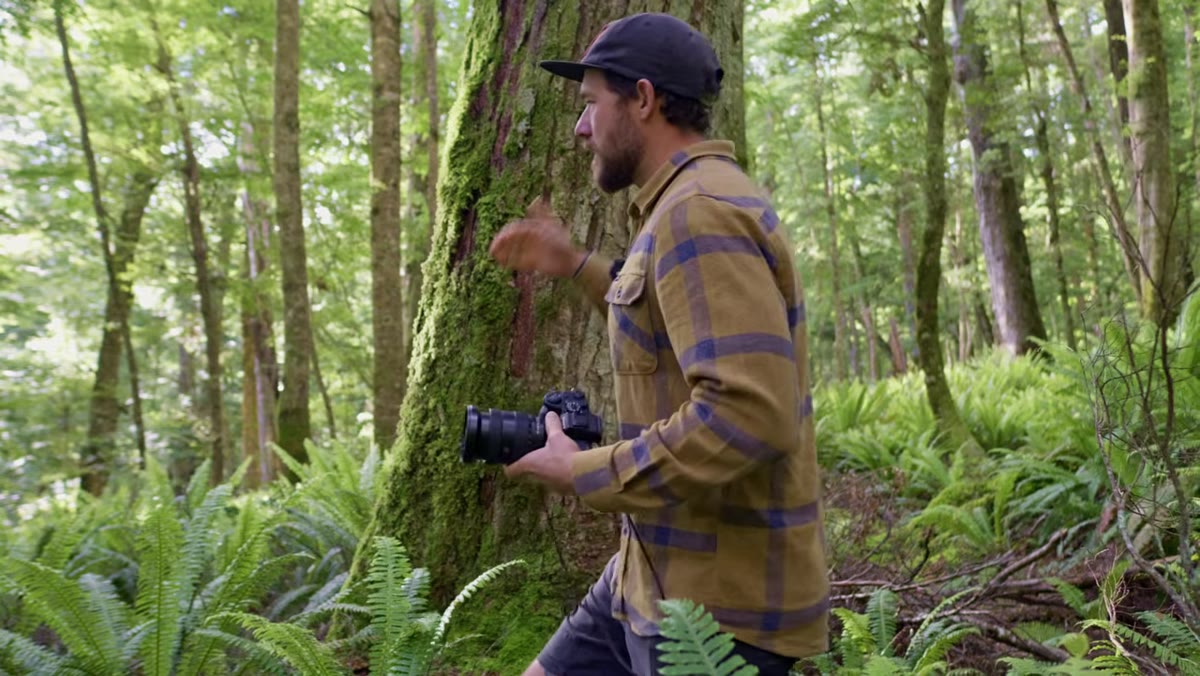 Photographer at location identifying sharpness problem across the frame
Not every landscape image needs to be focus stacked, and reaching for the technique when it isn’t necessary just adds editing time. The trigger is simple: if you’re shooting a scene with a strong foreground element and a detailed background, and stopping down to f11 still leaves one or the other looking soft, you’re in focus stacking territory. Patino makes this assessment in the field in real time, which is the right instinct. Check your exposures on the back of the camera, zoom into the corners and foreground, and trust what you see. If both planes can’t be sharp at once, it’s time to stack.
Photographer at location identifying sharpness problem across the frame
Not every landscape image needs to be focus stacked, and reaching for the technique when it isn’t necessary just adds editing time. The trigger is simple: if you’re shooting a scene with a strong foreground element and a detailed background, and stopping down to f11 still leaves one or the other looking soft, you’re in focus stacking territory. Patino makes this assessment in the field in real time, which is the right instinct. Check your exposures on the back of the camera, zoom into the corners and foreground, and trust what you see. If both planes can’t be sharp at once, it’s time to stack.
Step 2: Set Your Aperture and Plan Your Focus Points
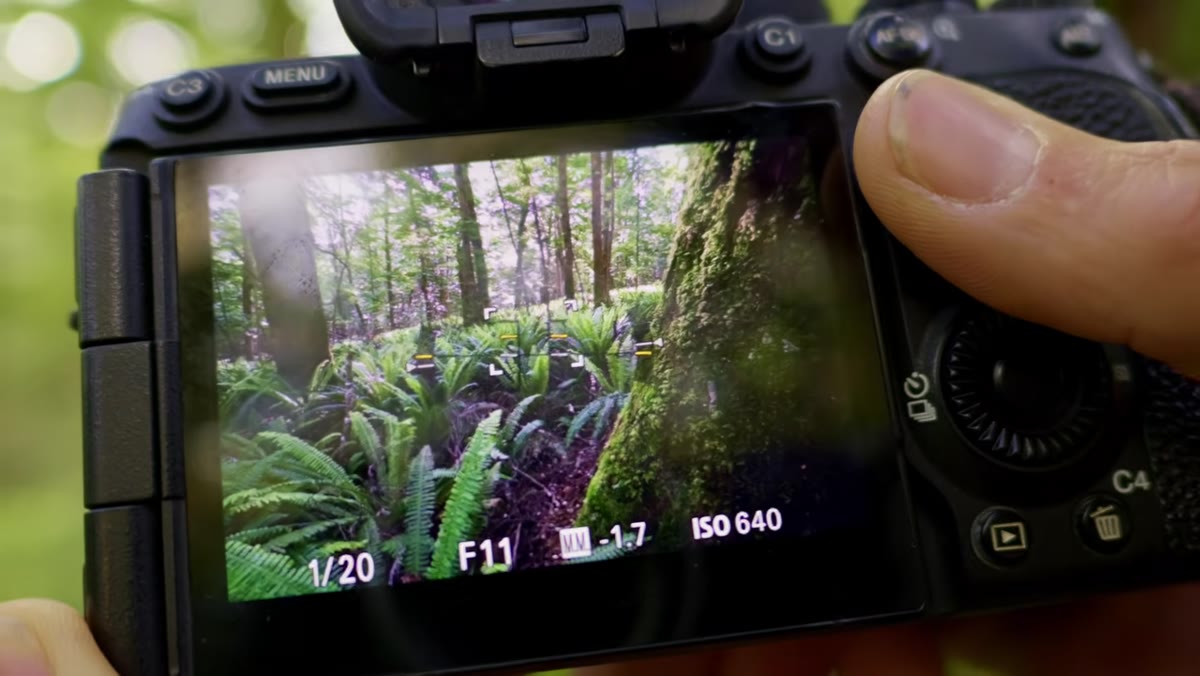
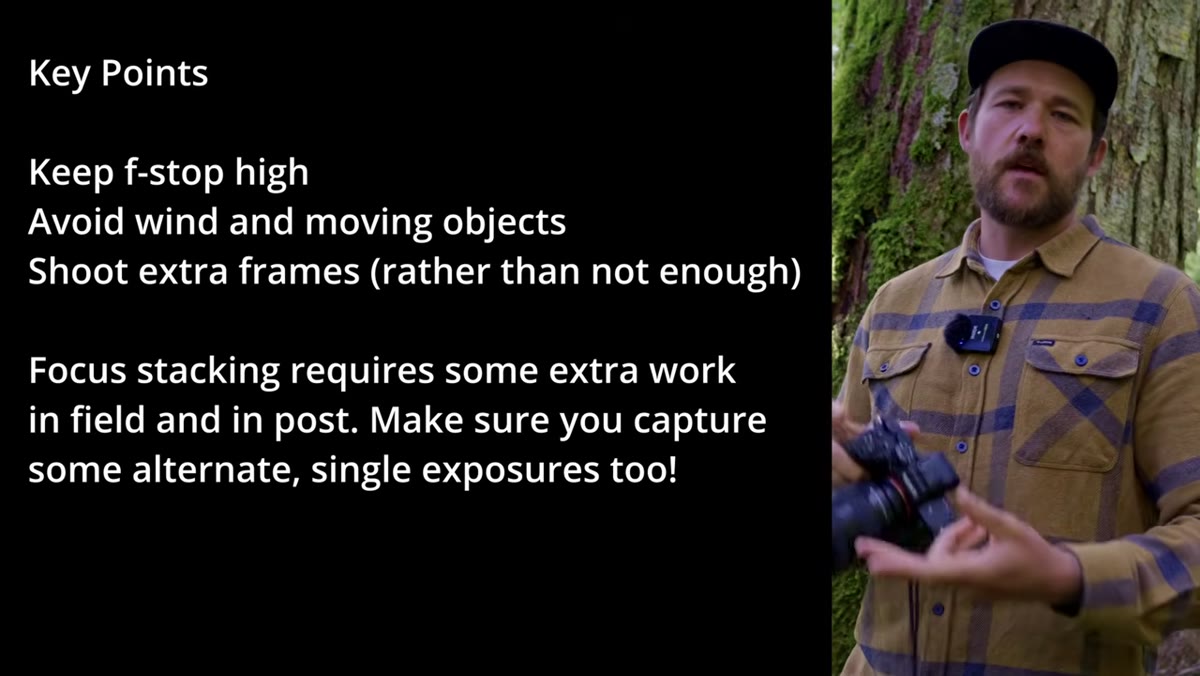 Camera settings visible, f-stop at f8 or f11 on display
This step is where most people get into trouble if they’re not thinking it through. Patino’s advice here is practical and worth taking seriously: keep your aperture relatively high, somewhere in the f8 to f16 range, even when you’re stacking. The reason is overlap. Each frame you capture at a tighter aperture gives you a wider band of acceptable sharpness, which means adjacent frames blend together more smoothly and you need fewer total exposures to cover the full depth of the scene. If you shoot at f2.8, you might need ten or more frames to cover the same ground that three frames at f11 would handle. More frames means more chances for something to go wrong in the blend. I typically shoot my stacks at f11 on most lenses, and it rarely takes more than three or four frames to cover a typical wide-angle landscape composition.
Camera settings visible, f-stop at f8 or f11 on display
This step is where most people get into trouble if they’re not thinking it through. Patino’s advice here is practical and worth taking seriously: keep your aperture relatively high, somewhere in the f8 to f16 range, even when you’re stacking. The reason is overlap. Each frame you capture at a tighter aperture gives you a wider band of acceptable sharpness, which means adjacent frames blend together more smoothly and you need fewer total exposures to cover the full depth of the scene. If you shoot at f2.8, you might need ten or more frames to cover the same ground that three frames at f11 would handle. More frames means more chances for something to go wrong in the blend. I typically shoot my stacks at f11 on most lenses, and it rarely takes more than three or four frames to cover a typical wide-angle landscape composition.
Step 3: Capture Your Focus Stack Sequence
 Focus point moved to foreground element, first frame being captured
Mount the camera on a tripod first. This is non-negotiable. Even a slight shift between frames will confuse the alignment algorithm in Photoshop and create artifacts that are tedious to clean up. Once you’re locked down, move your focus point to the closest element in the frame and take your first exposure. Then step the focus progressively back through the scene, one logical plane at a time: foreground, midground, background. Take an exposure at each position.
Focus point moved to foreground element, first frame being captured
Mount the camera on a tripod first. This is non-negotiable. Even a slight shift between frames will confuse the alignment algorithm in Photoshop and create artifacts that are tedious to clean up. Once you’re locked down, move your focus point to the closest element in the frame and take your first exposure. Then step the focus progressively back through the scene, one logical plane at a time: foreground, midground, background. Take an exposure at each position.
If your camera has a built-in focus bracketing mode, as Patino’s Sony A7R V does, use it. It automates the stepping process and fires the exposures in quick succession, which is especially useful in changing light. If you’re working manually, switch your lens to manual focus and turn the focus ring deliberately between frames. Either way, when you’re done, review the sequence and consider shooting it twice. Patino mentions this briefly but it’s worth emphasizing: having a backup set of frames has saved me more than once when one image in a sequence had a subtle problem I didn’t catch until I was back at the desk.
Step 4: Open Your Files as Layers in Photoshop
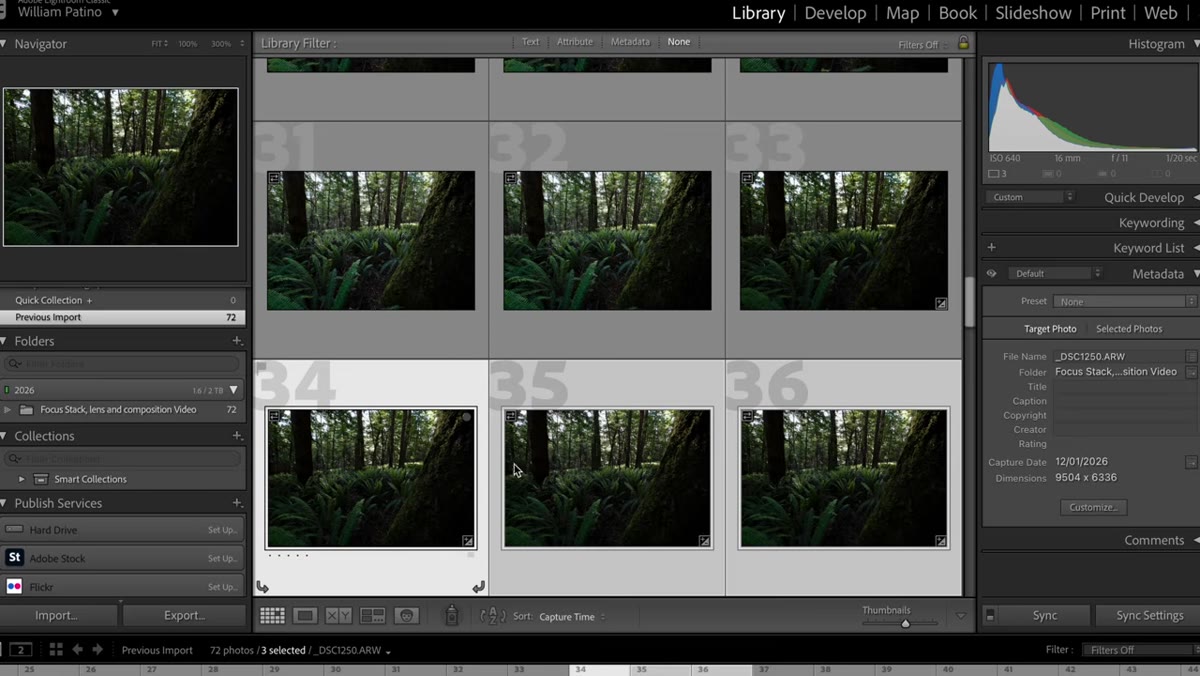 Lightroom interface with multiple raw files selected for export to Photoshop
Once you’re at the computer, the workflow splits depending on your raw file management software, but it ends up in the same place. If you use Lightroom, select the frames from your stack in the grid view, right-click, and choose Edit In, then Open as Layers in Photoshop. If you use Adobe Bridge as Patino does, select your files, go to the Tools menu, then Photoshop, then Load Files into Photoshop Layers. Both methods land you in Photoshop with each exposure sitting on its own layer in the same document, ready for alignment.
Lightroom interface with multiple raw files selected for export to Photoshop
Once you’re at the computer, the workflow splits depending on your raw file management software, but it ends up in the same place. If you use Lightroom, select the frames from your stack in the grid view, right-click, and choose Edit In, then Open as Layers in Photoshop. If you use Adobe Bridge as Patino does, select your files, go to the Tools menu, then Photoshop, then Load Files into Photoshop Layers. Both methods land you in Photoshop with each exposure sitting on its own layer in the same document, ready for alignment.
Step 5: Auto Align the Layers
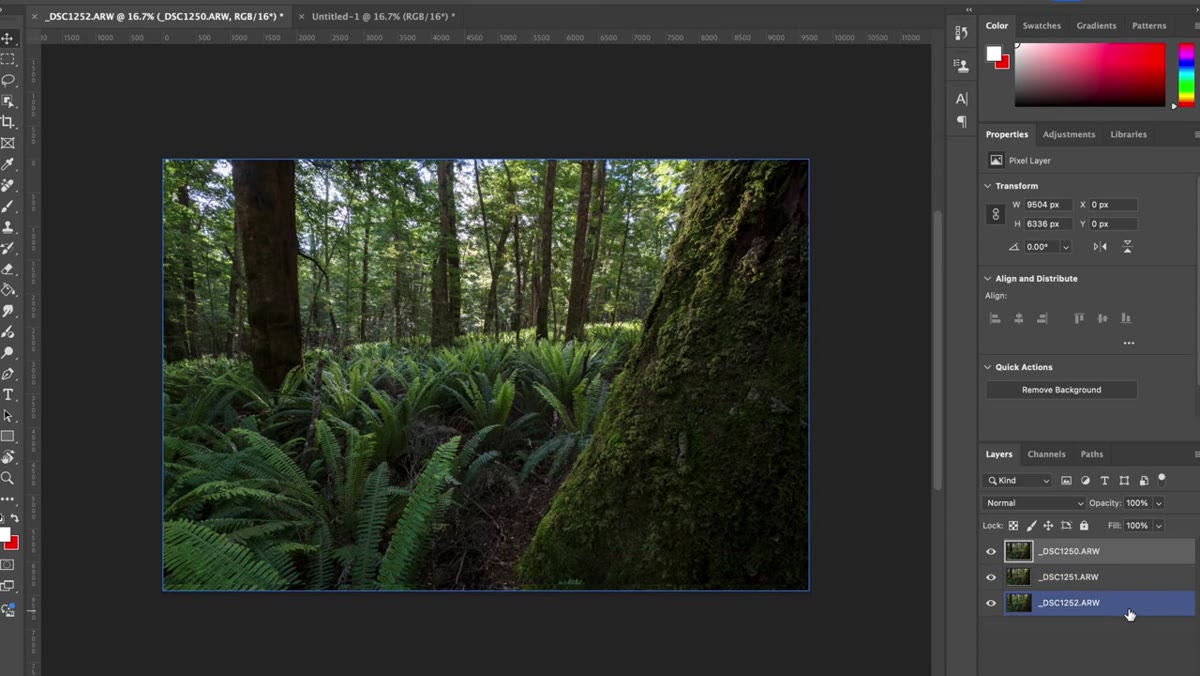 Photoshop layers panel with all layers selected, Auto-Align dialog open
With all your layers loaded, select every one of them by clicking the top layer, holding Shift, and clicking the bottom. They should all be highlighted. Go to Edit, then Auto Align Layers. Leave the projection setting on Auto and click OK. Photoshop will analyze the frames and correct for any minor camera movement or vibration between exposures. Even with a solid tripod, small shifts happen, and this step corrects them before the blend. Let it run, it usually takes under a minute.
Photoshop layers panel with all layers selected, Auto-Align dialog open
With all your layers loaded, select every one of them by clicking the top layer, holding Shift, and clicking the bottom. They should all be highlighted. Go to Edit, then Auto Align Layers. Leave the projection setting on Auto and click OK. Photoshop will analyze the frames and correct for any minor camera movement or vibration between exposures. Even with a solid tripod, small shifts happen, and this step corrects them before the blend. Let it run, it usually takes under a minute.
Step 6: Auto Blend the Layers
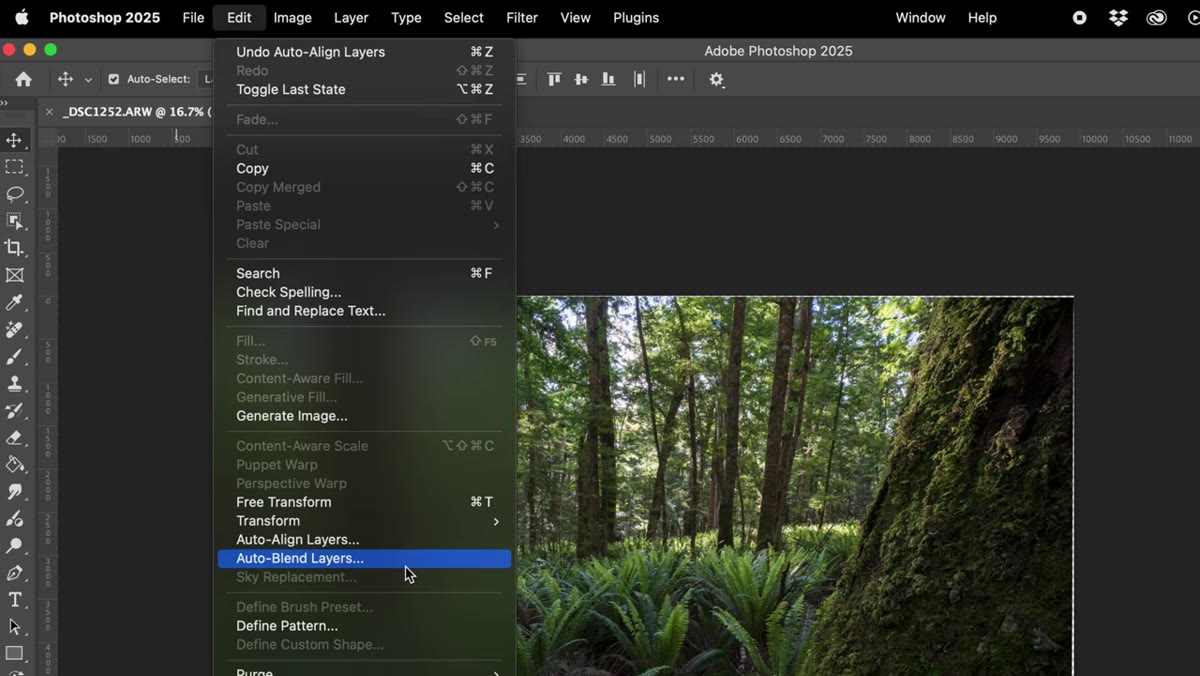 Auto Blend Layers dialog with Stack Images option selected
With the layers still all selected after the alignment, go to Edit, then Auto Blend Layers. Choose Stack Images from the options and make sure Seamless Tones and Colors is checked. Click OK. Photoshop will analyze the sharpest regions across each layer and generate masks that reveal only the in-focus portions of each frame. The result is a single composite image that draws the best sharpness from every exposure in your sequence.
Auto Blend Layers dialog with Stack Images option selected
With the layers still all selected after the alignment, go to Edit, then Auto Blend Layers. Choose Stack Images from the options and make sure Seamless Tones and Colors is checked. Click OK. Photoshop will analyze the sharpest regions across each layer and generate masks that reveal only the in-focus portions of each frame. The result is a single composite image that draws the best sharpness from every exposure in your sequence.
Step 7: Crop or Scale to Remove Edge Artifacts
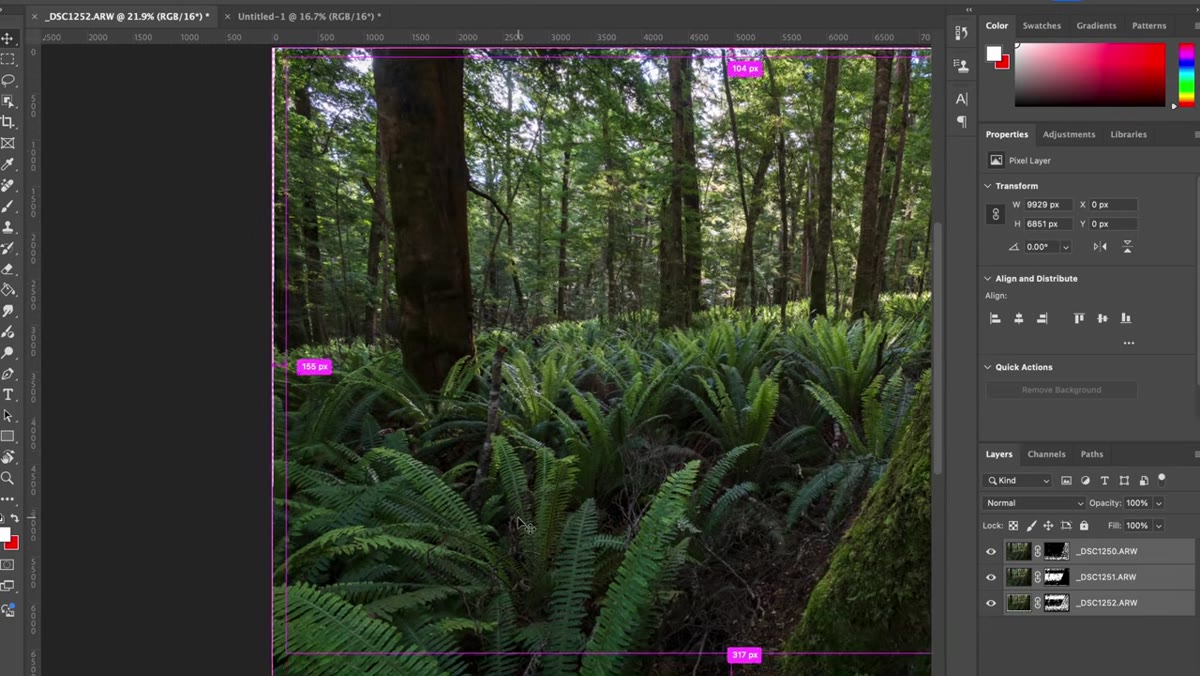 Photoshop canvas showing transparent edge areas after alignment
The alignment process shifts the frames slightly relative to each other, which leaves thin strips of transparent or blank space around the edges of the canvas. You need to clean these up before the image is finished. The simple fix is to crop in slightly. Patino’s preferred approach is the Transform tool: go to Edit, Transform, then Scale. Dragging from a corner scales the image outward and fills those edges without losing composition. You can also hold Shift and work one side at a time, which gives you more control over which edges you’re adjusting. Either method works. Just don’t skip this step, those blank edges will show up as a white border if you export without addressing them.
Photoshop canvas showing transparent edge areas after alignment
The alignment process shifts the frames slightly relative to each other, which leaves thin strips of transparent or blank space around the edges of the canvas. You need to clean these up before the image is finished. The simple fix is to crop in slightly. Patino’s preferred approach is the Transform tool: go to Edit, Transform, then Scale. Dragging from a corner scales the image outward and fills those edges without losing composition. You can also hold Shift and work one side at a time, which gives you more control over which edges you’re adjusting. Either method works. Just don’t skip this step, those blank edges will show up as a white border if you export without addressing them.
A Note on Shooting More Than You Think You Need
I’ve learned over many years to bracket more aggressively than seems necessary. In the field, adrenaline and changing light make it easy to rush through a focus stack and move on. But when a blend doesn’t work cleanly, and sometimes they don’t, having an extra set of frames means you have options. I typically shoot my stack sequence, pause to review the individual frames on the back of the camera zoomed in, and if anything looks questionable, I run the sequence again. It adds maybe two minutes to the field process and has kept more than a few trips from coming home empty.
The single most important thing Patino communicates in this tutorial is to keep your f-stop in a reasonable range even when stacking. It’s the piece most beginners skip, and it’s what separates a clean three-frame blend from a chaotic ten-frame puzzle. Get that right, and focus stacking becomes a reliable tool rather than a gamble.
Watch the full tutorial on YouTube to see Patino work through the entire process in real time, including the field capture portion, which is worth watching alongside this written breakdown.
Comments (5)
Shared this with my photography group. Everyone loved it.
Applied this to my portfolio shots and the improvement is noticeable.
Printing this out and pinning it next to my monitor. That good.
Quality content like this is rare. Keep it up.
Simple but effective. Sometimes that's all you need.
Leave a Comment