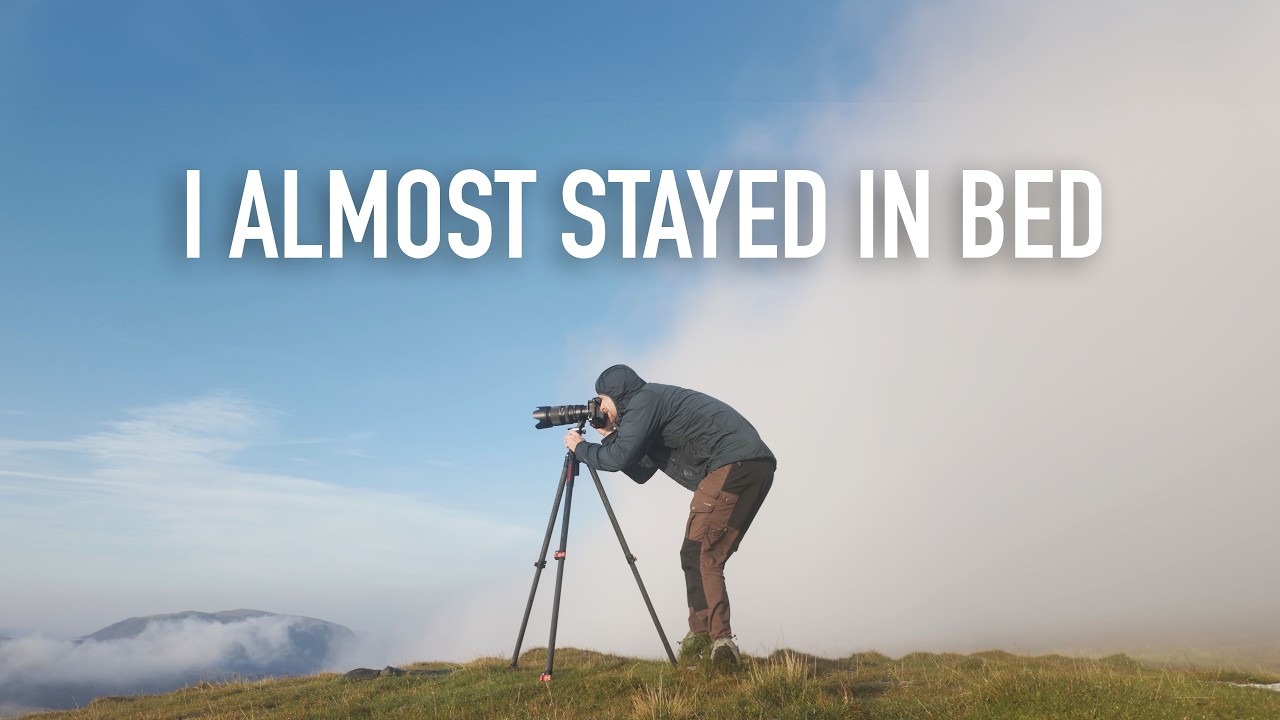
There’s a particular kind of afternoon I know well. The light is flat, your energy is low, and every instinct tells you to stay in the van. I’ve been making photographs for twenty years and I still have to talk myself out of the parking lot on days like that. What I’ve learned, slowly and sometimes expensively, is that those low-stakes sessions, the ones where nothing feels epic, are often where you build the sharpest eye. You stop chasing drama and start noticing things.
Watch the full tutorial on YouTube
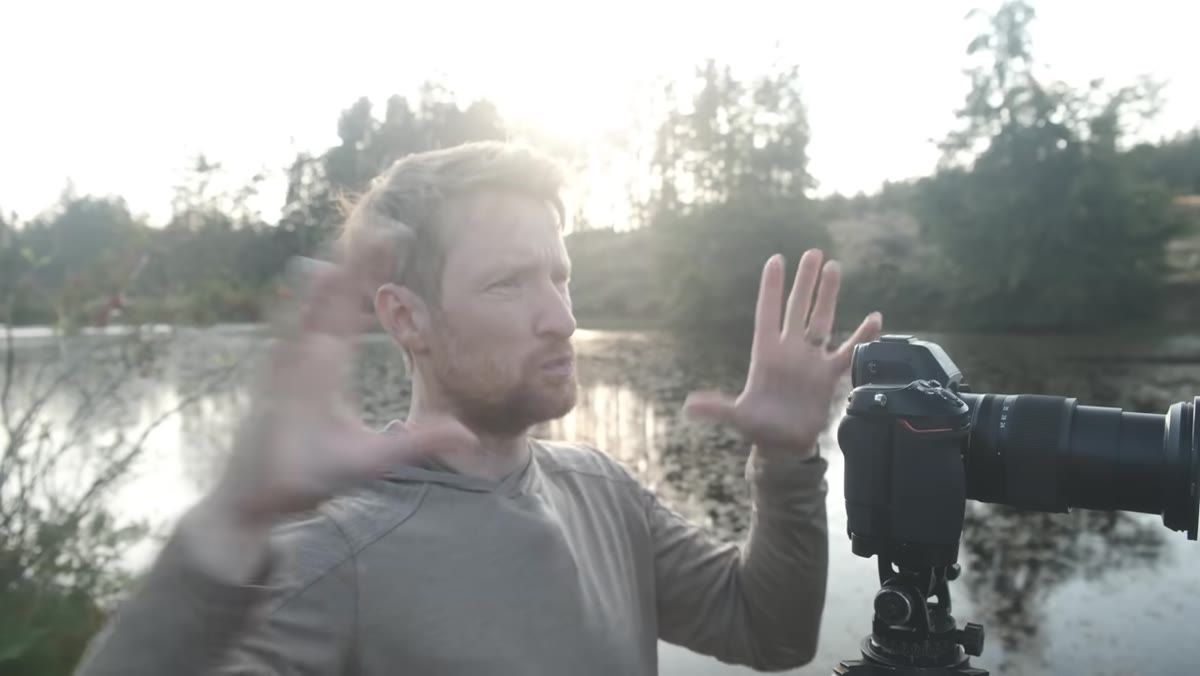
In this Thomas Heaton tutorial, he heads out to a small, lily pad-covered lake on a grey, blustery evening when he openly admits he doesn’t feel like being there at all. He’s recovering from a cold. The weather is indifferent. And yet what unfolds over an hour or so is a quiet masterclass in how working photographers actually think in the field. Not the highlight-reel version of landscape photography, but the real one: wandering, second-guessing your framing, getting your exposure wrong, fixing it, and coming home with something honest. That process is worth unpacking step by step.
Step 1: Choose a Location That Rewards Slow Looking
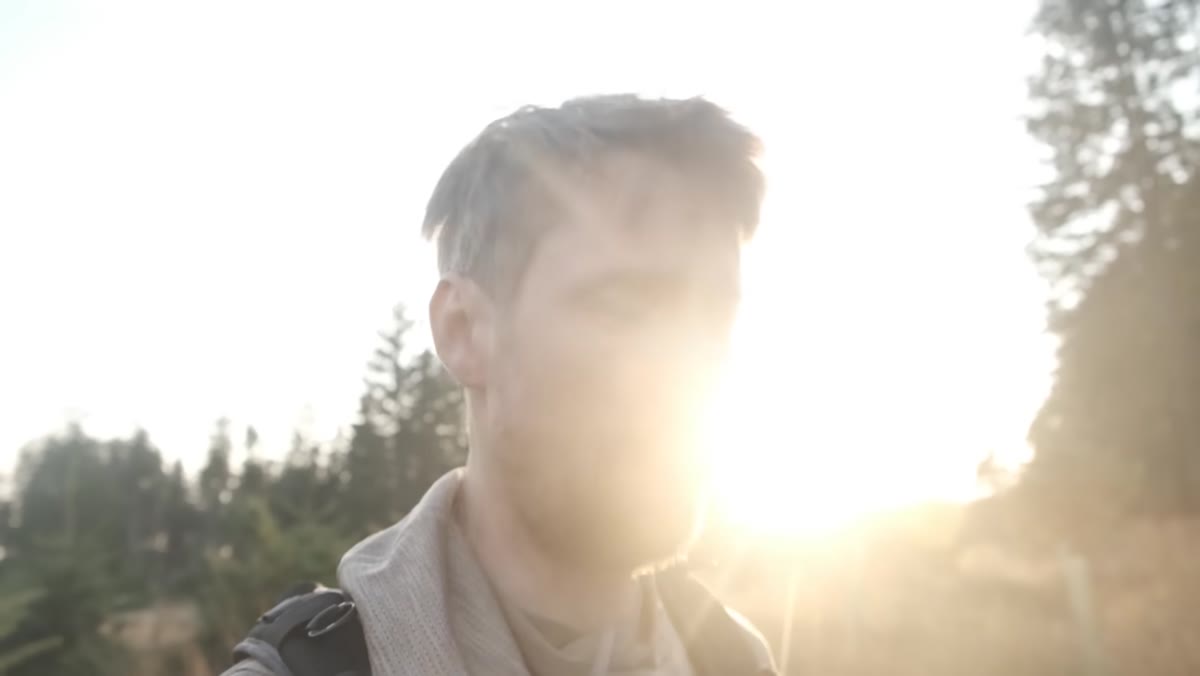
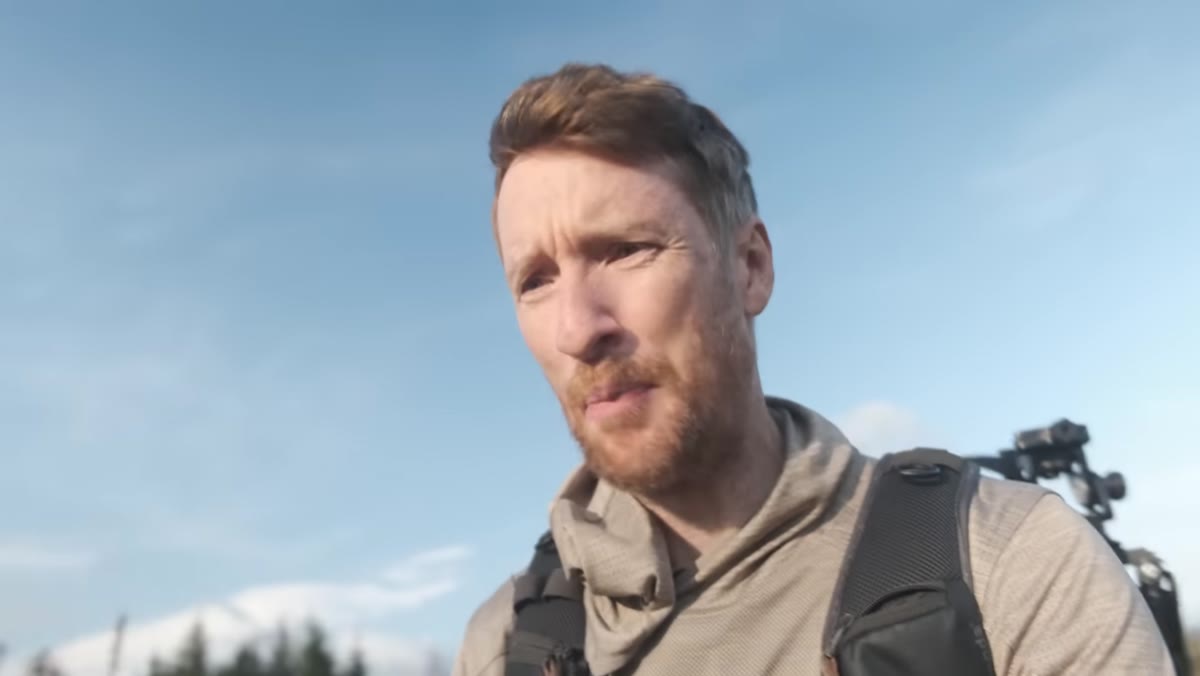 Heaton walking a narrow trail beside dense waterside vegetation
When you’re not at full energy and the conditions aren’t dramatic, the worst thing you can do is go somewhere that demands a long hike and a wide-angle statement. Heaton makes a deliberate choice here: a compact, sheltered lake loaded with lily pads. The constraint is the point. A smaller, more complex environment forces you to slow down, move carefully, and work the details rather than sweep your lens across a grand vista. I’ve made this mistake in reverse, driving hours to a massive location and feeling overwhelmed because I hadn’t given myself time to actually see it. A tight space with a lot of visual texture, especially reflective water, gives you multiple compositions within a few meters of each other. Start there on your tired days.
Heaton walking a narrow trail beside dense waterside vegetation
When you’re not at full energy and the conditions aren’t dramatic, the worst thing you can do is go somewhere that demands a long hike and a wide-angle statement. Heaton makes a deliberate choice here: a compact, sheltered lake loaded with lily pads. The constraint is the point. A smaller, more complex environment forces you to slow down, move carefully, and work the details rather than sweep your lens across a grand vista. I’ve made this mistake in reverse, driving hours to a massive location and feeling overwhelmed because I hadn’t given myself time to actually see it. A tight space with a lot of visual texture, especially reflective water, gives you multiple compositions within a few meters of each other. Start there on your tired days.
Step 2: Assess the Bigger Picture Before You Commit to a Shot
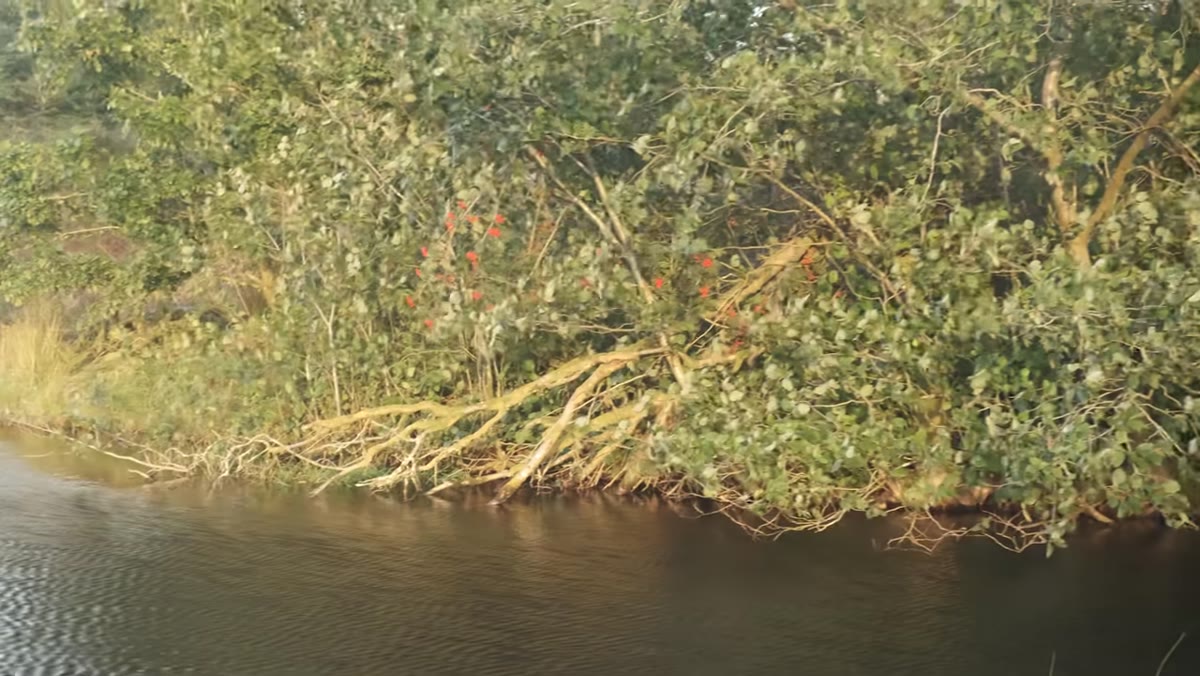
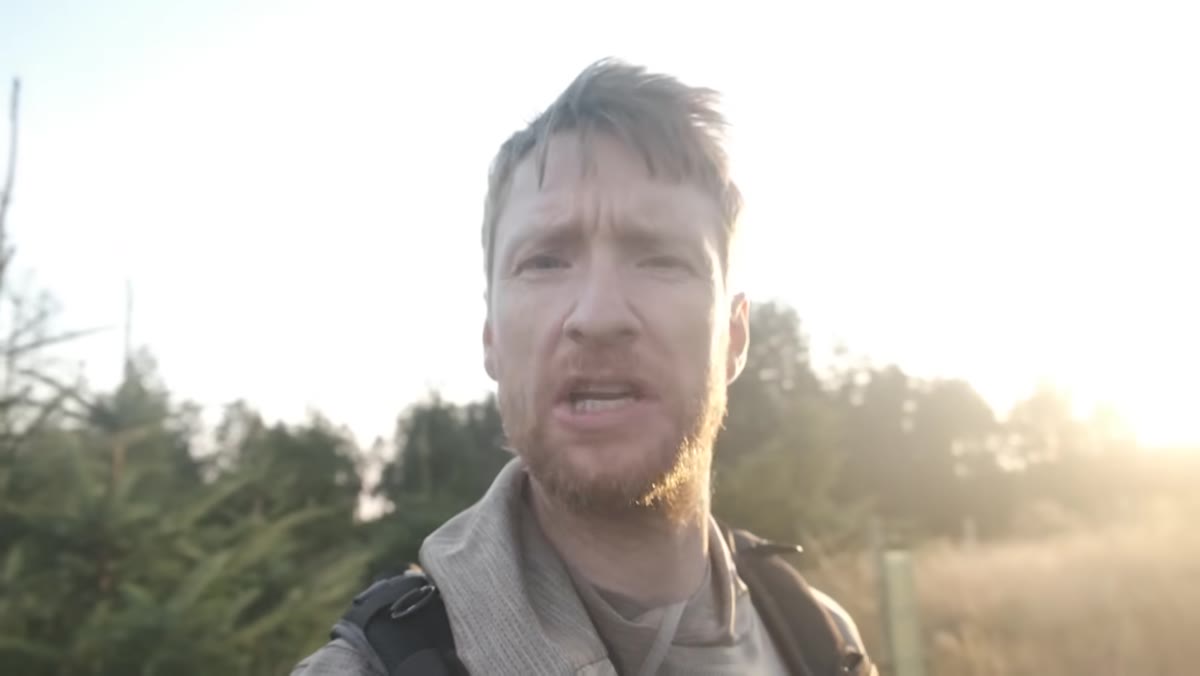 Heaton standing back, scanning the full lake edge rather than looking through the viewfinder
Before the tripod comes out, Heaton does something that newer photographers often skip: he physically walks the location and looks at it from multiple distances and heights. He’s thinking about both the wide scene and the small details near his feet simultaneously. These are two different modes of attention and it’s worth switching between them deliberately. Stand back and read the overall structure of the light, the shapes, and the leading lines. Then drop your gaze and look at what’s happening at ground level, at the water’s surface, under the overhanging vegetation. Some of the strongest images live in that second register and you’ll walk right past them if you only ever look at the horizon.
Heaton standing back, scanning the full lake edge rather than looking through the viewfinder
Before the tripod comes out, Heaton does something that newer photographers often skip: he physically walks the location and looks at it from multiple distances and heights. He’s thinking about both the wide scene and the small details near his feet simultaneously. These are two different modes of attention and it’s worth switching between them deliberately. Stand back and read the overall structure of the light, the shapes, and the leading lines. Then drop your gaze and look at what’s happening at ground level, at the water’s surface, under the overhanging vegetation. Some of the strongest images live in that second register and you’ll walk right past them if you only ever look at the horizon.
Step 3: Use Aspect Ratio to Control Visual Chaos
 Camera LCD showing a busy 3x2 frame of fallen trees and lily pads
Heaton sets up his first shot on two fallen trees over the water and immediately notices the problem: the standard 3x2 frame is pulling in too much competing information. The scene is inherently chaotic and the wider frame amplifies that chaos rather than resolves it. His fix is to crop in-camera to a square or 1x1 ratio, which contains the composition and directs the eye to the fallen trees without the surrounding clutter fighting for attention. This is a practical tool I use often, particularly in woodland and waterside scenes where the environment doesn’t have natural negative space. A tighter aspect ratio isn’t a compromise. It’s a framing decision that can make a genuinely messy scene coherent. Shoot both and compare on the back of the camera before moving on.
Camera LCD showing a busy 3x2 frame of fallen trees and lily pads
Heaton sets up his first shot on two fallen trees over the water and immediately notices the problem: the standard 3x2 frame is pulling in too much competing information. The scene is inherently chaotic and the wider frame amplifies that chaos rather than resolves it. His fix is to crop in-camera to a square or 1x1 ratio, which contains the composition and directs the eye to the fallen trees without the surrounding clutter fighting for attention. This is a practical tool I use often, particularly in woodland and waterside scenes where the environment doesn’t have natural negative space. A tighter aspect ratio isn’t a compromise. It’s a framing decision that can make a genuinely messy scene coherent. Shoot both and compare on the back of the camera before moving on.
Step 4: Find the Intimate Scene Within the Scene
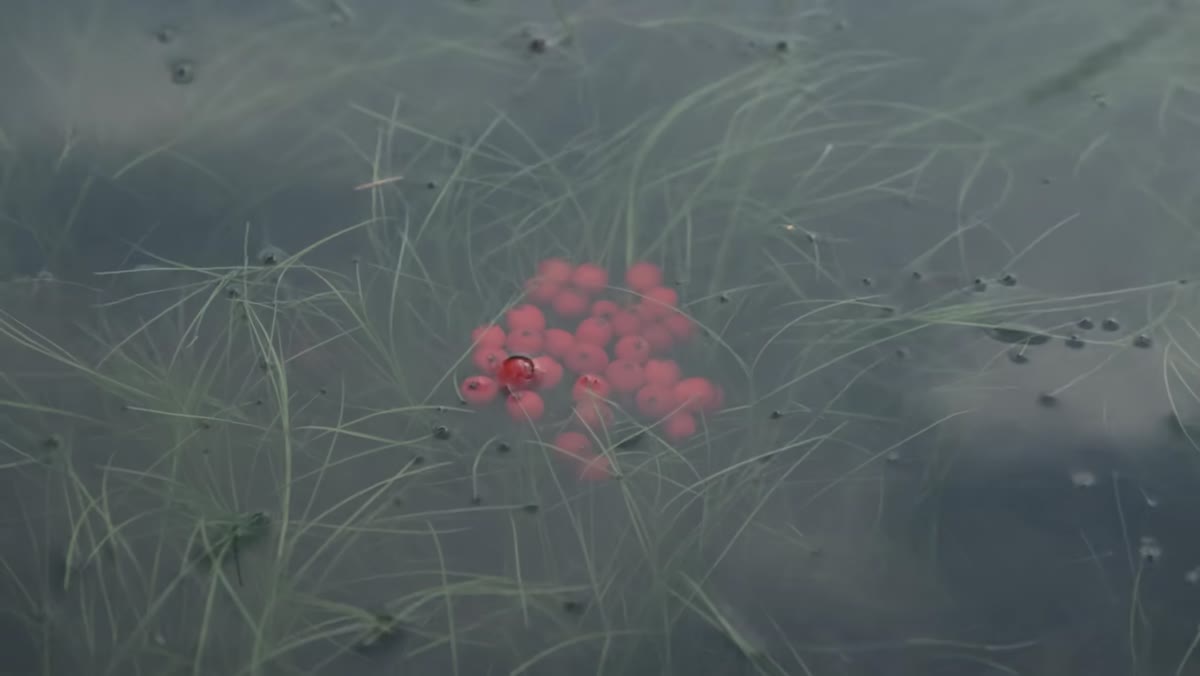
 Close-up of red berries floating on still, dark water near the bank
While scanning the margins of the lake, Heaton spots something most people would step over: a small cluster of red berries that have fallen from an overhanging branch and landed on the water’s surface. It’s not the shot he came for. There was no plan for it. But it’s beautiful in a quiet, specific way. This is the practice of staying observant after you’ve already made a photograph. The tendency is to move on once you’ve captured something. Instead, stay in the area a few minutes longer and keep looking downward and sideways. Intimate details, a single leaf, a reflection, an accidental arrangement of natural objects on water, can produce images that are more memorable than the broad scene that drew you to the location in the first place.
Close-up of red berries floating on still, dark water near the bank
While scanning the margins of the lake, Heaton spots something most people would step over: a small cluster of red berries that have fallen from an overhanging branch and landed on the water’s surface. It’s not the shot he came for. There was no plan for it. But it’s beautiful in a quiet, specific way. This is the practice of staying observant after you’ve already made a photograph. The tendency is to move on once you’ve captured something. Instead, stay in the area a few minutes longer and keep looking downward and sideways. Intimate details, a single leaf, a reflection, an accidental arrangement of natural objects on water, can produce images that are more memorable than the broad scene that drew you to the location in the first place.
Step 5: Adapt Your Shooting Position for Top-Down Compositions
 Tripod legs spread wide and extended over shallow water for overhead angle
To shoot the berries directly from above, Heaton needs his camera positioned almost straight down over the water. He extends his tripod over the edge of the bank into the shallows, which immediately introduces an instability problem. His solution is practical and worth remembering: he keeps one foot on the tripod leg to prevent it from tipping and taking the camera into the water. It sounds obvious but in the concentration of framing a shot, it’s easy to forget that your gear is balanced over a wet surface. For overhead and near-overhead compositions, always check tripod stability before you release your hand from the setup. Then check it again.
Tripod legs spread wide and extended over shallow water for overhead angle
To shoot the berries directly from above, Heaton needs his camera positioned almost straight down over the water. He extends his tripod over the edge of the bank into the shallows, which immediately introduces an instability problem. His solution is practical and worth remembering: he keeps one foot on the tripod leg to prevent it from tipping and taking the camera into the water. It sounds obvious but in the concentration of framing a shot, it’s easy to forget that your gear is balanced over a wet surface. For overhead and near-overhead compositions, always check tripod stability before you release your hand from the setup. Then check it again.
Step 6: Diagnose and Fix Unsharp Images in the Field
 Heaton reviewing images on LCD and zooming to 100% to check sharpness
Heaton catches a sharpness problem immediately by zooming to 100% on his LCD after the first few frames. The culprit isn’t camera shake. It’s the water itself: small ripples are moving the berries during a roughly one-second exposure. The fix is methodical: raise the ISO to reduce the exposure time, then reconsider the aperture. Because this is a flat, top-down composition with no real depth-of-field demands, he opens up to f/5.6 without any penalty. Raising the ISO to 500 and shooting at f/5.6 brings the shutter speed to 1/30 second, fast enough to freeze the gentle movement. Always check at 100% in the field. Not after you get home. The cost of missing a sharp frame at a location you won’t revisit is much higher than the thirty seconds it takes to check on the spot.
Heaton reviewing images on LCD and zooming to 100% to check sharpness
Heaton catches a sharpness problem immediately by zooming to 100% on his LCD after the first few frames. The culprit isn’t camera shake. It’s the water itself: small ripples are moving the berries during a roughly one-second exposure. The fix is methodical: raise the ISO to reduce the exposure time, then reconsider the aperture. Because this is a flat, top-down composition with no real depth-of-field demands, he opens up to f/5.6 without any penalty. Raising the ISO to 500 and shooting at f/5.6 brings the shutter speed to 1/30 second, fast enough to freeze the gentle movement. Always check at 100% in the field. Not after you get home. The cost of missing a sharp frame at a location you won’t revisit is much higher than the thirty seconds it takes to check on the spot.
What I’d Add From Twenty Years in the Field
The thing Heaton demonstrates here without naming it directly is what I’d call productive flexibility. He arrived with no specific shot in mind, adapted to the conditions, found two completely different compositions in the same small location, and solved a technical problem in real time. This is the actual skill. The gear matters, the settings matter, but the most valuable thing you can develop is the habit of staying present and responsive rather than executing a plan that was made somewhere warmer and drier.
I spent years thinking great landscape photography required extraordinary conditions. One fog-locked location, six hours from home, two blank days, one image. That image became my best-selling print. The conditions you resist often become the conditions that teach you the most. The camera doesn’t need perfect weather. It needs you to stay outside and keep looking.
The single most important idea in this tutorial is this: zoom to 100% and check your images before you move on. Everything else, the composition adjustments, the exposure fixes, the creative discoveries, only matters if the file is actually sharp. Make that check non-negotiable.
Watch the full tutorial on YouTube
Comments (1)
The tip about bad weather small scenes and t was the missing piece for me. Thank you.
Leave a Comment