
There is a particular kind of pressure that builds in the last thirty minutes before sunset. The light is changing by the minute, you still haven’t locked in a composition, and the clouds are doing something you didn’t plan for. After twenty years shooting landscapes full-time, I still feel it every single time. What separates a productive evening from a frustrating one is rarely luck. It’s a set of decisions made quickly and with intention. That’s exactly what drew me to Watch the full tutorial on YouTube - Nigel Danson’s real-time sunset session at Godrevy Lighthouse in Cornwall. He doesn’t clean it up for the camera. You see him problem-solve in the field, and that’s worth more than any studio walkthrough.
What Danson demonstrates here isn’t a formula. It’s a working method. He’s dealing with shifting cloud cover, surf, wind-blown foreground grasses, and a sun that keeps ducking in and out at the worst moments. Watching him navigate all of that reminded me of my own mentor’s line: the mountain doesn’t care about your schedule. The light will do what it does. Your job is to be ready, be flexible, and make decisions fast without defaulting to safe choices.
Step 1: Arrive Early Enough to Lose Your First Composition
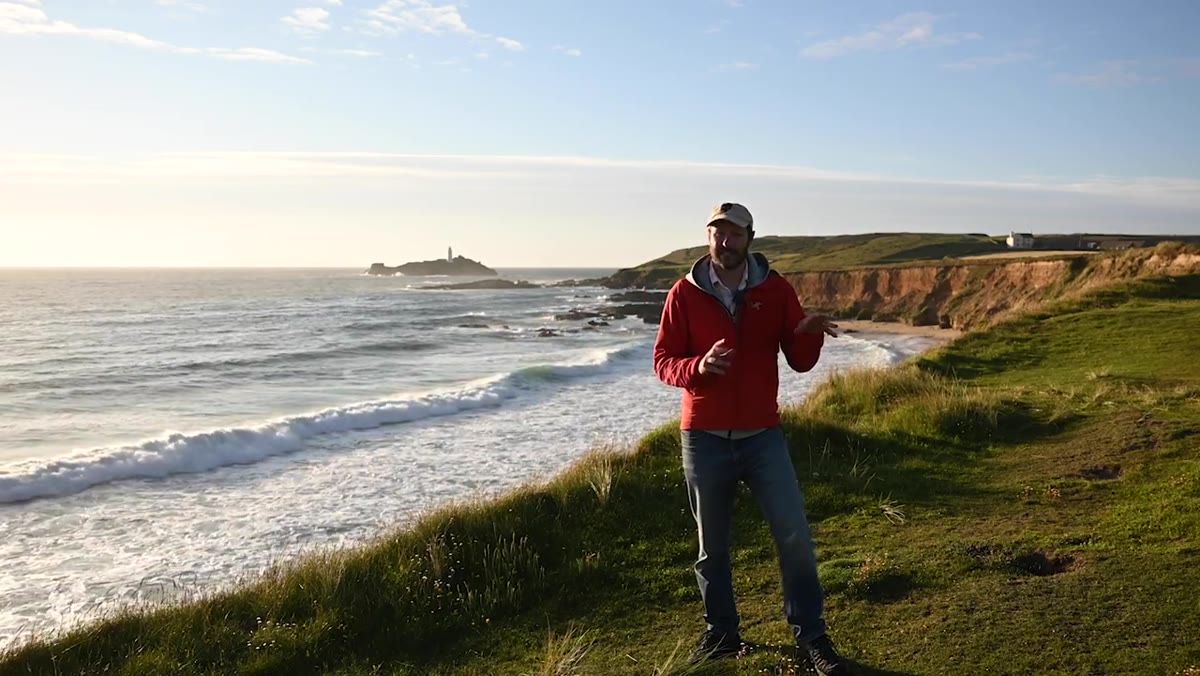 Danson walking along the clifftop scouting positions above the rocks
Get to your location before you think you need to. Danson mentions he’s tried several positions along the coast before settling on one, and that scouting time is not wasted time. It’s the work. When I arrive at a location I haven’t shot before, I give myself at least forty-five minutes before golden hour to walk it. You’re looking for anchor points: rocks, tide lines, anything that gives the eye somewhere to land before it moves toward the horizon. Danson specifically notes that the obvious spot probably has tripod marks from a hundred other photographers, and his instinct is to keep moving until he finds something with a little more potential.
Danson walking along the clifftop scouting positions above the rocks
Get to your location before you think you need to. Danson mentions he’s tried several positions along the coast before settling on one, and that scouting time is not wasted time. It’s the work. When I arrive at a location I haven’t shot before, I give myself at least forty-five minutes before golden hour to walk it. You’re looking for anchor points: rocks, tide lines, anything that gives the eye somewhere to land before it moves toward the horizon. Danson specifically notes that the obvious spot probably has tripod marks from a hundred other photographers, and his instinct is to keep moving until he finds something with a little more potential.
Step 2: Identify Your Key Light and Anticipate Where It Will Fall
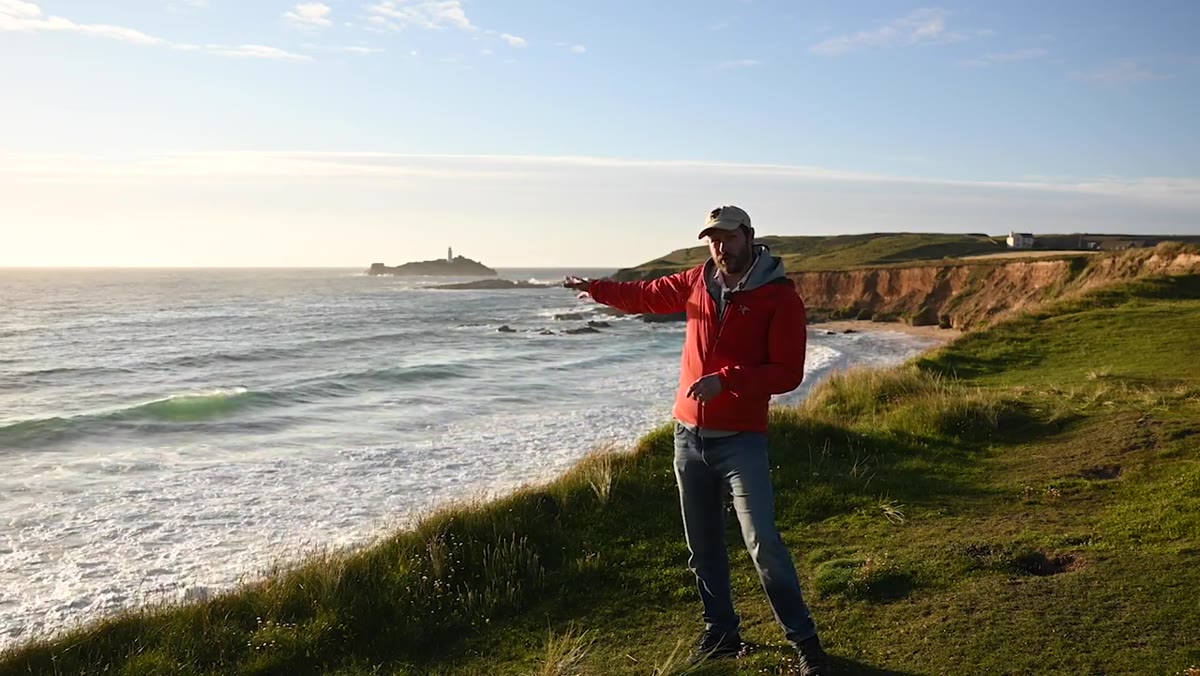 Sun positioned just left of Godrevy Lighthouse, waves catching backlight
Before you set up, figure out where the sun is going to be at the moment it matters most. Danson is shooting with the sun dropping just to the left of the lighthouse, and he’s already calculated that backlight will hit the breaking waves at a specific angle. This is not something you sort out after you’ve planted your tripod. Study the horizon, note where the sun is tracking, and think about what it will illuminate when it gets low. A wave backlit at sunset has an entirely different quality than the same wave lit from the front. The translucent lip of the water catches the light like stained glass. If you don’t position yourself to use that, you’re leaving the best part of the scene on the table.
Sun positioned just left of Godrevy Lighthouse, waves catching backlight
Before you set up, figure out where the sun is going to be at the moment it matters most. Danson is shooting with the sun dropping just to the left of the lighthouse, and he’s already calculated that backlight will hit the breaking waves at a specific angle. This is not something you sort out after you’ve planted your tripod. Study the horizon, note where the sun is tracking, and think about what it will illuminate when it gets low. A wave backlit at sunset has an entirely different quality than the same wave lit from the front. The translucent lip of the water catches the light like stained glass. If you don’t position yourself to use that, you’re leaving the best part of the scene on the table.
Step 3: Read the Clouds as Part of Your Exposure Strategy
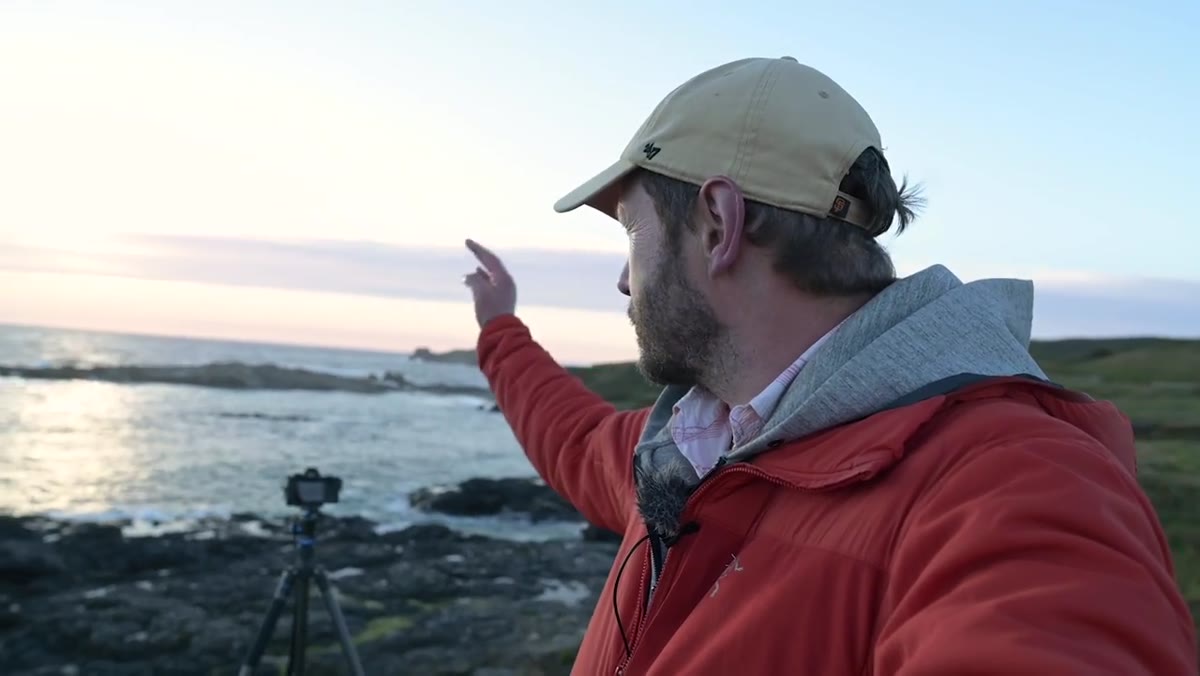 Band of cloud moving in front of sun, light shifting dramatically on water
Cloud cover at sunset is not a problem. Unbroken cloud cover is a problem. Danson watches a band of clouds roll in over the sun and immediately recalibrates. He notes that before the cloud arrived, the backlight on the waves was spectacular. The goal now is to stay ready for those windows when the sun breaks through, because the exposure will change dramatically and fast. When I’m in a situation like this, I check my histogram every few frames rather than every few minutes. The bright spots where sun hits wet rock or moving water can blow out instantly. Know your limits before the light changes, not after.
Band of cloud moving in front of sun, light shifting dramatically on water
Cloud cover at sunset is not a problem. Unbroken cloud cover is a problem. Danson watches a band of clouds roll in over the sun and immediately recalibrates. He notes that before the cloud arrived, the backlight on the waves was spectacular. The goal now is to stay ready for those windows when the sun breaks through, because the exposure will change dramatically and fast. When I’m in a situation like this, I check my histogram every few frames rather than every few minutes. The bright spots where sun hits wet rock or moving water can blow out instantly. Know your limits before the light changes, not after.
Step 4: Choose Your Shutter Speed Based on the Water Behaviour You Want
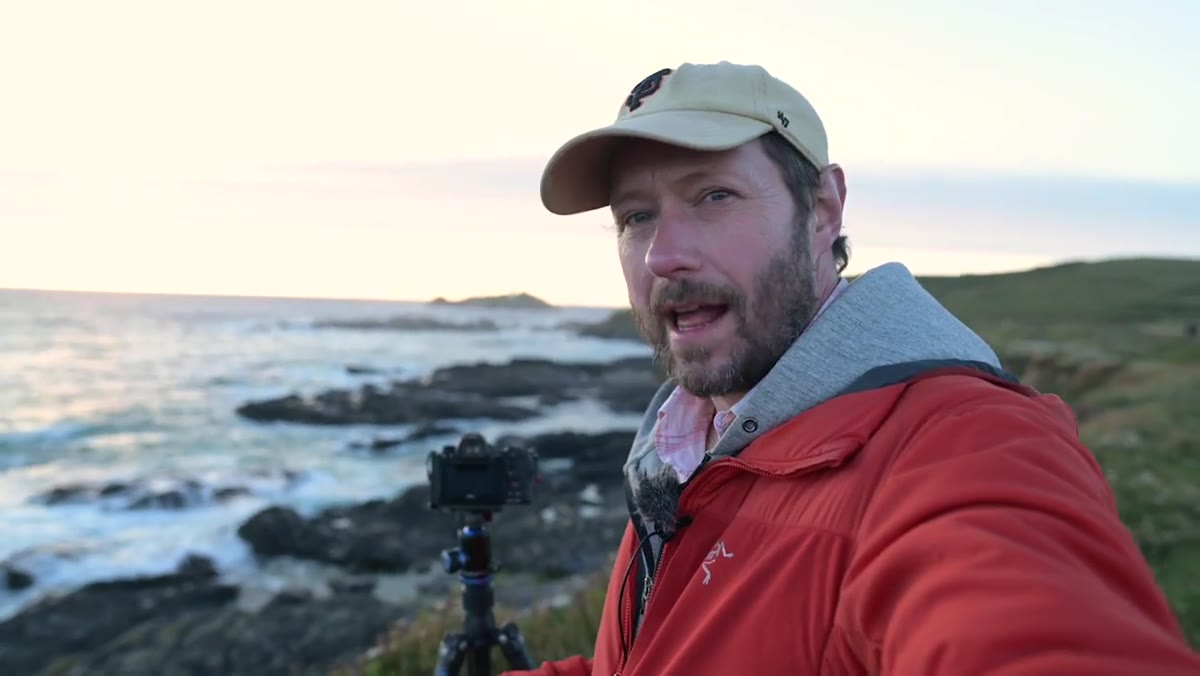 Danson dialing in shutter speed between half a second and two seconds for wave motion
This is where the technical decisions stack up quickly. Danson settles into a shutter speed range of roughly half a second to two seconds for the water in the mid-ground. That range is deliberate. Too fast and you freeze every droplet, which can feel chaotic in a wide coastal scene. Too slow and the water goes silky smooth, which loses the sense of energy in active surf. The right answer depends on the mood you’re after, but in rough conditions I tend to stay between one and three seconds to keep some texture in the water while still getting that sense of motion. Set a target, shoot a few frames, and check the water closely at 100 percent before committing to a full sequence.
Danson dialing in shutter speed between half a second and two seconds for wave motion
This is where the technical decisions stack up quickly. Danson settles into a shutter speed range of roughly half a second to two seconds for the water in the mid-ground. That range is deliberate. Too fast and you freeze every droplet, which can feel chaotic in a wide coastal scene. Too slow and the water goes silky smooth, which loses the sense of energy in active surf. The right answer depends on the mood you’re after, but in rough conditions I tend to stay between one and three seconds to keep some texture in the water while still getting that sense of motion. Set a target, shoot a few frames, and check the water closely at 100 percent before committing to a full sequence.
Step 5: Stack Filters Thoughtfully and Know the Trade-offs
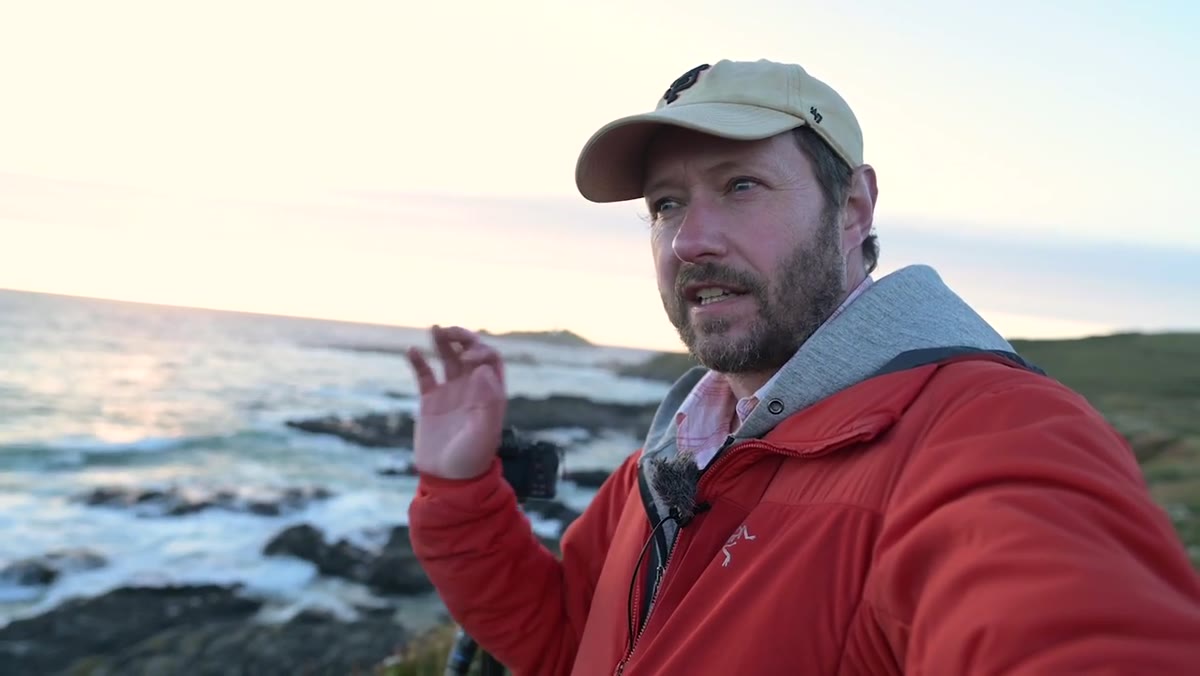 Polarizer and three-stop ND filter combination mentioned for exposure control
Danson is running a circular polarizer and a three-stop ND filter together. The polarizer cuts glare off the wet rocks and water surface, which deepens colour and adds contrast. The ND extends the exposure to get into that half-second-to-two-second range in the remaining light. The trade-off he’s dealing with is that this same filter stack is causing the grasses in the foreground to blur during the exposure because of the wind. He weighs whether to leave them moving for drama or shoot a separate frame at higher ISO without the ND to get a sharp version for compositing in post. There is no wrong answer, but you have to decide before the light goes. Sitting on the fence costs you both options.
Polarizer and three-stop ND filter combination mentioned for exposure control
Danson is running a circular polarizer and a three-stop ND filter together. The polarizer cuts glare off the wet rocks and water surface, which deepens colour and adds contrast. The ND extends the exposure to get into that half-second-to-two-second range in the remaining light. The trade-off he’s dealing with is that this same filter stack is causing the grasses in the foreground to blur during the exposure because of the wind. He weighs whether to leave them moving for drama or shoot a separate frame at higher ISO without the ND to get a sharp version for compositing in post. There is no wrong answer, but you have to decide before the light goes. Sitting on the fence costs you both options.
Step 6: Work the Foreground Actively, Not Passively
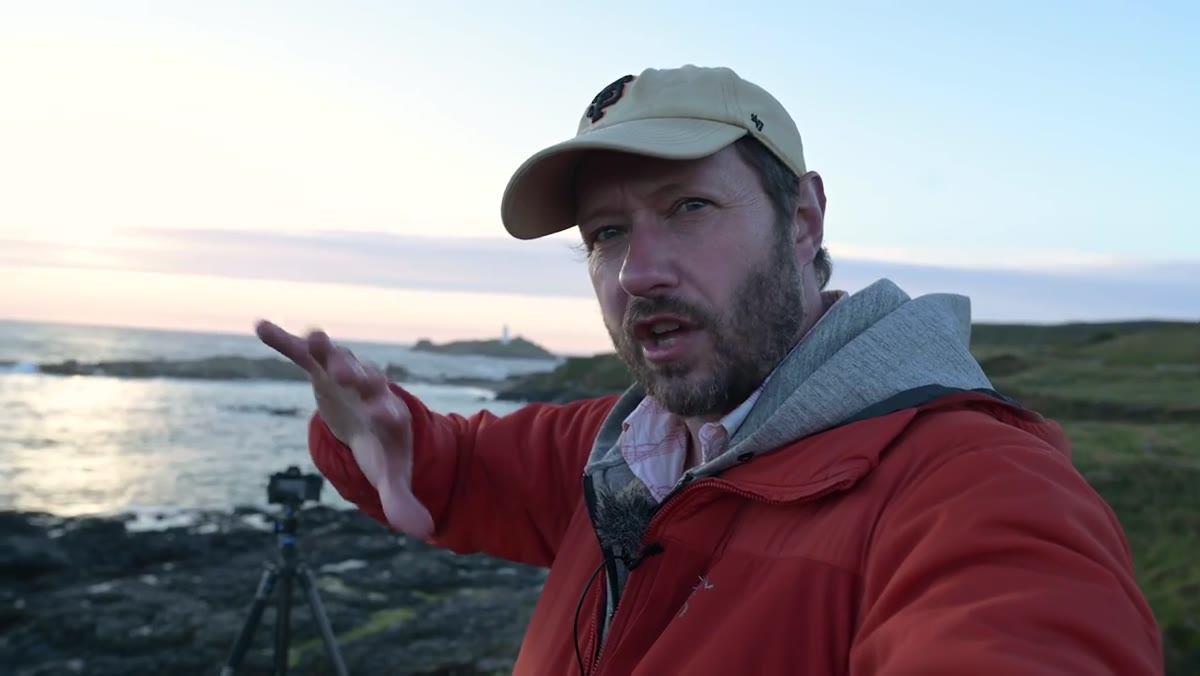 Danson watching for rocks covered and uncovered by wave wash for foreground timing
Danson describes waiting for a specific moment: a rock in the foreground covered by a wave, then uncovered as the water falls back. He wants to capture the sheet of water sliding off the rock’s surface. This is what separates a shot with a foreground from a shot that uses a foreground. You’re not just including the rocks because they fill the bottom third. You’re timing your shutter to catch a specific physical event happening on those rocks. I do this constantly in Oregon river scenes, waiting for the right volume of water to run over a particular boulder. It requires patience and a willingness to shoot thirty frames to get two that work.
Danson watching for rocks covered and uncovered by wave wash for foreground timing
Danson describes waiting for a specific moment: a rock in the foreground covered by a wave, then uncovered as the water falls back. He wants to capture the sheet of water sliding off the rock’s surface. This is what separates a shot with a foreground from a shot that uses a foreground. You’re not just including the rocks because they fill the bottom third. You’re timing your shutter to catch a specific physical event happening on those rocks. I do this constantly in Oregon river scenes, waiting for the right volume of water to run over a particular boulder. It requires patience and a willingness to shoot thirty frames to get two that work.
What I’d Add From My Own Experience: The One-Composition Trap
The pressure of fading light makes it tempting to commit to a single composition too early and then defend it even when the scene is telling you to move. Danson avoids this by continuing to evaluate even after he’s found a good position. I’ve stood in knee-deep water in the dark defending a shot that wasn’t working because I didn’t want to reset. These days I build in a deliberate checkpoint about fifteen minutes before peak light: is this still the best composition available, or am I just committed to it? That one question has saved more sessions than any piece of gear I own.
The core lesson in Danson’s tutorial is this: good sunset photography is active, not passive. You are reading the sky, adjusting your exposure, timing the water, and re-evaluating your position, all at the same time. The photographers who come home with something real are the ones who stay in motion right up to the moment they press the shutter.
Watch the full tutorial on YouTube to see Danson work through these decisions in real time at the coast. Watching someone else problem-solve in the field is one of the fastest ways to sharpen your own instincts.
Comments
Leave a Comment