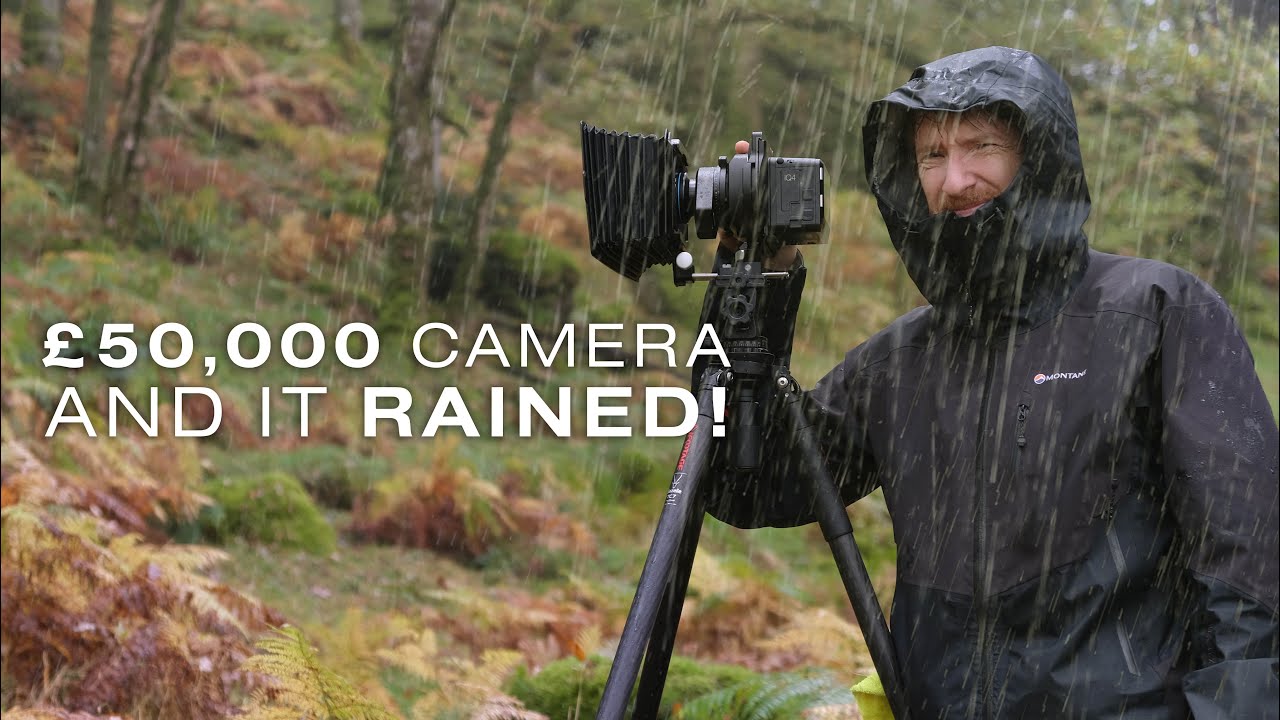
There’s a question I get at nearly every workshop I run: “Would better gear change your images?” My honest answer has always been the same. The light matters more than the camera. But I’ll admit there are moments when a piece of equipment makes you genuinely reconsider where the ceiling is. That’s the feeling I got watching Thomas Heaton take a Phase One XT IQ4 into the field, a system that runs north of £50,000, and document what it actually looks like to shoot with it as a working landscape photographer. In Watch the full tutorial on YouTube, Heaton isn’t selling you the camera. He’s doing something more useful: he’s thinking out loud about what sensor size really means at the extreme end of the medium format spectrum.
What struck me most wasn’t the price tag. It was the side-by-side comparison he does before ever walking out the door. That ten-minute stretch before he even reaches a location is worth more than most gear reviews I’ve read, because it forces a concrete conversation about what you’re actually trading when you move between sensor sizes. I’ve shot medium format for years, and I still found myself pausing and thinking harder about the relationship between physical sensor area and image character. Here’s a breakdown of what Heaton demonstrates and what I’d add from two decades of shooting in the field.
Step 1: Understand What You’re Actually Comparing Before You Touch a Shutter
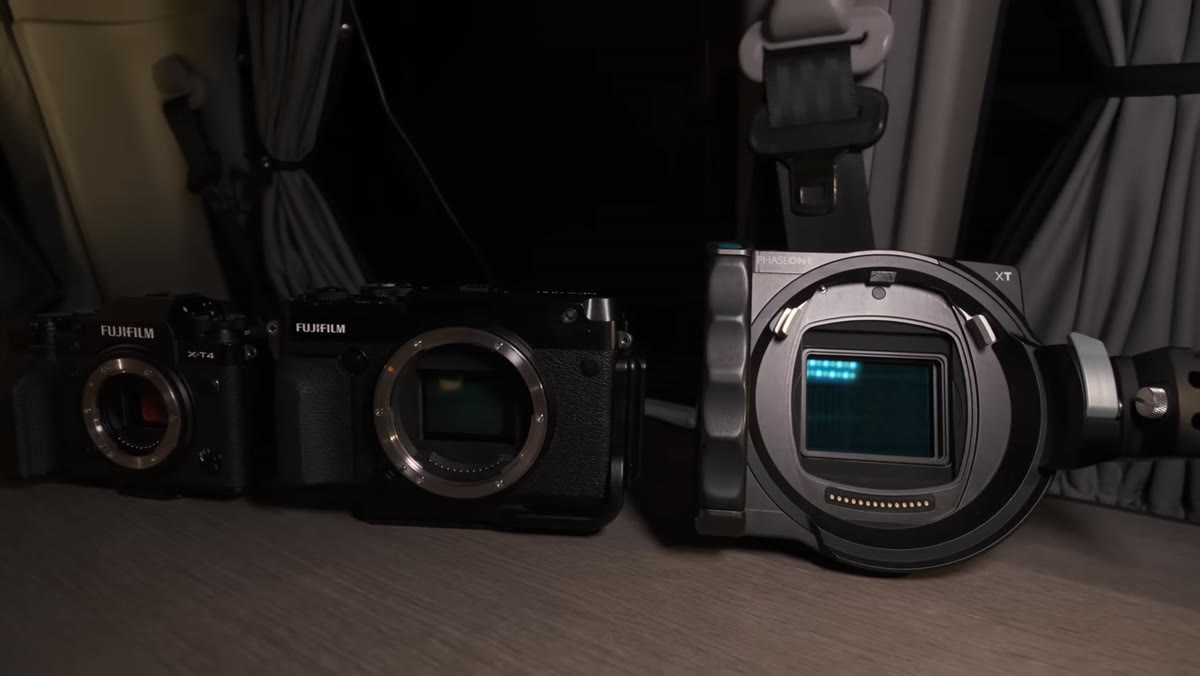
 Three cameras side by side showing sensor size differences
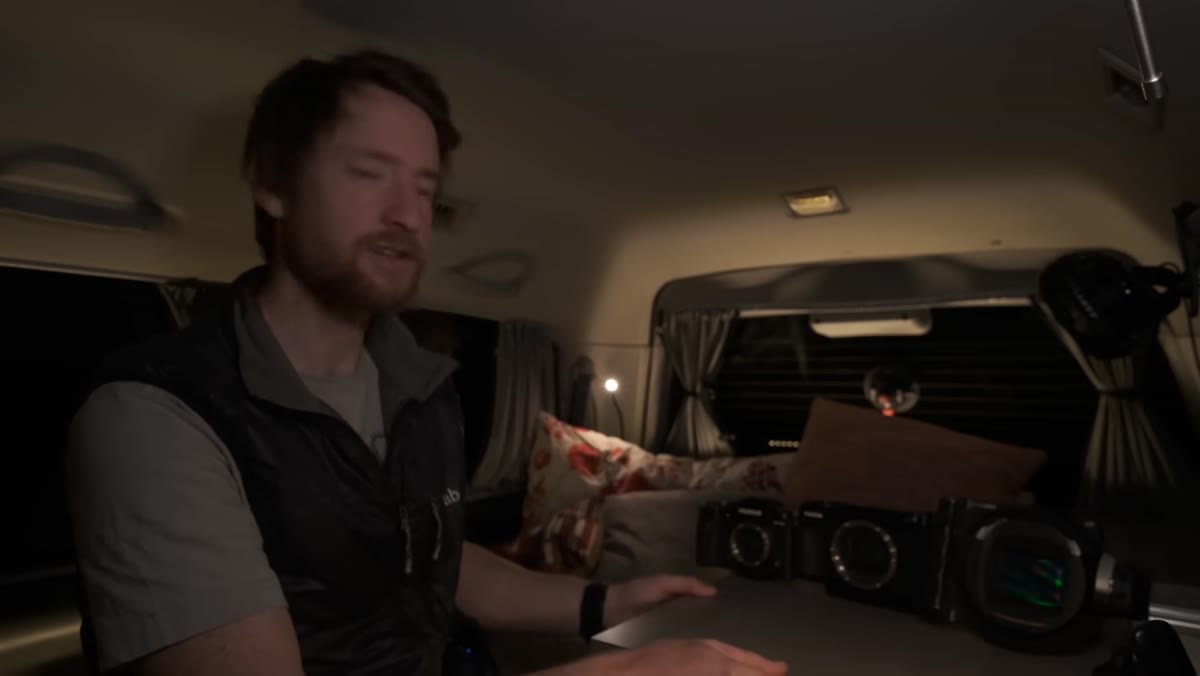
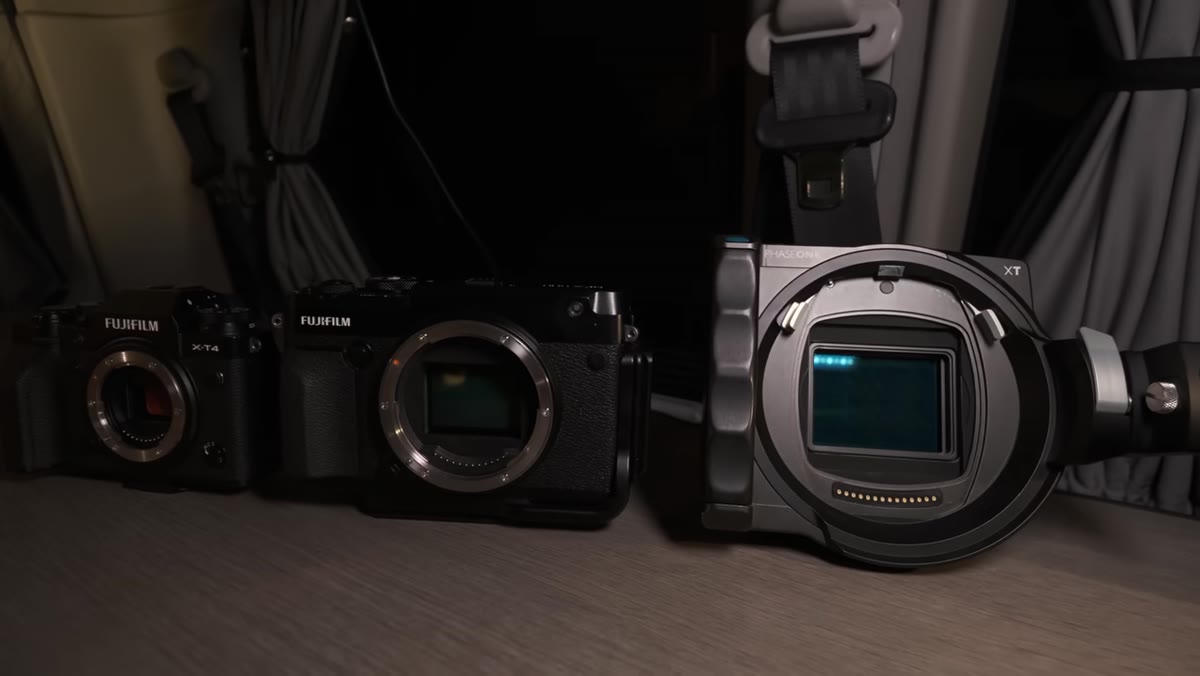
Heaton lines up three cameras: a crop sensor mirrorless body, a medium format GFX 50R, and the Phase One. He doesn’t just list the megapixel counts. He holds each sensor up to the camera so you can see the physical difference in area. This matters because photographers often confuse resolution with sensor size, and they are not the same thing. A larger sensor gathers more light across a wider area, which affects dynamic range, tonal depth, and low-light performance, not just how large you can print.
Three cameras side by side showing sensor size differences
Heaton lines up three cameras: a crop sensor mirrorless body, a medium format GFX 50R, and the Phase One. He doesn’t just list the megapixel counts. He holds each sensor up to the camera so you can see the physical difference in area. This matters because photographers often confuse resolution with sensor size, and they are not the same thing. A larger sensor gathers more light across a wider area, which affects dynamic range, tonal depth, and low-light performance, not just how large you can print.
When you’re in the field at first light with a hand on a tripod and the sky doing something complicated above you, that tonal depth is what gives you latitude in post. More sensor area means more room between the shadows and the highlights, which means fewer compromises when the scene won’t cooperate. Take note of the actual size difference Heaton shows between the GFX sensor and the Phase One sensor. It’s larger than most people expect.
Step 2: Calibrate Your Expectations Around Megapixels
 Close-up of Phase One sensor showing physical size
The Phase One IQ4 back delivers 150 megapixels. Heaton is honest about the context here: this isn’t a camera for everyone, and he doesn’t pretend otherwise. But the point he makes is worth sitting with. Moving from 50 megapixels to 150 is not a linear improvement in your images. It’s a change in what becomes possible, specifically in the realm of large format printing, extreme crops, and fine detail in complex textures like foliage, rock faces, or water.
Close-up of Phase One sensor showing physical size
The Phase One IQ4 back delivers 150 megapixels. Heaton is honest about the context here: this isn’t a camera for everyone, and he doesn’t pretend otherwise. But the point he makes is worth sitting with. Moving from 50 megapixels to 150 is not a linear improvement in your images. It’s a change in what becomes possible, specifically in the realm of large format printing, extreme crops, and fine detail in complex textures like foliage, rock faces, or water.
Before you dismiss this as irrelevant to your own kit, apply the principle to whatever gear you’re working with. Know what your sensor’s actual ceiling is before you blame the equipment. If you’re shooting a 24-megapixel full-frame body, understand that the bottleneck when printing at 40 inches wide is probably your sensor, not your technique. Knowing that helps you make intentional decisions rather than frustrated ones.
Step 3: Acknowledge the Conditions You’re Working In
 Heaton discussing weather conditions affecting the shoot
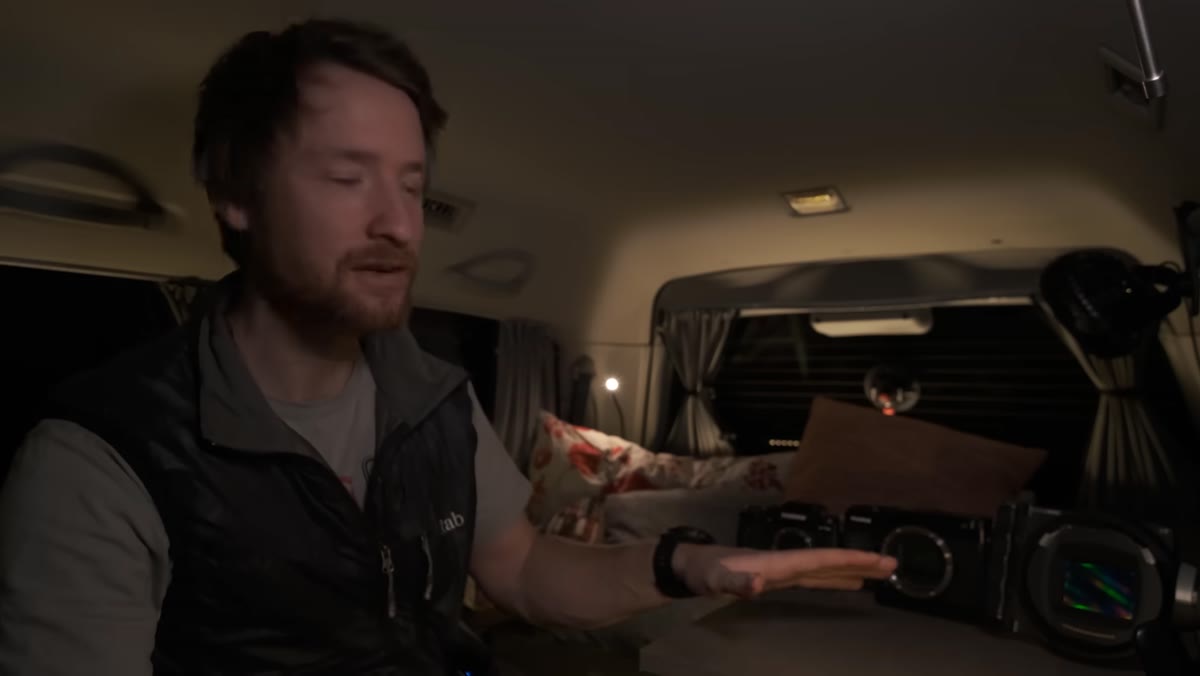
Heaton is candid that the weather for this shoot is not ideal. He says it plainly and moves on. This is the right attitude. I once drove six hours to a location in the Columbia River Gorge, set up in perfect position, and watched two days of fog roll in and refuse to lift. I left with one usable frame. It’s my best-selling print. The point is that you shoot in the conditions you have, not the ones you planned for.
Heaton discussing weather conditions affecting the shoot
Heaton is candid that the weather for this shoot is not ideal. He says it plainly and moves on. This is the right attitude. I once drove six hours to a location in the Columbia River Gorge, set up in perfect position, and watched two days of fog roll in and refuse to lift. I left with one usable frame. It’s my best-selling print. The point is that you shoot in the conditions you have, not the ones you planned for.
What matters here for the practical workflow is this: when you’re working with a system as sensitive and capable as the Phase One, unflattering or flat light doesn’t mean you come home empty-handed. It means the images will carry different information. Soft, diffused light in woodland can actually work in your favor with a high-resolution sensor because fine detail reads cleanly without harsh shadows competing for attention.
Step 4: Move Slowly and Let the Scene Reveal Itself
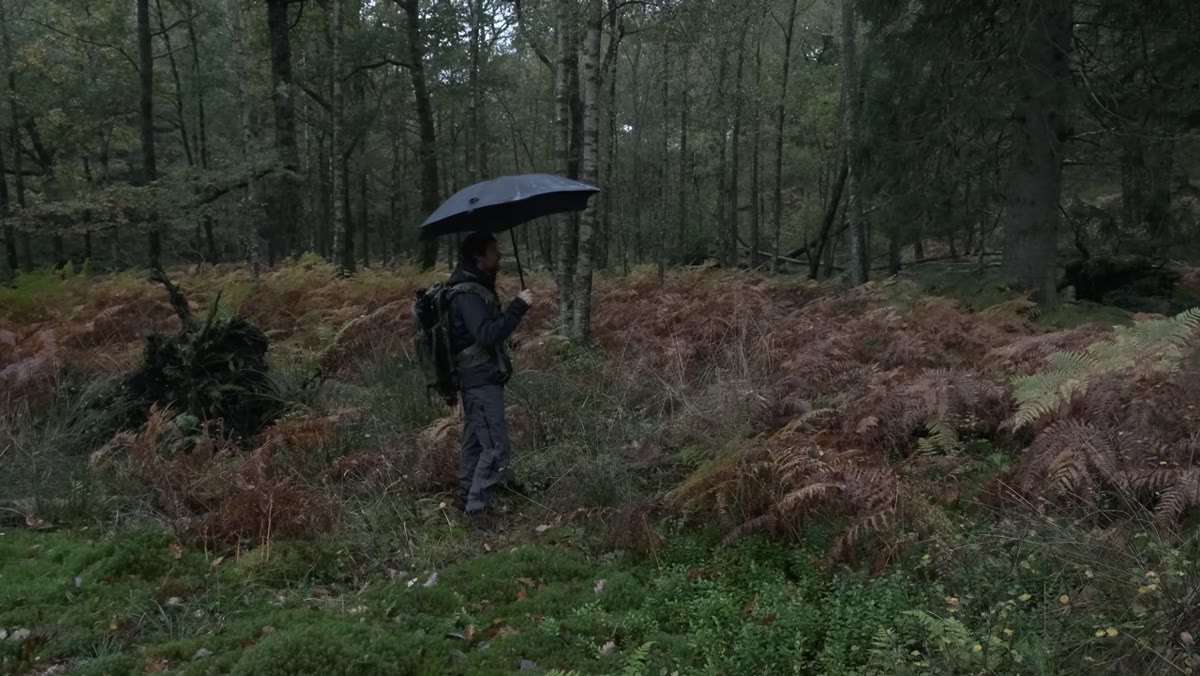 Heaton walking through woodland as light gradually increases
After about thirty minutes of walking in the woods, Heaton describes how the scene changes as the light gradually builds. This is not a throwaway observation. It’s the core discipline of landscape photography. Slow down to the pace of the light. I wake up before 4am on most shoot days not because I’m disciplined, but because I’ve learned that the best moments in any landscape happen in a narrow window, and you have to be already present when they arrive.
Heaton walking through woodland as light gradually increases
After about thirty minutes of walking in the woods, Heaton describes how the scene changes as the light gradually builds. This is not a throwaway observation. It’s the core discipline of landscape photography. Slow down to the pace of the light. I wake up before 4am on most shoot days not because I’m disciplined, but because I’ve learned that the best moments in any landscape happen in a narrow window, and you have to be already present when they arrive.
With a camera system this deliberate, where the files are enormous and every frame has weight, the pace of shooting naturally slows down. That’s a feature, not a limitation. It mirrors the approach I take when I occasionally pull out my film camera. You stop pressing the shutter on instinct and start pressing it on intention. Whether you’re shooting a £50,000 Phase One or a used crop sensor body, training yourself to work slowly and observe before you compose will improve your images more than any gear purchase.
Step 5: Let the File Size Work For You in Post
 Heaton showing the scale of Phase One sensor relative to hand
At 150 megapixels, the files coming out of the Phase One IQ4 are not small. Heaton acknowledges this as part of the overall ecosystem you’re buying into. The workflow implications are real: storage, processing power, software compatibility, and export times all scale with the file size. But the payoff, especially in print, is a level of detail that opens up possibilities most of us never hit with smaller systems.
Heaton showing the scale of Phase One sensor relative to hand
At 150 megapixels, the files coming out of the Phase One IQ4 are not small. Heaton acknowledges this as part of the overall ecosystem you’re buying into. The workflow implications are real: storage, processing power, software compatibility, and export times all scale with the file size. But the payoff, especially in print, is a level of detail that opens up possibilities most of us never hit with smaller systems.
If you’re working with a high-resolution camera of any kind, build your post-processing workflow around the files you’re actually generating. Don’t downsample out of habit. Open the full file, examine it at 100%, and understand what the sensor captured. That practice alone will change how you shoot because you’ll start seeing what your current system can and can’t hold onto.
What I’d Add From the Field
The one thing Heaton’s video doesn’t fully explore, probably because the weather limited his shooting, is how a sensor this large performs in mixed lighting transitions, specifically the kind of scene where one edge of the frame is in shadow and the other is catching early sun. That’s where the dynamic range advantage of a large-format sensor becomes most visible and where photographers with full-frame systems often have to decide between exposing for the highlights or the shadows. My experience with medium format in those conditions is that you get closer to one exposure that holds both ends of the tonal range without a bracket. It’s not magic, but it’s a genuine operational advantage when you’re working fast and the window is closing.
The gear isn’t the point, and Heaton knows that. The point is understanding your tools clearly enough to use them without hesitation when the light arrives. Whatever you’re carrying, know its ceiling. Shoot to it. The camera doesn’t care what it cost. The mountain doesn’t care about your schedule. Show up, slow down, and let the scene do the work.
Watch the full tutorial on YouTube to see Heaton’s full sensor comparison and the woodland footage from the Phase One shoot.
Comments (2)
The tip about what a £50000 camera taught me was the missing piece for me. Thank you.
Great article! I actually covered something related on my site — the workflows angle is really complementary to this.
Leave a Comment