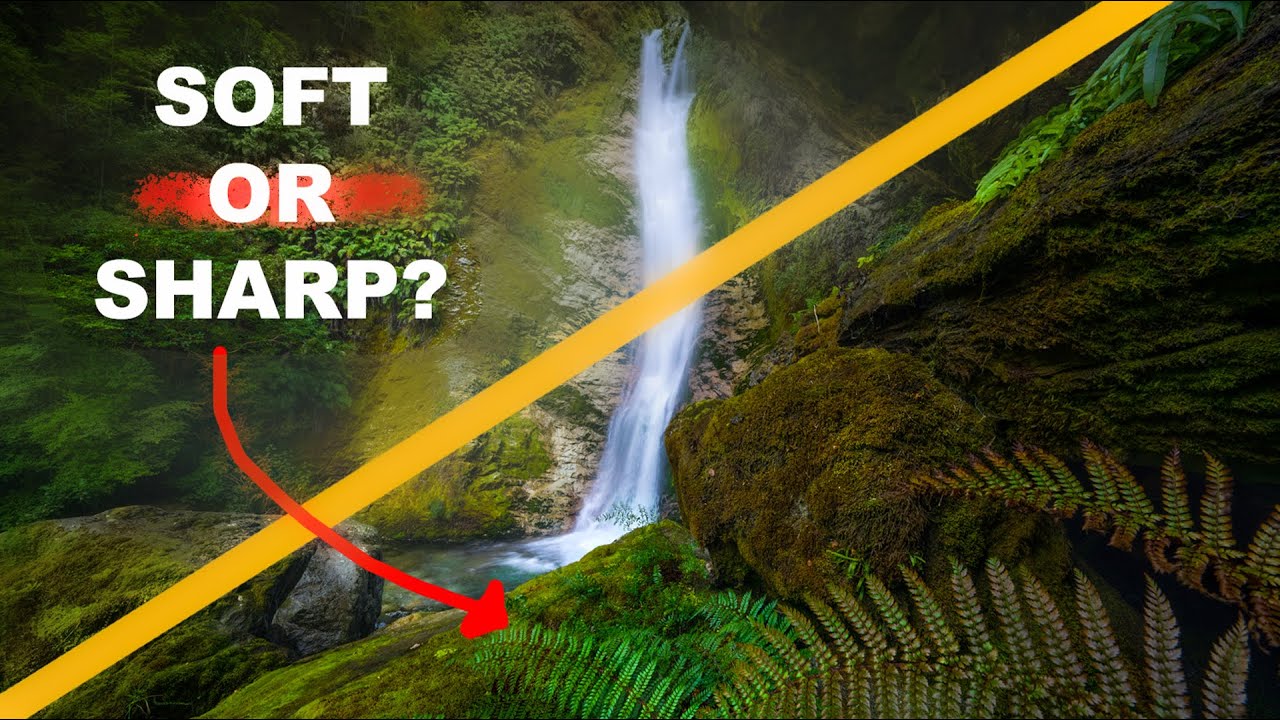
There’s a particular kind of shoot I’ve done more times than I can count: no scouted location, no confirmed conditions, just a glimpse of something on a map or a distant ridgeline that says maybe. Those shoots terrify newer photographers. They don’t have a shot list, no reference images to reverse-engineer, no guarantee the light will cooperate. But after twenty years of doing this for a living, I’d argue that kind of uncertainty is where the best work gets made. The element of surprise forces you to see instead of execute.
That’s exactly what drew me to this tutorial from William Patino. In it, he bushwhacks into an unnamed rainforest waterfall he’s never visited, shooting conditions as they develop rather than conditions he planned for. What makes it instructional isn’t just the destination. It’s watching how a seasoned shooter makes decisions in real time, when the ground is unstable, the weather is moving in, and there’s no second visit scheduled. Watch the full tutorial on YouTube and follow along below with my breakdown of the key steps at work.
The tutorial operates on two tracks simultaneously, the creative and the technical, and they’re more tangled together than most photography education admits. Here’s how to pull them apart and put them to use.
Step 1: Commit to the Adventure Before You Have a Shot in Mind
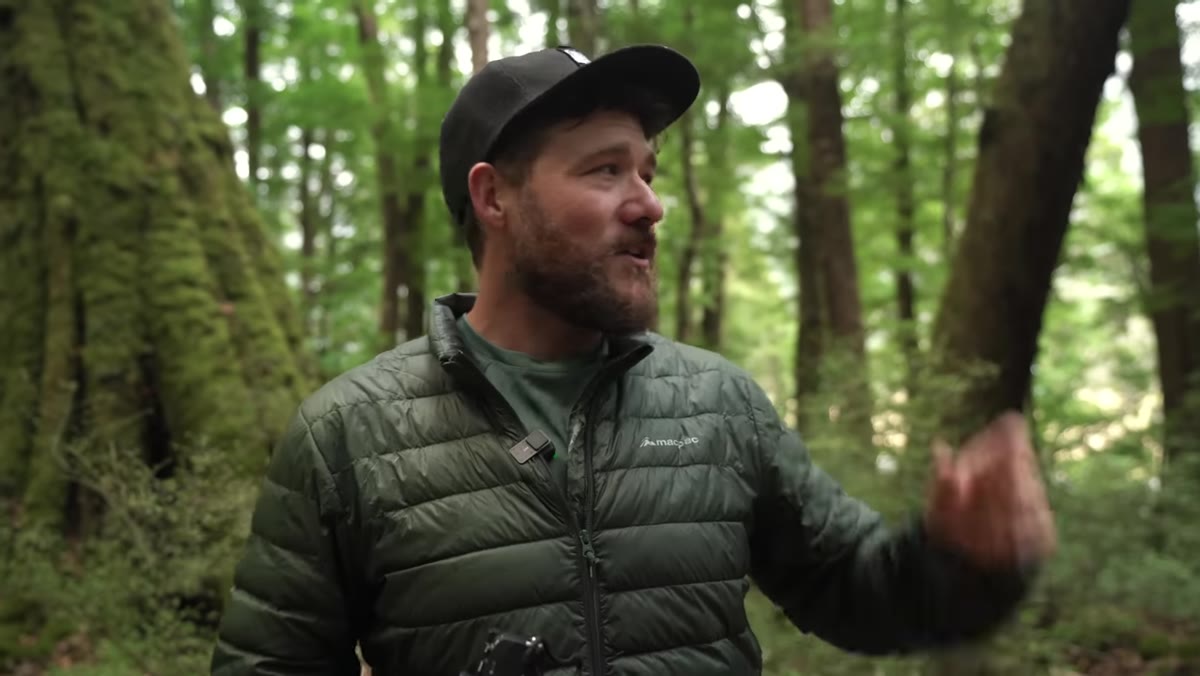 Patino gearing up in a green rainforest valley
Patino doesn’t wait until he has a confirmed composition to start moving. He spots a waterfall from a distance, checks a map, and goes. This sounds obvious, but the trap most photographers fall into is only committing to a location once they’ve seen someone else’s photograph of it. That habit breeds derivative work. Going somewhere unphotographed means you’re not competing with a reference image in your own head. You’re just looking.
Patino gearing up in a green rainforest valley
Patino doesn’t wait until he has a confirmed composition to start moving. He spots a waterfall from a distance, checks a map, and goes. This sounds obvious, but the trap most photographers fall into is only committing to a location once they’ve seen someone else’s photograph of it. That habit breeds derivative work. Going somewhere unphotographed means you’re not competing with a reference image in your own head. You’re just looking.
In practice, this means spending time with topographic maps and satellite imagery looking for terrain features that suggest water. Steep gradient changes, tight valley floors, dense tree cover in arid zones. You won’t know what you’re walking into, and that’s the point. The creative side of photography starts before you pick up a camera.
Step 2: Edit Your Gear Load Based on Terrain, Not Wishful Thinking
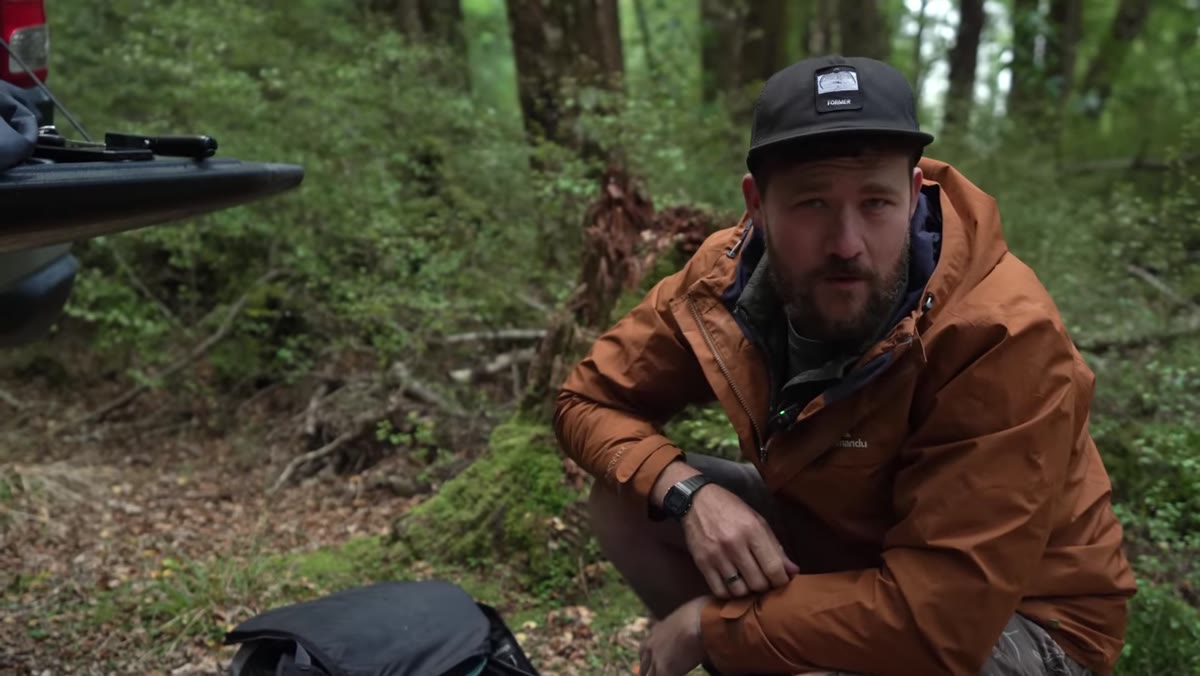 Camera bag being packed, telephoto lens set aside
One of the most practical decisions Patino makes is leaving his 100-400mm telephoto behind. The walk is under an hour, but he knows river crossings, wet terrain, and dense bush are involved. He takes a wide zoom (12-24mm) and a mid-range zoom (28-75mm) and accepts the tradeoff. He even jokes that leaving the telephoto behind is practically a guarantee he’ll find a perfect telephoto scene inside.
Camera bag being packed, telephoto lens set aside
One of the most practical decisions Patino makes is leaving his 100-400mm telephoto behind. The walk is under an hour, but he knows river crossings, wet terrain, and dense bush are involved. He takes a wide zoom (12-24mm) and a mid-range zoom (28-75mm) and accepts the tradeoff. He even jokes that leaving the telephoto behind is practically a guarantee he’ll find a perfect telephoto scene inside.
That self-aware humor is actually a mature way of thinking about gear. You can’t carry everything, and carrying too much means you move slower, fall harder, and tire faster. For shoots involving river crossings or off-trail terrain, I apply a simple rule: if I can’t comfortably recover from a stumble while wearing the pack, I’ve brought too much. Waders, rain jacket, and a two-lens kit is a complete system for most waterfall work.
Step 3: Read the River Before You Cross It
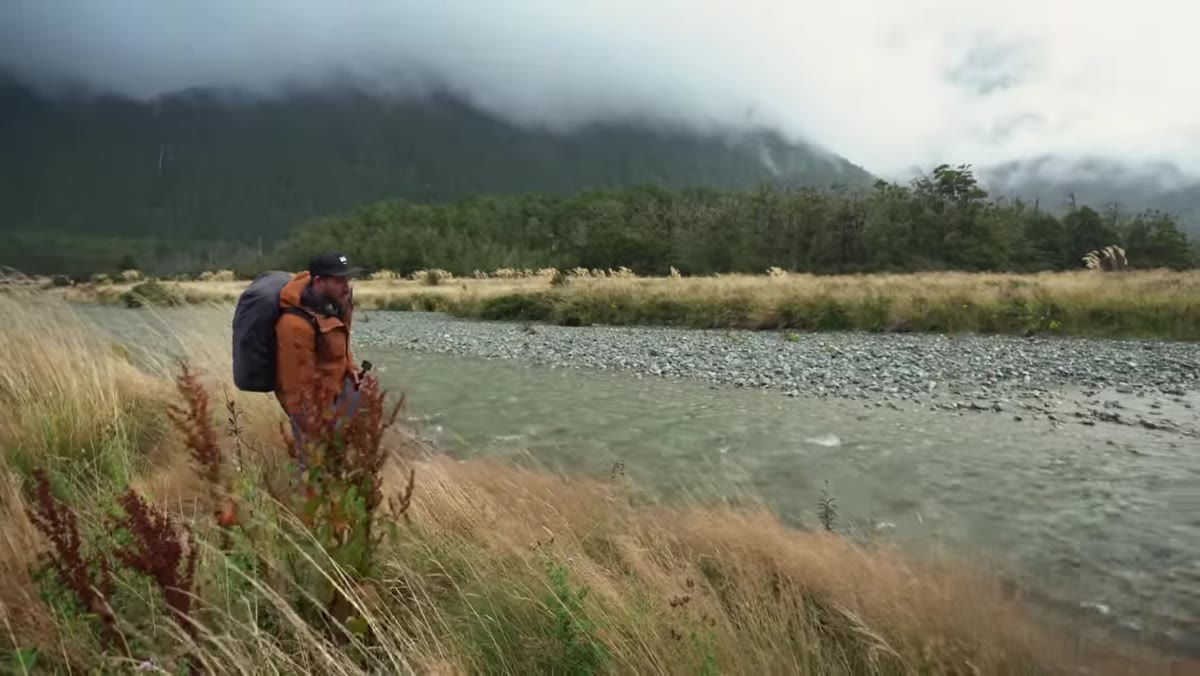 Patino wading through a river crossing with waders on
River safety gets a few quiet but serious moments in the tutorial. Patino scouts crossing points, watches the current depth, and keeps one eye on incoming weather. He makes the point directly: if a major storm is building upstream, the river will swell fast, and what was crossable on the way in might not be crossable on the way out.
Patino wading through a river crossing with waders on
River safety gets a few quiet but serious moments in the tutorial. Patino scouts crossing points, watches the current depth, and keeps one eye on incoming weather. He makes the point directly: if a major storm is building upstream, the river will swell fast, and what was crossable on the way in might not be crossable on the way out.
The technical habit here is to always assess your exit before you commit to an entry. Look at the sky upstream, not just where you’re standing. Waders are essential, but they create their own risk if water tops them. Cross at the widest, shallowest point, angle slightly downstream, and move one foot at a time. Never cross with your camera raised. If you go down, you go down. Gear can be dried. The instinct to protect the camera at the cost of your body is a trap Patino specifically calls out, and he’s right. I have a scar on my left elbow that agrees with him.
Step 4: Let Incoming Weather Work For You
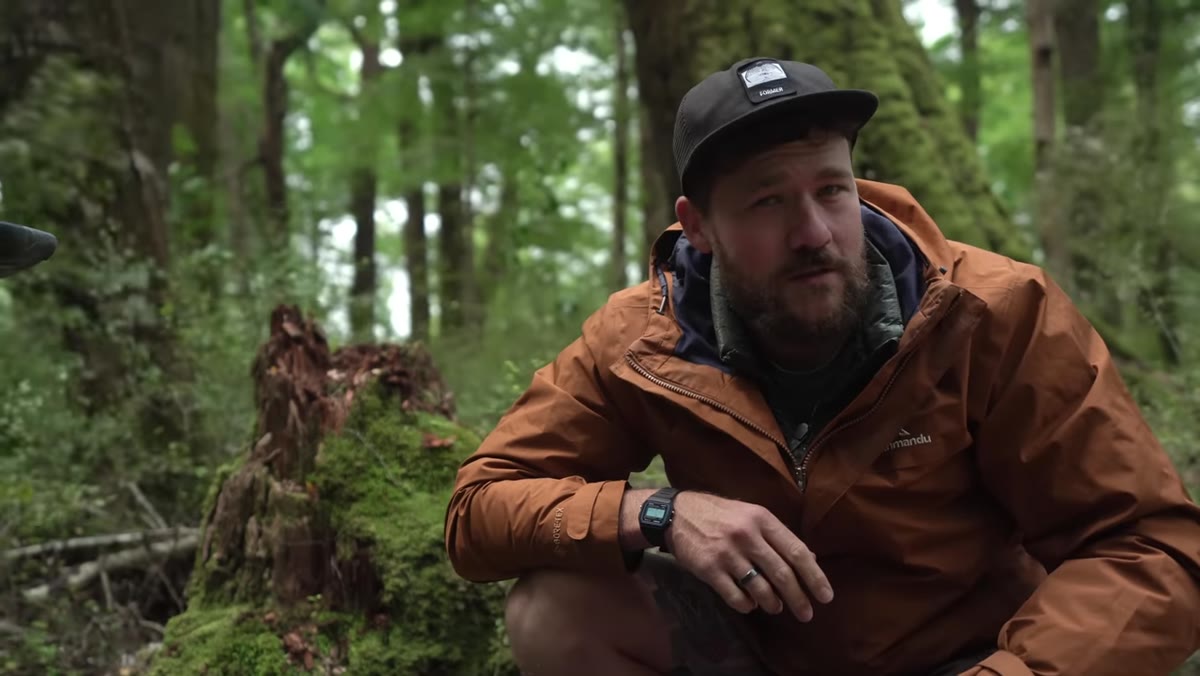 Overcast moody sky above valley with mist developing
Most photographers treat bad weather as a problem to solve. Patino treats it as an ingredient. The overcast, moody conditions rolling in over the valley do two things for waterfall photography: they eliminate harsh contrast between bright water and shadowed rock, and they lift the overall moisture in the air, which adds atmosphere to any wide shot.
Overcast moody sky above valley with mist developing
Most photographers treat bad weather as a problem to solve. Patino treats it as an ingredient. The overcast, moody conditions rolling in over the valley do two things for waterfall photography: they eliminate harsh contrast between bright water and shadowed rock, and they lift the overall moisture in the air, which adds atmosphere to any wide shot.
From a settings standpoint, flat light means you can expose for the full scene without needing to bracket. Use a polarizing filter to cut glare off wet surfaces. A slower shutter speed (anywhere from 1/4 second to 2 full seconds depending on flow volume) will smooth the water into that silky texture that reads well in print. I usually start at ISO 100, f/11, and dial the shutter until the histogram sits just left of the right wall, then adjust from there.
Step 5: Understand the Geology Shaping Your Foreground
 Wide valley floor with glacially carved terrain visible
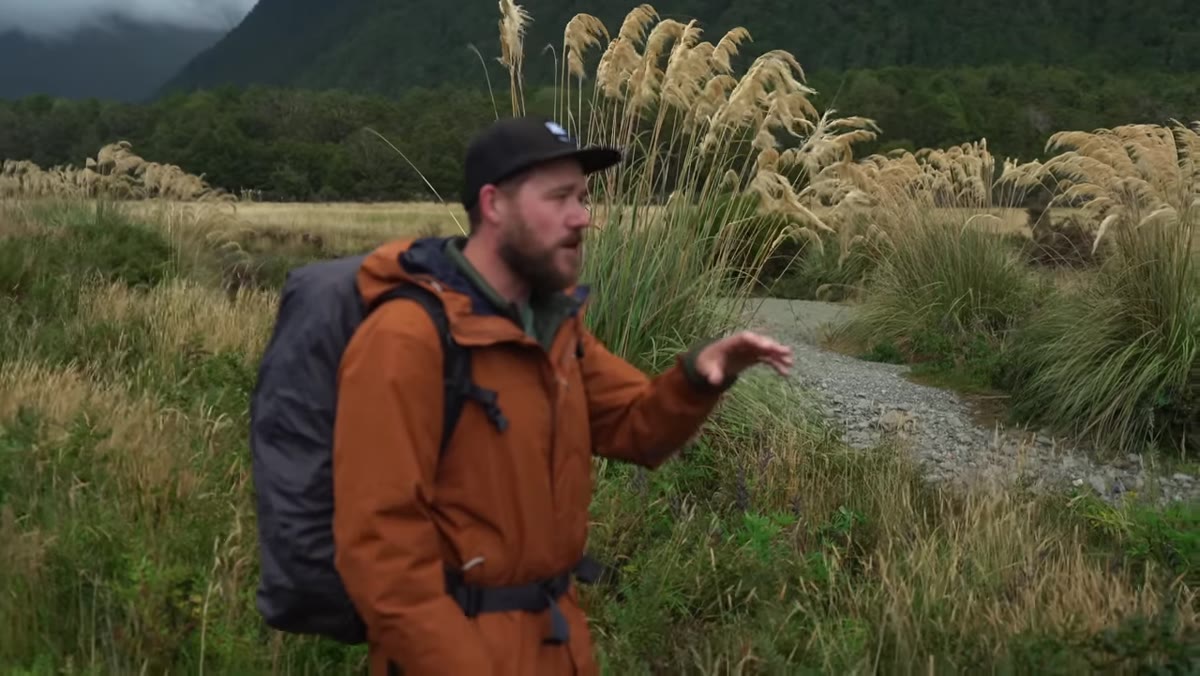
Partway through the hike, Patino explains that the valley was glacially carved and that the river has shifted course repeatedly over thousands of years. This left behind disconnected channels, deep still pools, and irregular terrain that looks flat from a distance but is actually full of texture and visual interest up close.
Wide valley floor with glacially carved terrain visible
Partway through the hike, Patino explains that the valley was glacially carved and that the river has shifted course repeatedly over thousands of years. This left behind disconnected channels, deep still pools, and irregular terrain that looks flat from a distance but is actually full of texture and visual interest up close.
This kind of geological awareness changes what you look for in a foreground. Old river channels create leading lines. Carved pools reflect sky. Stranded boulders add scale. Before any shoot in new terrain, spend five minutes reading the landscape like a geologist, not a photographer. Ask what forces shaped this ground, and then ask what’s left behind that a camera can use.
Step 6: Stay Flexible When the Scene Doesn’t Match Your Expectation
 First view of the waterfall through rainforest canopy
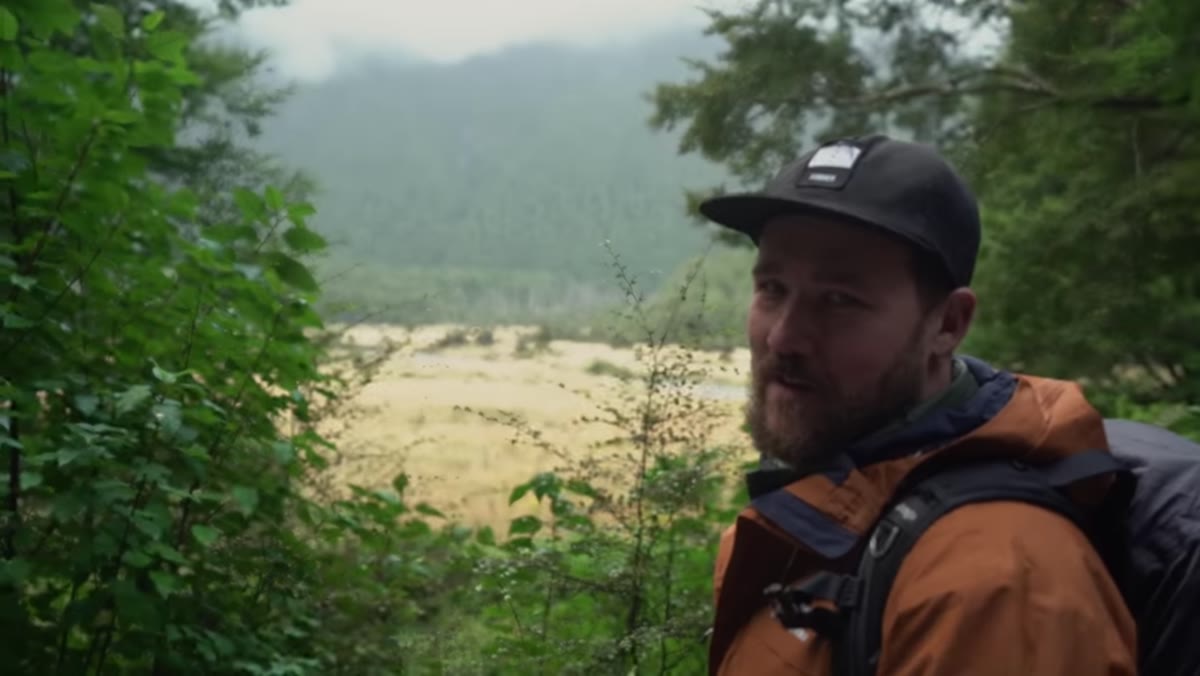
Patino’s first glimpse of the waterfall suggests the upper section is the main feature, but he immediately pivots his interest to the lower section, wondering if there’s a gorge below that might be more photographically interesting. He hasn’t committed to a composition before he’s even arrived. That openness is a skill.
First view of the waterfall through rainforest canopy
Patino’s first glimpse of the waterfall suggests the upper section is the main feature, but he immediately pivots his interest to the lower section, wondering if there’s a gorge below that might be more photographically interesting. He hasn’t committed to a composition before he’s even arrived. That openness is a skill.
The technical version of this is: don’t set up your tripod at the first spot that looks reasonable. Walk the full scene before you commit. Especially with waterfalls, the angle that isolates the water against a clean background, the position that includes a strong foreground, and the spot where the light is actually usable are rarely the same place. Give yourself twenty minutes of exploration before the tripod legs touch the ground.
What I’d Add From My Own Experience
Patino doesn’t discuss this directly, but one thing I’d layer onto everything he demonstrates here is the value of returning to the same unnamed place. The first visit is for discovery. You’re managing logistics, reading terrain, staying safe, and trying to absorb what’s in front of you. The photographs you make on that first visit are almost never your best ones from that location. They’re the scouting portfolio.
I once drove six hours to a basalt formation in central Oregon, sat in fog for two straight days, and came home with a single usable frame. That frame is now my best-selling print. The fog was the picture. But I only recognized it because I’d stopped expecting what I’d originally gone to shoot. First visits teach you what the place is. Later visits let you photograph it.
The single most transferable idea in this tutorial is that the creative and technical sides of photography are not separate disciplines you switch between. They’re simultaneous. While Patino is making safe river crossings and calibrating his gear load, he’s also staying emotionally open to surprise, reading the atmosphere, and letting the location show him what it wants to be. That’s the work. Not settings, not gear, not location scouting in isolation. All of it, running at once, in wet boots, on uncertain ground.
Watch the full tutorial on YouTube to see every one of these decisions happen in real time.
Comments (2)
Bookmarked. Coming back to this one for sure.
My workflow just got 10x faster. Not even kidding.
Leave a Comment