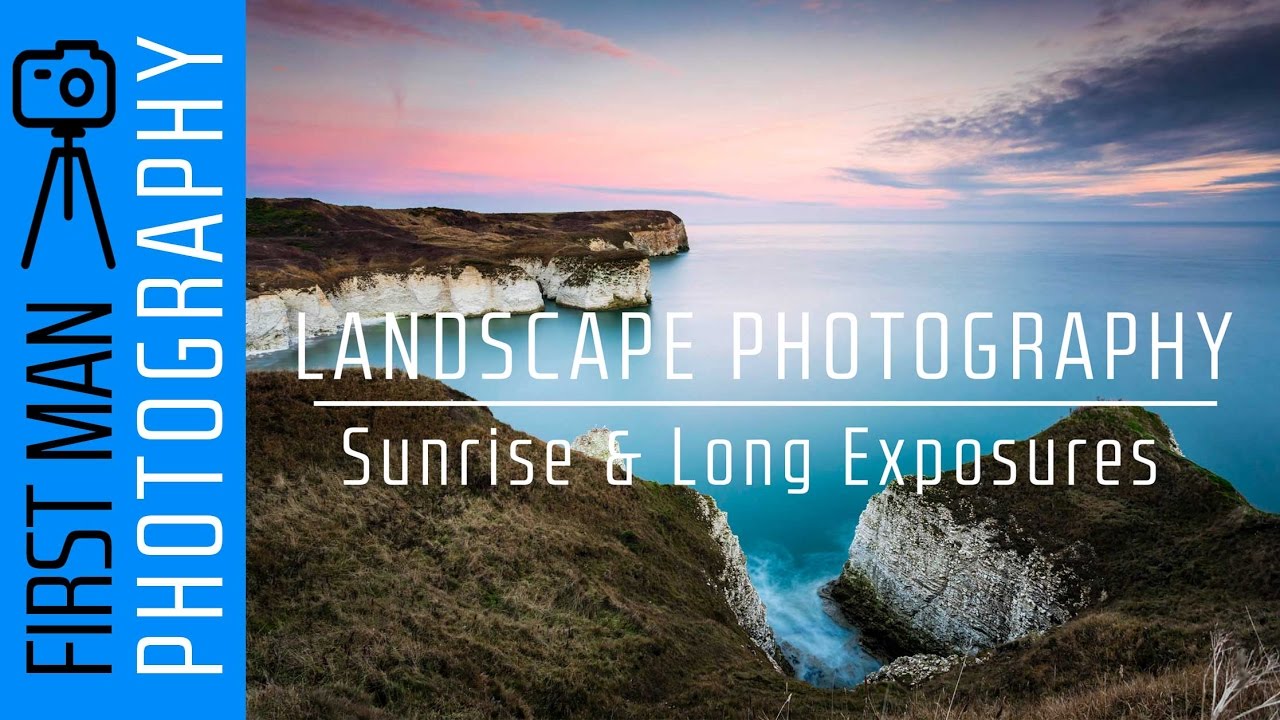
There is a particular kind of quiet that happens at 4am when you’re standing on a cliff edge with the sea below you, wondering if the cloud sitting on the horizon is going to ruin everything. I’ve been in that exact moment more times than I can count, and what separates a productive shoot from a wasted drive is almost never the weather. It’s whether you’ve built enough flexibility into your approach to find a shot when your planned shot disappears. That’s why a recent tutorial from First Man Photography stopped me cold. In this First Man Photography vlog, the creator drives out to Flamborough Head on the East Yorkshire coast of England for a pre-dawn shoot, arrives to find a wall of cloud on the horizon, and proceeds to make the best of it with a level of calm that I genuinely respect. Watch the full tutorial on YouTube before or after reading this breakdown.
What he demonstrates isn’t a single trick. It’s a repeatable system: plan the shot, read the light you actually have, adjust your composition, then use your filtration and bracketing to extract the maximum from the scene in front of you. I’ve spent two decades doing this work and I still picked up useful specifics from watching him move through each decision methodically. The steps below are what I pulled out, reframed for anyone who wants to take a similar approach to a coastal shoot.
Step 1: Pre-Plan the Shot with a Sun-Tracking App
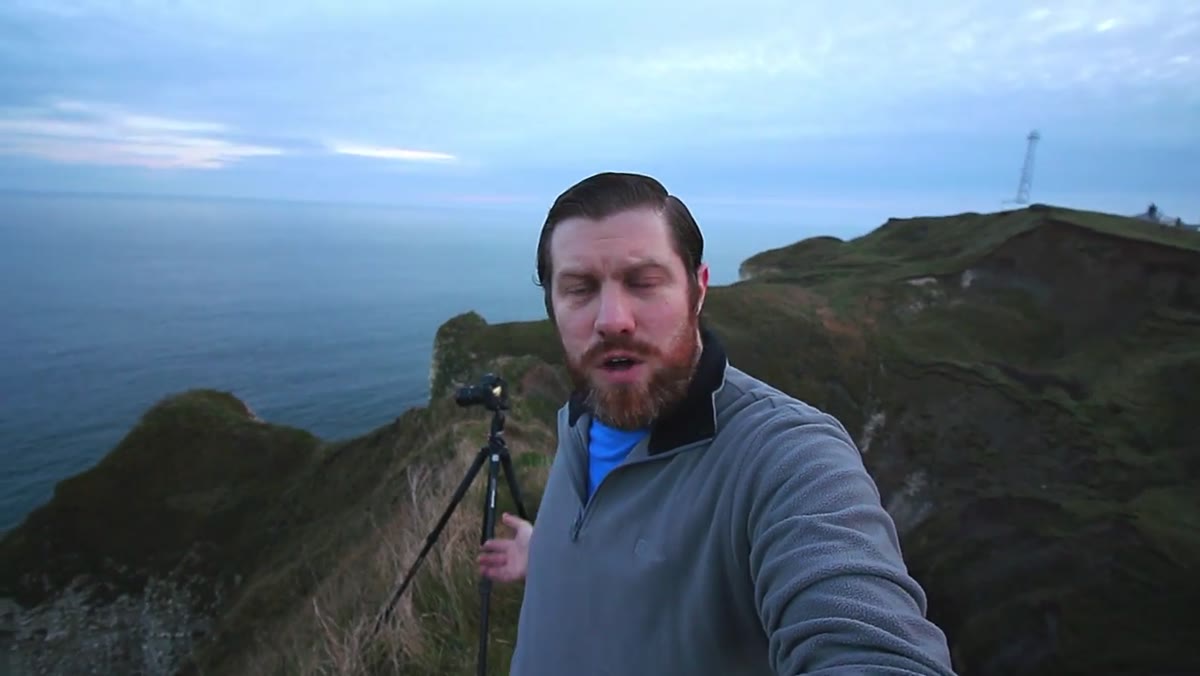
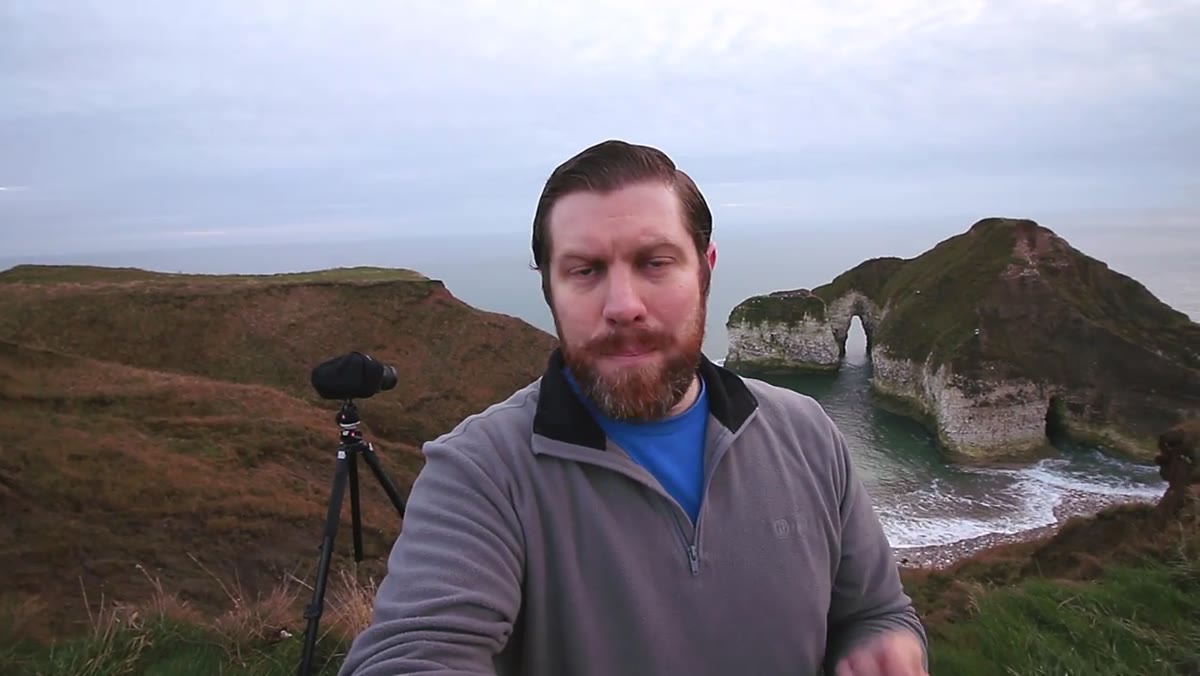 PhotoPills app mentioned while standing at planned composition
Before leaving home, the creator used PhotoPills to determine exactly where the sun would rise relative to his chosen composition. He knew the sun would crest the horizon at a specific angle, aligned with the cliffs that would serve as his foreground. This isn’t optional prep work. Showing up at a coastal location and guessing where to point your camera during the 15-minute window around sunrise is a fast way to come home empty-handed. Apps like PhotoPills or The Photographer’s Ephemeris let you pin a location, dial in the date, and visualize the sun’s arc overlaid on a map. Do this the night before so you arrive with a composition already in mind rather than working one out in the dark.
PhotoPills app mentioned while standing at planned composition
Before leaving home, the creator used PhotoPills to determine exactly where the sun would rise relative to his chosen composition. He knew the sun would crest the horizon at a specific angle, aligned with the cliffs that would serve as his foreground. This isn’t optional prep work. Showing up at a coastal location and guessing where to point your camera during the 15-minute window around sunrise is a fast way to come home empty-handed. Apps like PhotoPills or The Photographer’s Ephemeris let you pin a location, dial in the date, and visualize the sun’s arc overlaid on a map. Do this the night before so you arrive with a composition already in mind rather than working one out in the dark.
Step 2: Arrive Early and Assess the Light Before Setting Up
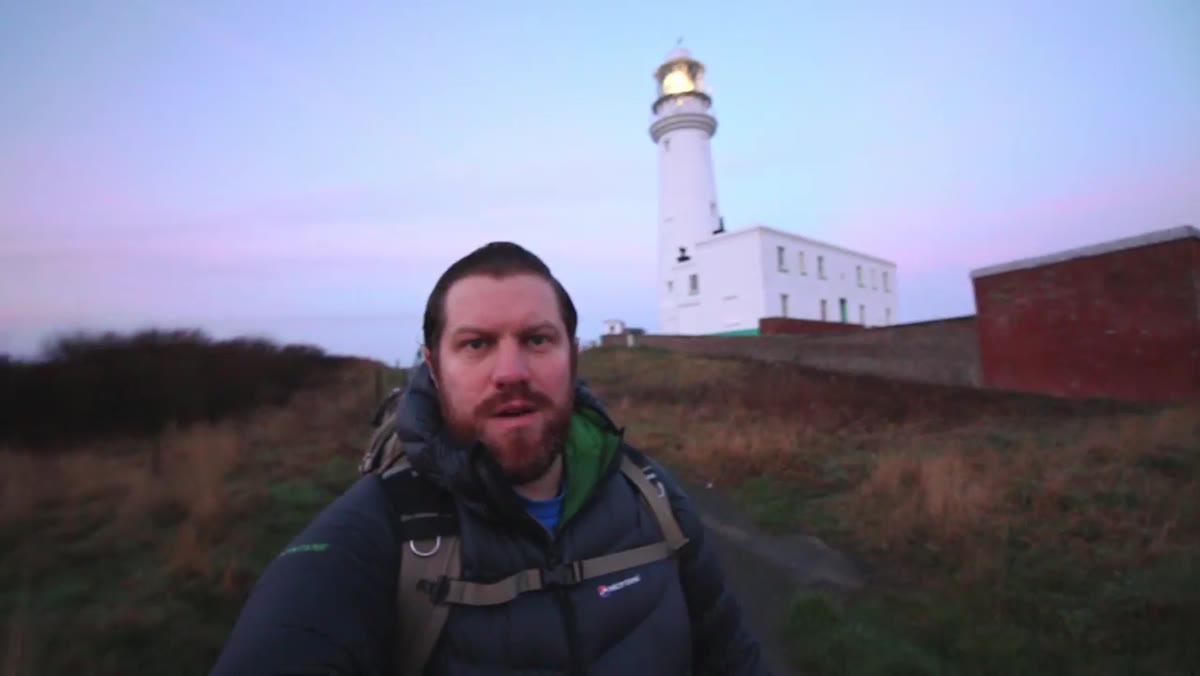 Arriving at location, cloud cover visible on horizon at dawn
He arrived with enough time to walk the cliffs before the light peaked, which gave him a critical window to assess conditions. What he found was a thick band of cloud sitting right on the horizon, which would block the direct sunrise he had planned. Rather than setting up anyway and hoping, he made a fast decision: the original composition wasn’t going to work, but there was beautiful pink and violet color in the sky above the cloud layer, and that color was landing on the cliff face to his side. Reading light quickly, before golden hour slips away, is a skill that only comes from doing it repeatedly. Arrive 30 to 45 minutes before sunrise, walk the location, and look at where the color is actually falling rather than where you assumed it would.
Arriving at location, cloud cover visible on horizon at dawn
He arrived with enough time to walk the cliffs before the light peaked, which gave him a critical window to assess conditions. What he found was a thick band of cloud sitting right on the horizon, which would block the direct sunrise he had planned. Rather than setting up anyway and hoping, he made a fast decision: the original composition wasn’t going to work, but there was beautiful pink and violet color in the sky above the cloud layer, and that color was landing on the cliff face to his side. Reading light quickly, before golden hour slips away, is a skill that only comes from doing it repeatedly. Arrive 30 to 45 minutes before sunrise, walk the location, and look at where the color is actually falling rather than where you assumed it would.
Step 3: Adapt Your Composition to the Available Light
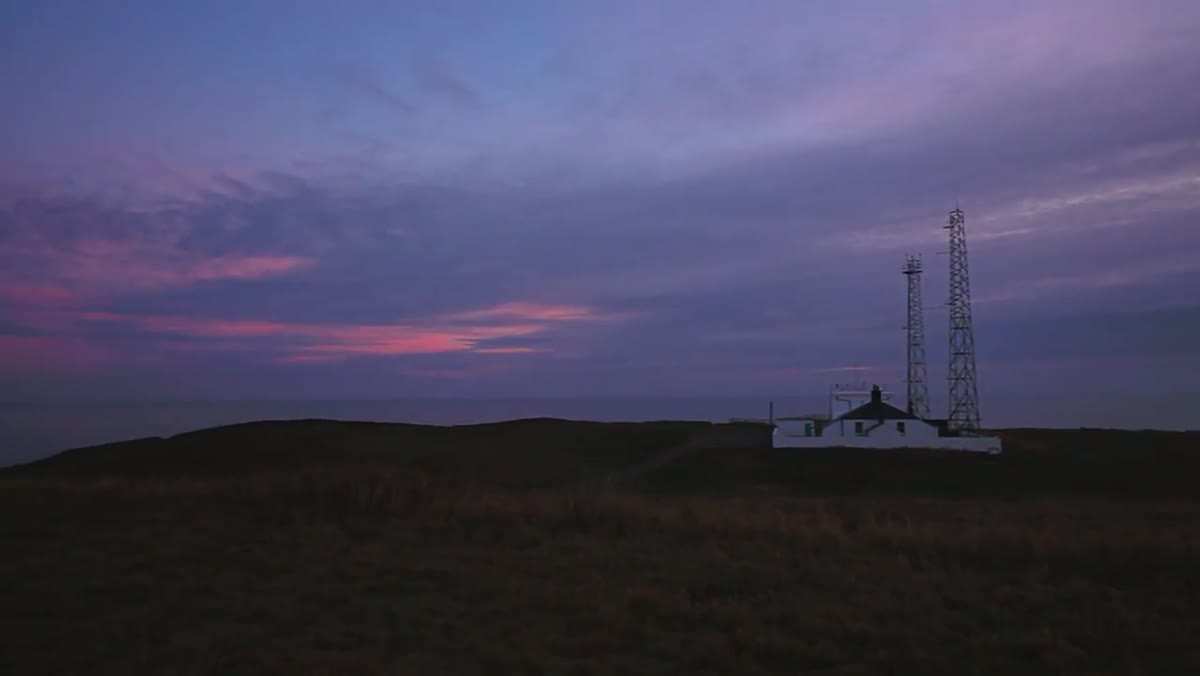 Camera set up facing cliffs with pink sky visible behind
The pivot he makes here is worth studying closely. Instead of forcing the original seaward composition with a flat, unlit horizon, he turns toward the cliffs where the pink light is actually painting the scene. He uses those cliff faces as his background and frames the water in the foreground. The composition still has depth, still has motion potential in the water, and still has sky color. It just isn’t the shot he planned. Learning to let go of the plan without abandoning the discipline behind it is one of the harder things to teach in a workshop setting. The location didn’t give him what he came for, so he found what it was actually offering.
Camera set up facing cliffs with pink sky visible behind
The pivot he makes here is worth studying closely. Instead of forcing the original seaward composition with a flat, unlit horizon, he turns toward the cliffs where the pink light is actually painting the scene. He uses those cliff faces as his background and frames the water in the foreground. The composition still has depth, still has motion potential in the water, and still has sky color. It just isn’t the shot he planned. Learning to let go of the plan without abandoning the discipline behind it is one of the harder things to teach in a workshop setting. The location didn’t give him what he came for, so he found what it was actually offering.
Step 4: Use a 6-Stop ND Filter for Moderate Long Exposures
 Canon 5D Mark IV with 6-stop ND filter attached to lens
For this first composition, he mounted a 6-stop ND filter to his Canon 5D Mark IV, which allowed him to push his exposure out to around 30 seconds. At that duration, moving water blurs into a smooth, silky texture that contrasts cleanly with the sharp cliff edges. A 6-stop filter is a solid starting point for coastal long exposures in low light. It gives you enough drag to soften wave movement without requiring the longer math of a 10-stop. In practical terms, if your base exposure without the filter reads 1/2 second at f/11 and ISO 100, a 6-stop filter brings you to roughly 32 seconds. Use your camera’s bulb mode and a remote shutter release to avoid any vibration during the exposure.
Canon 5D Mark IV with 6-stop ND filter attached to lens
For this first composition, he mounted a 6-stop ND filter to his Canon 5D Mark IV, which allowed him to push his exposure out to around 30 seconds. At that duration, moving water blurs into a smooth, silky texture that contrasts cleanly with the sharp cliff edges. A 6-stop filter is a solid starting point for coastal long exposures in low light. It gives you enough drag to soften wave movement without requiring the longer math of a 10-stop. In practical terms, if your base exposure without the filter reads 1/2 second at f/11 and ISO 100, a 6-stop filter brings you to roughly 32 seconds. Use your camera’s bulb mode and a remote shutter release to avoid any vibration during the exposure.
Step 5: Bracket Your Exposures to Handle High Dynamic Range
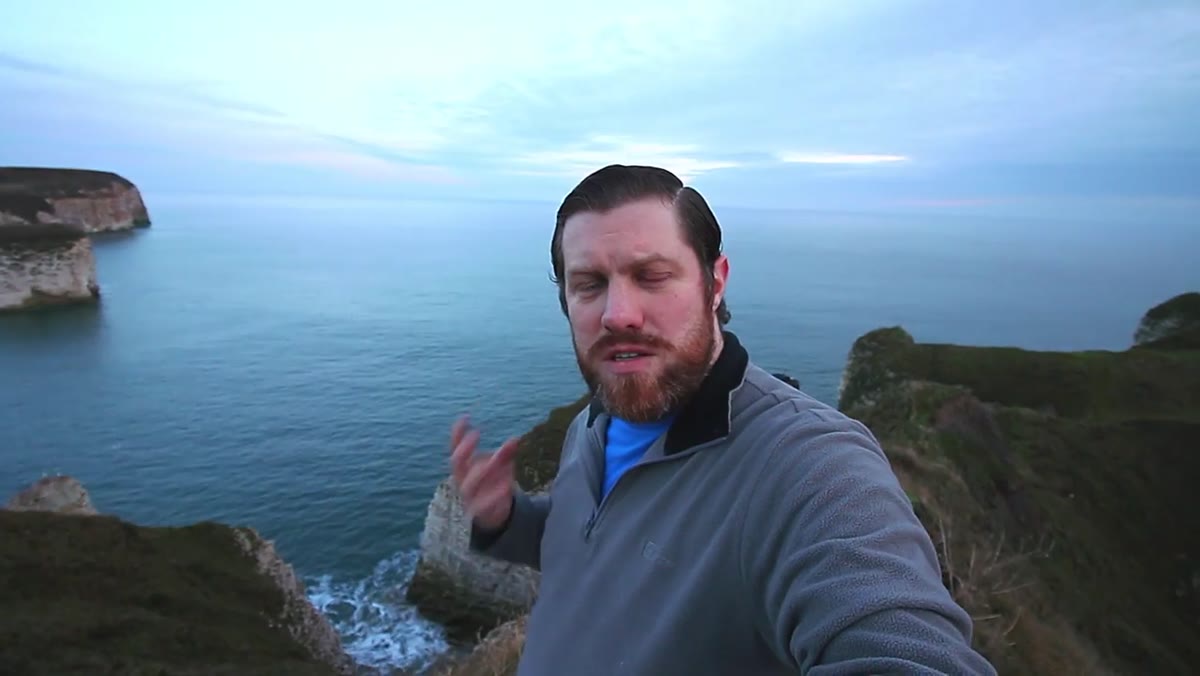 Discussion of three-shot bracketing for foreground, midtones, and sky
He shot three bracketed exposures at this composition: one optimized for the foreground, one for the midtones, and one to retain detail in the sky. Coastal sunrise scenes almost always exceed the dynamic range a single exposure can capture cleanly. The water in the foreground, the midground cliffs, and the sky are each sitting in a different exposure zone. Bracketing, typically at 1.5 to 2-stop intervals, gives you the raw material to blend in post-processing. You don’t have to use all three frames, but having them means you aren’t making compromises in the field that you’ll regret at the computer.
Discussion of three-shot bracketing for foreground, midtones, and sky
He shot three bracketed exposures at this composition: one optimized for the foreground, one for the midtones, and one to retain detail in the sky. Coastal sunrise scenes almost always exceed the dynamic range a single exposure can capture cleanly. The water in the foreground, the midground cliffs, and the sky are each sitting in a different exposure zone. Bracketing, typically at 1.5 to 2-stop intervals, gives you the raw material to blend in post-processing. You don’t have to use all three frames, but having them means you aren’t making compromises in the field that you’ll regret at the computer.
Step 6: Switch to a 10-Stop ND Filter for Ultra-Long Exposures
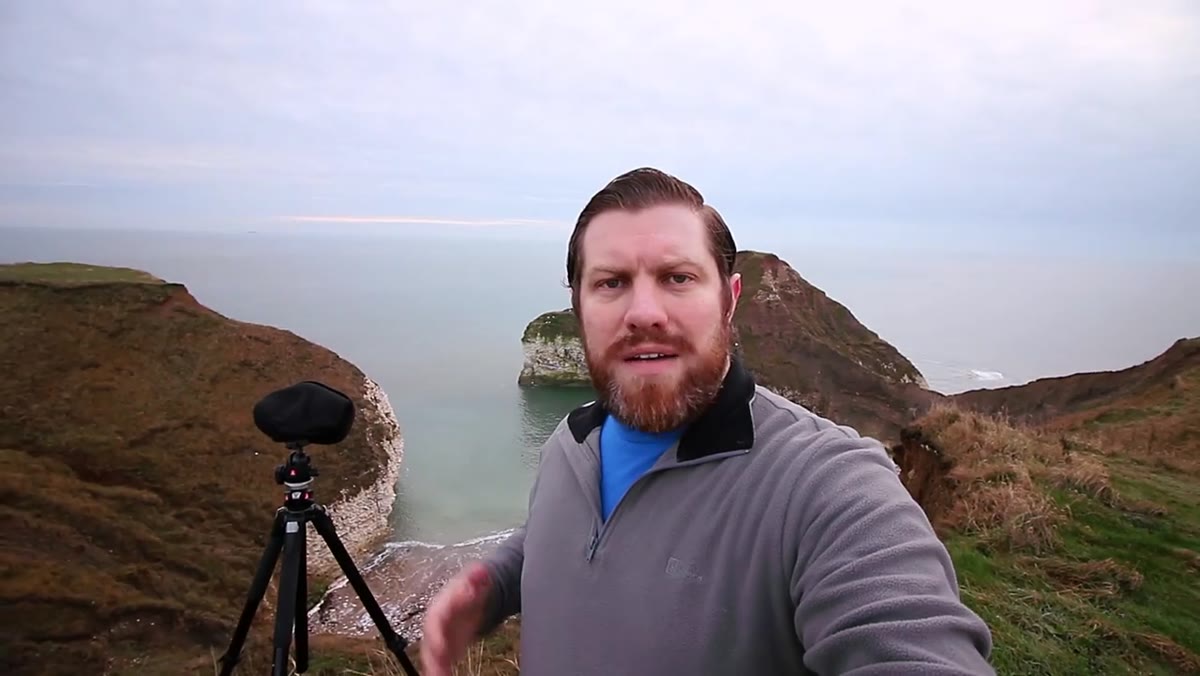 10-stop ND filter on camera, calculating 4 minute 16 second exposure
At the second composition, he swapped to a 10-stop ND filter, which extended his exposure time to roughly 4 minutes and 16 seconds. At this duration, anything moving in the frame, waves, ripples, even slow-moving clouds, becomes completely smooth and almost ethereal. He also stacked a circular polarizer on top of the ND filter to cut the surface glare off the water. Stacking filters costs you additional light and can introduce some color shift depending on your filter brand, but the combination of polarization and extreme duration gives you a level of control over the water’s appearance that you simply cannot get any other way. Calculate your exposure using a dedicated ND filter app or chart, since your camera’s meter can’t read through a 10-stop at most daylight values.
10-stop ND filter on camera, calculating 4 minute 16 second exposure
At the second composition, he swapped to a 10-stop ND filter, which extended his exposure time to roughly 4 minutes and 16 seconds. At this duration, anything moving in the frame, waves, ripples, even slow-moving clouds, becomes completely smooth and almost ethereal. He also stacked a circular polarizer on top of the ND filter to cut the surface glare off the water. Stacking filters costs you additional light and can introduce some color shift depending on your filter brand, but the combination of polarization and extreme duration gives you a level of control over the water’s appearance that you simply cannot get any other way. Calculate your exposure using a dedicated ND filter app or chart, since your camera’s meter can’t read through a 10-stop at most daylight values.
What I’d Add from My Own Shoots
The one thing I keep returning to, watching this video, is how much his mood stays level throughout. Cloud on the horizon? Adjust and keep moving. Planned shot is gone? Find the new one. I once drove six hours to a remote basalt coastline in Oregon, sat in fog for two days, and came home with a single usable frame. That image is now my best-selling print. The fog wasn’t the obstacle. My attachment to the shots I had planned was. The creator here models exactly that mental flexibility, and no filter or app teaches you that. The technical steps above will get you most of the way to a strong coastal long-exposure image. The willingness to read what the light is actually doing, rather than what you hoped it would do, gets you the rest of the way there.
The single most important thing this video reinforces is that pre-visualization has to stay flexible. Plan with PhotoPills, know your filtration options, bracket your exposures, and then be willing to discard the plan entirely when the scene asks you to. That combination of preparation and adaptability is what produces consistent work over time.
Watch the full tutorial on YouTube to see every composition and decision play out in real time at Flamborough Head.
Comments (1)
I tried this on a client project yesterday and the results were way better than expected.
Leave a Comment