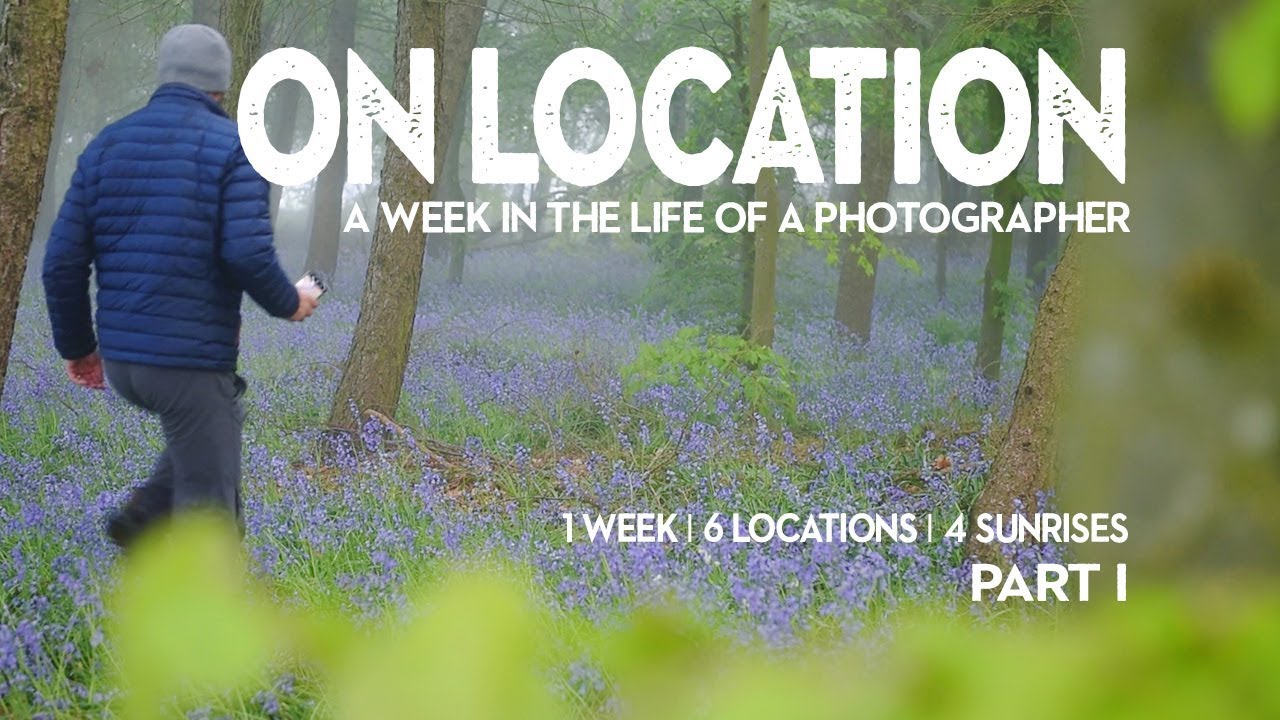
There’s a particular kind of humility that comes from showing up to a location and realizing the scene you planned for isn’t ready yet. I’ve stood in a lot of places at 4am waiting for the light or the subject or both to cooperate. Sometimes they do. Often they don’t. What separates a productive week of shooting from a frustrating one isn’t luck or even gear. It’s the discipline of working a subject methodically, returning, adjusting, and letting the location teach you something. That discipline is exactly what Watch the full tutorial on YouTube this Nigel Danson tutorial puts on full display.
In this video, Danson spends a week photographing English bluebells across multiple locations in and around the Lake District. What makes it worth studying isn’t the flowers themselves. It’s the way he approaches the week as a process: scouting, failing, returning, problem-solving, and refining. He doesn’t show up once and expect magic. He commits to the subject the way you’d commit to understanding a person. For anyone who has ever driven to a location, grabbed a few decent frames, and wondered why the images feel flat, this walkthrough is a useful mirror.
I’ve been doing this work for twenty years and I still catch myself rushing a subject. Watching Danson think out loud in the field reminded me of something a mentor told me early on: the mountain doesn’t care about your schedule. Neither do the bluebells.
Step 1: Choose One Subject and Commit to It for the Full Week
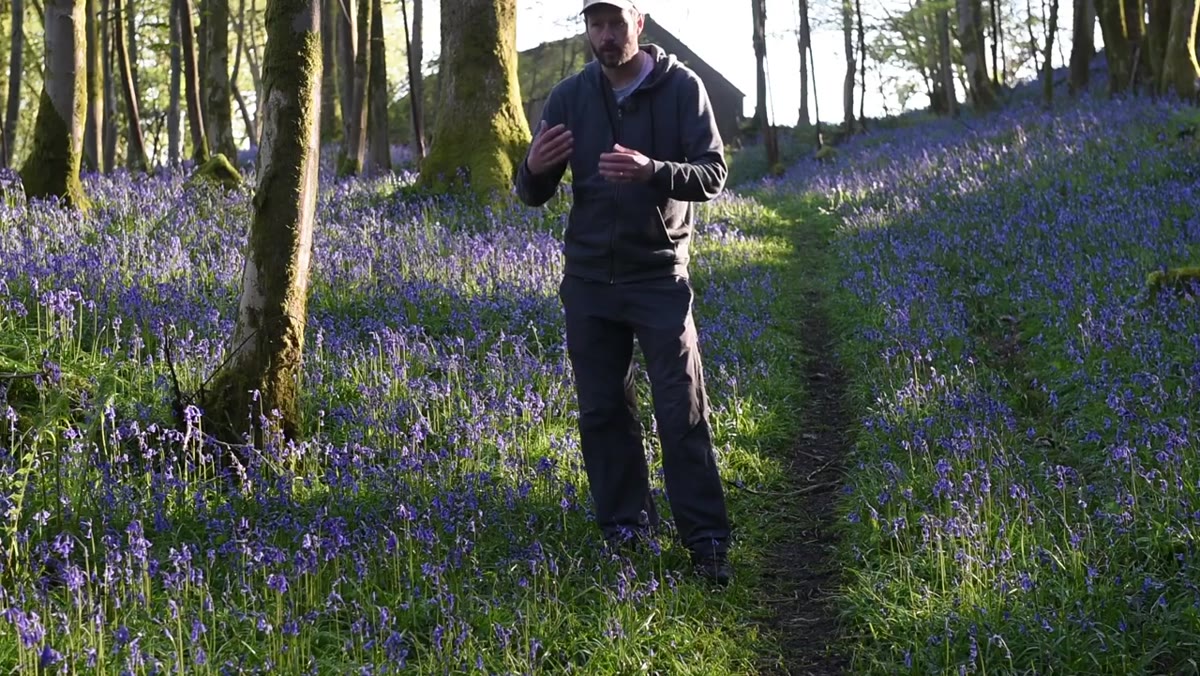
 Nigel walking through a bluebell woodland at dawn
Most photographers, myself included when I was starting out, treat a week of shooting like a buffet. A bit of golden hour here, some long exposures there. Danson does the opposite. He picks bluebells and he stays with them. Every location, every morning, every decision runs through a single question: how do I photograph these flowers better than I did yesterday?
Nigel walking through a bluebell woodland at dawn
Most photographers, myself included when I was starting out, treat a week of shooting like a buffet. A bit of golden hour here, some long exposures there. Danson does the opposite. He picks bluebells and he stays with them. Every location, every morning, every decision runs through a single question: how do I photograph these flowers better than I did yesterday?
This kind of focus compounds. By day three you’re not scouting anymore. You’re refining. You know the light problems, the compositional traps, the timing windows. Pick one subject per trip, whether that’s a river, a ridgeline, or a seasonal bloom, and let the repetition work in your favor.
Step 2: Scout Early, But Know When to Come Back
 Nigel arriving at Macclesfield Forest at 5:30am with tripod
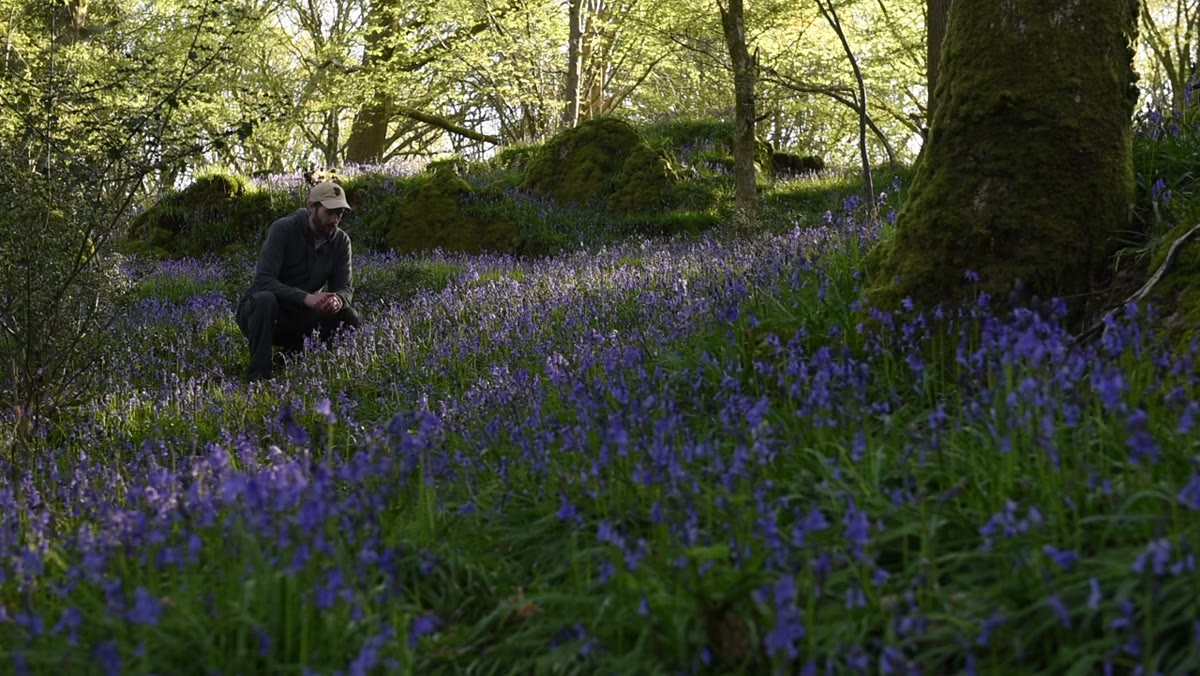
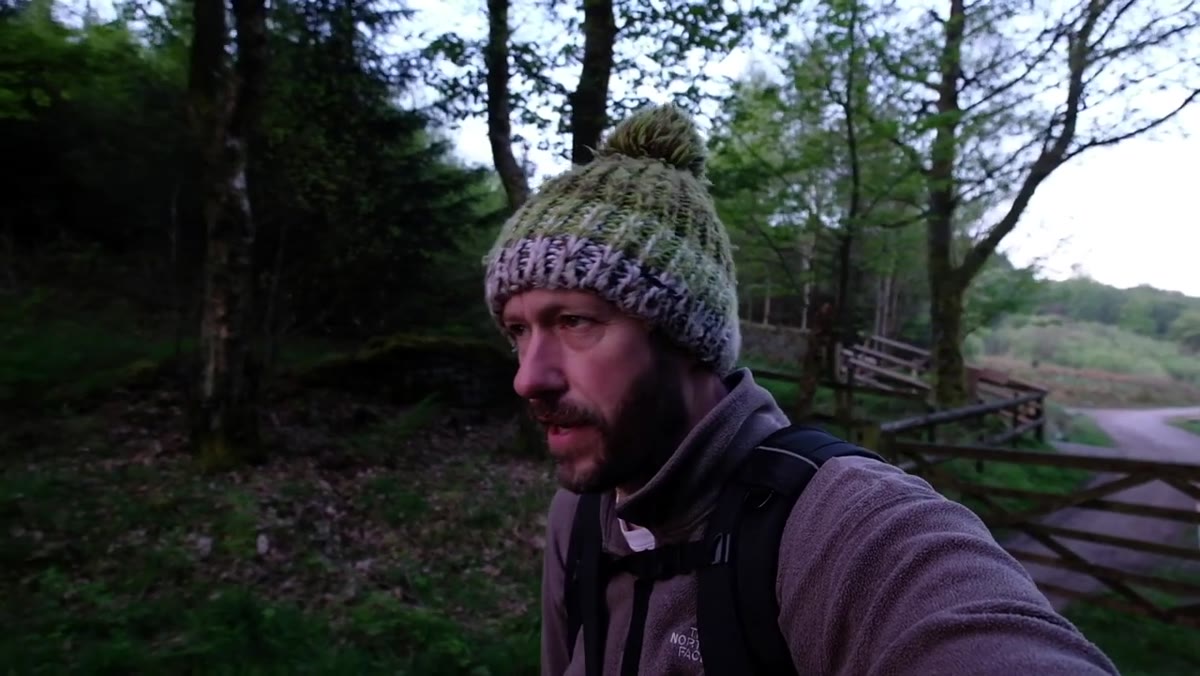
Danson arrives at his second location at 5:30am, before full light, specifically because he’s seen how the light falls into the valley on previous visits. He knows the angle and he wants to be positioned before it happens. But here’s the honest part of the tutorial: the bluebells at that location haven’t bloomed yet. Rather than forcing a shot, he notes the conditions, watches the light anyway, and marks it as a return visit.
Nigel arriving at Macclesfield Forest at 5:30am with tripod
Danson arrives at his second location at 5:30am, before full light, specifically because he’s seen how the light falls into the valley on previous visits. He knows the angle and he wants to be positioned before it happens. But here’s the honest part of the tutorial: the bluebells at that location haven’t bloomed yet. Rather than forcing a shot, he notes the conditions, watches the light anyway, and marks it as a return visit.
Scouting with a camera in your hand is still scouting. Don’t feel obligated to bring home a finished image from every session. Some mornings your job is just to gather information. Note which direction the light falls, where the shadow lines land, and how much longer the subject needs before it’s ready. That information is worth the early wake-up even if your memory card stays mostly empty.
Step 3: Simplify the Scene Before You Touch the Camera
 Wide shot of bluebell floor with bright light patches and distracting twigs
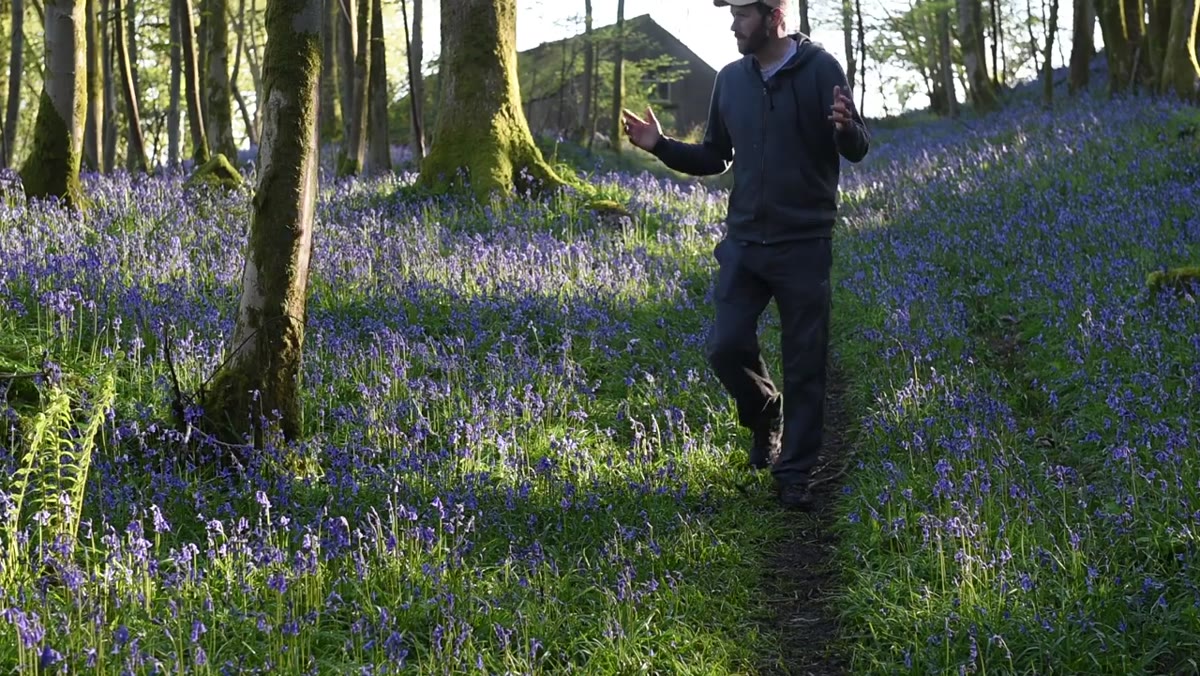
This is where Danson gets specific and practical. He stands in a stunning carpet of bluebells and immediately identifies the problem: the scene is visually noisy. Bright spots between the trees, twigs, uneven lighting. It looks spectacular to the eye but the camera will flatten it and amplify everything that doesn’t belong.
Wide shot of bluebell floor with bright light patches and distracting twigs
This is where Danson gets specific and practical. He stands in a stunning carpet of bluebells and immediately identifies the problem: the scene is visually noisy. Bright spots between the trees, twigs, uneven lighting. It looks spectacular to the eye but the camera will flatten it and amplify everything that doesn’t belong.
His solution is deliberate simplification. He looks for a way to use the mass of blue as a soft backdrop, slightly out of focus, with one or two individual blooms sharp in the foreground. This reduces the composition to its essential elements and eliminates the visual clutter. Before you set up your tripod, walk the scene and ask what can be removed from the frame through position, focal length, or depth of field. The goal is fewer decisions for the viewer’s eye to make.
Step 4: Treat Harsh Light as a Signal to Reposition or Return
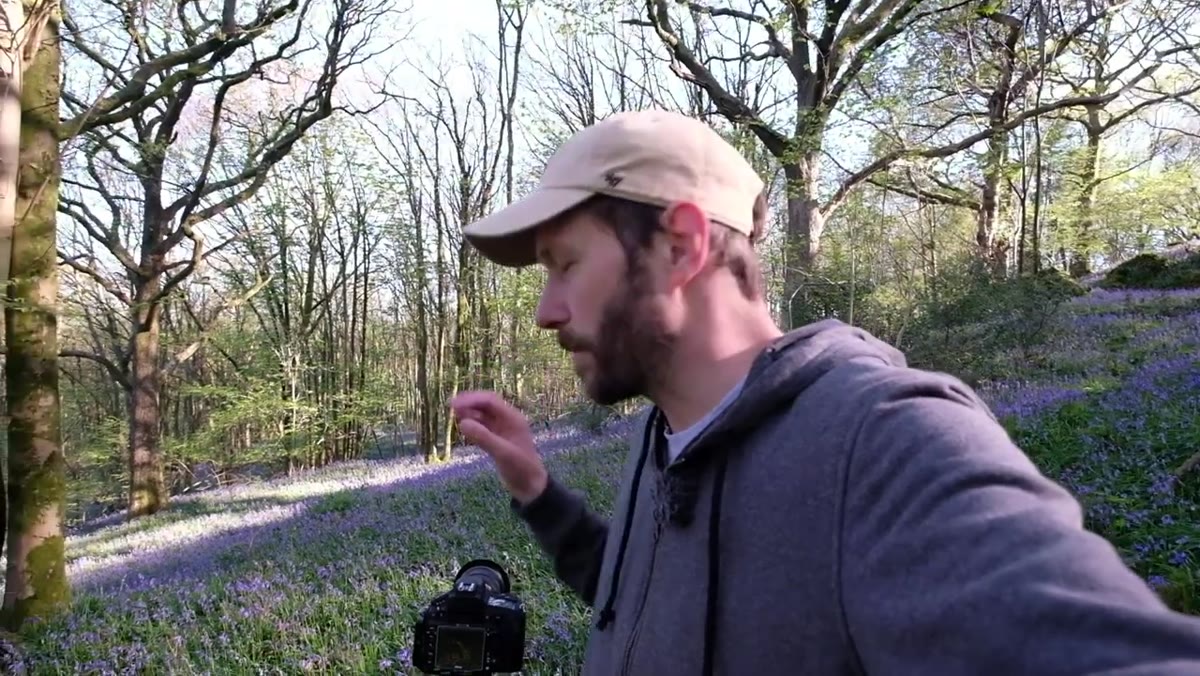 Danson pointing out deep shadows cutting across the woodland floor
Woodland photography has a specific light problem that doesn’t apply to open landscapes. When direct sun hits a forest floor, the contrast between lit patches and deep shade becomes extreme. The eye handles that contrast naturally in three dimensions. The sensor does not. The shadows print harder, the highlights clip faster, and the mood shifts from ethereal to chaotic.
Danson pointing out deep shadows cutting across the woodland floor
Woodland photography has a specific light problem that doesn’t apply to open landscapes. When direct sun hits a forest floor, the contrast between lit patches and deep shade becomes extreme. The eye handles that contrast naturally in three dimensions. The sensor does not. The shadows print harder, the highlights clip faster, and the mood shifts from ethereal to chaotic.
Danson’s response isn’t to try to fix this in post. He notes that he arrived about 40 minutes after sunrise and the light was already too contrasty for the look he wanted. His plan is to arrive earlier next time to catch softer, more directional light before the sun clears the canopy, or to stay later until the light drops and diffuses again. Knowing your light windows for a specific type of terrain is a skill that only comes from showing up and paying attention. Build it into how you debrief after every shoot.
Step 5: Use Shallow Depth of Field to Create Intimacy in Dense Scenes
 Close-up framing of single bluebell stalks against soft blue background
Danson describes looking for one cluster of bluebells in the foreground with the carpet of color behind rendered soft and abstract. This is an intimate landscape approach. Rather than trying to show the scale of the bluebell wood, you show the feeling of being inside it. A wide aperture, somewhere between f/2.8 and f/4 depending on your focal length and subject distance, lets the foreground subject stay sharp while the background becomes a wash of color that supports rather than competes.
Close-up framing of single bluebell stalks against soft blue background
Danson describes looking for one cluster of bluebells in the foreground with the carpet of color behind rendered soft and abstract. This is an intimate landscape approach. Rather than trying to show the scale of the bluebell wood, you show the feeling of being inside it. A wide aperture, somewhere between f/2.8 and f/4 depending on your focal length and subject distance, lets the foreground subject stay sharp while the background becomes a wash of color that supports rather than competes.
Get low. The closer your lens is to the forest floor, the more pronounced the separation between near and far becomes. A tripod with legs that splay flat is worth its weight here. Shoot tethered or use live view to check that your focus point lands exactly where you intend. One sharp stamen against a field of soft violet blue is a stronger image than a technically acceptable shot of fifty flowers all fighting for attention.
What I’d Add From My Own Experience
The thing Danson doesn’t say explicitly but demonstrates throughout the video is that failure is part of the itinerary. He drives to a location expecting bluebells and finds almost none. He shows up too late and the light has already gone harsh. He pivots. He reframes. He comes back.
I once drove six hours to a coastal location in Oregon, sat through two days of flat grey fog, and drove home with one usable shot. It became my best-selling print. The fog I was frustrated by turned out to be exactly the mood that made the image work. I didn’t plan that. I just stayed. The habit of returning, of treating a location as an ongoing conversation rather than a single transaction, is the thing I’d underline in everything Danson does here. Your first visit tells you what questions to ask. The answers come later.
The single most important idea in this tutorial is deceptively simple: commit to one subject, return multiple times, and let each visit sharpen your approach rather than starting from scratch. That rhythm of scouting, shooting, reviewing, and returning is how strong bodies of work get built, one location at a time.
Watch the full tutorial on YouTube and follow Danson through the full week to see how the patience built in these early sessions pays off when the conditions finally align.
Comments
Leave a Comment