There is a particular kind of frustration that only landscape photographers know: you find the shot, you can see exactly what it needs to be, and then you realize the one piece of gear that would make it work is sitting back at the car. I have stood on hillsides in the dark, in the cold, doing that mental arithmetic, calculating whether the hike back is worth it. Sometimes it is. Sometimes the light is gone before you return. After twenty years of doing this for a living, I still catch myself making that mistake, which is exactly why a tutorial like this one stopped me mid-scroll.
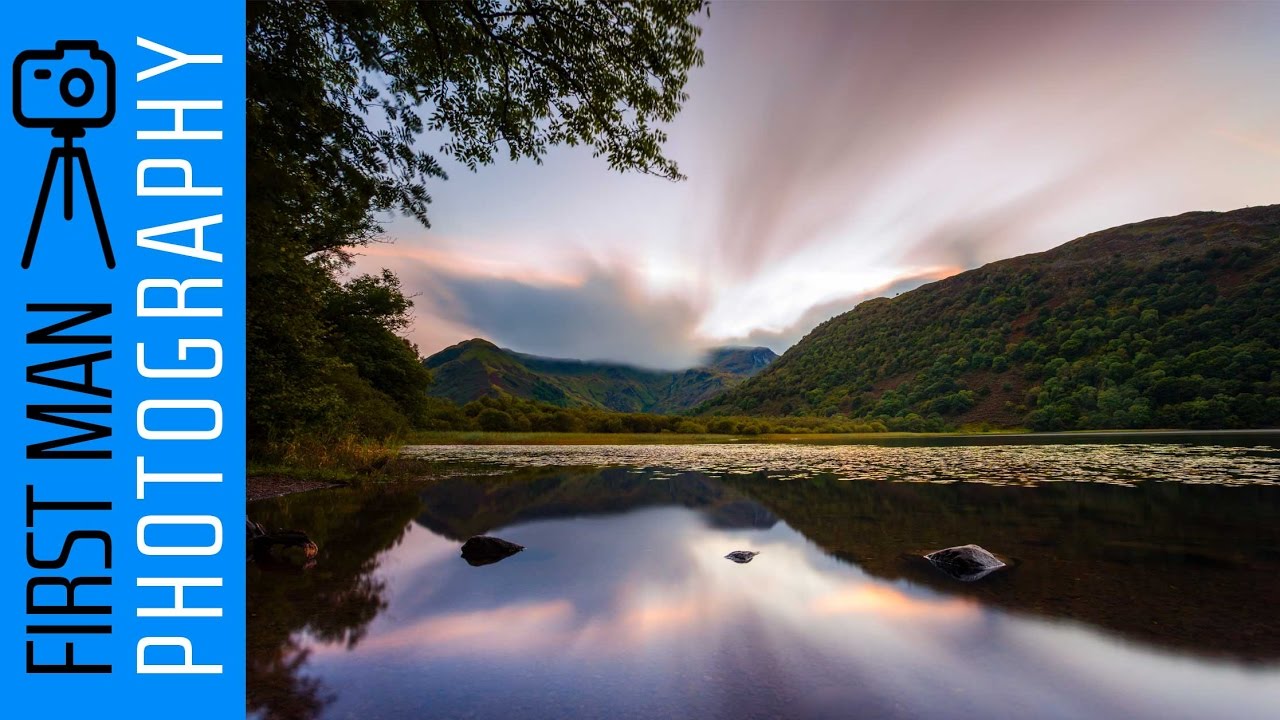
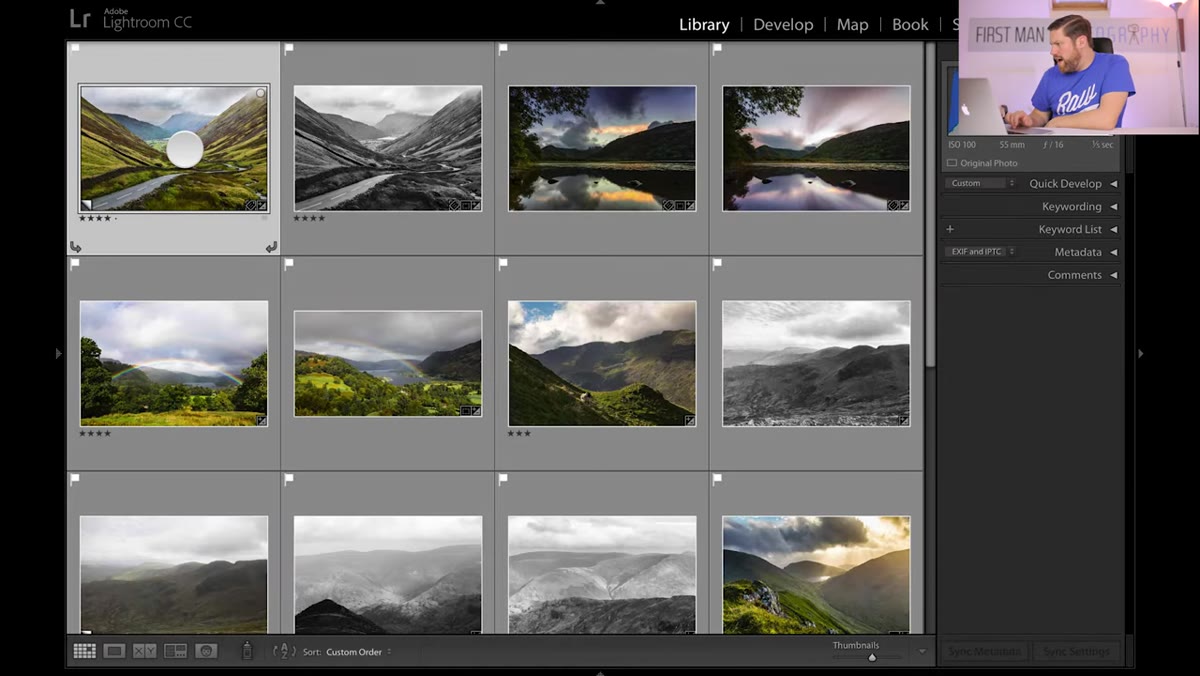
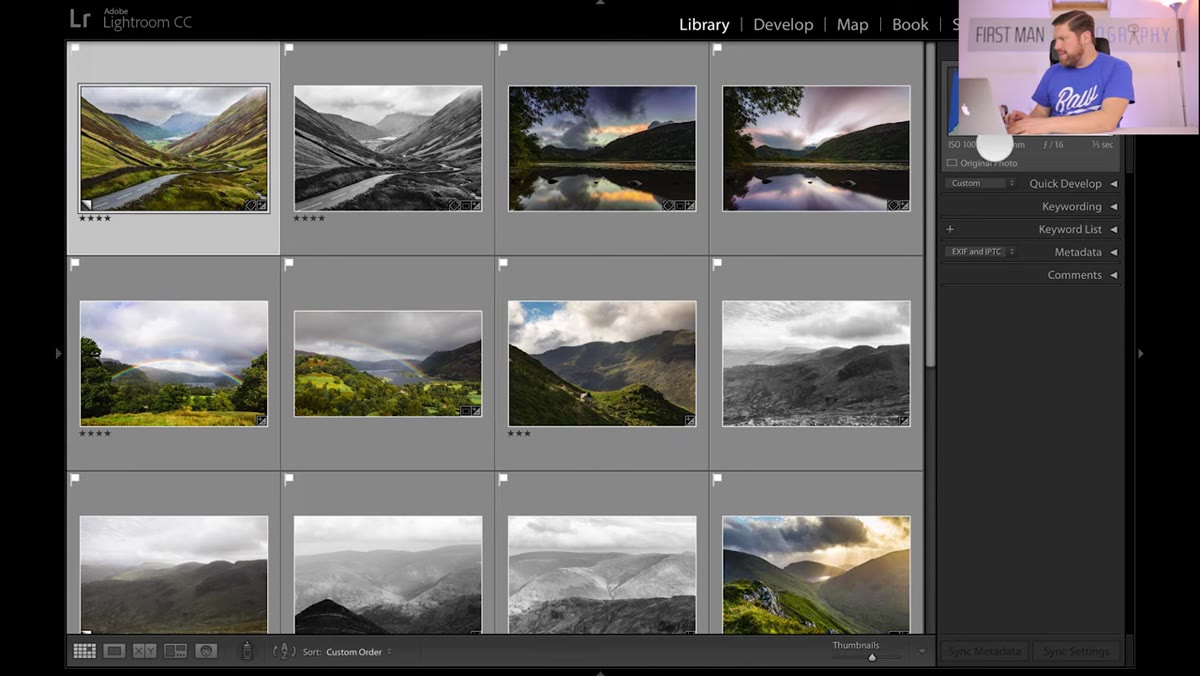
In this First Man Photography tutorial, Adam does something genuinely useful: he goes back through the images from a Lake District vlog he filmed at Ullswater and breaks down the thinking behind each shot. Settings, compositional decisions, what worked, what he wished he had done differently. He calls it a debrief, and that framing is exactly right. This is not a highlight reel. It is a working photographer talking honestly about the gap between what he saw and what he captured, and what got in the way. That kind of transparency is worth sitting with.
What follows is my walkthrough of the core lessons from that video, expanded with the kind of field context I would share in one of my own workshops.
Step 1: Find the Composition Before You Think About Settings
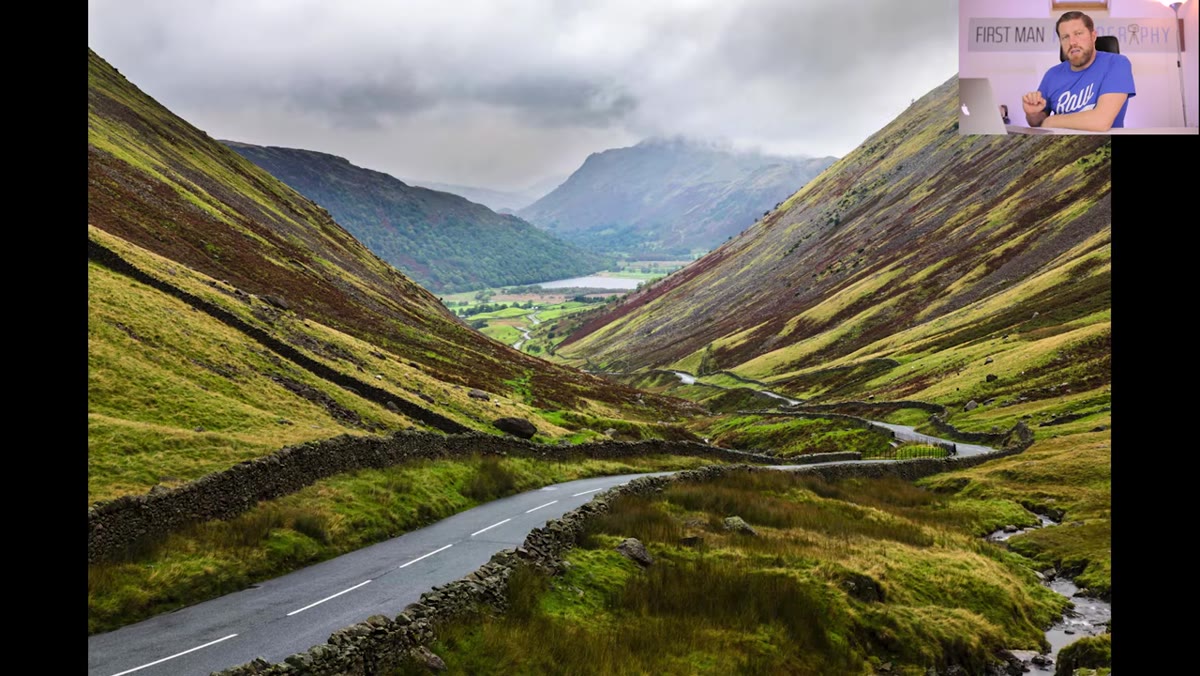 Road at Kirkstone Pass winding down toward valley and lake
Adam’s first image from the shoot is taken from above Kirkstone Pass, looking down toward a winding road that pulls the eye into the valley and toward a small lake in the distance. He parked the car, crossed the road, and walked uphill to find the angle. That detail matters. The composition did not reveal itself from the roadside. He had to move his feet.
Road at Kirkstone Pass winding down toward valley and lake
Adam’s first image from the shoot is taken from above Kirkstone Pass, looking down toward a winding road that pulls the eye into the valley and toward a small lake in the distance. He parked the car, crossed the road, and walked uphill to find the angle. That detail matters. The composition did not reveal itself from the roadside. He had to move his feet.
The leading line here, the road curving down into the frame, is doing the heavy lifting. When you are scouting a scene like this, look for elements that create movement through the image rather than across it. A road, a river, a ridgeline angled toward the horizon will carry the viewer’s eye somewhere. Flat, parallel lines stop that movement dead. Before you set a single value on your camera, walk the scene and find where the depth lives.
Step 2: Use HDR for Scenes with High Contrast Between Sky and Land
 Camera settings displayed: F16, ISO 100, HDR three-shot bracket
For this Kirkstone image, Adam shot a three-exposure HDR bracket: one frame exposed for midtones, one for highlights, one for shadows. Each frame is two stops apart, so the spread is generous enough to capture the full dynamic range of a bright sky over a dark valley floor.
Camera settings displayed: F16, ISO 100, HDR three-shot bracket
For this Kirkstone image, Adam shot a three-exposure HDR bracket: one frame exposed for midtones, one for highlights, one for shadows. Each frame is two stops apart, so the spread is generous enough to capture the full dynamic range of a bright sky over a dark valley floor.
His aperture was f16, which he acknowledges was slightly tighter than necessary. f8 or f11 would have delivered similar depth of field with less diffraction. ISO stayed at 100 to keep the files clean. The HDR approach is the right call when the contrast between sky and land is too great for a single frame to handle cleanly, and the Lake District in variable light is almost always that kind of scene. The goal with bracketing is not to create a stylized, over-processed look. It is to give yourself the raw material to render the scene the way your eye actually read it.
Step 3: Visualize the Long Exposure Before You Commit to a Single Approach
 Road with vehicle light trail concept described, camera on tripod on hillside
While the HDR was already captured and usable, Adam recognized a second image hiding inside the same scene. It was getting dark. Vehicles were taking roughly two minutes to travel the visible stretch of road. That timing suggested something: a long exposure could turn those headlights and taillights into continuous trails of light tracing the entire curve of the road down the mountain.
Road with vehicle light trail concept described, camera on tripod on hillside
While the HDR was already captured and usable, Adam recognized a second image hiding inside the same scene. It was getting dark. Vehicles were taking roughly two minutes to travel the visible stretch of road. That timing suggested something: a long exposure could turn those headlights and taillights into continuous trails of light tracing the entire curve of the road down the mountain.
This is the skill that separates a good landscape photographer from a reactive one: seeing the image that time will reveal, not just the one available right now. When you are at a location, ask yourself what changes as the light shifts, as traffic moves, as water flows. A scene at dusk often contains two or three completely different photographs. The one you can see immediately and the one that requires patience and a different tool.
Step 4: Carry Your Complete Kit to the Shooting Position, Every Time
 Adam describes running back to car for ND filter, losing the moment
Here is where the debrief gets honest. To shoot that long exposure on a scene that was not yet fully dark, Adam needed a neutral density filter to reduce incoming light and extend his shutter speed long enough to blur the light trails across two minutes. The ND filter was back at the car. He ran to get it. By the time he returned, the window had changed.
Adam describes running back to car for ND filter, losing the moment
Here is where the debrief gets honest. To shoot that long exposure on a scene that was not yet fully dark, Adam needed a neutral density filter to reduce incoming light and extend his shutter speed long enough to blur the light trails across two minutes. The ND filter was back at the car. He ran to get it. By the time he returned, the window had changed.
I learned this the hard way on a shoot in the Columbia River Gorge years ago. My mentor, an old film photographer who could out-wait anyone I have ever met, told me once that the mountain does not care about your schedule. Conditions shift without your permission. The only thing you can control is your preparation. Build a pre-shoot checklist, and run it before you leave your vehicle. Filters, batteries, memory cards, remote shutter release. All of it. Walk to the location carrying everything you might need for every version of the shot you have imagined. The extra weight is nothing compared to the weight of watching a composition disappear while you are hiking back.
Step 5: Match Your Lens Focal Length to the Story You Are Telling
 Lens settings shown: 24-70mm zoom at 55mm focal length
Adam shot the Kirkstone image at 55mm on a 24-70mm zoom. That is a telling choice. A wide angle would have expanded the sky and compressed the depth of the valley below. Something longer would have isolated a section of the road. At 55mm, he is working in a range that reads close to how the human eye perceives a scene, which suits a composition built around a natural, unforced sense of depth.
Lens settings shown: 24-70mm zoom at 55mm focal length
Adam shot the Kirkstone image at 55mm on a 24-70mm zoom. That is a telling choice. A wide angle would have expanded the sky and compressed the depth of the valley below. Something longer would have isolated a section of the road. At 55mm, he is working in a range that reads close to how the human eye perceives a scene, which suits a composition built around a natural, unforced sense of depth.
When you are choosing your focal length for a landscape, think about what the image is asking the viewer to feel. Wide angles invite the viewer in and emphasize the scale of the environment. Longer focal lengths flatten and simplify, which can work beautifully when you want to isolate a specific relationship between elements. There is no correct answer, but there should always be a reason.
A Note from the Field: The Debrief Is the Discipline
I started doing my own version of this after every significant shoot, and it changed how quickly I improved. Not reviewing images casually, but sitting down and asking hard questions. Why does this composition work? Why does this one fail? What setting would I change if I could? What would I have captured if I had been better prepared?
Adam’s decision to separate the creative vlog from the technical debrief is smart. The story of being in the landscape is one thing. The craft conversation is another. Both matter. But mixing them dilutes both. Keeping the debrief as its own practice means you show up to the next shoot with clearer intentions, not just cleaner settings.
The single most important thing this tutorial reinforces is simple: every missed shot is a scouting report for the next one. Walk the scene, visualize every version of the image, and carry everything before the light starts to move.
Watch the full tutorial on YouTube to see Adam’s complete image debrief and follow along with the Ullswater photographs as he discusses each one.
Comments (2)
Printing this out and pinning it next to my monitor. That good.
The tip about what kirkstone pass taught me was the missing piece for me. Thank you.
Leave a Comment