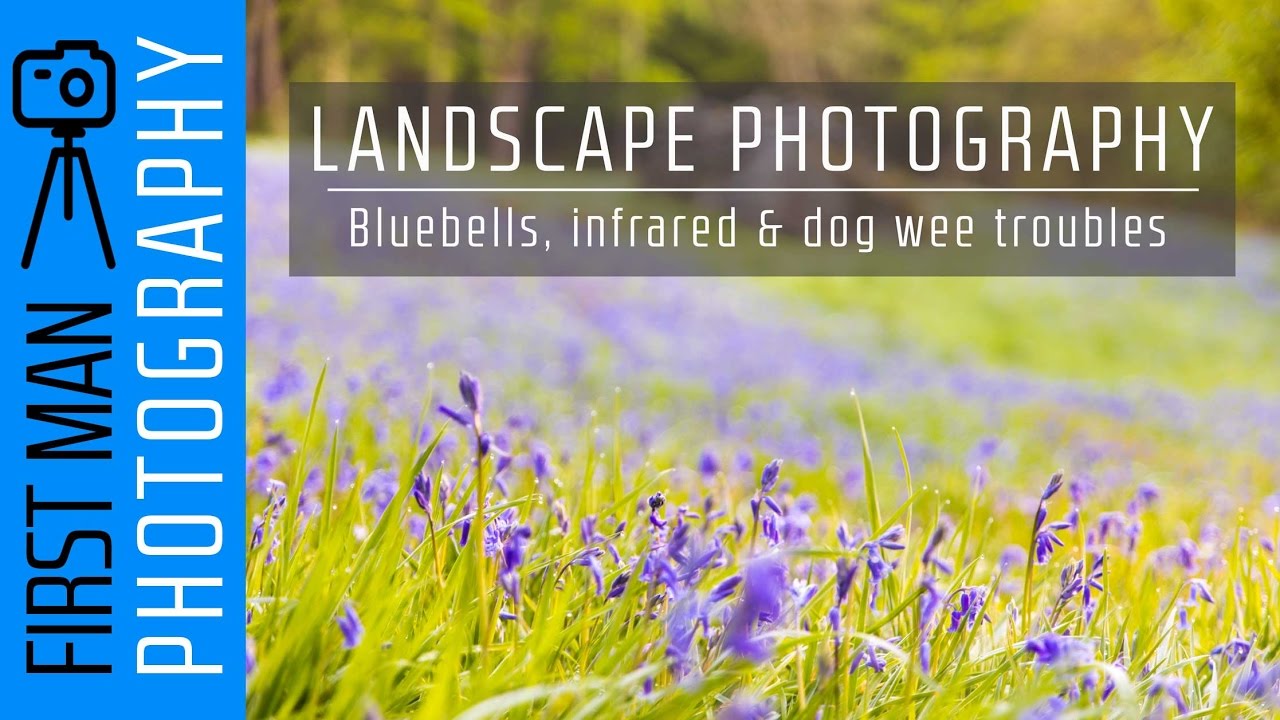
There is a narrow window every spring when the bluebells are up and the canopy hasn’t fully closed, and if you miss it, you wait another year. I’ve driven to locations only to find the flowers past peak, or arrived at perfect light with no idea where to place my tripod. That gap between showing up and actually seeing the shot is something most tutorials skip over. What I appreciate about this recent vlog from First Man Photography, Watch the full tutorial on YouTube, is that it doesn’t skip that part. It sits in the uncertainty with you.
In this First Man Photography tutorial, the photographer heads out to Hardcastle Crags in West Yorkshire at first light, working through an unfamiliar location with no pre-scouted compositions and a sun that’s moving faster than he’d like. That’s the real situation. Not the curated behind-the-scenes reel, but the actual experience of figuring it out while the light changes. After twenty years of doing this professionally, I still find these honest field vlogs more useful than polished technique videos because they show the thinking, not just the result.
What follows is a breakdown of the specific techniques demonstrated, with enough detail that you can apply them on your next woodland shoot without needing to pause and rewind every thirty seconds.
Step 1: Arrive Before the Light Hits the Subject
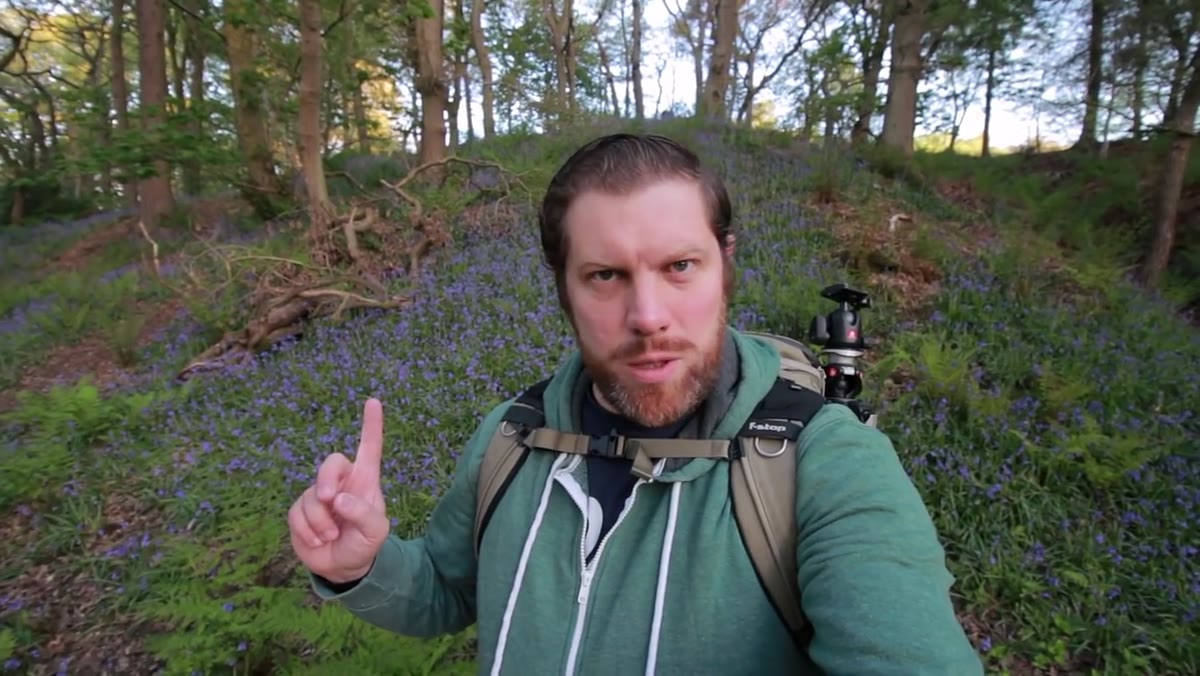 Photographer arriving at bluebell woodland at dawn
Arriving at six in the morning, before the sun clears the ridgeline, is not just about beating other visitors. It gives you time to read the location before committing to a composition. When light is already falling on a scene, you rush. When you’re ahead of it, you can walk, look, and make deliberate choices.
Photographer arriving at bluebell woodland at dawn
Arriving at six in the morning, before the sun clears the ridgeline, is not just about beating other visitors. It gives you time to read the location before committing to a composition. When light is already falling on a scene, you rush. When you’re ahead of it, you can walk, look, and make deliberate choices.
The instinct for many photographers is to set up at the first patch of flowers they see. Resist that. A few extra minutes of exploration almost always reveals a better foreground, a stronger lead line, or a view that concentrates the color rather than spreading it thin across the frame.
Step 2: Let the Flowers Tell You Where the Light Will Fall
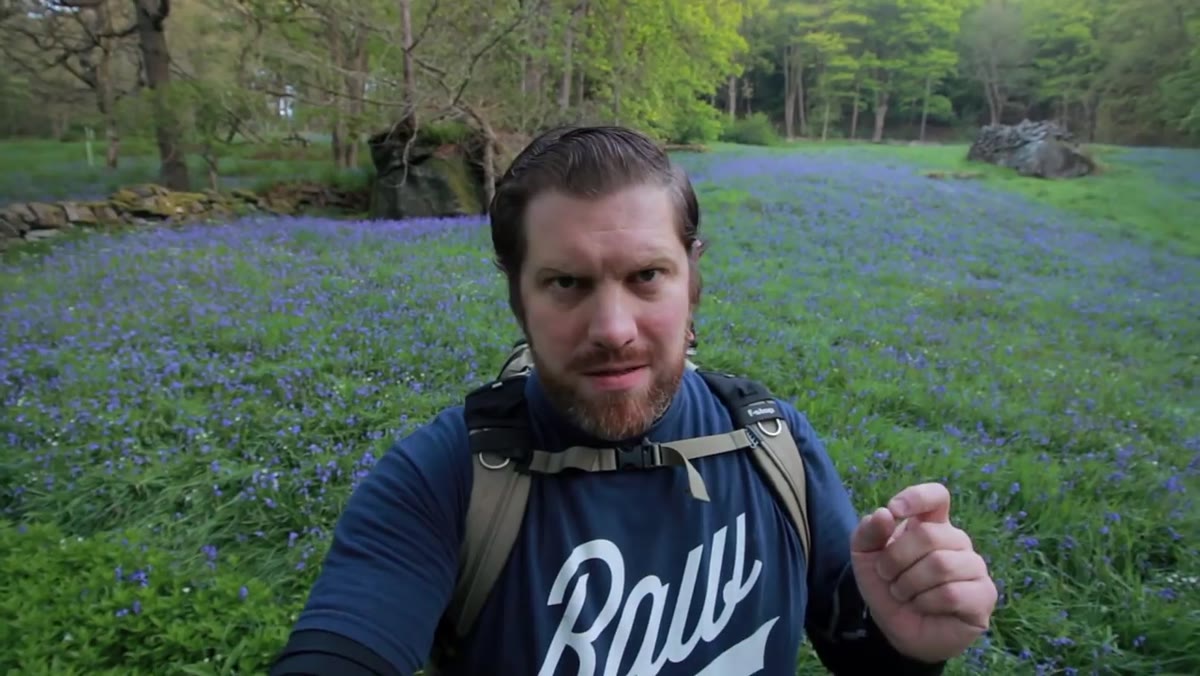 Clearing with bluebells showing where sunlight is beginning to reach
This is a small piece of field logic that took me years to internalize: wildflowers grow densest where they get the most light. In a woodland, that means clearings, gaps in the canopy, and the edges of paths where the trees thin out. Those are the same places the morning sun will strike first.
Clearing with bluebells showing where sunlight is beginning to reach
This is a small piece of field logic that took me years to internalize: wildflowers grow densest where they get the most light. In a woodland, that means clearings, gaps in the canopy, and the edges of paths where the trees thin out. Those are the same places the morning sun will strike first.
You don’t need to know a location intimately to predict where the good light will land. Follow the flowers. If a carpet of bluebells is concentrated in a particular hollow or along one side of a trail, you can be reasonably confident that’s where the sun will reach earliest and most directly. Scout with that logic and you’ll save yourself a lot of blind wandering.
Step 3: Commit to a Story Before You Touch the Camera
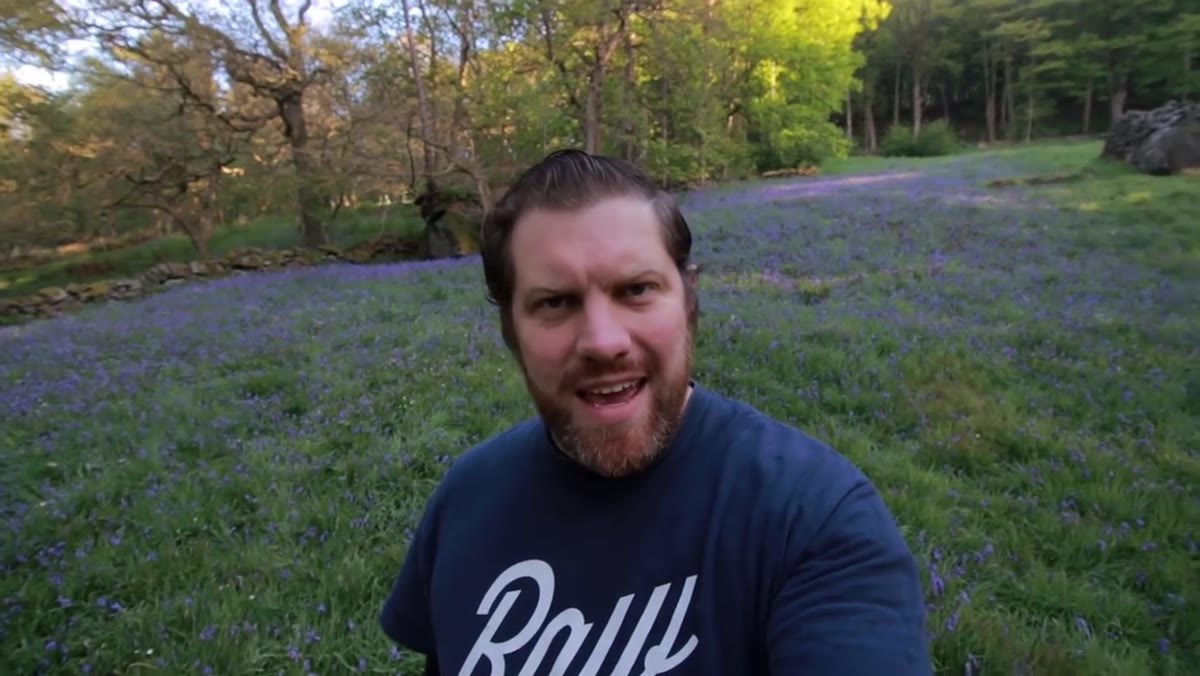 Photographer evaluating bluebell foreground against tree and rock background
Before adjusting a single setting, the decision being made here is about narrative. The shot isn’t “bluebells” as a category. It’s a specific bluebell in the foreground with a rock face and backlit trees serving as context. That distinction matters because it determines every technical choice that follows, depth of field, focal length, shooting height, all of it.
Photographer evaluating bluebell foreground against tree and rock background
Before adjusting a single setting, the decision being made here is about narrative. The shot isn’t “bluebells” as a category. It’s a specific bluebell in the foreground with a rock face and backlit trees serving as context. That distinction matters because it determines every technical choice that follows, depth of field, focal length, shooting height, all of it.
Ask yourself what you want the viewer to feel when they look at the image. Abundance? Intimacy? Scale? The answer shapes your composition before you ever put eye to viewfinder. This is the thinking that separates a document of a place from a photograph that pulls someone in.
Step 4: Shoot Wide Open for Intimate Macro-Style Wildflower Shots
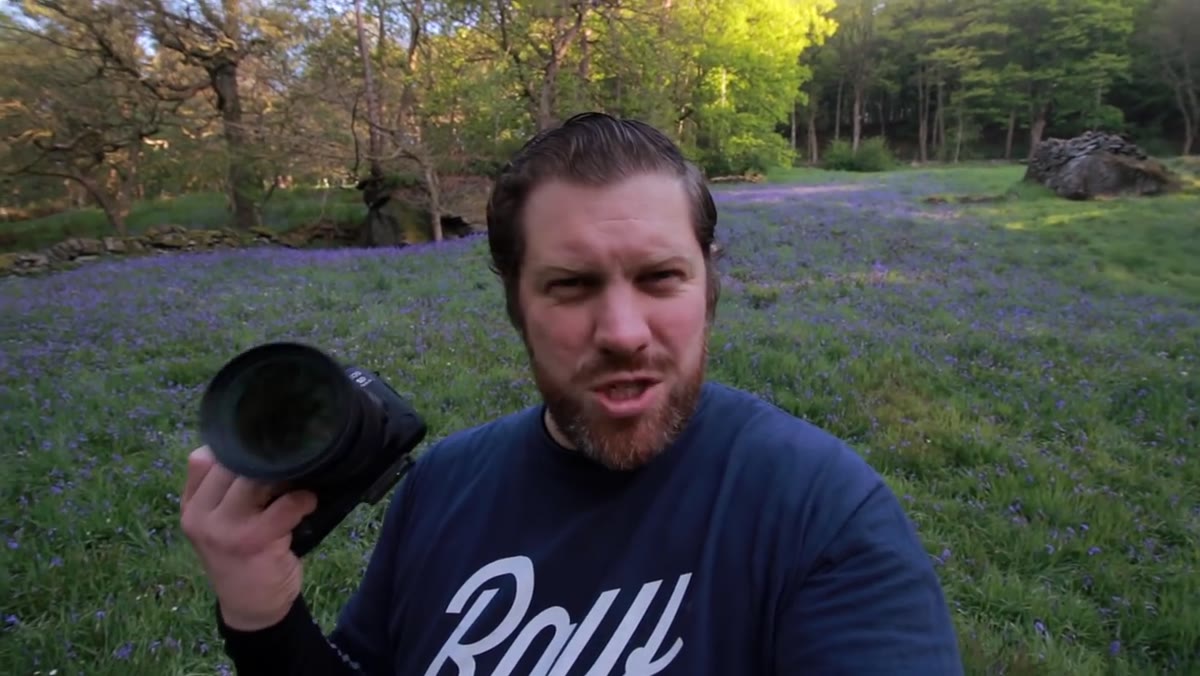 Camera settings shown, f/2.8 with 1/250s shutter speed
For this close-up bluebell shot, the settings are f/2.8, a shutter speed around 1/250s, and ISO between 100 and 200. The wide aperture does the heavy lifting here. By isolating a single flower close to the lens, the background, rock, trees, other flowers, becomes a soft wash of color rather than a competing element.
Camera settings shown, f/2.8 with 1/250s shutter speed
For this close-up bluebell shot, the settings are f/2.8, a shutter speed around 1/250s, and ISO between 100 and 200. The wide aperture does the heavy lifting here. By isolating a single flower close to the lens, the background, rock, trees, other flowers, becomes a soft wash of color rather than a competing element.
Shooting handheld at f/2.8 also means you need enough shutter speed to keep things sharp. In woodland at dawn, the light is low and the flowers move with any breeze, so 1/250s is a practical minimum. Keep ISO as low as the exposure allows. Bluebell petals have a delicate quality that high ISO noise destroys.
Step 5: Get Low and Wait for the Light to Find Your Subject
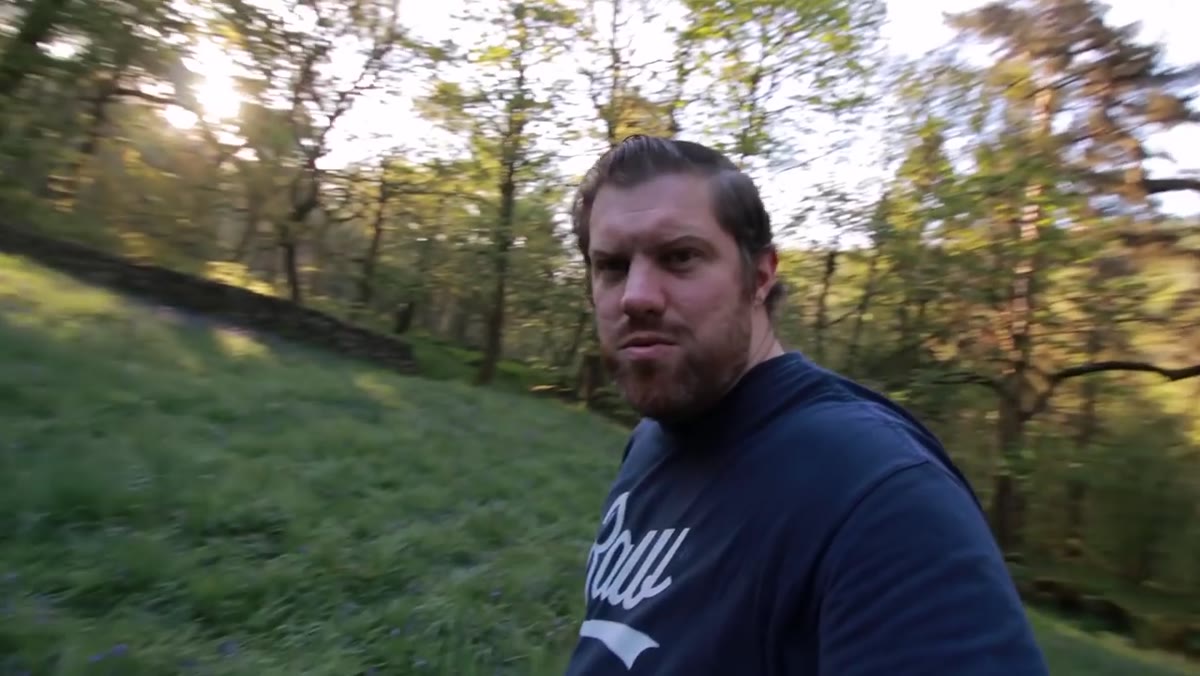 Photographer positioned low to ground, waiting for sun to hit flowers
Getting down to the level of the flowers changes everything. From standing height, you’re looking down at the subject and the background becomes the ground. Get your lens close to the flowers and the background becomes the trees, the sky through the canopy, the texture of bark and stone. That shift in perspective is what gives these shots their sense of immersion.
Photographer positioned low to ground, waiting for sun to hit flowers
Getting down to the level of the flowers changes everything. From standing height, you’re looking down at the subject and the background becomes the ground. Get your lens close to the flowers and the background becomes the trees, the sky through the canopy, the texture of bark and stone. That shift in perspective is what gives these shots their sense of immersion.
The patience piece is equally important. Once you’re in position, the job becomes watching. The sun moves across individual flowers in a woodland setting quickly. You’re waiting for the light to hit your chosen foreground flower without blowing out the petals or creating harsh shadows. That might take two minutes or twenty. Either way, don’t move until you have it.
Step 6: Embrace the Problems as Part of the Process
 Vlogger acknowledging things aren’t going to plan
The video is candid about things not going smoothly, and that candor is itself instructive. Plans shift. Conditions change. The infrared portion of the day ran into its own complications, detailed later in the video. This kind of session, where you’re troubleshooting in real time, is where you actually learn your craft.
Vlogger acknowledging things aren’t going to plan
The video is candid about things not going smoothly, and that candor is itself instructive. Plans shift. Conditions change. The infrared portion of the day ran into its own complications, detailed later in the video. This kind of session, where you’re troubleshooting in real time, is where you actually learn your craft.
I once had a mentor tell me that the mountain doesn’t care about your schedule. He was right. The photographers I respect most are the ones who’ve developed flexibility as a skill, not a fallback. Show up with a plan, hold it loosely, and stay curious about what the location is actually offering you.
A Note from My Own Experience
I shoot a lot of woodland and meadow work in the Pacific Northwest, and the single biggest mistake I see from photographers new to wildflower shooting is underestimating how quickly the season moves. Bluebells in the UK, lupine in Oregon, they have a window of maybe ten days at peak. Scout locations before that window opens, even if it means visiting with no intention of shooting. Know your exits, know which paths open up to clearings, know which direction the slope faces. When the flowers arrive, you want to be spending your mental energy on composition and light, not on orientation.
Also: muddy knees are unavoidable if you’re doing this right.
The single most useful thing in this tutorial isn’t the camera settings. It’s watching someone work through an unfamiliar location in real time, using the environment itself as a guide, and making deliberate creative decisions under the pressure of moving light. That’s the actual skill. The settings are just arithmetic. Watch the full tutorial on YouTube to follow the full day’s shoot, including the infrared session and whatever trouble the dog apparently caused.
Comments (2)
Tried this technique this morning. Game changer for real.
Well explained. I think my audience would really benefit from this — mind if I link to it?
Leave a Comment