
There’s a particular kind of afternoon I know too well. You’ve driven out, the gear is on your back, and the light that looked promising on the horizon has gone flat and grey. Most photographers pack up. The ones who keep shooting tend to learn something more durable than “wait for golden hour.” That’s the quiet lesson buried inside this Nigel Danson tutorial from the fells of the Lake District, and it’s one I wish someone had handed me twenty years ago when I was still convinced that good photography required perfect conditions.
Watch the full tutorial on YouTube
In this Nigel Danson tutorial, Danson heads out to his favorite stretch of the Lake District after weeks stuck inside finishing a course. The weather is uncooperative, the light is patchy and unreliable, and he says outright that he might come home with nothing. What unfolds instead is one of the more honest field demonstrations I’ve seen from a landscape photographer at his level. He doesn’t perform certainty. He works the problem in real time, and watching him think through compositions under difficult conditions is worth more than a dozen tutorials shot on perfect mornings.
What makes it practical is that he’s not teaching a trick. He’s demonstrating a process: how to read a scene when the scene isn’t handing you anything for free. I’ve spent enough cold mornings on the eastern slopes of the Cascades to know that this process is the skill. The golden light is a bonus. The composition is the work.
Step 1: Arrive Without an Agenda and Read the Conditions First
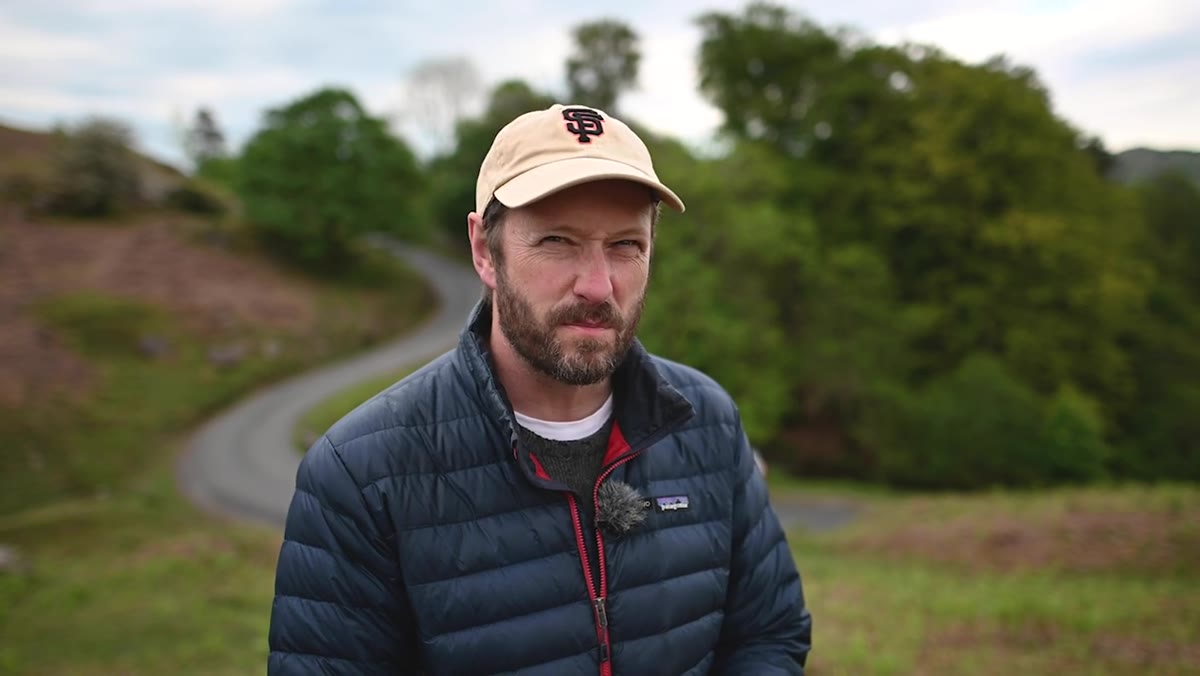 Danson walking the open fell, overcast sky above
Before Danson sets up a single shot, he walks. He describes the weather honestly: rubbish, but potentially interesting. That tension, between poor light and a dynamic sky, is actually the first compositional data point. When you arrive at a location, spend the first ten to fifteen minutes moving without your tripod. Look at where the light is trying to break through, which directions have depth, and where the sky is doing something with structure. On a flat-light day especially, the sky becomes a compositional anchor rather than a mood element, and knowing that early changes every decision you make after.
Danson walking the open fell, overcast sky above
Before Danson sets up a single shot, he walks. He describes the weather honestly: rubbish, but potentially interesting. That tension, between poor light and a dynamic sky, is actually the first compositional data point. When you arrive at a location, spend the first ten to fifteen minutes moving without your tripod. Look at where the light is trying to break through, which directions have depth, and where the sky is doing something with structure. On a flat-light day especially, the sky becomes a compositional anchor rather than a mood element, and knowing that early changes every decision you make after.
Step 2: Identify What Anchors the Top of the Frame
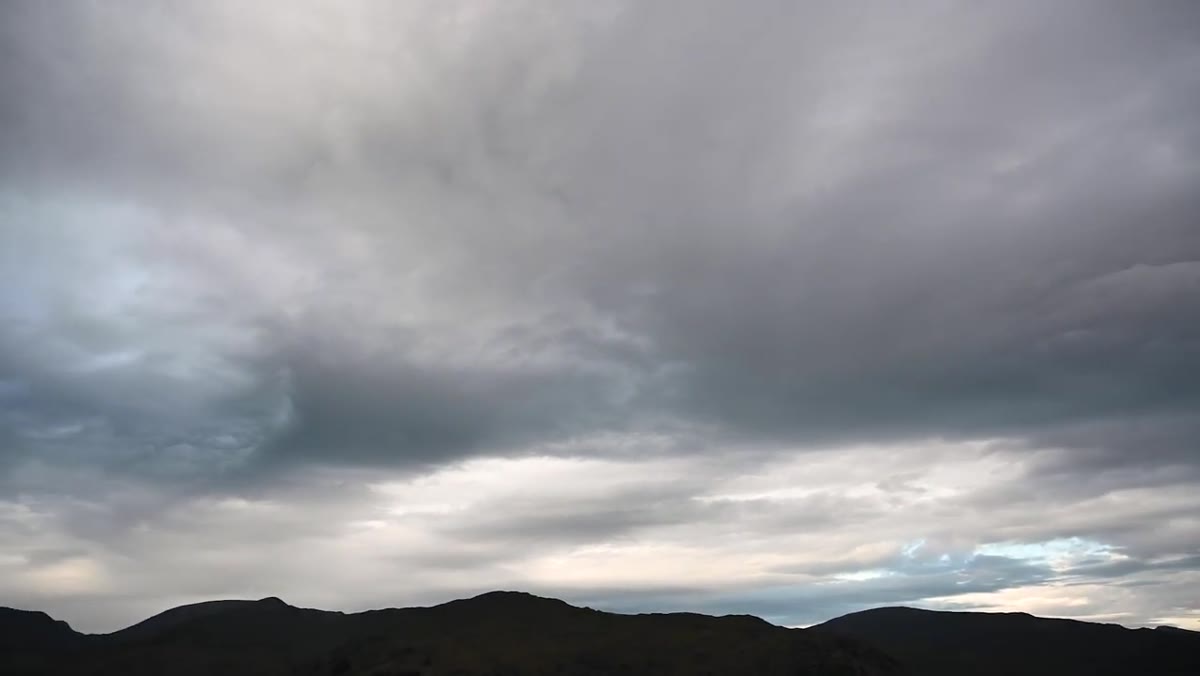 Wide view showing dramatic cloud structure above the fell
Danson makes a point that stuck with me: if your sky has genuine structure, clouds with weight and movement, you don’t have to work as hard at the bottom of the frame. The sky does anchoring work. This flips the usual instinct, which is to chase foreground interest and treat the sky as secondary. On a day with a strong cloud formation, let that cloud mass justify the upper half of your composition and concentrate your foreground energy on lines rather than texture. One strong diagonal pulling the eye up toward that sky is worth more than a cluttered arrangement of rocks trying to be interesting on their own.
Wide view showing dramatic cloud structure above the fell
Danson makes a point that stuck with me: if your sky has genuine structure, clouds with weight and movement, you don’t have to work as hard at the bottom of the frame. The sky does anchoring work. This flips the usual instinct, which is to chase foreground interest and treat the sky as secondary. On a day with a strong cloud formation, let that cloud mass justify the upper half of your composition and concentrate your foreground energy on lines rather than texture. One strong diagonal pulling the eye up toward that sky is worth more than a cluttered arrangement of rocks trying to be interesting on their own.
Step 3: Follow a Line Before You Commit to a Composition
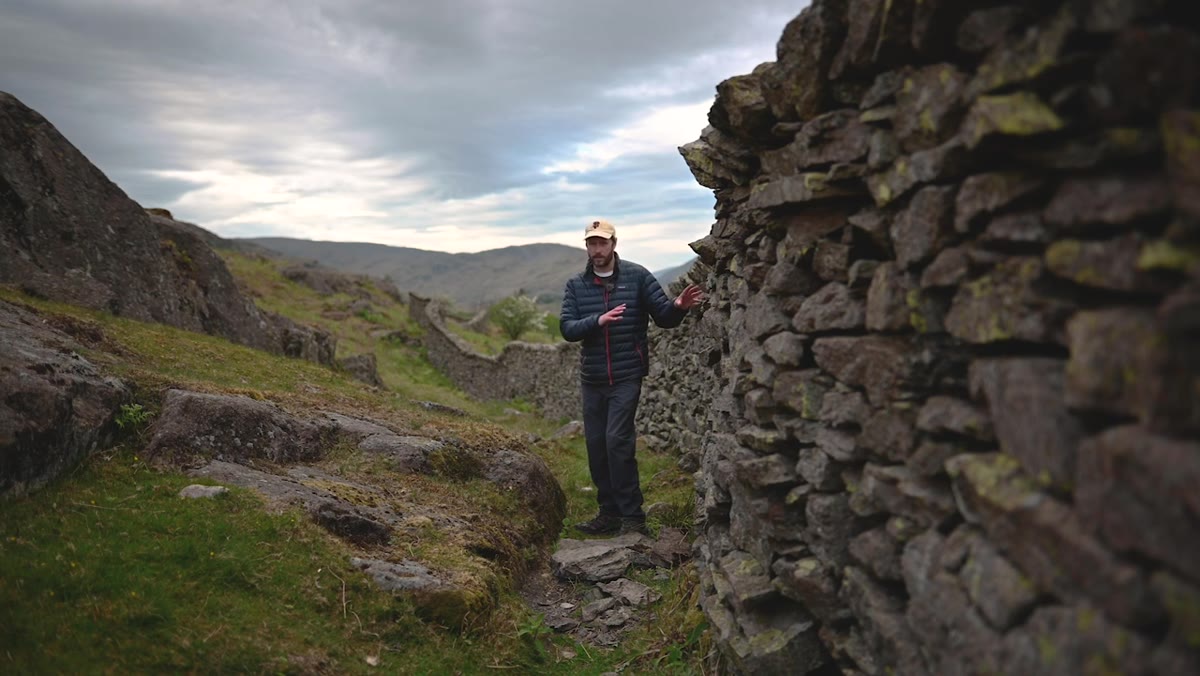 Danson walking alongside a dry stone wall with blossoming trees
Danson spends real time following a dry stone wall across the fell before he ever raises a camera. He’s using the wall the way I use rivers: as a structural lead line that organizes the frame before he decides where to stand. The blossoming trees along the wall add tonal separation from all that late-spring green. When everything in a landscape is a similar value, look for something that breaks the register. Blossom, a patch of exposed rock, a reflection. You’re not looking for a focal point in the traditional sense. You’re looking for contrast that gives the eye somewhere to stop.
Danson walking alongside a dry stone wall with blossoming trees
Danson spends real time following a dry stone wall across the fell before he ever raises a camera. He’s using the wall the way I use rivers: as a structural lead line that organizes the frame before he decides where to stand. The blossoming trees along the wall add tonal separation from all that late-spring green. When everything in a landscape is a similar value, look for something that breaks the register. Blossom, a patch of exposed rock, a reflection. You’re not looking for a focal point in the traditional sense. You’re looking for contrast that gives the eye somewhere to stop.
Step 4: Scout with a Lighter, More Flexible Kit First
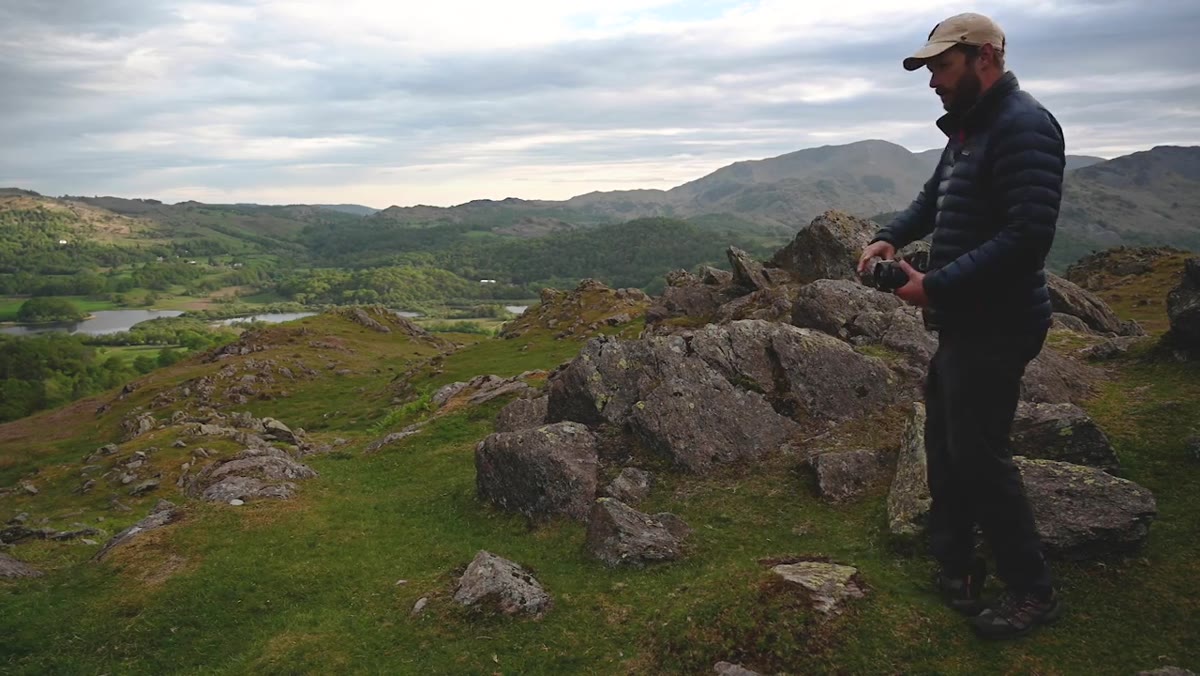
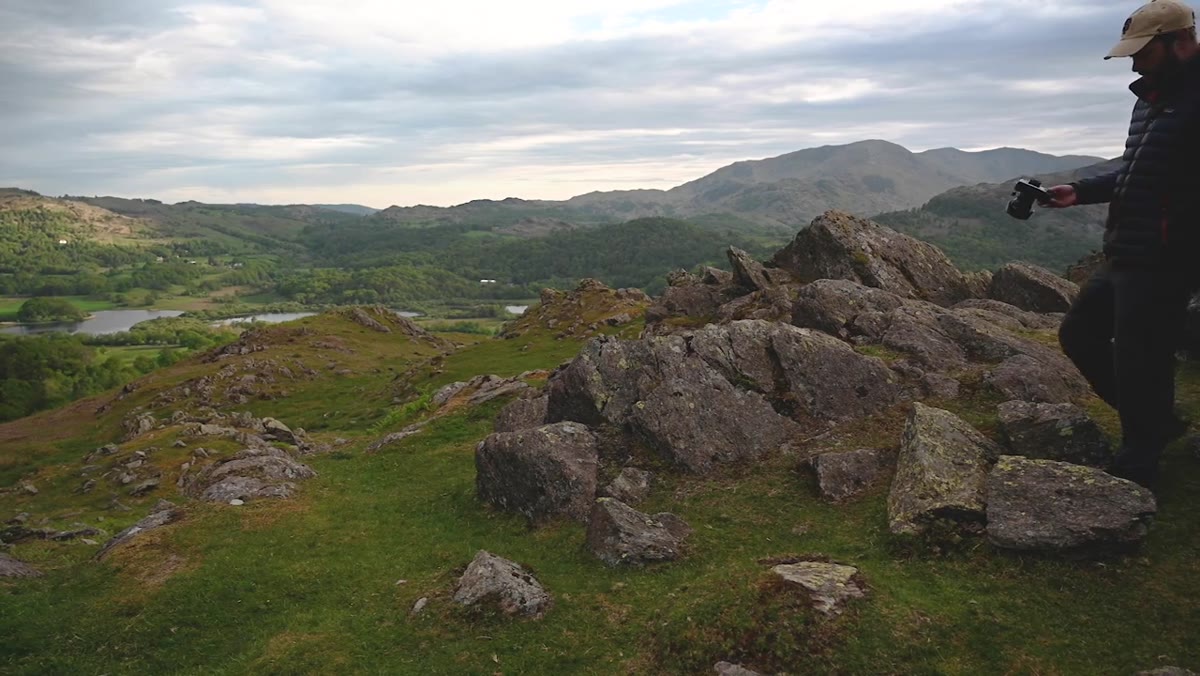 Danson shooting handheld with the Fuji XT3 and wide zoom
Here’s something working photographers do that tutorials rarely show: Danson switches to his Fuji XT3 with a 10-24mm lens for the scouting phase, leaving his higher-resolution Nikon Z7 set up with a longer lens. The logic is sound. When you’re still moving, still testing angles, you want reach and flexibility without the commitment of the big tripod kit. Find the composition first. Then go get the right tool for it. I do something similar with a smaller mirrorless body when I’m covering terrain before sunrise. Don’t anchor yourself to your best camera before you know where you actually want to be.
Danson shooting handheld with the Fuji XT3 and wide zoom
Here’s something working photographers do that tutorials rarely show: Danson switches to his Fuji XT3 with a 10-24mm lens for the scouting phase, leaving his higher-resolution Nikon Z7 set up with a longer lens. The logic is sound. When you’re still moving, still testing angles, you want reach and flexibility without the commitment of the big tripod kit. Find the composition first. Then go get the right tool for it. I do something similar with a smaller mirrorless body when I’m covering terrain before sunrise. Don’t anchor yourself to your best camera before you know where you actually want to be.
Step 5: Work Around Patchy Light, Don’t Wait for It to Resolve
 Light breaking on distant mountain while foreground stays in shadow
The light during Danson’s shoot is inconsistent. A mountain in the distance catches a shaft of sun while his foreground rocks sit in flat shadow. Rather than waiting for the light to unify, he looks for compositions that work with that split. Distance in light can actually create depth. A lit background against a shadowed foreground gives you a natural sense of recession, something you’re always trying to manufacture with technique when the light is even. The instinct to wait for everything to be lit the same way is understandable, but it often produces flatter images than working with whatever contrast is actually in front of you.
Light breaking on distant mountain while foreground stays in shadow
The light during Danson’s shoot is inconsistent. A mountain in the distance catches a shaft of sun while his foreground rocks sit in flat shadow. Rather than waiting for the light to unify, he looks for compositions that work with that split. Distance in light can actually create depth. A lit background against a shadowed foreground gives you a natural sense of recession, something you’re always trying to manufacture with technique when the light is even. The instinct to wait for everything to be lit the same way is understandable, but it often produces flatter images than working with whatever contrast is actually in front of you.
Step 6: Use Rocks and Terrain Lines When the Foreground Has No Color
 Close rocks with natural lines leading toward the lit lake beyond
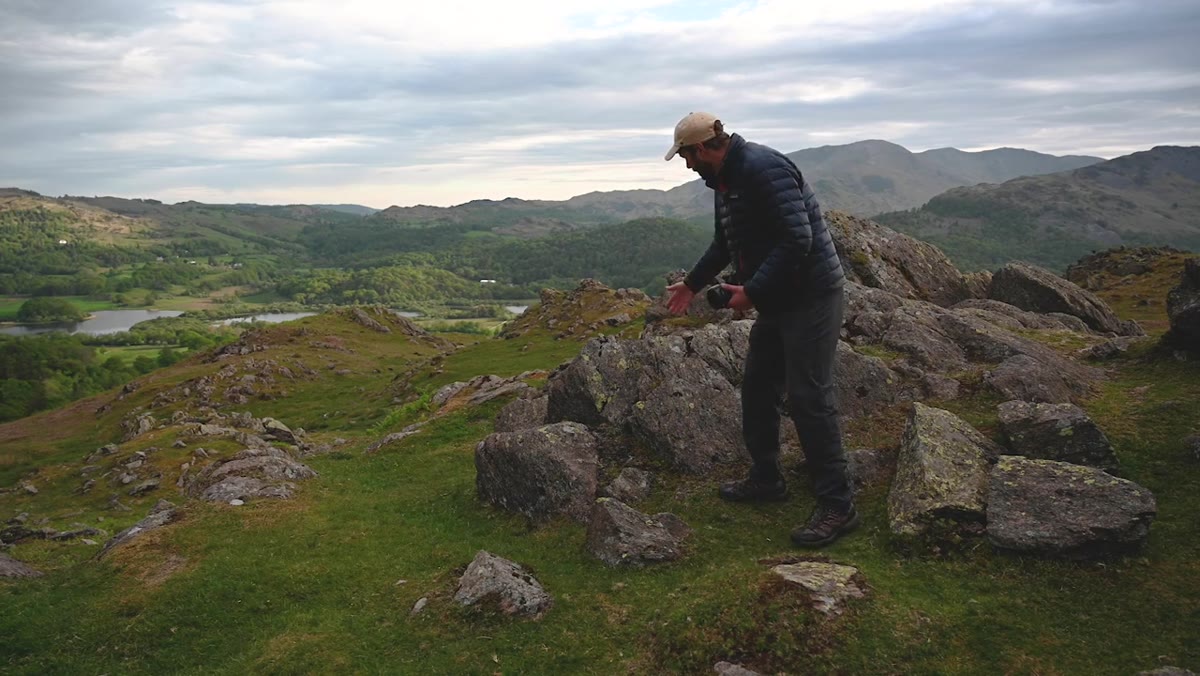
With the blossom trees behind him, Danson moves to a cluster of rocks near a lake view. No color to speak of in the immediate foreground. What he’s working with instead is line: the natural grain and shape of the rock surfaces, the edge where rock meets open ground, and the geometry of how those elements point toward the lit water in the distance. On a grey day, line is your primary compositional tool. Texture is secondary. Color is largely absent. Train your eye to see how shapes lead rather than looking for something to make “pretty,” and you’ll find workable compositions in conditions that send other photographers back to the car.
Close rocks with natural lines leading toward the lit lake beyond
With the blossom trees behind him, Danson moves to a cluster of rocks near a lake view. No color to speak of in the immediate foreground. What he’s working with instead is line: the natural grain and shape of the rock surfaces, the edge where rock meets open ground, and the geometry of how those elements point toward the lit water in the distance. On a grey day, line is your primary compositional tool. Texture is secondary. Color is largely absent. Train your eye to see how shapes lead rather than looking for something to make “pretty,” and you’ll find workable compositions in conditions that send other photographers back to the car.
What I’d Add from Twenty Years of Flat-Light Mornings
The thing Danson doesn’t say explicitly, but demonstrates throughout, is that uncooperative conditions make you a better technical photographer faster than beautiful ones do. Beautiful light is forgiving. It rescues weak compositions and mediocre exposure decisions. Flat light strips all of that away and forces precision. Some of my strongest work came from a two-day fog sit in the Columbia River Gorge, where I had to learn to see in about fifteen feet of visibility. I came home with one usable frame. It’s still in my print catalog. The mountain doesn’t care about your schedule, and neither does the fog. Learning to make something out of nothing is the actual curriculum.
If you find yourself frustrated by inconsistent or flat light, treat it as a technical exercise rather than a failure of conditions. Set yourself a constraint: one composition, worked thoroughly, with whatever light exists. You’ll be surprised what precision that pressure produces.
The single most important takeaway from this tutorial is that composition is not a response to good light. It is the foundation that good light, when it arrives, lands on. Build that foundation in the hard conditions, and you’ll know exactly where to stand when everything finally opens up.
Watch the full tutorial on YouTube and pay particular attention to how Danson moves through the landscape before he ever decides where to shoot. That process, unhurried and genuinely exploratory, is the tutorial.
Comments (2)
My workflow just got 10x faster. Not even kidding.
Great breakdown. The step-by-step approach really helps.
Leave a Comment