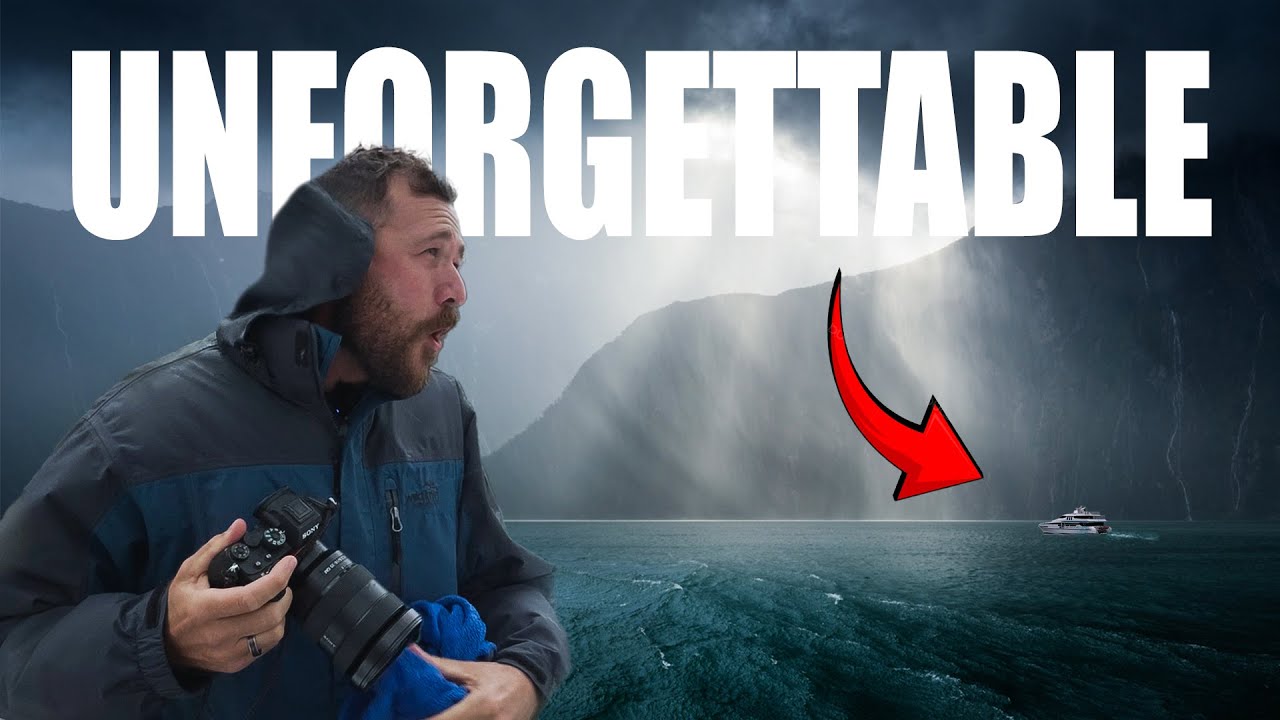
Most of my best work has come from conditions I didn’t plan for. A mentor once told me that the mountain doesn’t care about your schedule, and I’ve spent two decades proving him right. The shots that sell, the ones that stop people mid-scroll, almost never happen on the blue-sky days. They happen when something is moving, when the light is strange, when the weather is doing something uncomfortable and most photographers have stayed home.
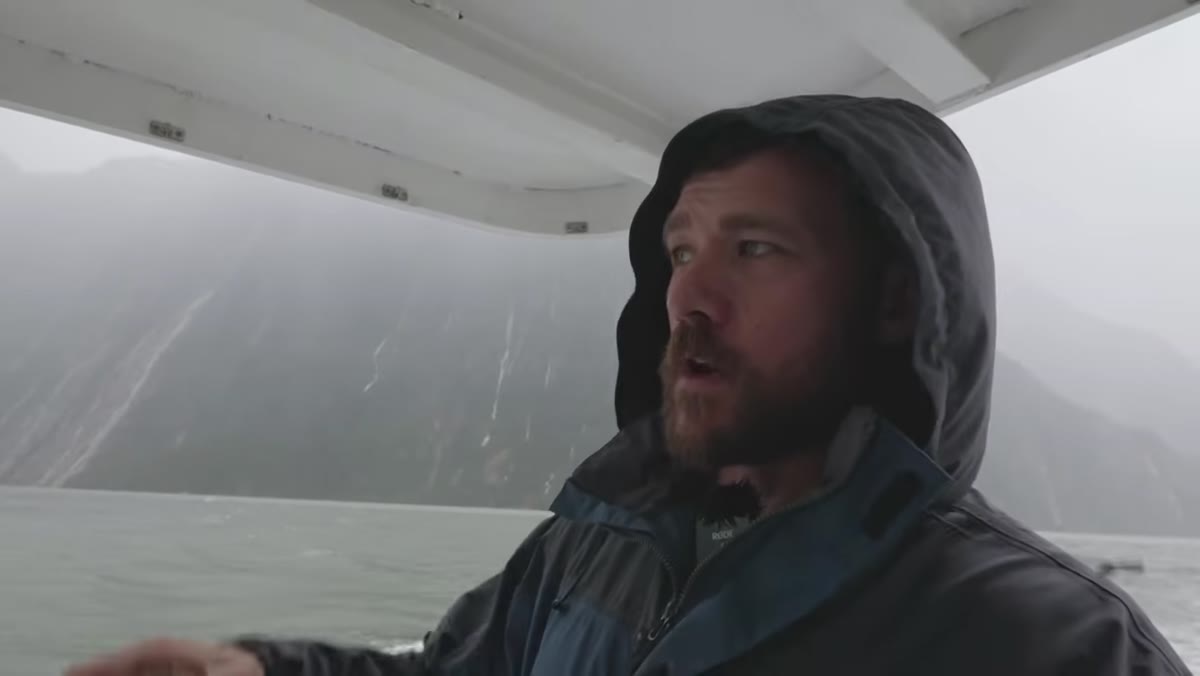
That’s why I keep coming back to William Patino’s tutorial on shooting Milford Sound in heavy rain. Watch the full tutorial on YouTube. Patino lives in Fjordland, New Zealand, and has done this particular cruise more than 150 times over ten years. What he shares isn’t a theoretical breakdown. It’s hard-won field knowledge from someone who has figured out how to pull dramatic, usable images from conditions that would send most of us back to the car.
The core problem this tutorial solves is one I run into constantly in my own workshop groups: photographers who wait for ideal conditions and then wonder why their portfolio looks like everyone else’s. Rain is not the obstacle. Rain, handled correctly, is the subject.
Step 1: Commit to the Conditions Before You Leave the Car
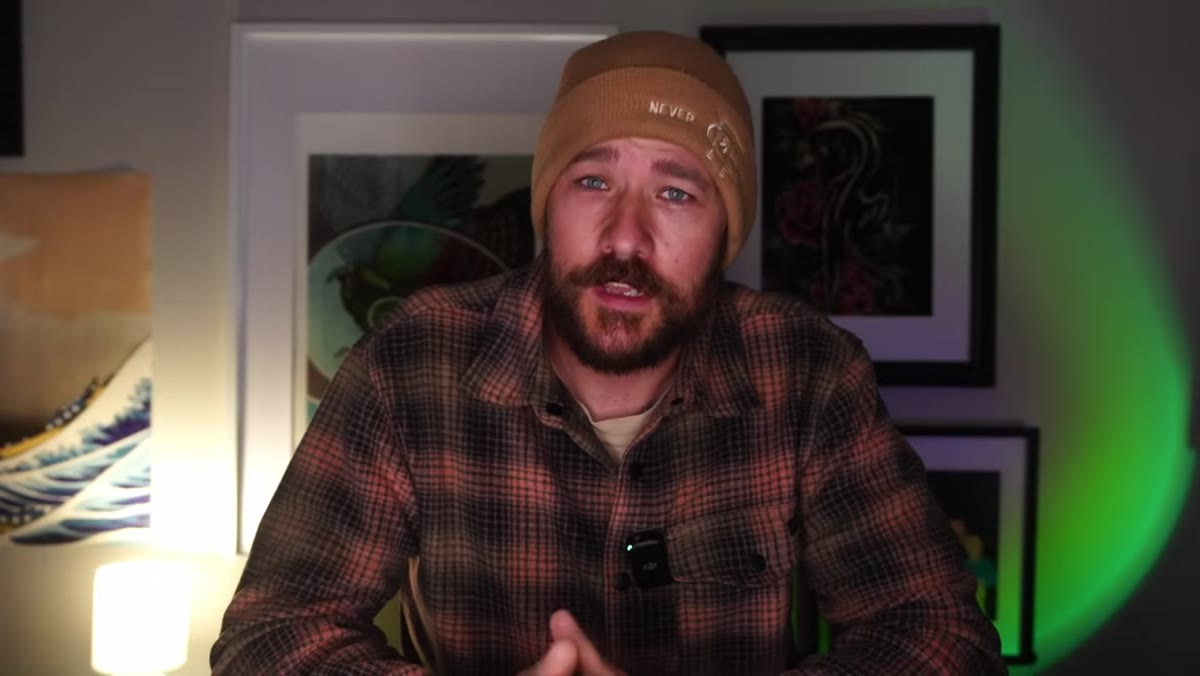 William preparing gear as rain and wind pick up outside
This sounds obvious until you’re standing in a parking lot with 150mm of rainfall forecast and a camera bag you spent serious money on. Patino’s first piece of advice is a mindset shift, not a camera setting. He makes the decision before boarding the cruise that getting wet is part of the deal. Fighting the conditions, mentally or physically, bleeds into your shooting. You hesitate, you pull back too early, you stop watching the frame.
William preparing gear as rain and wind pick up outside
This sounds obvious until you’re standing in a parking lot with 150mm of rainfall forecast and a camera bag you spent serious money on. Patino’s first piece of advice is a mindset shift, not a camera setting. He makes the decision before boarding the cruise that getting wet is part of the deal. Fighting the conditions, mentally or physically, bleeds into your shooting. You hesitate, you pull back too early, you stop watching the frame.
My own rule: I put on the rain gear before I think I need it. Once I’m comfortable and not managing my own discomfort, I can stay out longer and react faster. On a moving boat in wind and rain, that difference in reaction time is the difference between catching the windswept waterfall at its peak and watching it from behind the viewfinder while you fumble with a hood.
Step 2: Treat It Like Wildlife Photography, Not Landscape Photography
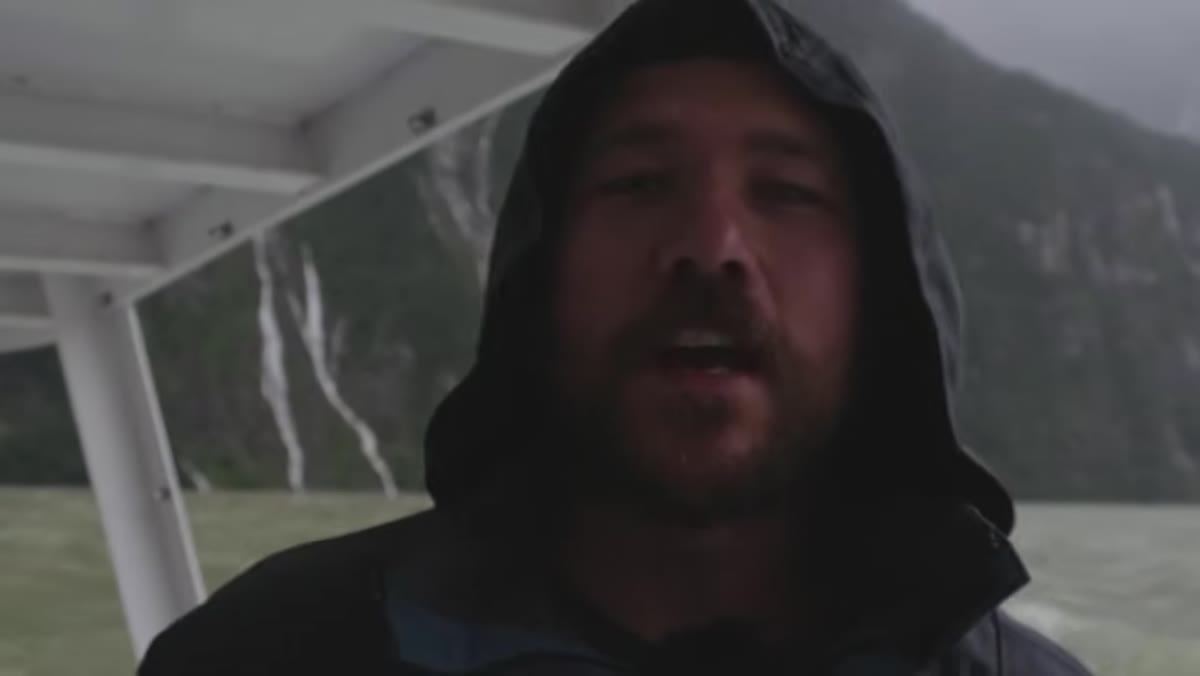 Camera pointed at fast-moving waterfall spray from boat deck
This reframe is the most useful thing in the entire tutorial. Patino describes the experience on the cruise as closer to wildlife photography than traditional landscape work. Compositions appear and vanish in seconds. The light shifts, a gust redirects a waterfall, a wave builds in the foreground and flattens before you’ve even raised the camera.
Camera pointed at fast-moving waterfall spray from boat deck
This reframe is the most useful thing in the entire tutorial. Patino describes the experience on the cruise as closer to wildlife photography than traditional landscape work. Compositions appear and vanish in seconds. The light shifts, a gust redirects a waterfall, a wave builds in the foreground and flattens before you’ve even raised the camera.
The practical implication is that you need to be pre-composed and pre-focused for a general zone, not hunting for the perfect frame in the moment. I set my focus to a working distance that covers the mid-ground and let the subjects come into it. I also stop chimping. On a fast-moving platform in heavy rain, every second you spend looking at the back screen is a second you’re not watching what’s happening around you.
Step 3: Use a Telephoto to Compress and Dramatize
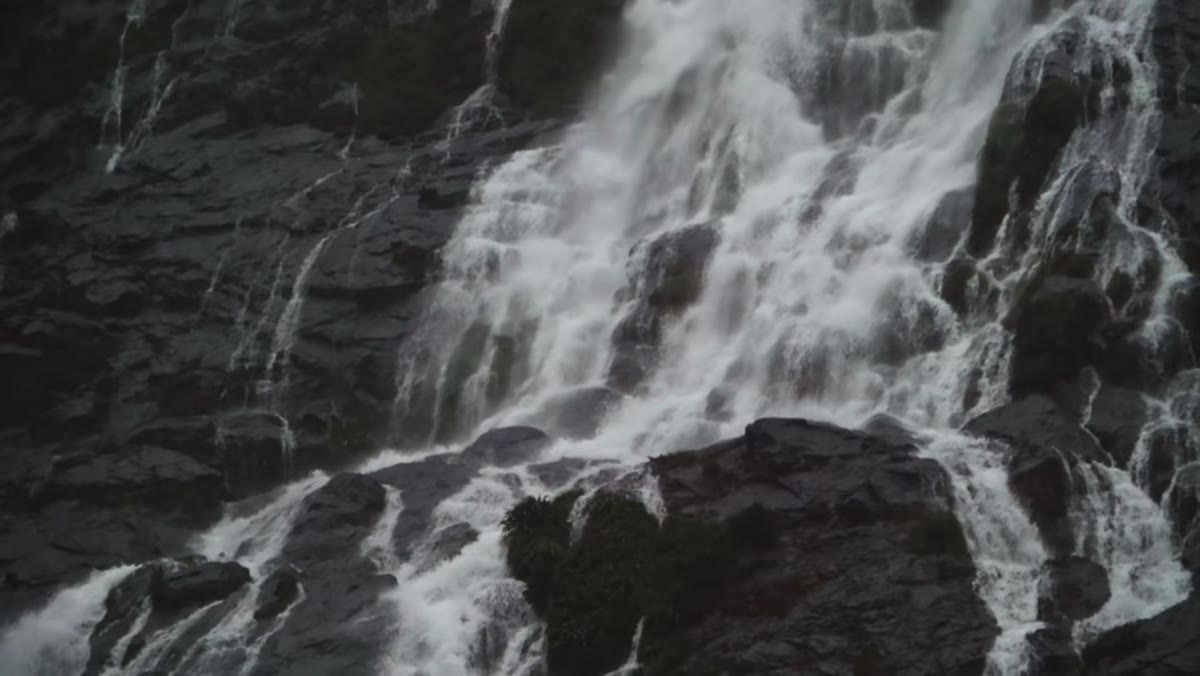 Telephoto lens compressing rain-soaked cliffs and waterfall distance
Patino’s lens of choice for pulling the waterfalls into the frame is a telephoto, and the reason is compression. When you’re on a boat at fjord level and the falls are dropping hundreds of meters above you, a wide angle minimizes what makes the scene dramatic. Telephoto compression stacks the water, the rock face, and the mist together in a way that communicates scale better than your eyes actually see it.
Telephoto lens compressing rain-soaked cliffs and waterfall distance
Patino’s lens of choice for pulling the waterfalls into the frame is a telephoto, and the reason is compression. When you’re on a boat at fjord level and the falls are dropping hundreds of meters above you, a wide angle minimizes what makes the scene dramatic. Telephoto compression stacks the water, the rock face, and the mist together in a way that communicates scale better than your eyes actually see it.
The caveat he mentions is real and worth preparing for: in very heavy rain, a telephoto compresses the rainfall itself. The drops fill the frame and can read as noise or haze, reducing contrast and making the image look like it was shot through a dirty window. When that happens, wait. Wind shifts, rain intensity fluctuates, and you will get windows of clarity. Shooting in bursts during those windows beats fighting the rain at its worst.
Step 4: Keep a Wide Angle Ready for Foreground-Driven Shots
 Wide angle capturing wave surge in foreground with mountain ridge behind
The telephoto earns its keep for isolated, compressed waterfall shots. But when the sea state builds and waves are coming over the bow, the wide angle becomes the tool. Patino uses it specifically to pull in wave movement in the foreground while still capturing the ridgeline above. This is closer to traditional landscape composition, leading lines and depth, but executed in reactive, handheld conditions.
Wide angle capturing wave surge in foreground with mountain ridge behind
The telephoto earns its keep for isolated, compressed waterfall shots. But when the sea state builds and waves are coming over the bow, the wide angle becomes the tool. Patino uses it specifically to pull in wave movement in the foreground while still capturing the ridgeline above. This is closer to traditional landscape composition, leading lines and depth, but executed in reactive, handheld conditions.
If you’re running one body, you’re making a call every few minutes about which lens serves the moment. Patino mentions that a second body solves this cleanly. I’d agree. On cruises or any situation where conditions are moving fast and lens changes mean potential exposure to rain spray, a second body with a different focal length is not a luxury. Keep the body you’re not shooting with inside, wrapped, and accessible in under ten seconds.
Step 5: Plan for Flat Raw Files and Know How You’ll Work Them
 Flat, low-contrast raw file shown before editing begins
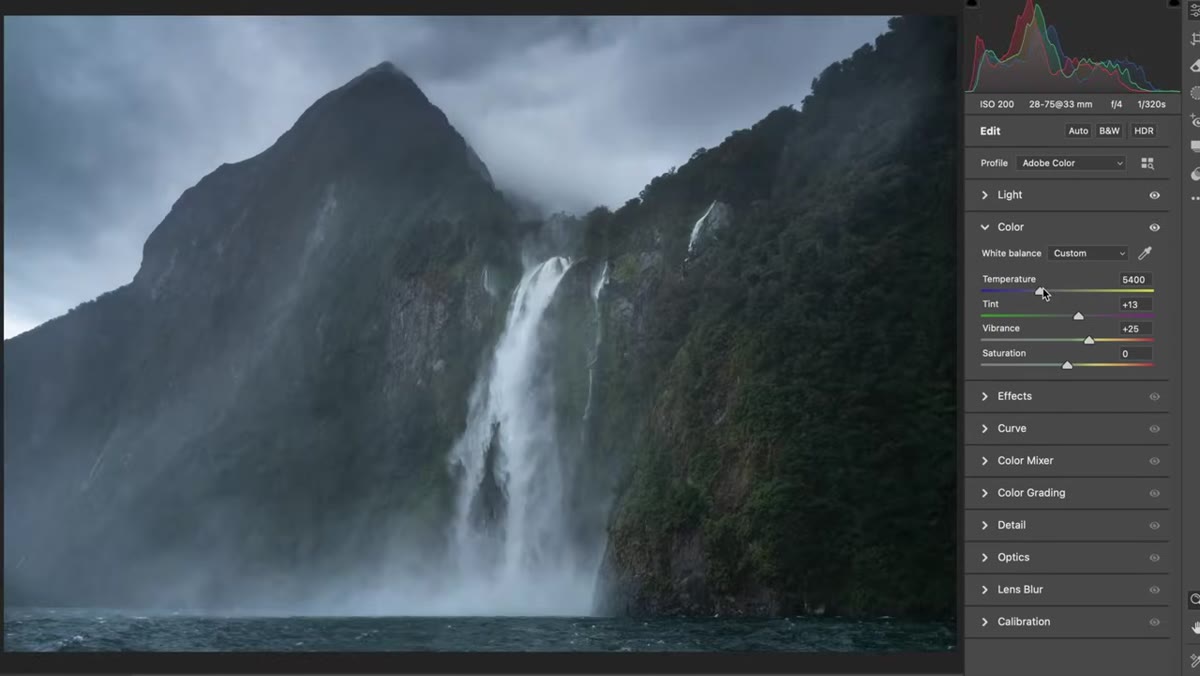
Heavy overcast and rain strip the scene of directional light. What you’re left with are raw files that look grey, low contrast, and nothing like what your eyes registered in the field. Patino flags this directly so you’re not surprised when you open Lightroom that evening feeling like the day was a failure.
Flat, low-contrast raw file shown before editing begins
Heavy overcast and rain strip the scene of directional light. What you’re left with are raw files that look grey, low contrast, and nothing like what your eyes registered in the field. Patino flags this directly so you’re not surprised when you open Lightroom that evening feeling like the day was a failure.
These files are not broken. They’re starting points that require a different editing approach than golden-hour work. You’re pulling contrast from texture rather than light. You’re using local adjustments to lift the waterfalls and the spray. You’re working the whites and highlights carefully to separate the mist from the sky. I’ve found that with rain shots, dodging and burning in post carries more weight than global adjustments. The drama that the eye saw is in there. The edit is what surfaces it.
What I’d Add From My Own Experience: Stay Later Than Feels Reasonable
I’ve noticed that the most interesting weather almost always arrives at the tail end of an outing, when you’ve already decided you have what you need. Storms shift, rain eases, and a shaft of filtered light will occasionally break through in a way that’s only possible because of everything that came before it.
In Fjordland specifically, the transition moments, when heavy rain starts to lift and the waterfalls are still running at full volume, can produce images that combine dramatic water movement with recovering light. Patino’s cruise gives you a fixed window of time. Use every minute of it and stay at the rail even when the others have gone inside.
The single most important takeaway from this tutorial is the willingness to go when the conditions are hard. Adverse weather is not a reason to delay. It is the condition. Photographers who build a comfort level with rain, wind, and limited light end up with work that looks different from the field, not just the editing room. That difference is what makes a portfolio worth looking at.
Watch the full tutorial on YouTube to see Patino’s behind-the-scenes footage from the cruise and his walkthrough of the raw files from the day.
Comments (1)
I've been looking for exactly this kind of tutorial. Perfect timing.
Leave a Comment