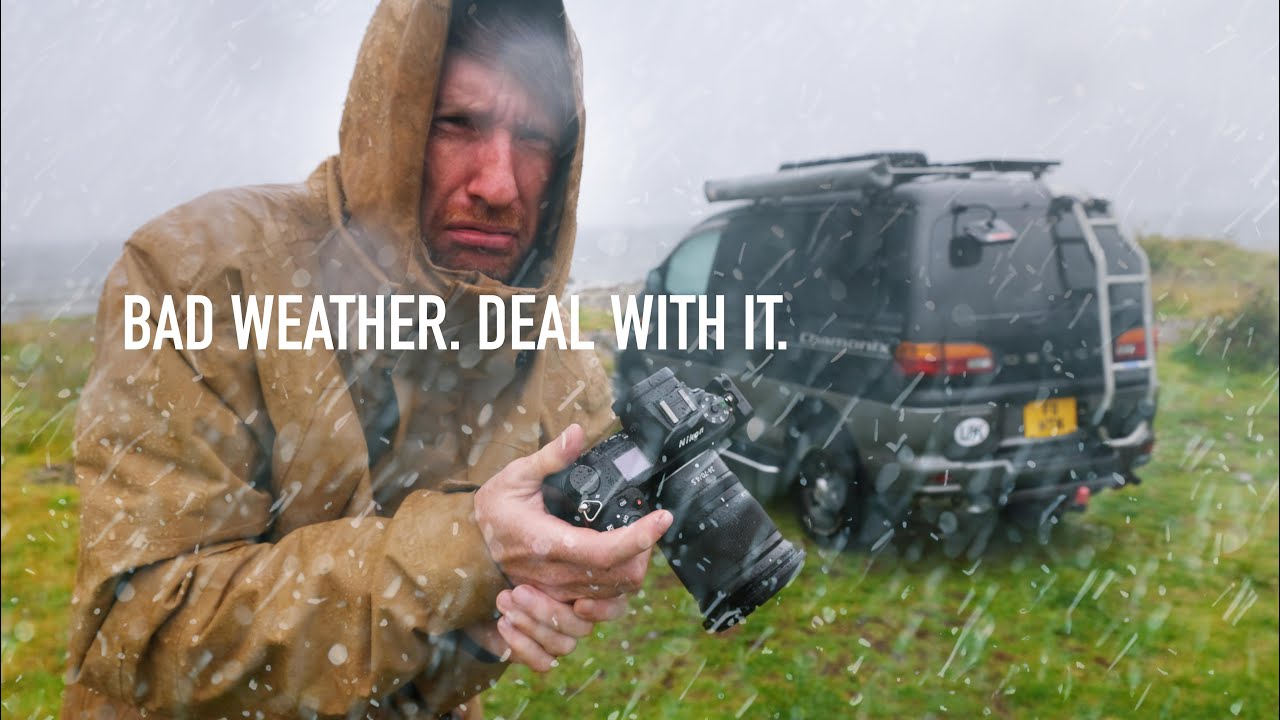
There’s a version of me from fifteen years ago who would have looked at a wall of rain through the van windshield and driven home. I’ve spent enough mornings sitting in my truck outside a trailhead in the Oregon Cascades, watching the clouds dump on a location I’d scouted for weeks, to know how seductive that retreat feels. The hard truth I’ve learned - slowly, sometimes miserably - is that bad weather is not the enemy of landscape photography. Indecision is.
That’s why this tutorial from Thomas Heaton stopped me mid-scroll. In Watch the full tutorial on YouTube, Heaton documents a real, unscripted rainy day on a UK road trip through Glen Rosa - not a polished lesson shot on a pretty afternoon, but an actual wet, grey, uncertain day where he has to talk himself into getting out of the van. The fact that it’s messy and honest is exactly what makes it useful. Here’s how I’d break down what he’s actually doing, and what you can take directly into the field.
Step 1: Reframe the Day Before You Open the Door
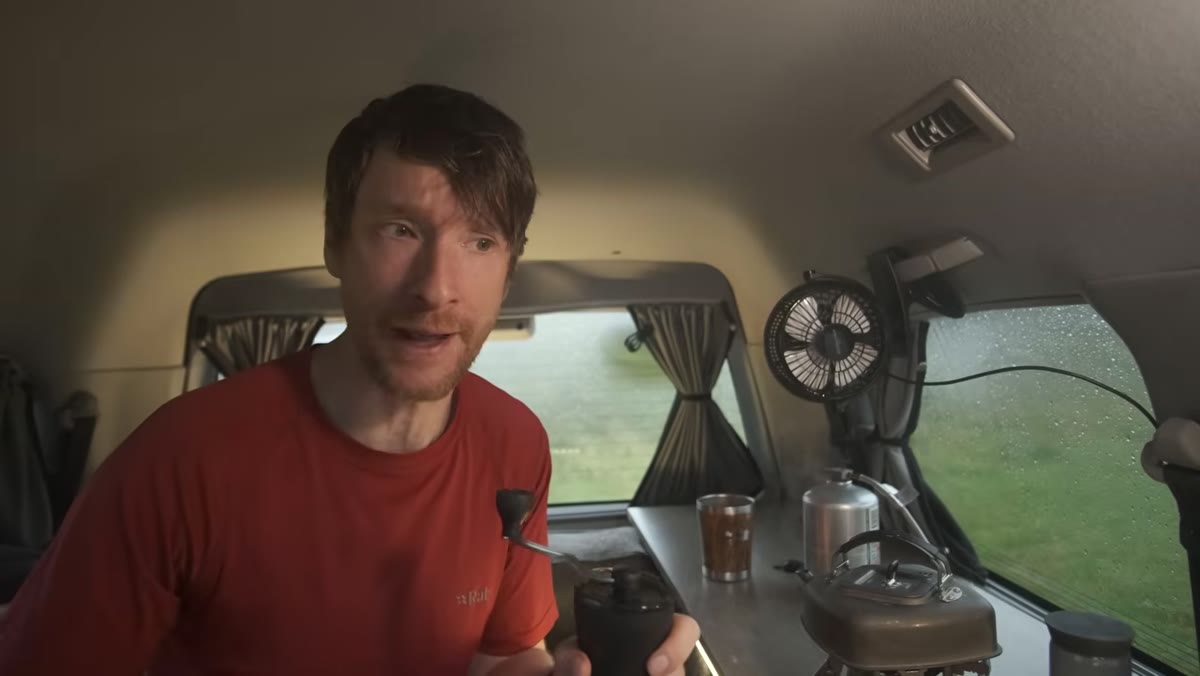 Thomas looking out van window at heavy rain and grey sky
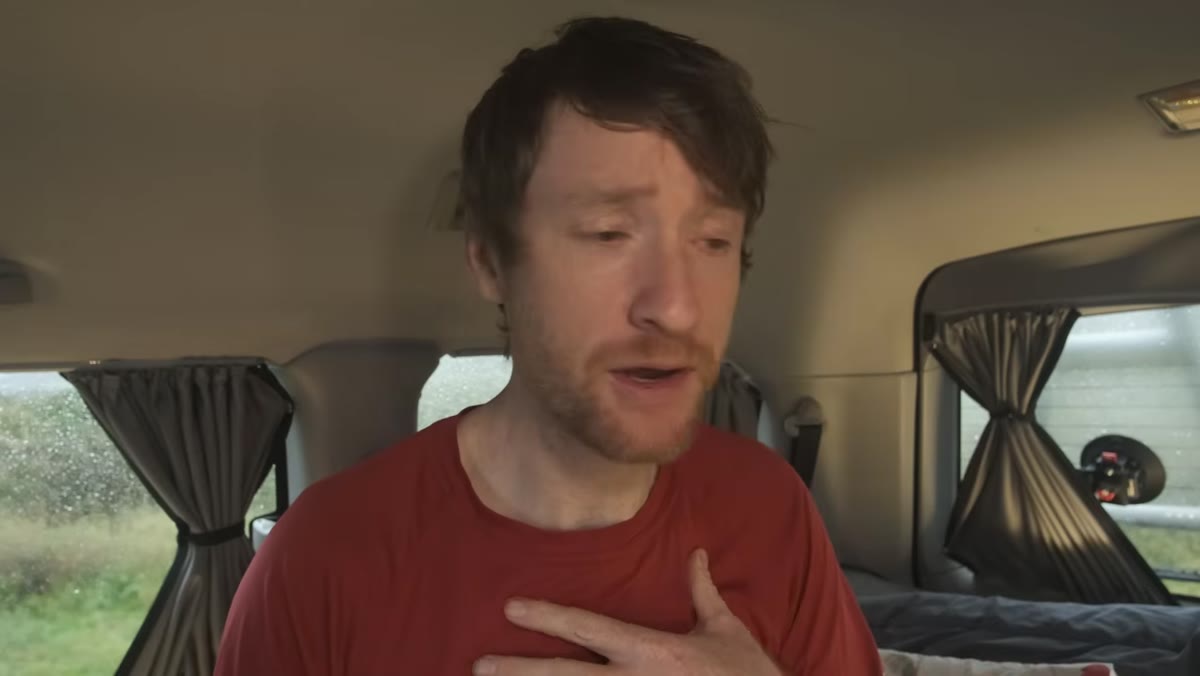
The first and most consequential decision Heaton makes happens before he picks up a single piece of gear. He consciously chooses to reject the binary of “good day” versus “bad day” and replaces it with a narrower, more achievable goal: one strong image. Not a portfolio sweep, not a golden-hour miracle. One photograph worth keeping.
Thomas looking out van window at heavy rain and grey sky
The first and most consequential decision Heaton makes happens before he picks up a single piece of gear. He consciously chooses to reject the binary of “good day” versus “bad day” and replaces it with a narrower, more achievable goal: one strong image. Not a portfolio sweep, not a golden-hour miracle. One photograph worth keeping.
This is practical psychology, not motivational fluff. When I’m running a workshop and the weather turns, I watch students shut down mentally before they’ve even tried. Setting a single modest goal resets that spiral. Write it on your hand if you have to. The mountain doesn’t care about your schedule, and the rain certainly doesn’t, but your brain responds to a concrete target.
Step 2: Audit Your Gear for the Conditions, Not for the Ideal Shoot
 Nikon Z72 camera being prepared inside the van
Heaton is shooting a Nikon Z7 II with a 24-70mm lens. More importantly, he trusts its weather sealing and decides not to fight the rain with gear he doesn’t have. He forgot his waterproof camera cover, doesn’t have an umbrella, and rather than treating that as a catastrophe, he adjusts his strategy around it.
Nikon Z72 camera being prepared inside the van
Heaton is shooting a Nikon Z7 II with a 24-70mm lens. More importantly, he trusts its weather sealing and decides not to fight the rain with gear he doesn’t have. He forgot his waterproof camera cover, doesn’t have an umbrella, and rather than treating that as a catastrophe, he adjusts his strategy around it.
His solution is to keep the camera in a dry bag while walking and minimize the time it’s exposed to direct rain. He also initially decides to leave the tripod behind - choosing mobility and speed over the long-exposure stability he’d want on a clear day. That’s an honest trade-off: less shutter control in exchange for faster deployment and less time standing in a downpour with gear you’re worried about. Know your camera’s weather sealing rating before you rely on it this way, and if you’re unsure, a simple rain sleeve costs almost nothing.
Step 3: Choose a Location That Works With Rain, Not Against It
 Arriving at Glen Rosa valley entrance, hills visible through mist
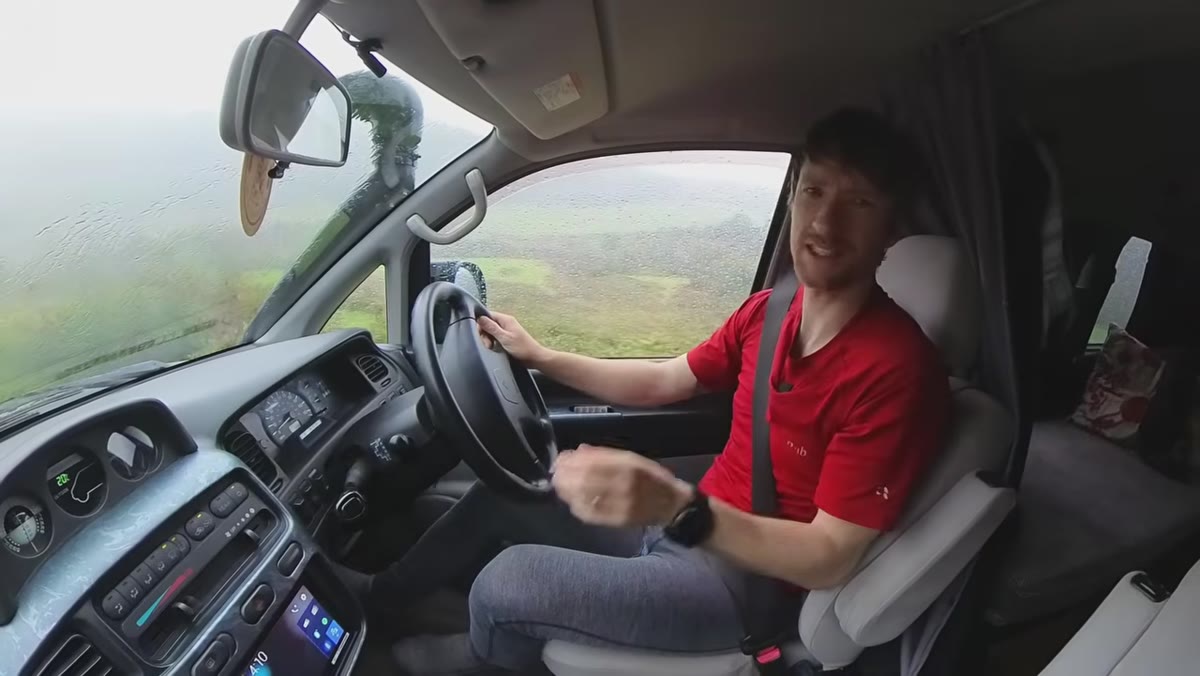
Heaton drives to Glen Rosa specifically because it’s a sheltered valley rather than an exposed coastline. This is a subtle but critical location decision. Open headlands and coastal cliffs can be spectacular in rain, but they also mean horizontal wind-driven water hitting your lens, no visual shelter in the composition, and physical misery that shortens your shooting window dramatically.
Arriving at Glen Rosa valley entrance, hills visible through mist
Heaton drives to Glen Rosa specifically because it’s a sheltered valley rather than an exposed coastline. This is a subtle but critical location decision. Open headlands and coastal cliffs can be spectacular in rain, but they also mean horizontal wind-driven water hitting your lens, no visual shelter in the composition, and physical misery that shortens your shooting window dramatically.
Valleys, woodlands, and forest floors tend to reward wet weather. Water on leaves, mist collecting between hillsides, rivers running high and moody - these are all conditions that a valley amplifies and a beach scatters. When you’re scouting online before a trip, identify a sheltered backup location for every primary spot. Rain doesn’t cancel the shoot; it reroutes it.
Step 4: Stay Loose and Let the Conditions Lead You
 Walking through valley with tripod, rain returning in ribbons
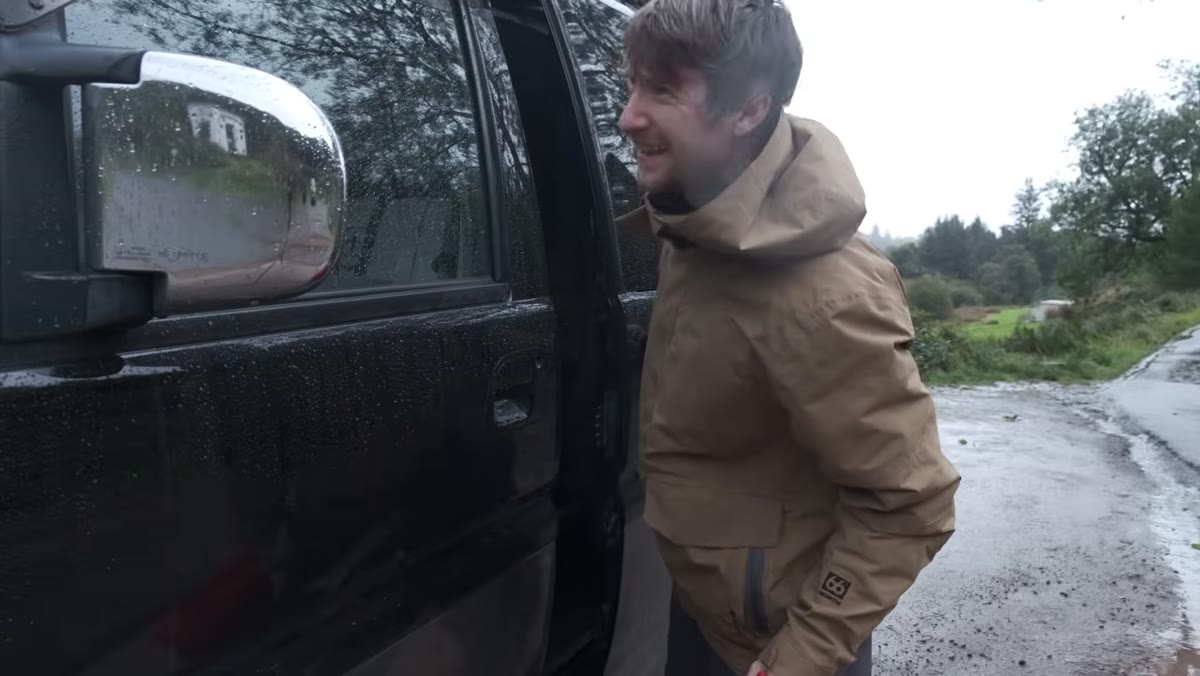
Heaton changes his mind about the tripod mid-walk, then gets rained on again as soon as he picks it up. He doesn’t frame this as failure - he moves toward the tree line for shelter and keeps walking. This flexibility is the actual skill being demonstrated. He’s not executing a pre-planned shot list. He’s moving through the landscape, staying observant, and waiting for a subject to reveal itself rather than forcing one.
Walking through valley with tripod, rain returning in ribbons
Heaton changes his mind about the tripod mid-walk, then gets rained on again as soon as he picks it up. He doesn’t frame this as failure - he moves toward the tree line for shelter and keeps walking. This flexibility is the actual skill being demonstrated. He’s not executing a pre-planned shot list. He’s moving through the landscape, staying observant, and waiting for a subject to reveal itself rather than forcing one.
In practical terms this means keeping your camera accessible but protected, walking slowly, and letting your eyes adjust to what the light is actually doing rather than what you hoped it would do. Rain creates its own quality of light - diffused, directional when showers move through, and occasionally dramatic when breaks appear. You need to be present to catch those moments, not hunched over a phone trying to check the forecast again.
Step 5: Identify a Subject That Earns the Atmosphere
 Lone tree with autumn foliage against misty valley hillside
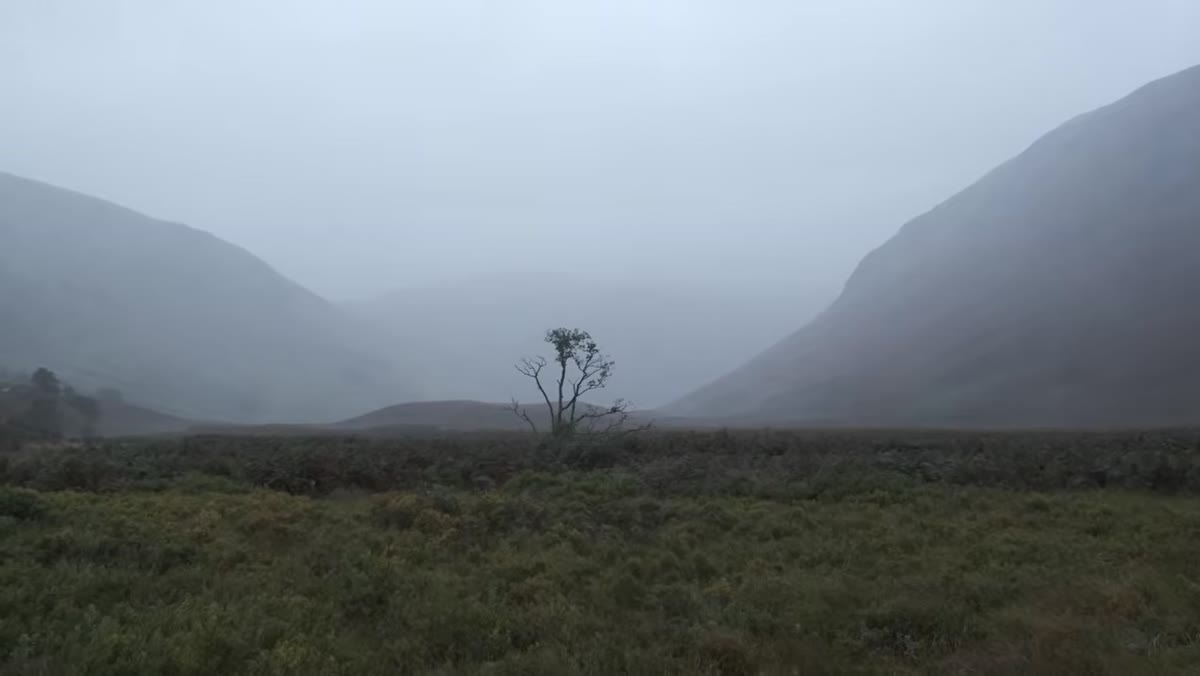
The photograph Heaton finds is a lone tree in autumn color - yellows, golds, and greens - set against the clear valley shape behind it. He’s animated about it in a way that’s infectious, and the reason is that the subject and the conditions are genuinely compatible. A single tree holds its shape in soft grey light. Autumn color reads even when the sky is flat. The mist in the valley adds depth that a blue-sky day would erase.
Lone tree with autumn foliage against misty valley hillside
The photograph Heaton finds is a lone tree in autumn color - yellows, golds, and greens - set against the clear valley shape behind it. He’s animated about it in a way that’s infectious, and the reason is that the subject and the conditions are genuinely compatible. A single tree holds its shape in soft grey light. Autumn color reads even when the sky is flat. The mist in the valley adds depth that a blue-sky day would erase.
This is the compositional lesson inside the weather lesson: rainy days demand subjects that don’t need good light to be interesting. Strong shapes, high-contrast colors like autumn foliage, moving water, or textural foregrounds like wet rock and moss - these all hold up. Soft pastels, wide empty skies, and expansive beach scenes tend to fall flat. Match your subject to the emotional register of the weather, and the atmosphere becomes an asset rather than an obstacle.
What I’d Add From Twenty Years of Wet Shoots
I’ll be direct about something Heaton doesn’t have time to cover: your clothing matters as much as your camera gear. I’ve ruined otherwise productive rain sessions because I got cold and wet faster than I got my images. Waterproof layers that actually breathe, gaiters if you’re walking through wet grass, and a dry change of clothes in the car - these are unsexy logistics that directly extend your time in the field. The shot I’m most proud of from a rainy day in the Cascades came in the last ten minutes before I had to bail because I was soaked through. Those ten minutes existed because I’d dressed properly for the first two hours.
I also never leave home without a microfiber cloth in my jacket pocket. Lens droplets in wet conditions can kill an otherwise good frame, and stopping to dig through a bag for a cloth costs you moments you don’t have when the light shifts.
The single most important thing Heaton demonstrates here is that productive rainy days are almost entirely a mindset decision made before you leave the car. Everything else - gear choices, location selection, subject finding - follows from that first choice to believe the photograph is out there. The conditions will always give you a reason to stay inside. The question is whether you give yourself a reason to go anyway.
Watch the full tutorial on YouTube to follow Heaton’s actual walk through Glen Rosa and see the image he comes home with.
Comments (1)
Just used this on a wedding shoot edit. Client was thrilled.
Leave a Comment