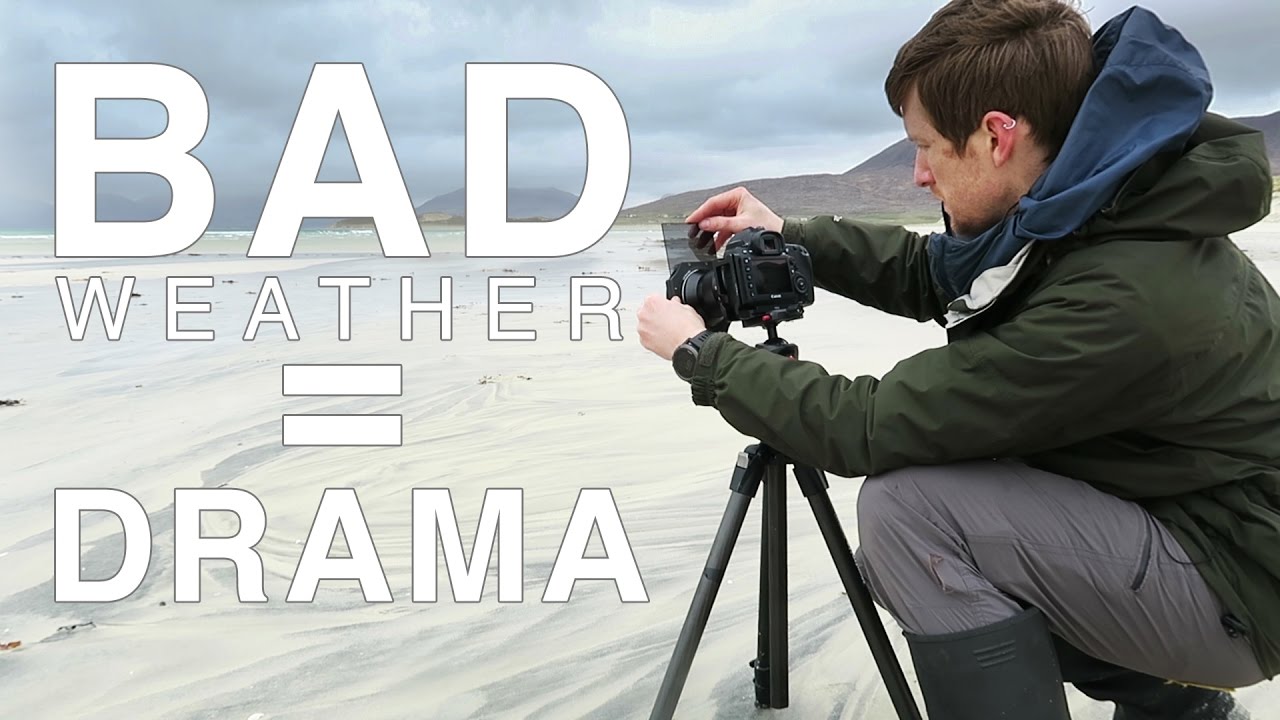
There’s a version of landscape photography that lives entirely in the golden hours, where everything cooperates and the light does exactly what you hoped. That version is real, but it’s not the majority of your time in the field. Most of it is waiting, pivoting, and figuring out what to do when the plan falls apart by 10am. That’s the problem this tutorial actually solves, and it’s why I keep coming back to it.
In this Thomas Heaton tutorial filmed on the Isle of Harris in Scotland, Watch the full tutorial on YouTube, Heaton spends most of a day navigating exactly that situation. He’s not teaching you a specific camera setting or a post-processing trick. He’s modeling a mindset and a workflow for staying productive when the weather turns and the middle of the day stretches out in front of you like a grey ceiling. After twenty years shooting landscapes professionally, I’d argue that skill, adapting on the fly in the field, is worth more than any preset or filter you’ll ever buy.
My mentor used to say “the mountain doesn’t care about your schedule.” I’ve stood in enough drizzle, watching a forecast dissolve in real time, to know he was right. What follows is a breakdown of how Heaton works through a difficult day, step by step, and what you can take directly into your own shooting.
Step 1: Scout Before You Commit
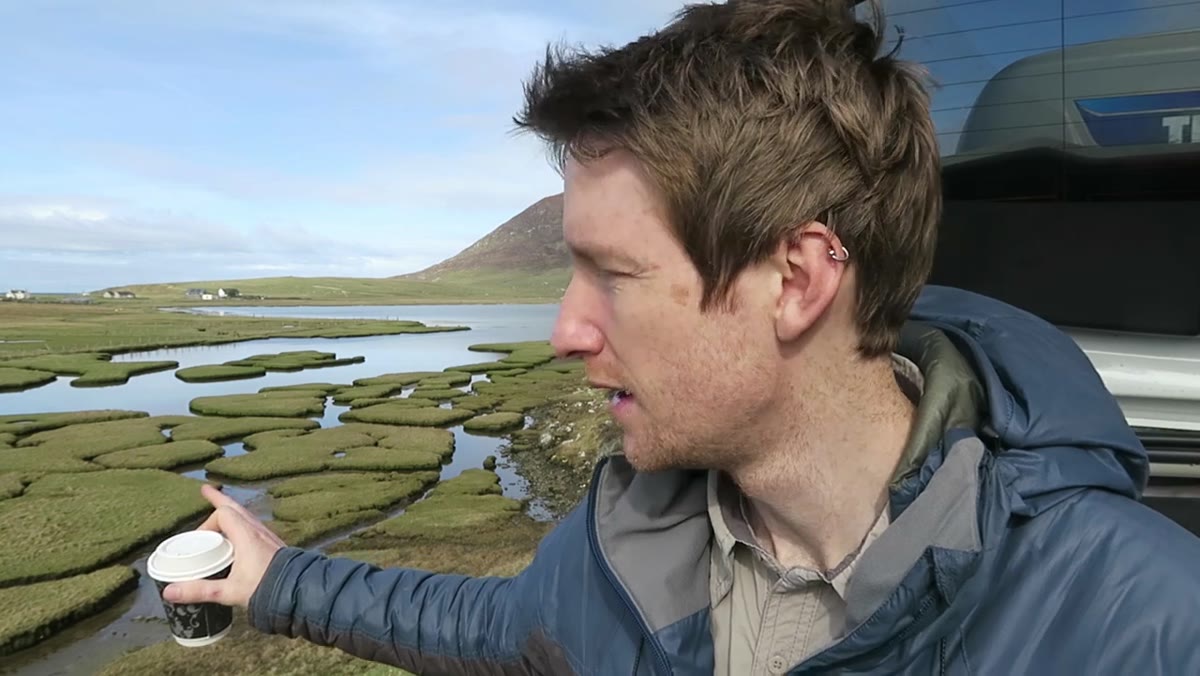 Heaton looking out over salt marshes with mountain behind
Before Heaton picks up a camera, he walks the location. He identifies a salt marsh scene with a strong mountain backdrop and mentally files it for the evening shoot. This is a habit worth building into every field day, not just when conditions are bad. Walking a location without the pressure of shooting lets you read the light angles, find the foreground interest, and make compositional decisions without the clock running. For midday sessions specifically, scouting lets you pre-select locations that will work across a range of light qualities, not just perfect golden-hour conditions.
Heaton looking out over salt marshes with mountain behind
Before Heaton picks up a camera, he walks the location. He identifies a salt marsh scene with a strong mountain backdrop and mentally files it for the evening shoot. This is a habit worth building into every field day, not just when conditions are bad. Walking a location without the pressure of shooting lets you read the light angles, find the foreground interest, and make compositional decisions without the clock running. For midday sessions specifically, scouting lets you pre-select locations that will work across a range of light qualities, not just perfect golden-hour conditions.
When you arrive somewhere new, give yourself 20 to 30 minutes to walk without shooting. Note where the shadows fall, where the water moves, what the beach or terrain looks like at different distances from the water’s edge. Your afternoon shots will be more deliberate for it.
Step 2: Plan Your Toolkit Around the Light You Have, Not the Light You Want
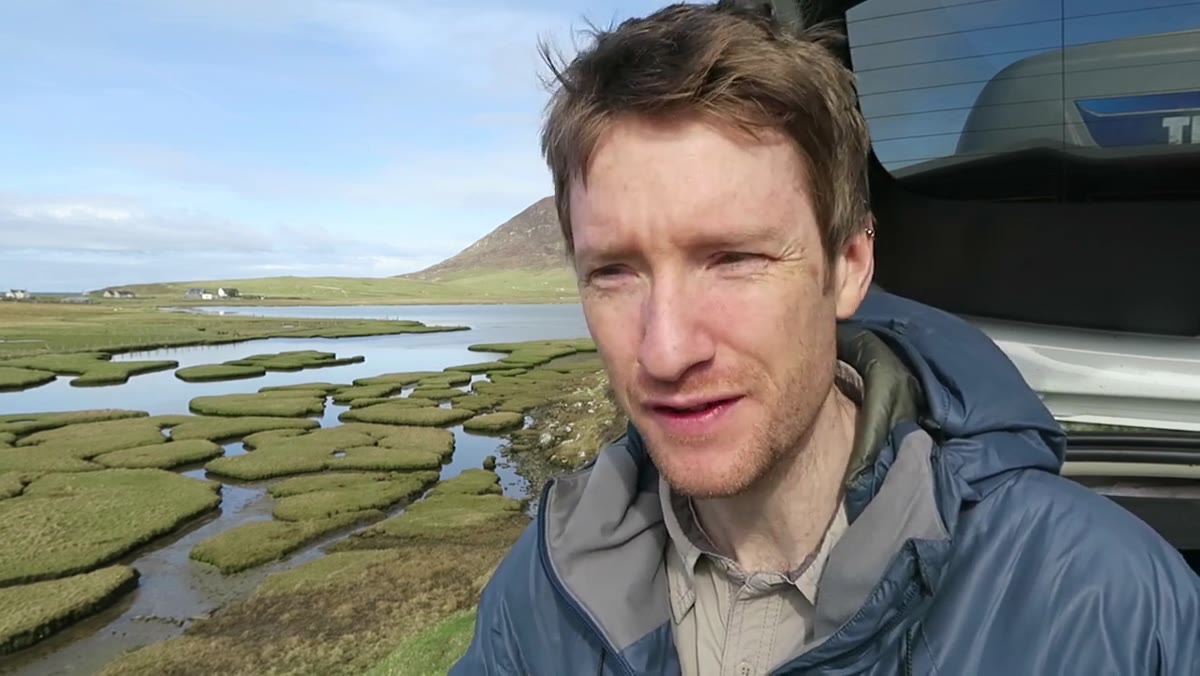 Heaton describing his plan for ND filters and abstract beach work
Heaton mentions planning to use both a 10-stop and a 15-stop ND filter for the midday beach work. That choice is intentional. Flat, diffused midday light is actually useful for long-exposure work because it reduces contrast, which means your highlights are easier to manage and your textures render more evenly across a long exposure. If you’re fighting harsh shadows and blown-out skies anyway, pulling out your heaviest ND filter and shooting 60-second to 3-minute exposures transforms the problem into an advantage.
Heaton describing his plan for ND filters and abstract beach work
Heaton mentions planning to use both a 10-stop and a 15-stop ND filter for the midday beach work. That choice is intentional. Flat, diffused midday light is actually useful for long-exposure work because it reduces contrast, which means your highlights are easier to manage and your textures render more evenly across a long exposure. If you’re fighting harsh shadows and blown-out skies anyway, pulling out your heaviest ND filter and shooting 60-second to 3-minute exposures transforms the problem into an advantage.
His specific goal is abstract images: clean lines, the white sand, the blue water. When the light won’t give you drama, let motion and geometry do the work. On a sandy beach at midday, a 10-stop filter at f/11 in moderate cloud cover might put you around 30 to 60 seconds. A 15-stop filter at the same aperture could push you to several minutes. Bracket your exposures and look for how the moving water smooths across the sand, it can create a minimalism that harsh sunlight would destroy.
Step 3: Let the Weather Cycle, Don’t Fight It
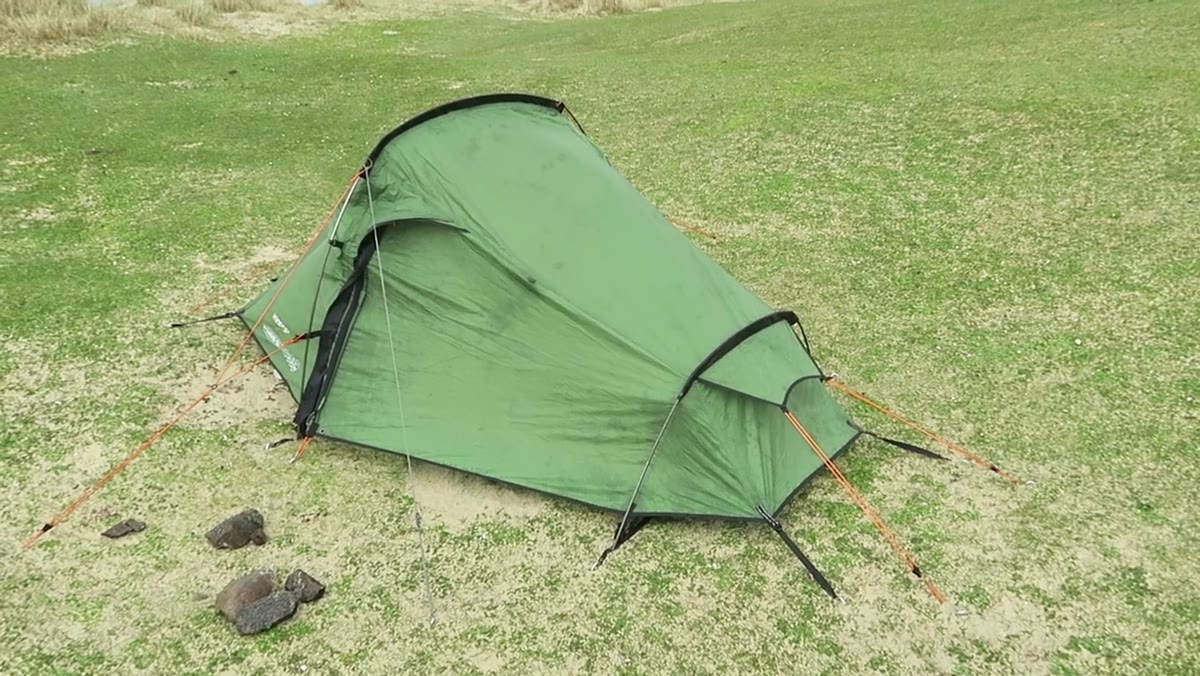 Heaton observing cloud movement and waiting in his car
When a squall rolls in during lunch, Heaton retreats, rests, and watches. He notes that the weather on Harris tends to shift every half hour, which makes patience a legitimate photographic strategy. This isn’t just good temperament, it’s field craft. Weather in coastal and mountain environments moves in cycles, and knowing that your window might open for 20 minutes in the next hour means the wait has a return on investment.
Heaton observing cloud movement and waiting in his car
When a squall rolls in during lunch, Heaton retreats, rests, and watches. He notes that the weather on Harris tends to shift every half hour, which makes patience a legitimate photographic strategy. This isn’t just good temperament, it’s field craft. Weather in coastal and mountain environments moves in cycles, and knowing that your window might open for 20 minutes in the next hour means the wait has a return on investment.
Keep a weather app running that shows hourly cloud cover and wind speed, not just precipitation. Apps like Windy or Ventusky show you fronts moving in real time. If you can see a gap in the cloud layer approaching, you know roughly when to have your tripod up and your settings dialed. In the meantime, stay warm, stay fed, and don’t drain your creative energy by standing in the rain staring at nothing.
Step 4: Work What’s in Front of You, Then Reassess
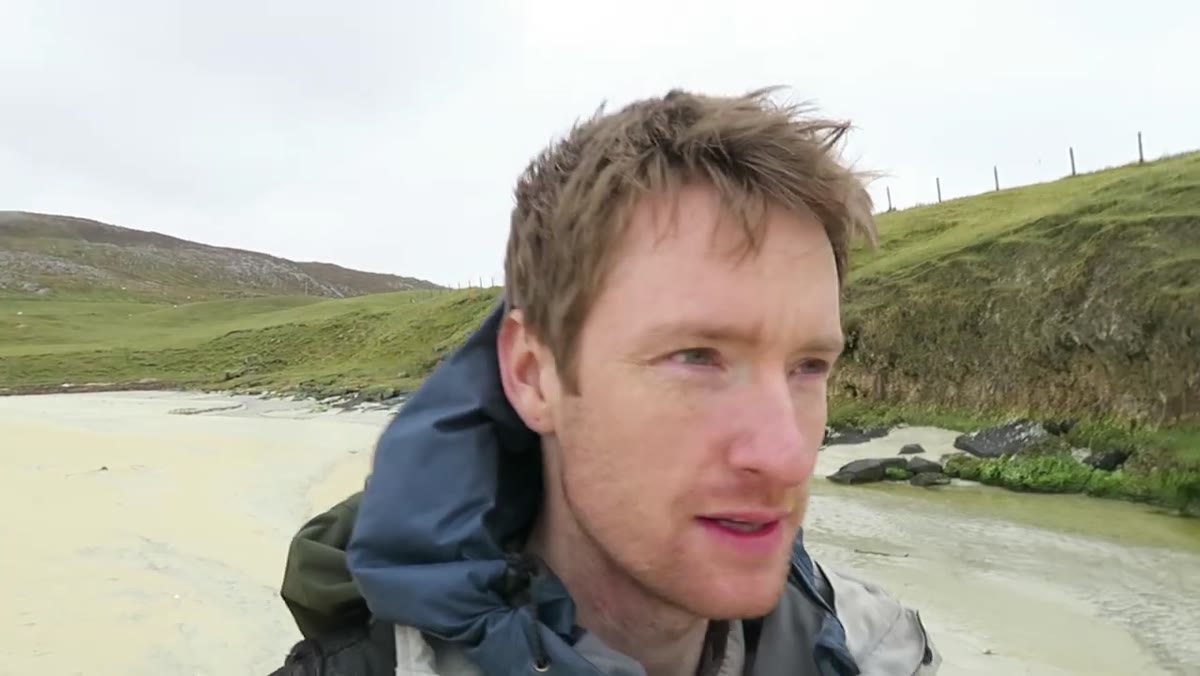 Heaton spotting the meandering stream leading to the sea
When the rain briefly eases, Heaton walks the beach in front of his campsite and immediately finds a small stream winding out to a turquoise sea, a natural leading line that would anchor a strong composition. He starts to set up. Then the wind picks up, the rain returns, and the tide begins moving in faster than expected, changing the composition entirely. His read of the situation is clear-eyed: there is a real image here, the conditions just aren’t ready to give it up yet.
Heaton spotting the meandering stream leading to the sea
When the rain briefly eases, Heaton walks the beach in front of his campsite and immediately finds a small stream winding out to a turquoise sea, a natural leading line that would anchor a strong composition. He starts to set up. Then the wind picks up, the rain returns, and the tide begins moving in faster than expected, changing the composition entirely. His read of the situation is clear-eyed: there is a real image here, the conditions just aren’t ready to give it up yet.
This is the discipline of recognizing potential without forcing a shot. If the composition exists but the conditions are wrong, note the location, note the tide timing, and return. Forcing a mediocre frame when you can see the strong one waiting is a habit that wastes card space and, more importantly, trains you to accept less than what’s there. Heaton walks back to the car for better footwear and waits it out.
Step 5: Move When the Location Isn’t Delivering
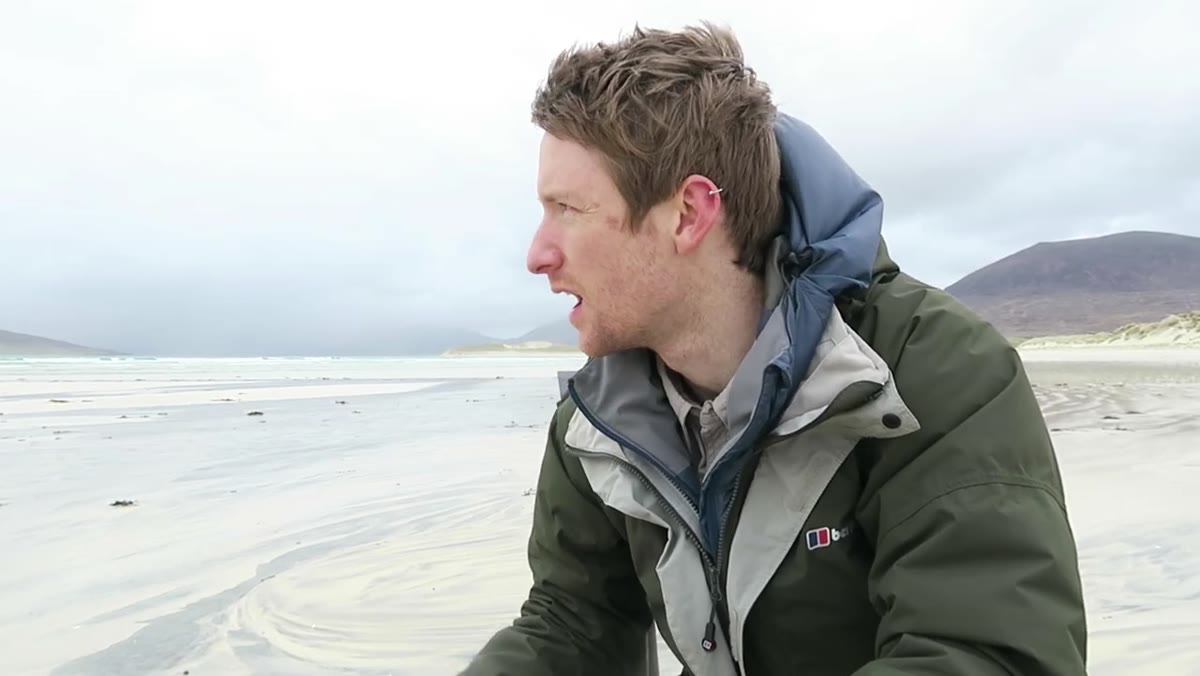 Heaton arriving at a new beach with textured black-and-white sand patterns
After waiting through the worst of the storm, Heaton drives a few miles to a different beach entirely. This is the step most photographers skip because of sunk-cost thinking. You drove to that first beach, you scouted it, you want it to work. But landscape photography rewards mobility. The new beach reveals something he hadn’t planned for: black mineral sediment swirling through white sand, creating abstract patterns across the beach surface. Combined with a heavy, moody sky overhead, it produces the exact kind of minimalist, graphic image he was hoping to find somewhere on Harris.
Heaton arriving at a new beach with textured black-and-white sand patterns
After waiting through the worst of the storm, Heaton drives a few miles to a different beach entirely. This is the step most photographers skip because of sunk-cost thinking. You drove to that first beach, you scouted it, you want it to work. But landscape photography rewards mobility. The new beach reveals something he hadn’t planned for: black mineral sediment swirling through white sand, creating abstract patterns across the beach surface. Combined with a heavy, moody sky overhead, it produces the exact kind of minimalist, graphic image he was hoping to find somewhere on Harris.
The lesson is straightforward. If one location is refusing to cooperate and you have time left in the day, move. Have a list of two or three backup locations before you leave the car. Look at satellite imagery beforehand to identify beach shapes, rocky outcrops, or tidal pools within range of your primary spot.
What I’d Add: The Recovery Day Is Part of the Work
Heaton opens the video having skipped sunrise because he was exhausted and unwell. He ate properly, cleaned his kit, and rested. That’s not laziness, that’s management. I’ve been on enough multi-day shoots to know that a bad second day usually traces back to a depleted first evening. When you’re running on empty, your eye stops working before your legs do. You stop noticing the stream on the beach. You default to compositions you’ve made before because your brain is too tired to look for new ones.
Build recovery time into any trip longer than a single day. That might mean skipping one sunrise to protect the next three. It’s a harder call in the moment than it sounds.
The single most important thing this tutorial demonstrates isn’t a camera setting. It’s that persistence, combined with flexibility, is the actual skill separating productive shooting days from wasted ones. The image doesn’t care that it’s midday. It doesn’t care that you’re tired or that the weather broke wrong. Your job is to stay in the field, keep moving, and stay ready.
Watch the full tutorial on YouTube and watch how Heaton’s energy shifts when he arrives at that second beach. That moment of recognition, when conditions finally align, is what you’re staying in the field for.
Comments (4)
Shared this with my photography group. Everyone loved it.
My workflow just got 10x faster. Not even kidding.
I tried this on a client project yesterday and the results were way better than expected.
This is going in my reference folder. Incredibly useful.
Leave a Comment