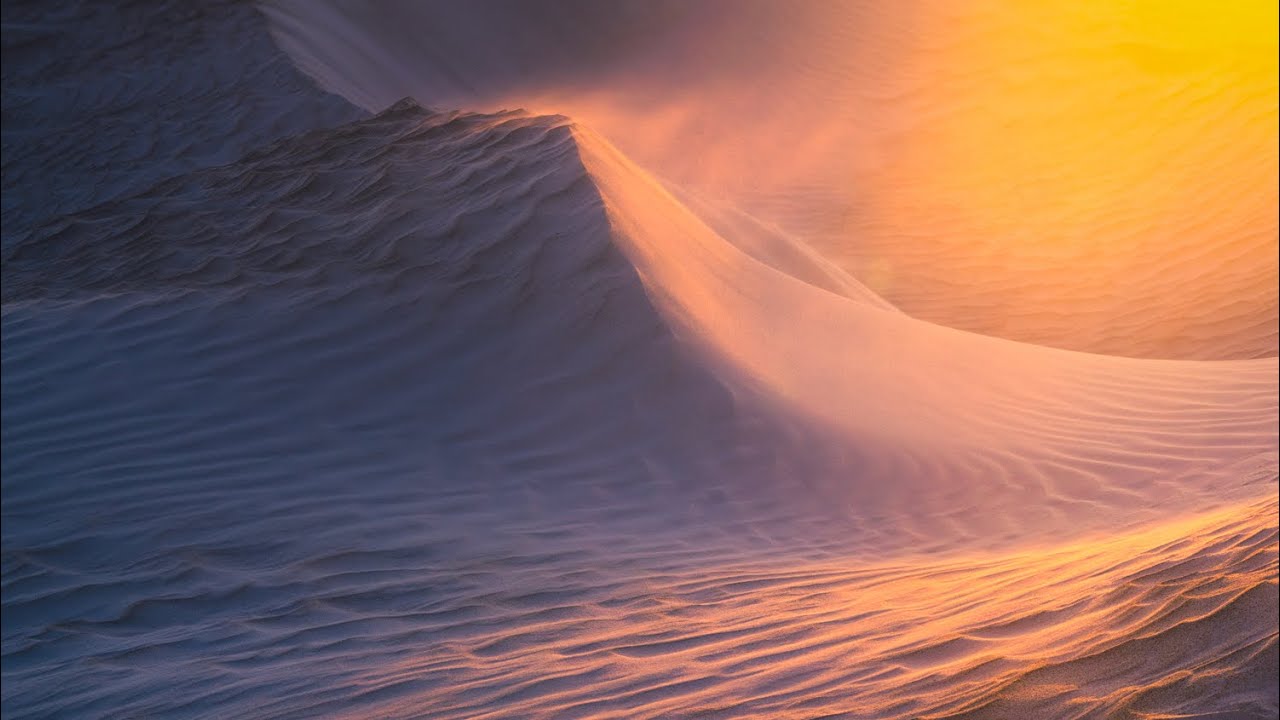
There’s a trap I’ve fallen into more times than I’d like to admit over twenty years of doing this professionally. You arrive at a location expecting something grand, something with obvious layers and drama and a clear foreground-to-sky story, and instead the landscape hands you something quieter and more intricate. The instinct is to feel cheated. The better move, as I’ve learned slowly and sometimes expensively, is to put the wide angle away and look closer.
That’s exactly what William Patino does in this sand dune sunset tutorial shot on location in Western Australia. Watch the full tutorial on YouTube. What struck me watching this wasn’t the location itself, though the dunes are genuinely beautiful. It was the deliberate decision to treat this landscape as a study rather than a spectacle. Patino isn’t trying to make a postcard. He’s trying to understand what’s actually in front of him, and his gear choices and compositional thinking reflect that from the moment he starts climbing.
For anyone who shoots desert or coastal dune systems, this tutorial is worth sitting with carefully. The Western Australian dune system he’s working with isn’t stacked with the towering ridgelines you see in the UAE or parts of the American Southwest. It’s lower, more textured, more about surface than silhouette. That constraint becomes the whole creative opportunity.
Step 1: Choose the Right Lens for the Landscape You Actually Have
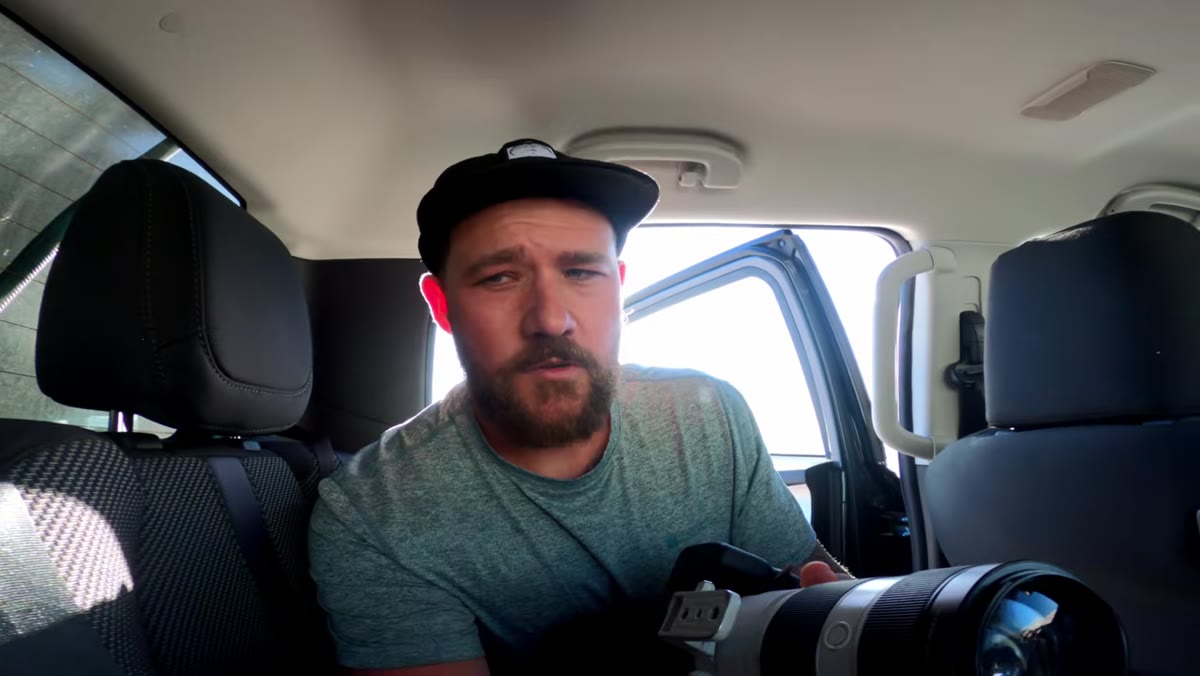 Photographer discusses 100-400mm lens choice on dune
Before he even gets into position, Patino explains why he’s going up with a 100-400mm telephoto rather than a wide angle. The reasoning is specific to the terrain: these dunes don’t offer sweeping, layered vistas. The story lives in the fine grain of the sand, the ribbed textures left by wind, the micro-shadows that only exist in raking low light. A wide angle would flatten all of that into a blurred foreground.
Photographer discusses 100-400mm lens choice on dune
Before he even gets into position, Patino explains why he’s going up with a 100-400mm telephoto rather than a wide angle. The reasoning is specific to the terrain: these dunes don’t offer sweeping, layered vistas. The story lives in the fine grain of the sand, the ribbed textures left by wind, the micro-shadows that only exist in raking low light. A wide angle would flatten all of that into a blurred foreground.
If you’re working a landscape that lacks obvious grand scale, ask yourself whether your wide angle is actually serving the scene or just a habit. A telephoto compresses distance, isolates texture, and lets you frame abstract shapes within the landscape that a broader lens would swallow whole. At 200 to 400mm, a sand ripple becomes a graphic element.
Step 2: Identify the Character of the Dune System Before Composing
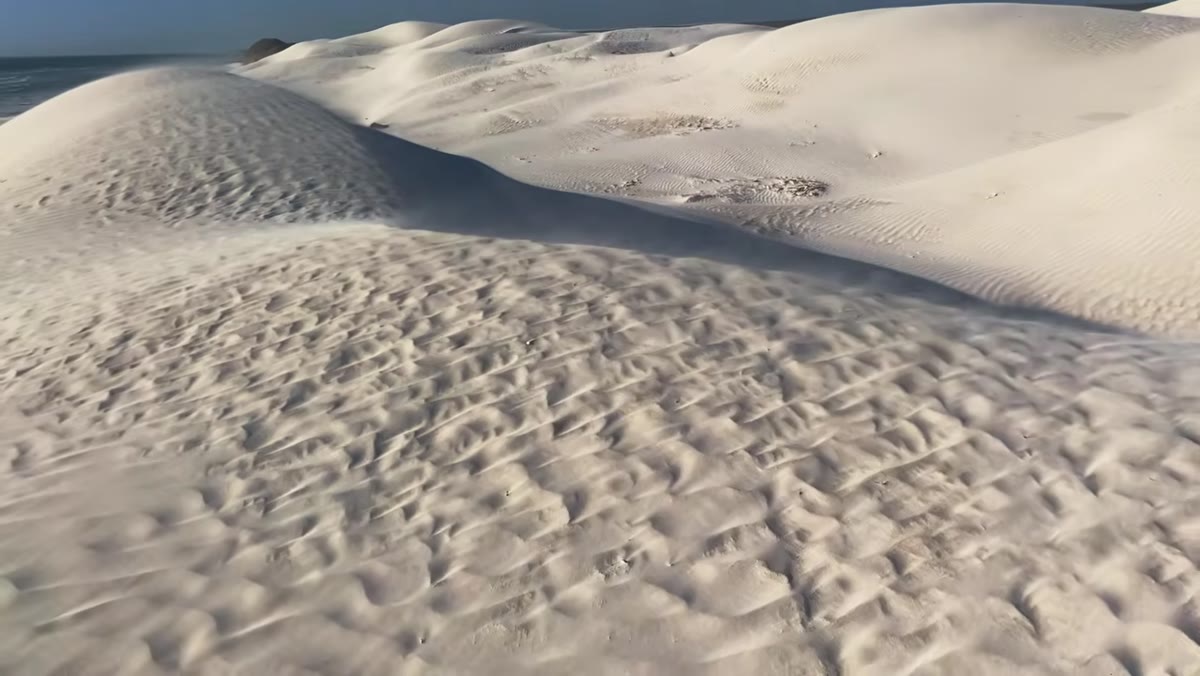 Wide view of Western Australian dune system at golden hour
Patino takes a moment early on to read the landscape and acknowledge what it is rather than what he expected. The dune system is lower and more horizontally oriented than classic desert photography locations. Recognizing that shifts everything about how you approach composition. You’re no longer looking for peaks and leading ridgelines. You’re looking for intimate geometry.
Wide view of Western Australian dune system at golden hour
Patino takes a moment early on to read the landscape and acknowledge what it is rather than what he expected. The dune system is lower and more horizontally oriented than classic desert photography locations. Recognizing that shifts everything about how you approach composition. You’re no longer looking for peaks and leading ridgelines. You’re looking for intimate geometry.
This is a step most photographers skip because it feels passive. It isn’t. Spending five minutes just observing before raising the camera is how you avoid spending an hour in the wrong spot. Walk the edge of the dune. Look at how the light falls across different surfaces. Notice which angles catch shadow and which ones go flat. Your best composition is usually visible before you’ve lifted the camera to your eye.
Step 3: Hunt for Lines and Patterns That Direct the Eye
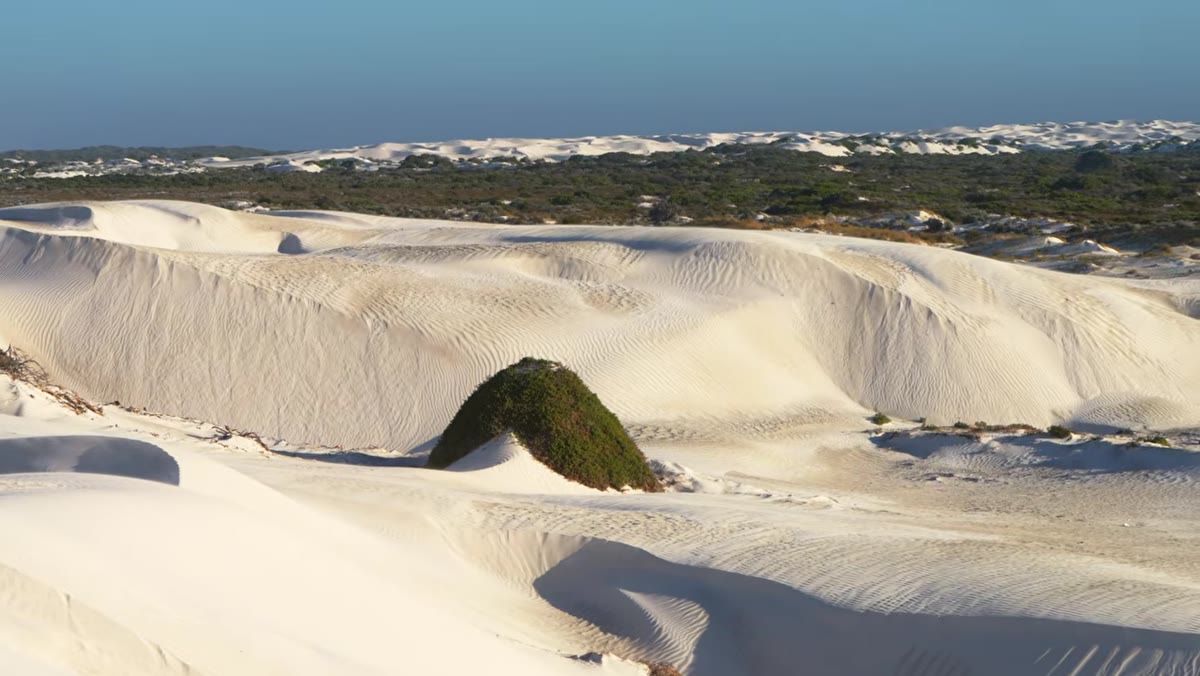 Photographer scanning dune surface for leading lines and texture patterns
The compositional priority Patino returns to throughout this shoot is lines. Not just any lines, but lines that pull the viewer’s eye into and through the frame. In a dune environment, those lines come from wind-sculpted ridges, the curved edges of slip faces, and the long shadows that stretch across the surface as the sun drops.
Photographer scanning dune surface for leading lines and texture patterns
The compositional priority Patino returns to throughout this shoot is lines. Not just any lines, but lines that pull the viewer’s eye into and through the frame. In a dune environment, those lines come from wind-sculpted ridges, the curved edges of slip faces, and the long shadows that stretch across the surface as the sun drops.
Look for lines that lead somewhere, even if that somewhere is just a patch of warm light or a tonal shift. The eye wants to travel. Give it a path. In the absence of a clear subject, a strong diagonal line becomes the subject. Patino works this principle actively, repositioning frequently to find angles where the surface geometry creates movement across the frame.
Step 4: Commit to One Lens and Work It Fully
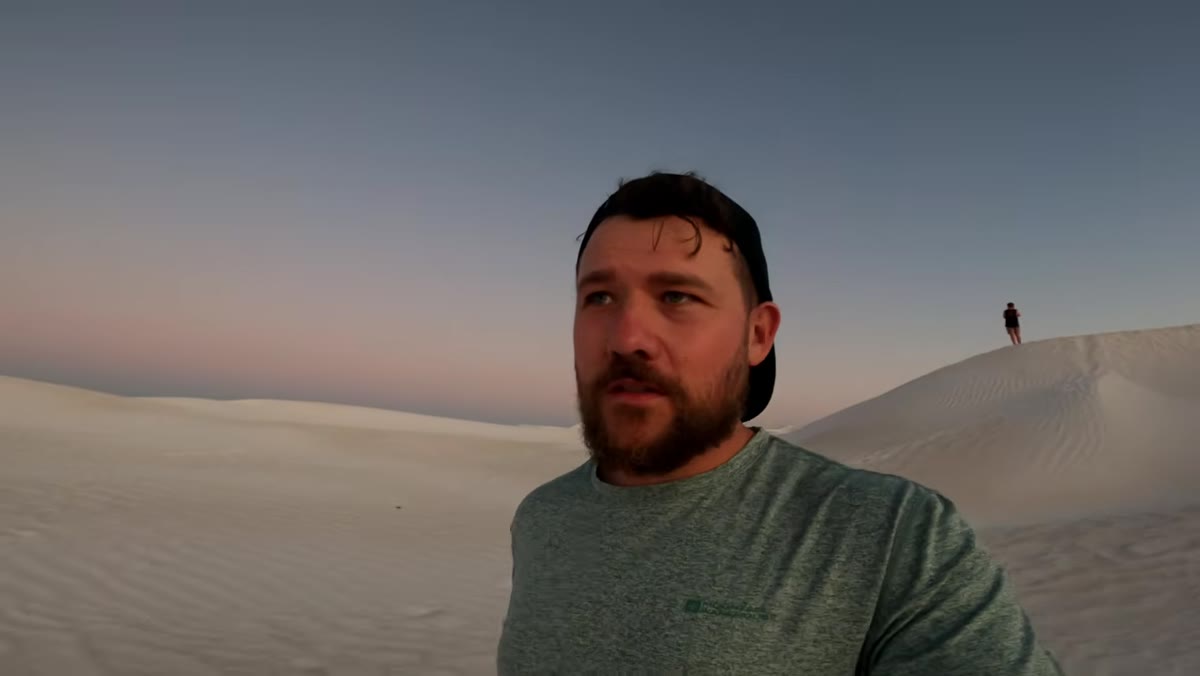 Photographer working with single telephoto setup without changing lenses
One of the most practically useful points in this tutorial is the decision not to do a lens change on the dune. Patino mentions this directly. In high wind, with sand blasting through the air and into everything, swapping glass is both a gear risk and a creative interruption. More than that, it forces a kind of discipline. You’ve committed to a focal range. Now solve the problem within it.
Photographer working with single telephoto setup without changing lenses
One of the most practically useful points in this tutorial is the decision not to do a lens change on the dune. Patino mentions this directly. In high wind, with sand blasting through the air and into everything, swapping glass is both a gear risk and a creative interruption. More than that, it forces a kind of discipline. You’ve committed to a focal range. Now solve the problem within it.
I still shoot film occasionally for exactly this reason. When you only have a certain number of frames and a single lens on the camera, you think harder before you shoot. The limitation sharpens the thinking. The same principle applies to committing to a telephoto on a sand dune at golden hour. Don’t retreat to the wide angle because you’re struggling. Struggle with the tool you have until you understand what it wants to show you.
Step 5: Prioritize the Final Ten Minutes of Light
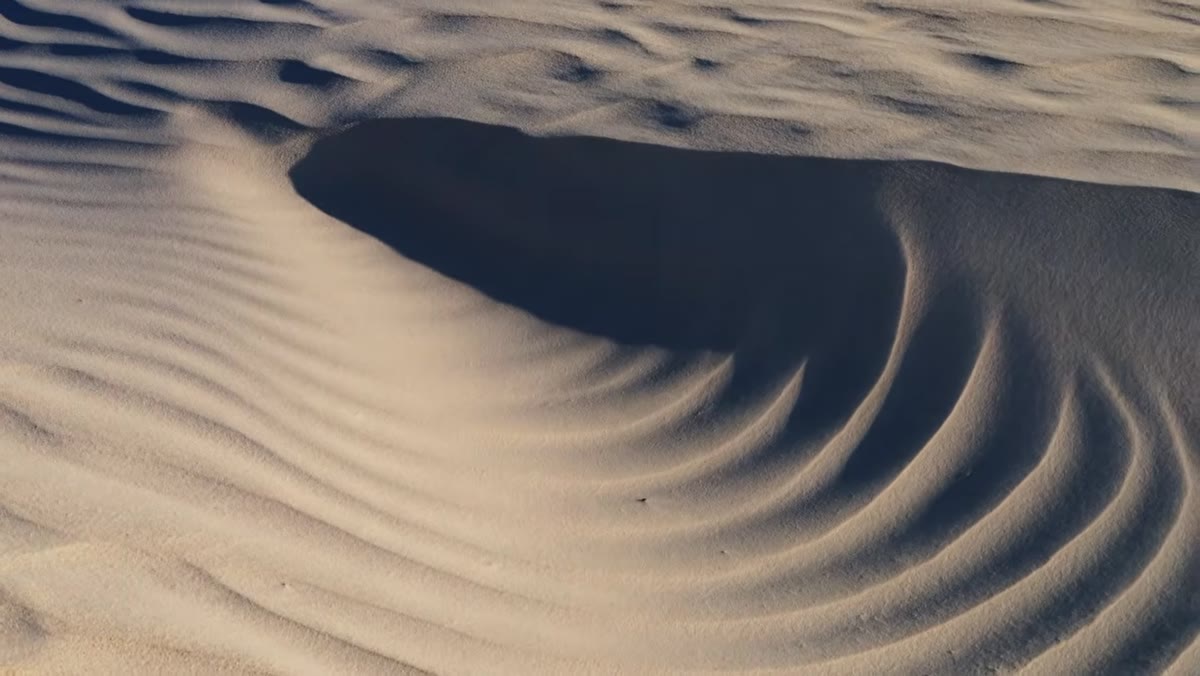 Last light hitting dune textures during final minutes of golden hour
Patino is clear that while the light was good for a solid hour, the final ten minutes were where the images really came to life. This is worth taking seriously as practical field guidance. As the sun approaches the horizon, the angle of light becomes increasingly raking. Every surface texture that was soft and blended at 45 degrees suddenly has its own shadow. Contrast spikes. The dunes stop looking like sand and start looking like something sculpted.
Last light hitting dune textures during final minutes of golden hour
Patino is clear that while the light was good for a solid hour, the final ten minutes were where the images really came to life. This is worth taking seriously as practical field guidance. As the sun approaches the horizon, the angle of light becomes increasingly raking. Every surface texture that was soft and blended at 45 degrees suddenly has its own shadow. Contrast spikes. The dunes stop looking like sand and start looking like something sculpted.
The tactical implication: don’t settle in early. Keep moving and reassessing until the light changes. The composition that worked fifteen minutes ago may be flat now, and the angle that looked unremarkable may have just become the shot. Stay on your feet and keep the camera up.
Step 6: Adapt Your Composition as the Light Shifts
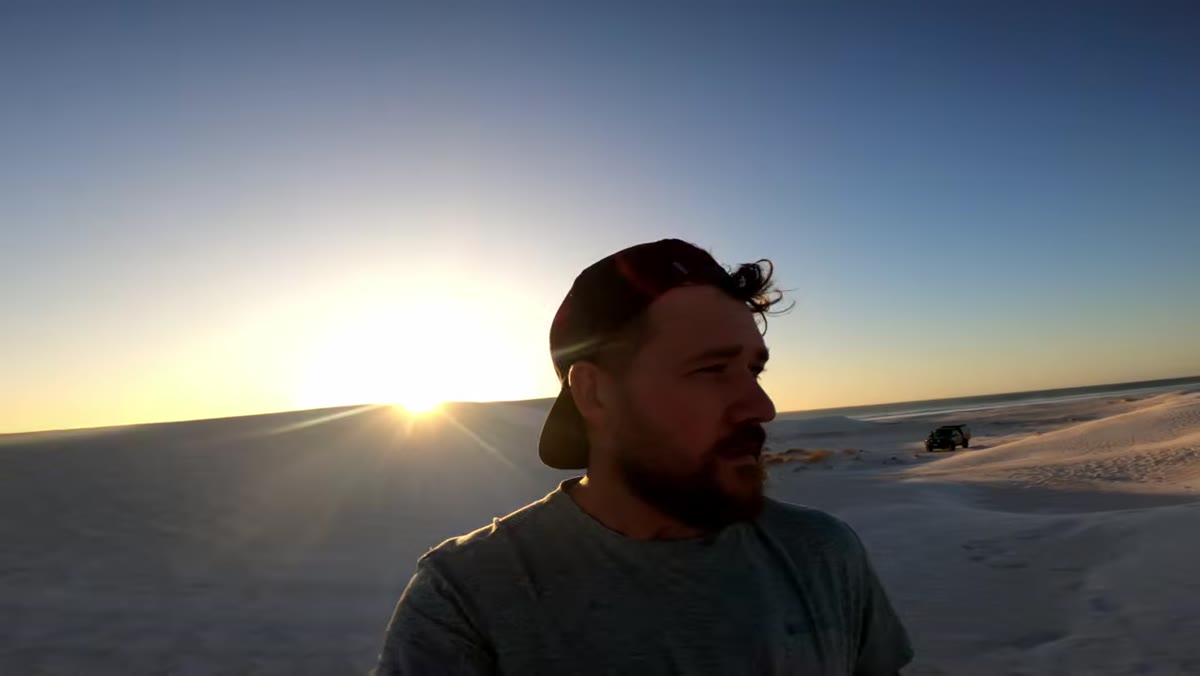 Photographer repositioning as light angle changes across dune surface
Patino notes that as the light shifted, the compositional opportunities changed significantly. This is something that catches photographers off guard, especially those used to static subjects. In a dune environment at golden hour, you’re essentially chasing a moving target. The shadows that create your lines are moving. The warm tones are shifting across the surface. A composition you locked in ten minutes ago may no longer hold.
Photographer repositioning as light angle changes across dune surface
Patino notes that as the light shifted, the compositional opportunities changed significantly. This is something that catches photographers off guard, especially those used to static subjects. In a dune environment at golden hour, you’re essentially chasing a moving target. The shadows that create your lines are moving. The warm tones are shifting across the surface. A composition you locked in ten minutes ago may no longer hold.
Build recomposing into your process rather than treating it as a failure. Take the shot you have, then immediately ask whether the light has changed enough to warrant a new angle. The photographers who come home with the best dune images are the ones who treat the shoot as a continuous conversation with the light rather than a series of fixed setups.
What I’d Add From My Own Experience
Wind is the variable that doesn’t show up in tutorials nearly enough. Patino mentions it directly, and it’s worth emphasizing. Sand-laden wind isn’t just uncomfortable. It affects your images. It can shift dune features between shots. It creates a slight haze in the air that changes how your telephoto renders distant textures. And it plays havoc with your stability at long focal lengths.
If you’re shooting at 300 to 400mm in wind, bump your shutter speed higher than you think you need to. Even on a tripod, vibration from sustained gusts can introduce blur that only shows up when you’re reviewing at 100 percent back at your desk. In conditions like these, I’ll often fire a burst and take the sharpest frame rather than relying on a single shot.
The single most important idea in this tutorial is the shift in intent. Patino isn’t trying to make the Western Australian dunes look like something they’re not. He reads the landscape, accepts its character, and finds the images that are actually there. That kind of creative honesty produces better work than forcing a location into a preconceived idea. Bring the right focal length, read the terrain, and let the last light do what it does.
Watch the full tutorial on YouTube to see Patino’s images from this shoot and how the light evolved across the session.
Comments (3)
My workflow just got 10x faster. Not even kidding.
This is fantastic. I've been recommending this approach to my readers too.
Great breakdown. The step-by-step approach really helps.
Leave a Comment