
Most of my working life is spent chasing light for landscapes. I’m the person standing in a freezing river at dawn, waiting on a mountain that genuinely does not care about my schedule. Portraits are a different discipline, but the underlying logic is the same: light placement is everything, and getting it wrong means you walked away with nothing worth keeping.
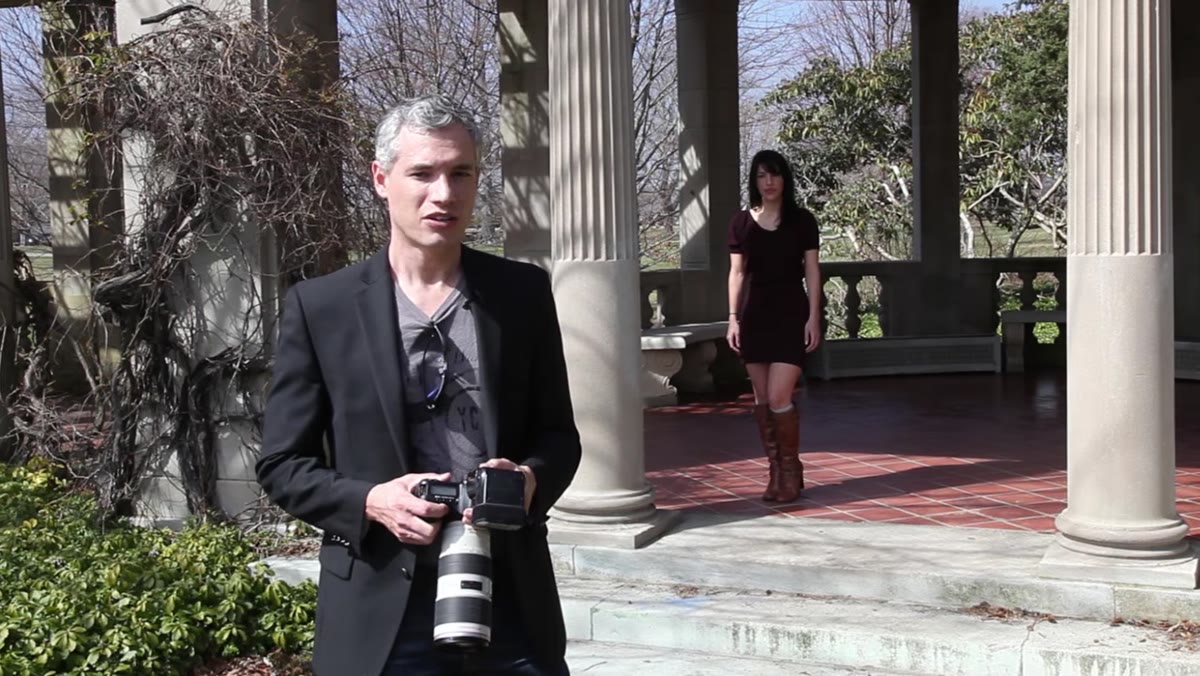
I was watching a tutorial recently from Tony and Chelsea Northrup, filmed at Harkness Park in Waterford, Connecticut, and even after two decades behind a camera, it crystallized something I’d been doing half-right for years. Watch the full tutorial on YouTube. The concepts transfer directly to anyone doing location portraits alongside nature work — hikers, workshop participants, travel companions who end up in your frame. The principles Tony walks through are simple, but the before-and-after comparisons make the stakes concrete in a way that sticks.
What I appreciate most is that this isn’t studio theory. It’s a working photographer solving real problems in open air, with gear most of us already carry. Here’s how to follow the same steps in the field.
Step 1: Recognize Why Front Lighting Fails for Portraits
 Tony taking a test shot with sun at his back
The instinct most people have is to put the sun behind them so it lights the subject’s face evenly. It’s logical. But when your subject is staring toward the sun, they squint. Every time. The squint closes the eyes, tightens the face, and kills the natural expression you were hoping to capture. The resulting image might be technically exposed correctly, but it looks forced and uncomfortable. Before you touch your camera settings, recognize this as a positioning problem, not an exposure problem. No amount of post-processing fixes a genuine squint.
Tony taking a test shot with sun at his back
The instinct most people have is to put the sun behind them so it lights the subject’s face evenly. It’s logical. But when your subject is staring toward the sun, they squint. Every time. The squint closes the eyes, tightens the face, and kills the natural expression you were hoping to capture. The resulting image might be technically exposed correctly, but it looks forced and uncomfortable. Before you touch your camera settings, recognize this as a positioning problem, not an exposure problem. No amount of post-processing fixes a genuine squint.
Step 2: Flip the Setup - Put the Sun Behind Your Subject
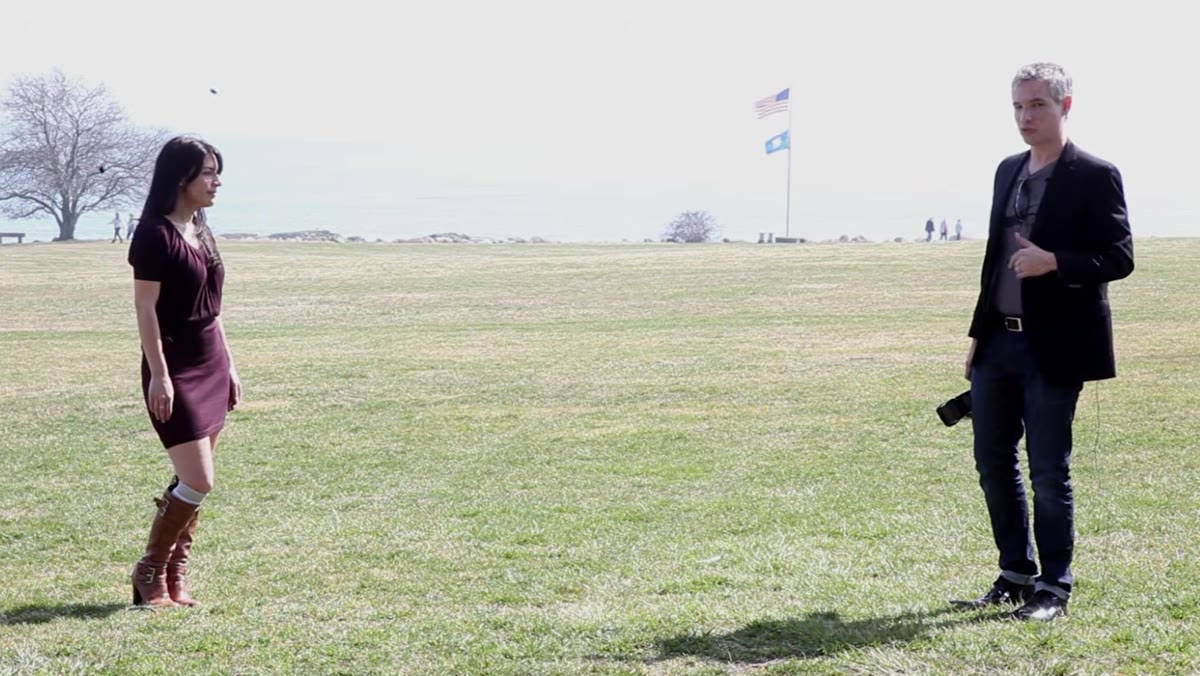 Chelsea repositioned with sun behind her, eyes open naturally
Swap positions with your subject so the sun falls on their back and shoulders rather than their face. This one move changes everything. Your subject can open their eyes fully and hold a relaxed expression without fighting the light source. You’ll also gain something valuable: rim lighting. The sun wraps around the edges of the hair and shoulders, creating a natural separation between subject and background. It gives the image dimension and warmth that front lighting flattens out entirely. This is especially powerful in the golden hour, when that rim light turns to a warm glow around the silhouette. In landscape portrait work, that quality of light is exactly what people are paying for.
Chelsea repositioned with sun behind her, eyes open naturally
Swap positions with your subject so the sun falls on their back and shoulders rather than their face. This one move changes everything. Your subject can open their eyes fully and hold a relaxed expression without fighting the light source. You’ll also gain something valuable: rim lighting. The sun wraps around the edges of the hair and shoulders, creating a natural separation between subject and background. It gives the image dimension and warmth that front lighting flattens out entirely. This is especially powerful in the golden hour, when that rim light turns to a warm glow around the silhouette. In landscape portrait work, that quality of light is exactly what people are paying for.
Step 3: Add a Catch Light with Fill Flash
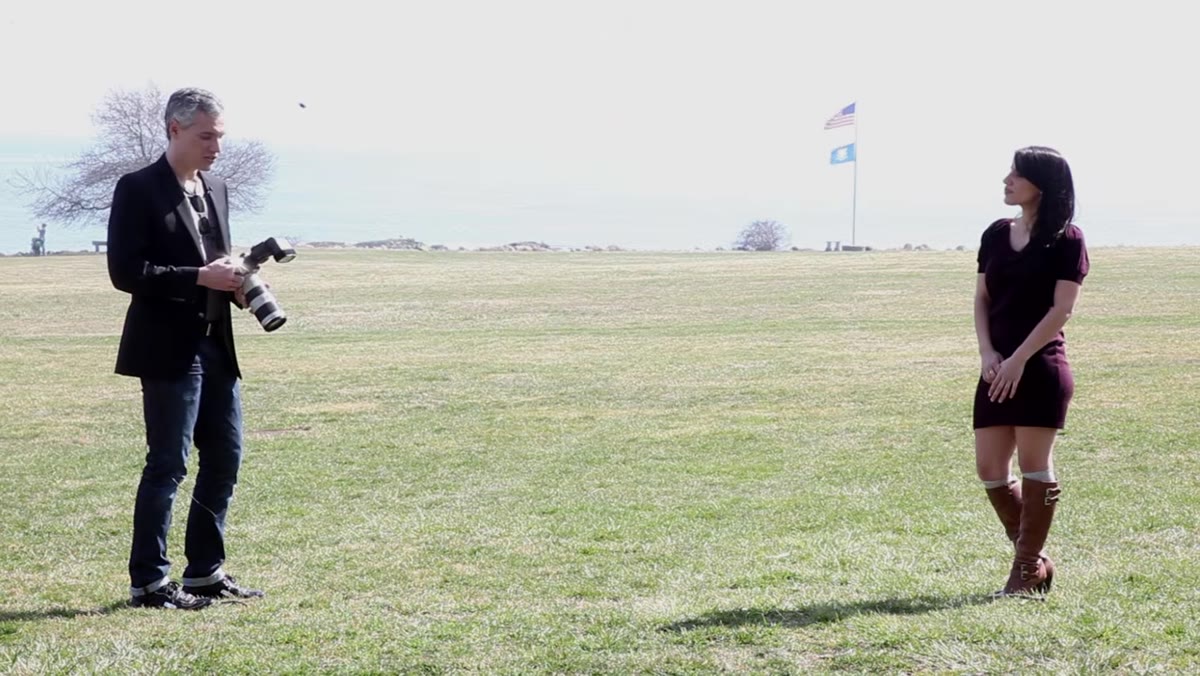 Flash fired on-camera, catch light visible in subject’s eyes
With the sun behind your subject, their face is now in open shade. The exposure will be softer and more flattering, but you’ll lose the catch light - that small specular reflection in the eye that signals life and presence in a portrait. Without it, eyes look flat and slightly vacant. The fix is straightforward: turn on your camera’s built-in flash or a small on-camera speedlight. Set it to TTL mode and let the camera meter the fill automatically. You’re not trying to overpower the sun. You’re adding just enough light to fill the shadows on the face and plant a small point of reflection in each eye. The difference in the final image is significant, and the technique requires no additional equipment beyond what most photographers already carry.
Flash fired on-camera, catch light visible in subject’s eyes
With the sun behind your subject, their face is now in open shade. The exposure will be softer and more flattering, but you’ll lose the catch light - that small specular reflection in the eye that signals life and presence in a portrait. Without it, eyes look flat and slightly vacant. The fix is straightforward: turn on your camera’s built-in flash or a small on-camera speedlight. Set it to TTL mode and let the camera meter the fill automatically. You’re not trying to overpower the sun. You’re adding just enough light to fill the shadows on the face and plant a small point of reflection in each eye. The difference in the final image is significant, and the technique requires no additional equipment beyond what most photographers already carry.
Step 4: Move Into Shade to Eliminate Harsh Shadow Patterns
 Direct sunlight casting hard nose shadow across Chelsea’s face
When you’re working under a pergola, near tree cover, or beside any structure that breaks up direct sunlight, you’ll hit a specific problem: dappled or partial sun creates irregular shadow patterns across the face. The nose casts a hard shadow across the mouth. Overhead light cuts sharp lines across the forehead. Hair creates shadow bars that are almost impossible to retouch cleanly. The solution isn’t a filter or a reflector. It’s a few steps in the right direction. Ask your subject to move until their face sits entirely inside the shadow zone. Even a lateral shift of two or three feet can bring the face into fully diffused light while keeping the background in open sun, which adds natural depth to the image.
Direct sunlight casting hard nose shadow across Chelsea’s face
When you’re working under a pergola, near tree cover, or beside any structure that breaks up direct sunlight, you’ll hit a specific problem: dappled or partial sun creates irregular shadow patterns across the face. The nose casts a hard shadow across the mouth. Overhead light cuts sharp lines across the forehead. Hair creates shadow bars that are almost impossible to retouch cleanly. The solution isn’t a filter or a reflector. It’s a few steps in the right direction. Ask your subject to move until their face sits entirely inside the shadow zone. Even a lateral shift of two or three feet can bring the face into fully diffused light while keeping the background in open sun, which adds natural depth to the image.
Step 5: Understand Why Diffused Shade Light Works So Well
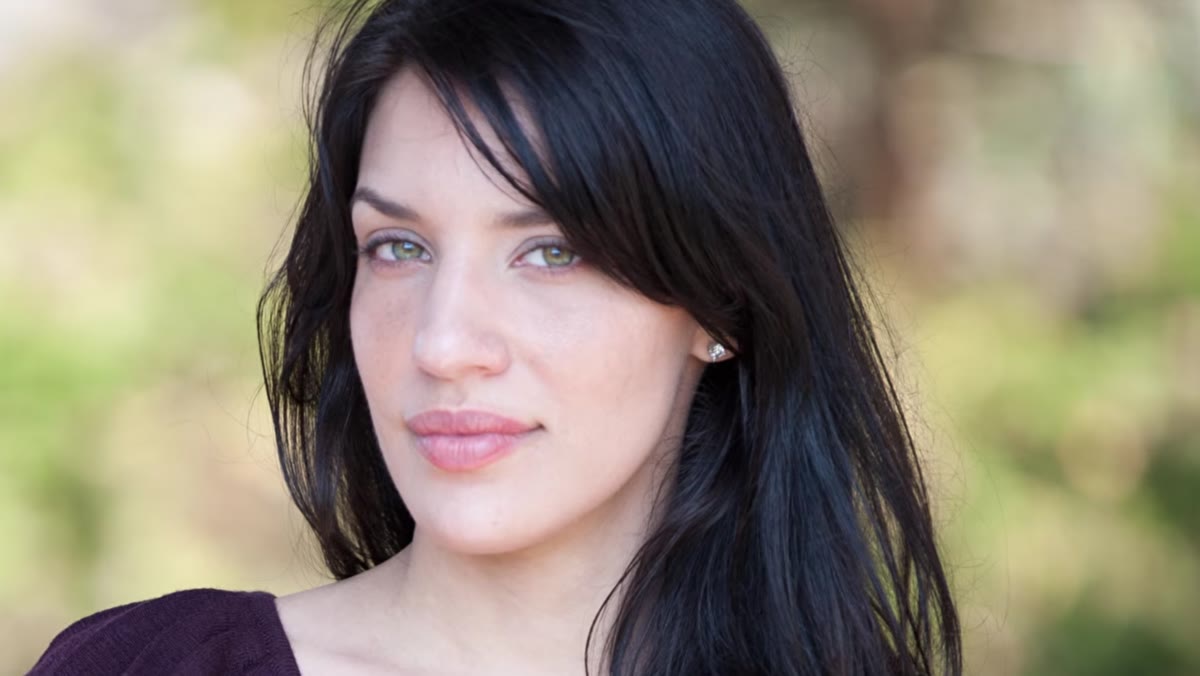 Chelsea in full shade, soft even light on face
Shade light is bounced, scattered light. It arrives from multiple directions simultaneously - reflected off the ground, surrounding surfaces, atmospheric moisture. That scattering effect means it wraps around the contours of a face without casting directional shadows. The result is the most even, flattering light you can find outdoors without carrying modifiers. For landscape photographers who work in forested environments or near water, this quality of light is everywhere during the middle of the day when direct sunlight is otherwise unusable. Learning to identify and position your subject inside it is one of the most practical skills you can build for field portraiture.
Chelsea in full shade, soft even light on face
Shade light is bounced, scattered light. It arrives from multiple directions simultaneously - reflected off the ground, surrounding surfaces, atmospheric moisture. That scattering effect means it wraps around the contours of a face without casting directional shadows. The result is the most even, flattering light you can find outdoors without carrying modifiers. For landscape photographers who work in forested environments or near water, this quality of light is everywhere during the middle of the day when direct sunlight is otherwise unusable. Learning to identify and position your subject inside it is one of the most practical skills you can build for field portraiture.
Step 6: Use Flash Again to Sharpen and Lift the Shade Exposure
 Flash added in shade setting, eyes lift and detail sharpens
Shade solves the shadow problem but introduces two smaller ones. First, the overall light level drops, which means you’re shooting at a wider aperture or slower shutter speed to maintain exposure - both of which can reduce sharpness when your subject is moving. Second, diffused light produces no catch light in the eyes. The same fill flash solution from Step 3 applies here. Fire a small amount of flash into the shaded face. It sharpens the image by giving you a harder light source to work with, fills any remaining shadows from indirect light, and restores the catch light. Keep the flash power dialed down so it reads as natural rather than as artificial studio light dropped into an outdoor scene.
Flash added in shade setting, eyes lift and detail sharpens
Shade solves the shadow problem but introduces two smaller ones. First, the overall light level drops, which means you’re shooting at a wider aperture or slower shutter speed to maintain exposure - both of which can reduce sharpness when your subject is moving. Second, diffused light produces no catch light in the eyes. The same fill flash solution from Step 3 applies here. Fire a small amount of flash into the shaded face. It sharpens the image by giving you a harder light source to work with, fills any remaining shadows from indirect light, and restores the catch light. Keep the flash power dialed down so it reads as natural rather than as artificial studio light dropped into an outdoor scene.
What I’d Add After 20 Years Shooting Outside
Tony’s tutorial is built around a single model in controlled conditions, which is exactly right for teaching purposes. In the field, especially during workshops, I’d add one layer to the shade technique: pay attention to the direction the shade is open. A shadow zone that opens toward a bright sky gives you a natural softbox effect - the light comes from above and in front of the subject. A shadow zone that’s closed on all sides, like deep forest cover, gives you flat, directionless light that lacks dimension even though it’s technically even. When I’m scouting a location, I’m not just looking for shade. I’m looking for shade with a direction. That slight directional quality - a bright open sky visible in one quadrant - is the difference between a portrait that feels alive and one that just feels gray.
The single most actionable thing Tony demonstrates in this tutorial is also the simplest: your first instinct about where to stand is probably backwards. Putting the sun behind your subject rather than behind you costs you nothing and immediately improves the comfort and expression of anyone you’re photographing. Add a touch of fill flash and you’ve solved the catch light problem without a reflector, an assistant, or a single change to your editing workflow.
Watch the full tutorial on YouTube to see the before-and-after comparisons side by side - the visual difference between each step makes the case better than any written description can.
Comments (1)
I keep coming back to this article. It's that useful.
Leave a Comment