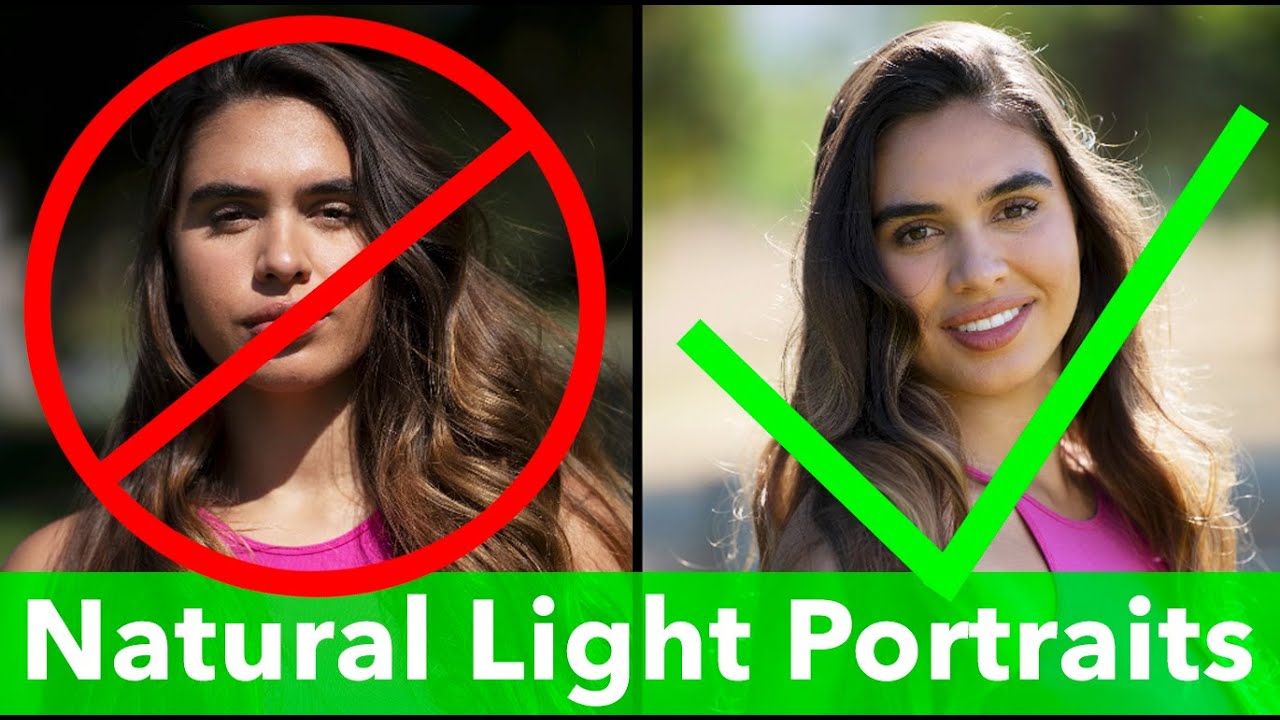
Most of my working life is spent chasing landscape light, but every season I take on a handful of location portrait sessions — workshop participants wanting headshots, editorial work, the occasional commissioned family session in the field. And for years I wrestled with the same problem: gorgeous ambient light behind my subject, flat and unflattering light on their face. I’d either blow out the background trying to expose for the foreground, or underexpose the person trying to hold the sky. I kept reaching for strobes and then resenting how long they took to set up.
In this The Slanted Lens tutorial, photographer Jay P. Morgan walks through four distinct natural light portrait setups using nothing but a reflector. I’ve watched a lot of lighting tutorials over the years, and what makes this one land is that Jay P. doesn’t just show you where to point the thing. He explains why each position works, which means you can actually adapt it when your location doesn’t cooperate. That’s the kind of thinking I try to bring to every shoot, whether I’m photographing granite peaks or a person standing in front of them.
The reflector he uses throughout is a 50-inch five-in-one from Westcott, though he notes a 30-inch works fine and runs around $20-25. I now keep a 40-inch five-in-one in the back of my truck alongside my tripod. It weighs almost nothing, collapses flat, and has quietly become the modifier I reach for most.
Step 1: Choose the Right Reflector Surface for the Job
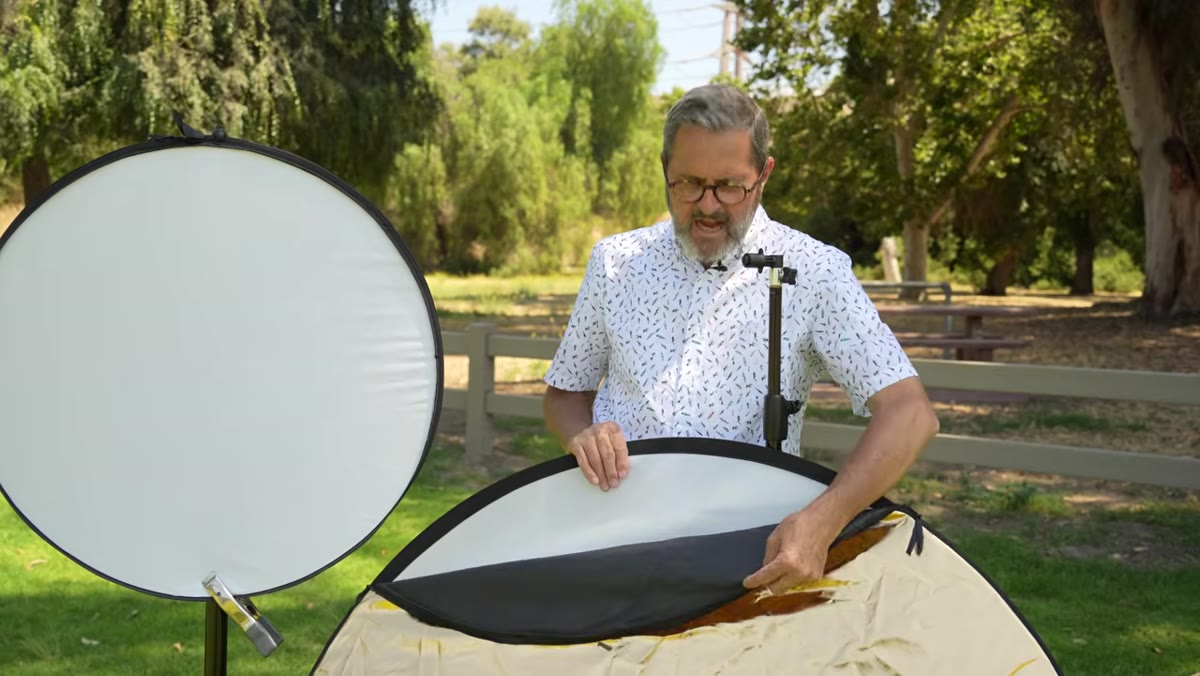
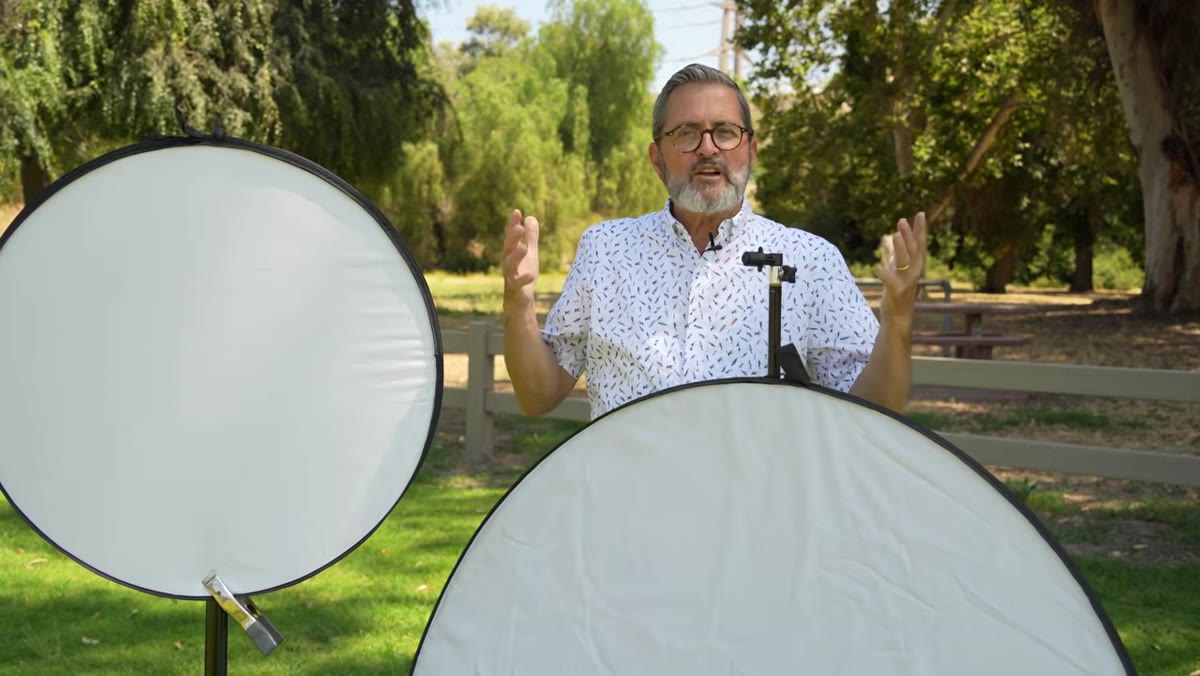 Five-in-one reflector panels laid open showing surfaces
A five-in-one reflector gives you translucent, hard white, silver, gold, and black surfaces. Jay P. focuses on three that do most of the heavy lifting: translucent, hard white, and gold. The translucent panel lets light pass through rather than bounce it, making it work like a small softbox when placed between the sun and your subject. The hard white surface reflects a lot of light efficiently and is ideal when you need to push fill light into shadows. Gold adds warmth, which is particularly useful during the flat midday hours when the sun goes cool and neutral. Silver works the same way as gold but without the warmth. Black subtracts light, deepening contrast on one side of a face when you want more drama. Know which surface you’re reaching for before you put your subject in position.
Five-in-one reflector panels laid open showing surfaces
A five-in-one reflector gives you translucent, hard white, silver, gold, and black surfaces. Jay P. focuses on three that do most of the heavy lifting: translucent, hard white, and gold. The translucent panel lets light pass through rather than bounce it, making it work like a small softbox when placed between the sun and your subject. The hard white surface reflects a lot of light efficiently and is ideal when you need to push fill light into shadows. Gold adds warmth, which is particularly useful during the flat midday hours when the sun goes cool and neutral. Silver works the same way as gold but without the warmth. Black subtracts light, deepening contrast on one side of a face when you want more drama. Know which surface you’re reaching for before you put your subject in position.
Step 2: Use the Translucent Panel to Tame Direct Sun
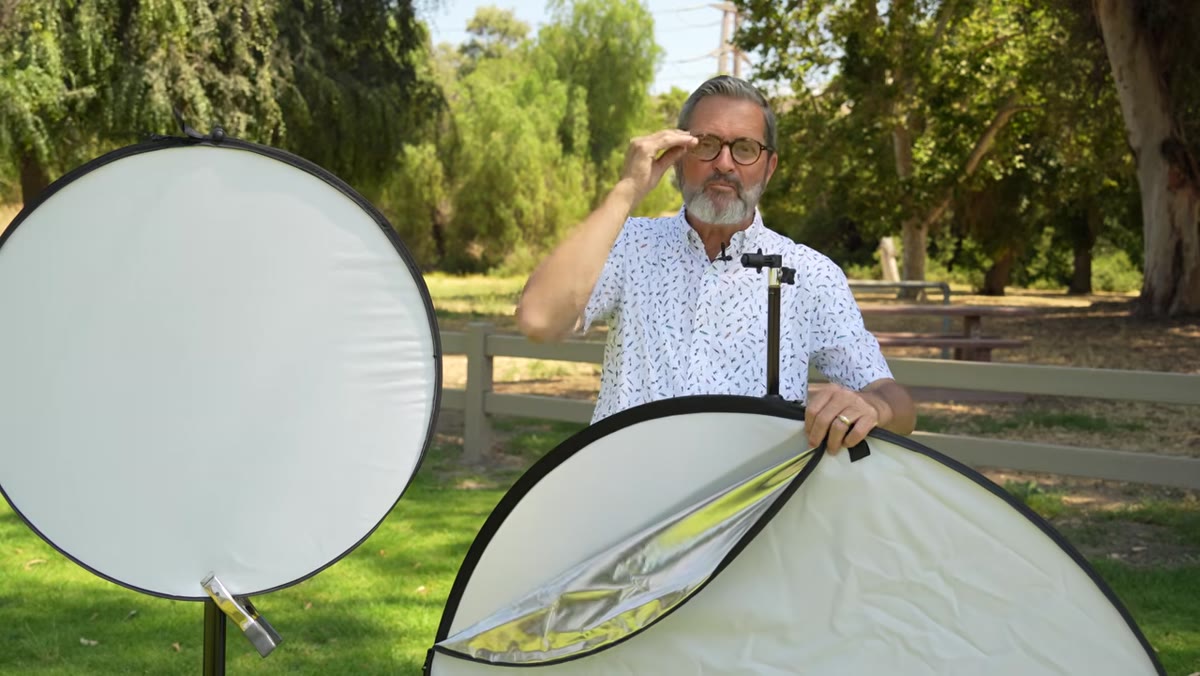 Translucent panel held above subject in direct sunlight
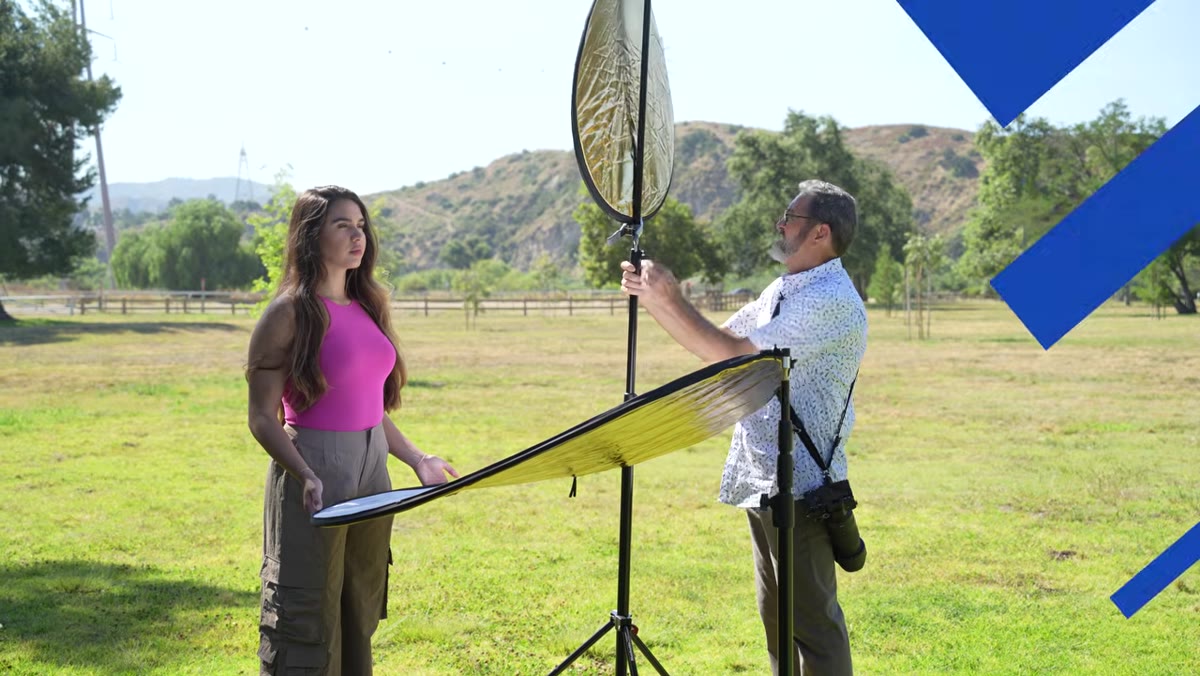
Direct overhead sun is the enemy of a flattering portrait. It creates harsh shadows under the eyes and chin, and most people squint. The translucent panel solves this by acting as a diffusion screen. You position your subject in direct sun, then hold the translucent panel between the sun and their face. The hard sunlight passes through and becomes softer, more even light. Jay P. demonstrates this with the panel held slightly above and angled toward the subject’s face. The effect is immediate and visible, which is one of the genuine advantages a reflector has over a strobe. You see the change in real time. No test shots, no guessing at power ratios.
Translucent panel held above subject in direct sunlight
Direct overhead sun is the enemy of a flattering portrait. It creates harsh shadows under the eyes and chin, and most people squint. The translucent panel solves this by acting as a diffusion screen. You position your subject in direct sun, then hold the translucent panel between the sun and their face. The hard sunlight passes through and becomes softer, more even light. Jay P. demonstrates this with the panel held slightly above and angled toward the subject’s face. The effect is immediate and visible, which is one of the genuine advantages a reflector has over a strobe. You see the change in real time. No test shots, no guessing at power ratios.
Step 3: Build a Rim-and-Fill Setup with the Sun Behind Your Subject
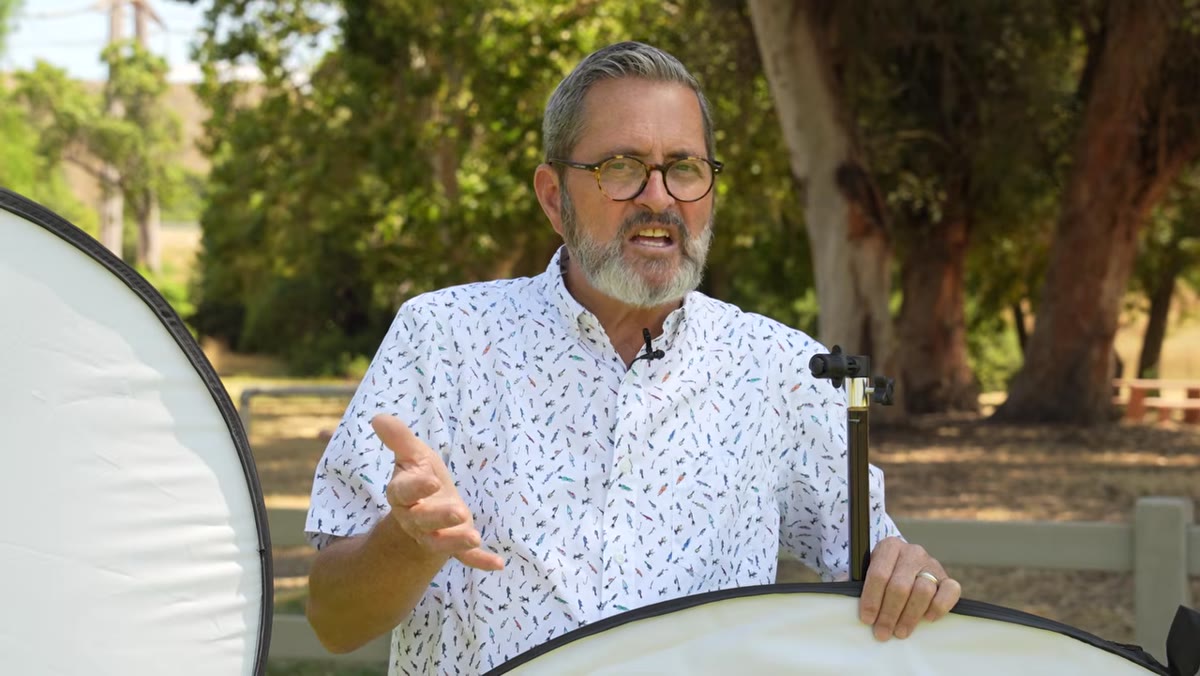 Subject backlit by sun with reflector providing front fill
This is the setup I use most often in my own portrait work, and Jay P. explains it cleanly. Place your subject so the sun is behind them, creating a rim or edge light that separates them from the background. Then use the hard white or gold surface of the reflector, positioned in front of and below the subject’s face, to bounce that same sunlight back as fill. Because you’re bouncing the sun with the sun, the intensity ratio stays manageable. You’re not fighting the ambient with artificial power. The result is a portrait with depth, a clean backlit glow, and a well-lit face. The key is angling the reflector until you see the fill light land on the shadowed side of the face, then locking that position.
Subject backlit by sun with reflector providing front fill
This is the setup I use most often in my own portrait work, and Jay P. explains it cleanly. Place your subject so the sun is behind them, creating a rim or edge light that separates them from the background. Then use the hard white or gold surface of the reflector, positioned in front of and below the subject’s face, to bounce that same sunlight back as fill. Because you’re bouncing the sun with the sun, the intensity ratio stays manageable. You’re not fighting the ambient with artificial power. The result is a portrait with depth, a clean backlit glow, and a well-lit face. The key is angling the reflector until you see the fill light land on the shadowed side of the face, then locking that position.
Step 4: Use the Transition Edge of the Reflector for Dimensional Light
 Edge of hard white reflector used to create partial fill
This is the technique I hadn’t seen demonstrated elsewhere, and it’s worth your attention. Jay P. shows that you don’t have to flood the entire face with reflected light. By using the edge or corner of the hard white surface rather than the center, you can reflect a narrower, more directional beam. This gives you one well-lit side of the face and a natural shadow falling on the other, creating dimension without any additional equipment. It takes some experimentation to find the angle where the transition looks natural rather than sharp and artificial, but once you see it working, you’ll use it constantly. The flat surface of the reflector is critical here. A curved reflector produces uneven reflection patterns that are hard to control precisely.
Edge of hard white reflector used to create partial fill
This is the technique I hadn’t seen demonstrated elsewhere, and it’s worth your attention. Jay P. shows that you don’t have to flood the entire face with reflected light. By using the edge or corner of the hard white surface rather than the center, you can reflect a narrower, more directional beam. This gives you one well-lit side of the face and a natural shadow falling on the other, creating dimension without any additional equipment. It takes some experimentation to find the angle where the transition looks natural rather than sharp and artificial, but once you see it working, you’ll use it constantly. The flat surface of the reflector is critical here. A curved reflector produces uneven reflection patterns that are hard to control precisely.
Step 5: Use the Black Panel to Subtract Light and Increase Contrast
 Black panel held to camera-left to deepen shadow on subject
Reflectors aren’t only for adding light. The black surface lets you do the opposite. When you’re shooting in open shade and the ambient light is wrapping evenly around your subject, the result can look flat. Holding the black panel on one side of the face absorbs light from that direction rather than bouncing it back. The shadow side gets darker. The lit side stays where it is. You end up with more contrast and a stronger, more sculpted look. It’s a simple technique that most photographers ignore because they think of reflectors as fill tools only.
Black panel held to camera-left to deepen shadow on subject
Reflectors aren’t only for adding light. The black surface lets you do the opposite. When you’re shooting in open shade and the ambient light is wrapping evenly around your subject, the result can look flat. Holding the black panel on one side of the face absorbs light from that direction rather than bouncing it back. The shadow side gets darker. The lit side stays where it is. You end up with more contrast and a stronger, more sculpted look. It’s a simple technique that most photographers ignore because they think of reflectors as fill tools only.
A Note from My Own Experience in the Field
I work almost exclusively in hard natural light, the kind that landscape photographers spend their lives chasing and then trying to survive when they show up too late. What Jay P.’s tutorial reinforced for me is something I’ve been learning for two decades: light is easier to work with when you stop fighting it and start redirecting it. I used to see harsh midday sun as a reason to cancel a portrait session. Now I see it as a bright, free light source that just needs a little steering. A reflector is the steering wheel. The other thing I’ll add from experience is that the size of the reflector matters more than the surface. A 30-inch panel works, but a 50-inch panel gives you a noticeably softer, more flattering light because the source is larger relative to your subject’s face. If you can carry the bigger one, carry it.
The single most important idea in this tutorial is that reflected sunlight and direct sunlight live in the same intensity range, which means they can be balanced naturally without the power juggling that comes with strobes. That one concept opens up a lot of options for portrait work on location, especially for photographers like me who are already out in the field and don’t want to haul a lighting kit alongside a tripod and a bag full of lenses.
Watch the full tutorial on YouTube to see each setup demonstrated live, with Jay P. showing the before-and-after in real time. It’s worth the 20 minutes.
Comments (2)
I've been looking for exactly this kind of tutorial. Perfect timing.
This is fantastic. I've been recommending this approach to my readers too.
Leave a Comment