
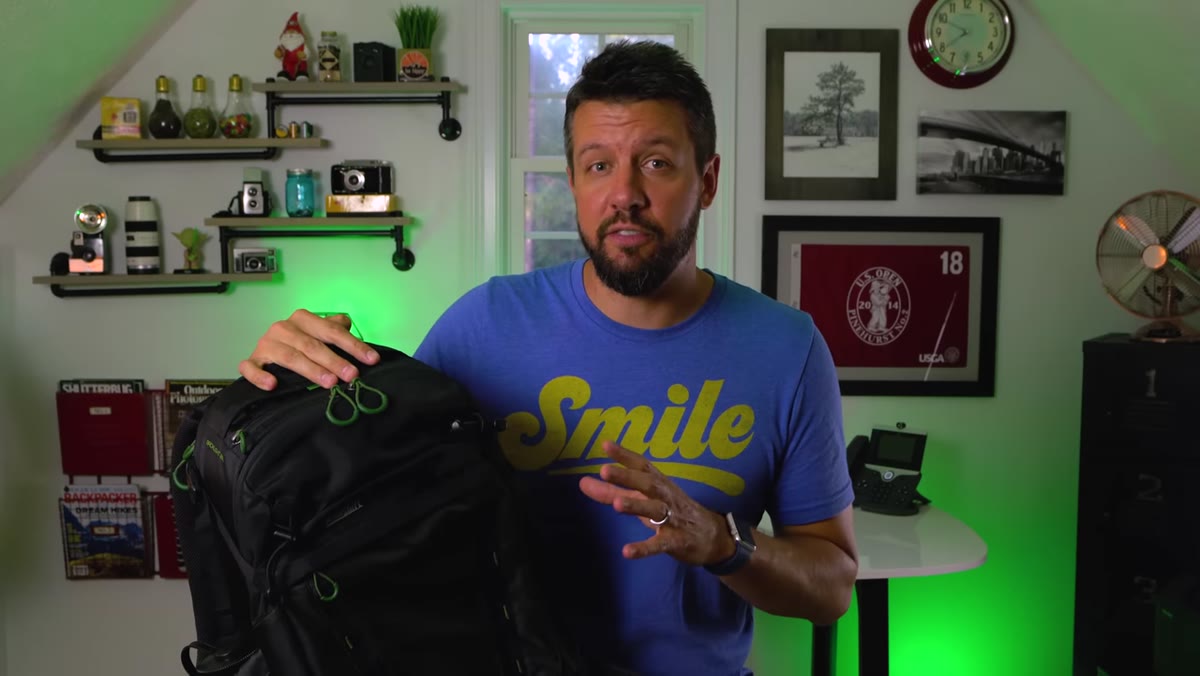
I’ve owned more camera bags than I care to admit. After twenty years of pre-dawn starts in the Oregon high desert, wading creek beds in the Cascades, and hauling gear up ridgelines before the light shows up, I’ve developed strong opinions about what a bag needs to do. Most of them were formed by watching something fail at the wrong moment. A zipper that seized in the cold. Shoulder straps that turned a two-mile hike into an endurance test. A water bottle pocket so shallow the bottle was gone before I’d walked a quarter mile. The bag question sounds simple from the outside, but anyone who’s been in the field long enough knows it’s actually a daily logistical problem.
That’s why I paid close attention when Mark Denney posted a dedicated breakdown of his favorite mid-size landscape photography pack. Watch the full tutorial on YouTube. Mark is thoughtful about gear in the same way he’s thoughtful about light. He doesn’t reach for superlatives cheaply. So when he calls the MindShift Gear Backlight 26L probably the best bag in its size range for the money, after nearly two years of real field use, that carries weight. I’ve spent considerable time with this bag myself, and what follows is a practical walkthrough of what he covers and why it matters to how I actually work.
Step 1: Decide Your Size Category Before You Decide Your Bag
 Mark explaining bag size decisions based on kit and trip length
The first thing Mark addresses is the decision most people skip: figuring out the right volume before you fall in love with a specific product. Bag size should be driven by two factors working together. The first is the physical size of your kit. A mirrorless setup with two lenses sits very differently than a full pro body with a 500mm prime. The second is duration. A half-day shoot at a local location doesn’t need the same bag as a multi-day backcountry trip.
Mark explaining bag size decisions based on kit and trip length
The first thing Mark addresses is the decision most people skip: figuring out the right volume before you fall in love with a specific product. Bag size should be driven by two factors working together. The first is the physical size of your kit. A mirrorless setup with two lenses sits very differently than a full pro body with a 500mm prime. The second is duration. A half-day shoot at a local location doesn’t need the same bag as a multi-day backcountry trip.
For most single-day landscape work, a bag in the 20 to 30 liter range is the honest answer. The 26L sits right in that useful middle ground. It’s large enough to carry a serious kit without becoming a second job to schlep up a hill. I shoot full days regularly without an overnight component, and the 26L handles that without asking me to compromise on what I bring.
Step 2: Understand What MindShift Gear Is Designed For
 Mark describing MindShift as Think Tank’s outdoor-focused division
MindShift Gear is the outdoor and landscape-focused division of Think Tank Photo, and that distinction matters. Think Tank builds bags for working photographers across a wide range of contexts, including studio, events, and travel. MindShift narrows the focus specifically to photographers who are moving through outdoor environments. Every design decision in the Backlight 26L reflects that orientation. This isn’t a repurposed travel bag with camera dividers dropped in. It was designed for the field from the beginning.
Mark describing MindShift as Think Tank’s outdoor-focused division
MindShift Gear is the outdoor and landscape-focused division of Think Tank Photo, and that distinction matters. Think Tank builds bags for working photographers across a wide range of contexts, including studio, events, and travel. MindShift narrows the focus specifically to photographers who are moving through outdoor environments. Every design decision in the Backlight 26L reflects that orientation. This isn’t a repurposed travel bag with camera dividers dropped in. It was designed for the field from the beginning.
Step 3: Evaluate the Exterior Construction and Water Resistance
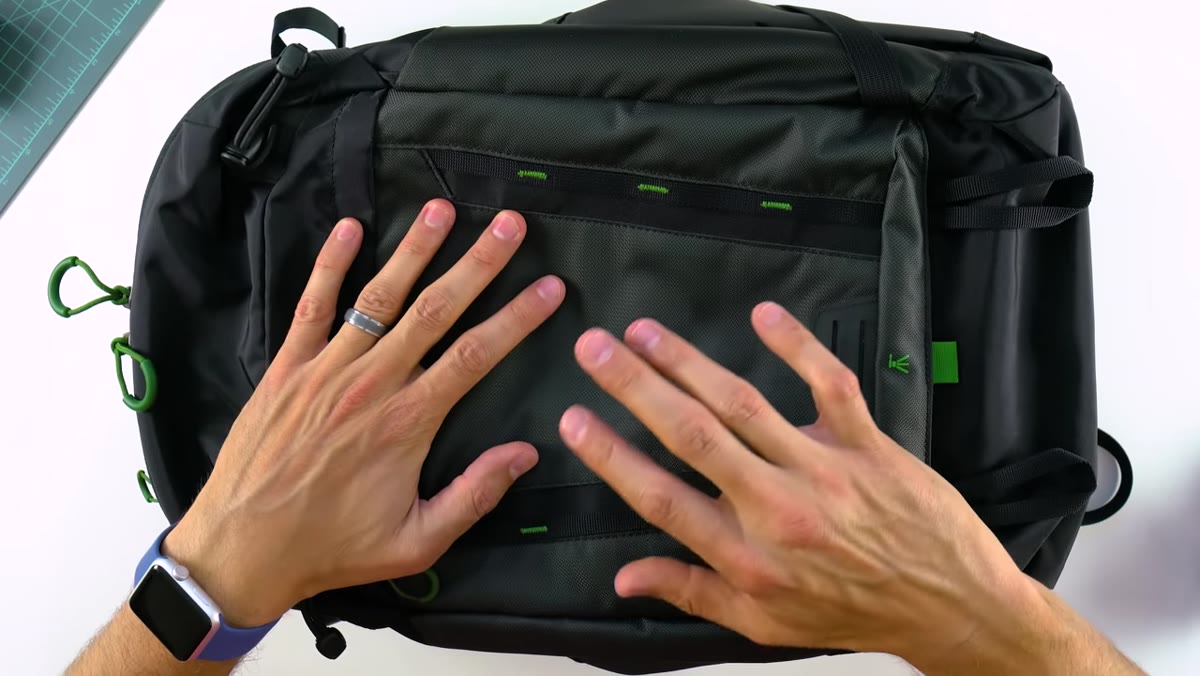 Close-up of bag exterior material and coating details
Mark gives the exterior material serious attention, and rightly so. The outer fabric carries a water-repellent coating, and the interior side of that fabric has an additional polyurethane layer. That combination means the bag handles rain and wet vegetation without letting moisture through to your gear. After two years of his use, and my own extended testing in the wet shoulder seasons of the Pacific Northwest, I can say this holds up in practice rather than just on a spec sheet.
Close-up of bag exterior material and coating details
Mark gives the exterior material serious attention, and rightly so. The outer fabric carries a water-repellent coating, and the interior side of that fabric has an additional polyurethane layer. That combination means the bag handles rain and wet vegetation without letting moisture through to your gear. After two years of his use, and my own extended testing in the wet shoulder seasons of the Pacific Northwest, I can say this holds up in practice rather than just on a spec sheet.
The zipper quality is equally important. YKK zippers are the industry standard for a reason, and the Backlight 26L uses them throughout. What Mark specifically calls out, and what I agree is an underrated detail, is the design of the zipper pulls themselves. They use a half-moon grommet shape that is easy to grip with gloved hands or cold fingers in low light. That sounds like a small thing until you’re standing at the edge of a frozen lake at 5am trying to get into your bag without dropping anything.
Step 4: Assess the Non-Photo Storage and Accessibility
 Front panel opening showing laptop and accessory organization
The front panel of the Backlight 26L opens into what Mark calls a mini office. It accommodates a 15-inch laptop and a full-size iPad side by side, along with pens, cables, and small accessories. For photographers who travel to locations, this matters more than it might seem. Having your documents, boarding passes, and a laptop accessible without digging through your camera gear is a genuine convenience on planes and in airports. I keep a field notebook and a battery bank in that compartment and reach it without disturbing anything else in the bag.
Front panel opening showing laptop and accessory organization
The front panel of the Backlight 26L opens into what Mark calls a mini office. It accommodates a 15-inch laptop and a full-size iPad side by side, along with pens, cables, and small accessories. For photographers who travel to locations, this matters more than it might seem. Having your documents, boarding passes, and a laptop accessible without digging through your camera gear is a genuine convenience on planes and in airports. I keep a field notebook and a battery bank in that compartment and reach it without disturbing anything else in the bag.
Step 5: Review the Hydration Options
 Side pockets shown accommodating full-size Nalgene bottles
The Backlight 26L skips the internal hydration bladder system entirely and instead offers two exterior side pockets, each capable of holding a full 32-ounce Nalgene bottle. Each pocket includes a cinch cord to secure the bottle regardless of terrain. Mark notes he doesn’t carry bottles on both sides most of the time, but having the option there is the kind of redundancy that earns trust in the field. I prefer bottles to bladders for a simple reason: I know exactly how much water I have left without estimating. On a long summer shoot in the high desert, that’s not a small thing.
Side pockets shown accommodating full-size Nalgene bottles
The Backlight 26L skips the internal hydration bladder system entirely and instead offers two exterior side pockets, each capable of holding a full 32-ounce Nalgene bottle. Each pocket includes a cinch cord to secure the bottle regardless of terrain. Mark notes he doesn’t carry bottles on both sides most of the time, but having the option there is the kind of redundancy that earns trust in the field. I prefer bottles to bladders for a simple reason: I know exactly how much water I have left without estimating. On a long summer shoot in the high desert, that’s not a small thing.
What I’d Add From My Own Experience
The one area where I’d expand on Mark’s breakdown is fit, and specifically the relationship between fit and total load. The Backlight 26L has a well-padded hip belt that transfers weight effectively when the bag is loaded to its realistic capacity. But the pack’s torso length runs toward average, and photographers with longer torsos may find the hip belt sitting slightly low under a heavy load. Before committing, try it loaded with your actual kit if you can. Fifteen pounds distributed correctly feels manageable for six hours on trail. Fifteen pounds riding on your shoulders because the belt isn’t sitting right will shorten your day considerably.
I also keep a small rain cover bungeed inside the bag as a backup. The water-repellent coating handles a shower without issue, but a sustained downpour on a long day is a different situation. MindShift sells a fitted cover for this bag, and it’s worth the investment if you shoot in genuinely wet climates.
The single most useful framing from Mark’s tutorial is the one he opens with: decide the right size for your actual workflow before you evaluate any specific bag. Once that’s settled honestly, the Backlight 26L earns its reputation at the mid-size level. It’s not the cheapest option in the 26-liter category, but it was built for the specific demands of outdoor photography, and two years into using it, that design intention shows.
Watch the full tutorial on YouTube to see Mark walk through the bag in detail, including the camera compartment access and interior divider system.
Comments
Leave a Comment