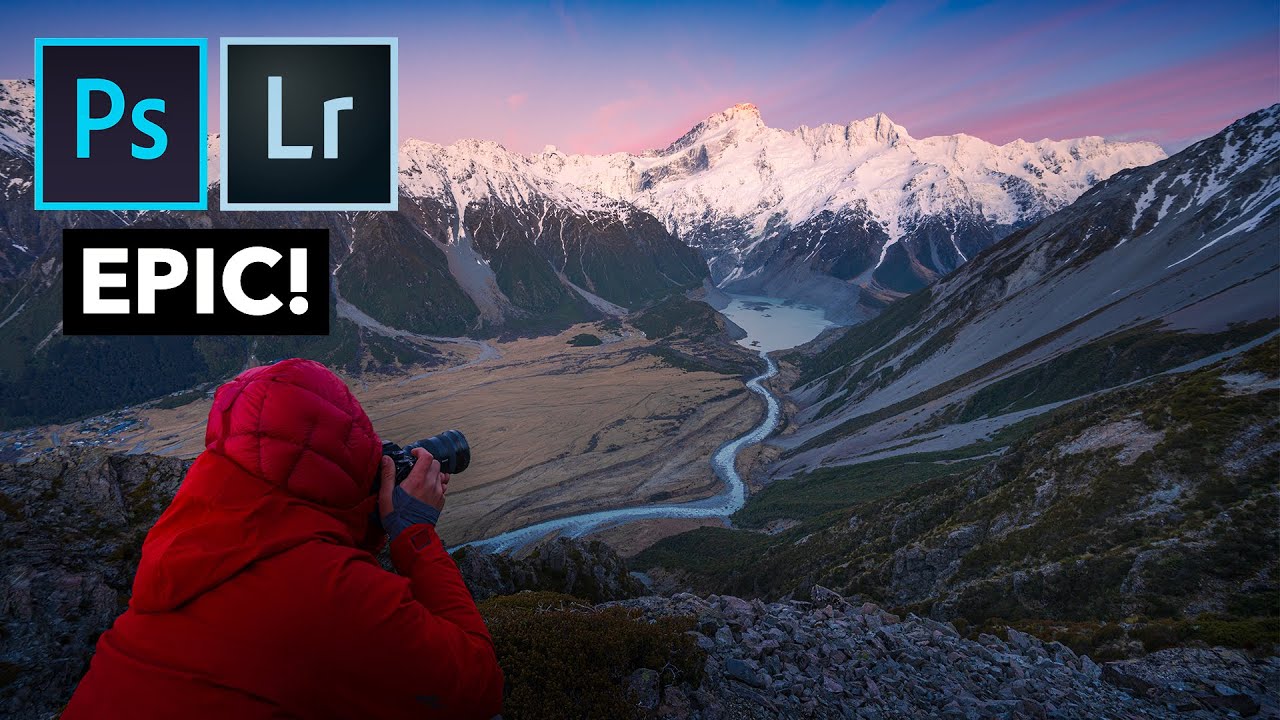
There’s a kind of shot that can’t be rushed and can’t be faked. You know the one. A mountain face catching first light, foreground plants sharp as a pin, sky still holding a blush of pre-dawn color, depth stretching from your boots to the horizon. I’ve been chasing that shot for two decades, and the honest truth is that the technical side, the focus stacking, the Lightroom processing, is usually the easier half. The harder half is earning the position. That means camping on a ridge in wind that won’t let you sleep, trusting the forecast when it looks wrong, and being ready to move the moment the light shifts.
William Patino’s tutorial on capturing and editing grand landscapes hits both halves squarely. In this William Patino tutorial, he hikes into the Southern Alps of New Zealand with a small group, camps overnight in rough conditions, shoots a focus-stacked sunrise over a glacial valley, and then walks through the full Lightroom edit weeks later. Watch the full tutorial on YouTube - it’s worth the full runtime. What follows is my breakdown of the workflow with the details filled in so you can put it to work on your own files.
Step 1: Scout for Depth, Not Just Drama
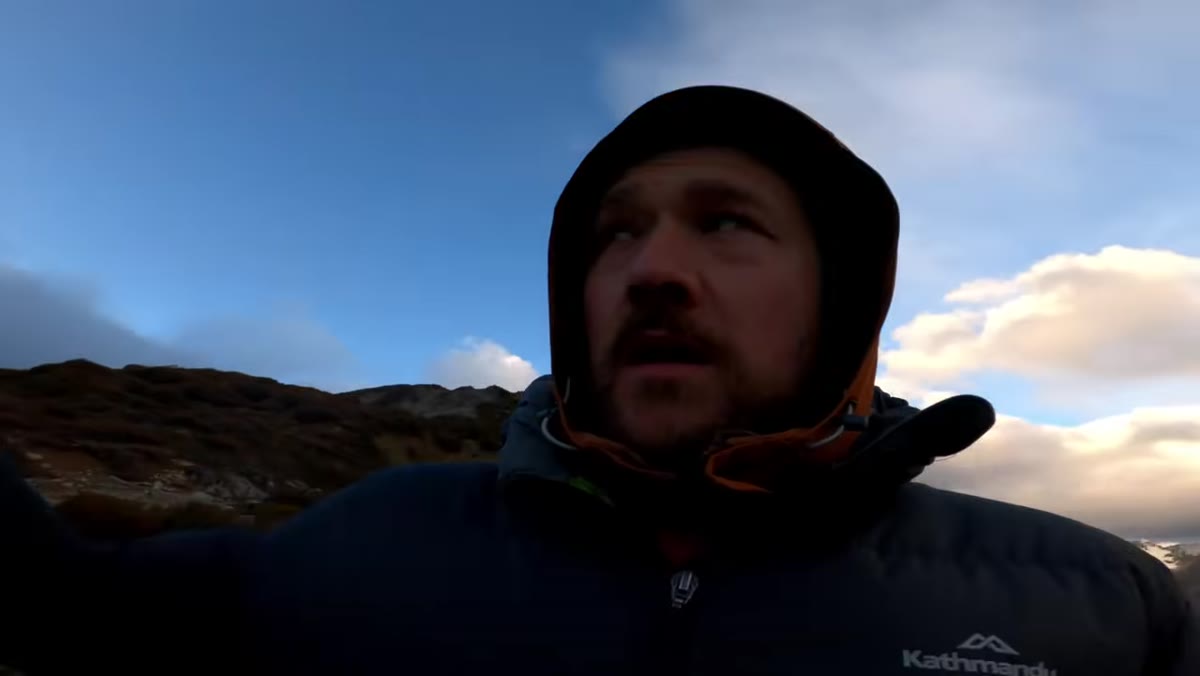 Patino framing the valley with plants, river, and peak
When Patino arrives at the campsite and the clouds part briefly in the late afternoon, he doesn’t just point his camera at the peak. He consciously builds a three-layer composition: plants in the foreground for color and texture, the braided river valley in the middle distance, and the lit peak sitting behind everything. This layering is what creates visual depth in a two-dimensional frame. It gives the viewer’s eye a path to travel rather than a wall to stare at.
Patino framing the valley with plants, river, and peak
When Patino arrives at the campsite and the clouds part briefly in the late afternoon, he doesn’t just point his camera at the peak. He consciously builds a three-layer composition: plants in the foreground for color and texture, the braided river valley in the middle distance, and the lit peak sitting behind everything. This layering is what creates visual depth in a two-dimensional frame. It gives the viewer’s eye a path to travel rather than a wall to stare at.
When you’re scouting, train yourself to ask: what’s at my feet, what’s in the middle, what’s on the horizon? All three need to contribute something. The foreground anchors the image in place and scale. The midground creates the journey. The background provides the payoff. If any of those three is empty or weak, the image flattens. Patino talks about linear perspective, the way elements get progressively smaller and narrower as they recede, and that’s the principle doing the heavy lifting here.
Step 2: Wake Up Before the Light, Not With It
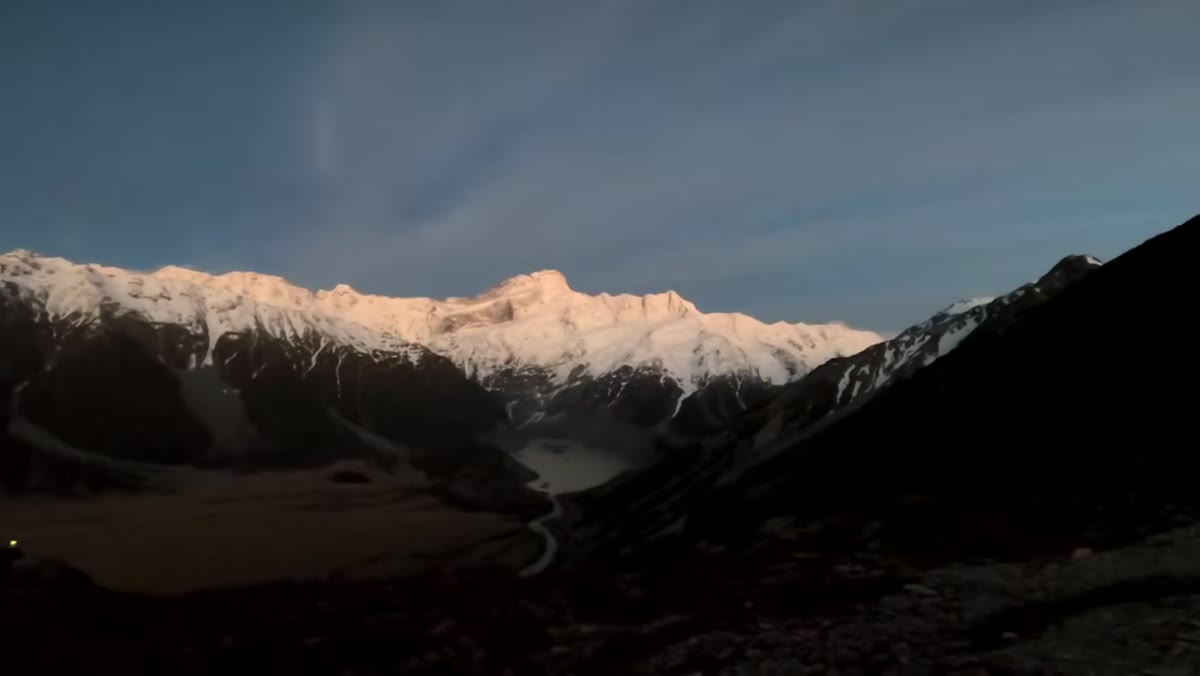 First dawn light on the mountain above camp
The group gets only a few hours of sleep because the wind hammers the tents until around 1:30 in the morning. But they’re out and moving before dawn anyway. This is the part most tutorials gloss over: the window between the mountain coming clear and the sun actually hitting the peak is short, maybe 15 minutes by Patino’s estimate. If you’re still packing your bag when that window opens, you’ve missed it.
First dawn light on the mountain above camp
The group gets only a few hours of sleep because the wind hammers the tents until around 1:30 in the morning. But they’re out and moving before dawn anyway. This is the part most tutorials gloss over: the window between the mountain coming clear and the sun actually hitting the peak is short, maybe 15 minutes by Patino’s estimate. If you’re still packing your bag when that window opens, you’ve missed it.
My own rule is to be in position and composed before I need to be. Not just standing there with the camera on, but actually framed, focused on the foreground, and committed to a composition. That means doing most of your compositional thinking in the pre-dawn dark. Use a headlamp, use your phone’s flashlight if you have to. Find the foreground interest, lock in your framing, and then wait. The light will come to you, not the other way around.
Step 3: Shoot a Focus Stack Handheld
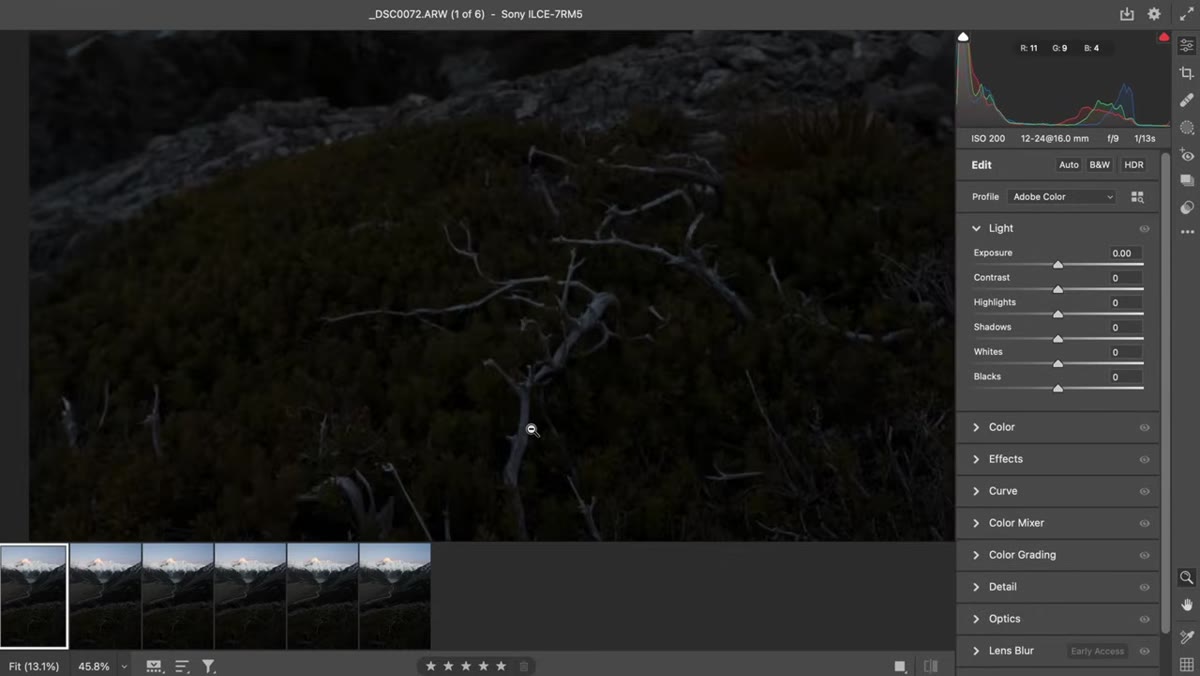 Raw focus-stacked file open in Lightroom showing flat exposure
For the sunrise shot, Patino shoots a handheld focus stack, meaning a sequence of frames where the focus point shifts progressively from the near foreground through to the background. Combined in post, these frames produce a single image with depth of field that no single aperture setting could achieve, especially in low light when stopping down to f/16 would cost you shutter speed and introduce diffraction softness.
Raw focus-stacked file open in Lightroom showing flat exposure
For the sunrise shot, Patino shoots a handheld focus stack, meaning a sequence of frames where the focus point shifts progressively from the near foreground through to the background. Combined in post, these frames produce a single image with depth of field that no single aperture setting could achieve, especially in low light when stopping down to f/16 would cost you shutter speed and introduce diffraction softness.
The technique is straightforward: set your lens to a mid-range aperture like f/8 or f/9 where sharpness is at its peak, focus on the nearest foreground element and shoot, then shift focus incrementally further into the frame and shoot again, repeating until the background is covered. Four to six frames is usually enough for a typical landscape. Handheld works if your shutter speed is fast enough to eliminate motion blur between frames. Patino is working at sunrise with enough light to make it viable. In dimmer conditions, use a tripod and work quickly so wind-moving elements like grasses or water don’t mismatch badly between frames.
Step 4: Let the Files Rest Before You Edit
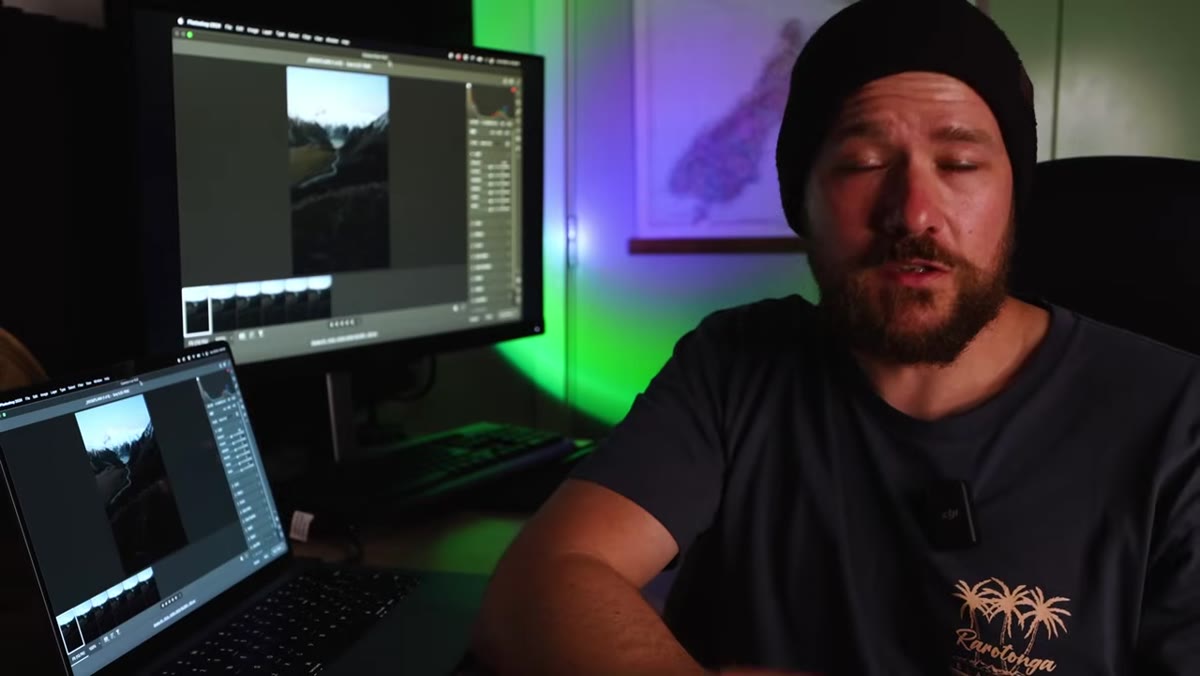 Patino at his desk, weeks after the trip, opening raw files
This is the piece of editing advice I wish someone had handed me ten years ago. Patino makes a point of waiting weeks before pulling up the raw files from this trip. His reasoning is direct: if you were there for a memorable experience and you look at the raw files the same evening, you’ll almost always be disappointed. The images can’t compete with the sensory memory of being on that ridge. The colors look flat, the files look dull, and you start second-guessing whether you shot anything worth keeping.
Patino at his desk, weeks after the trip, opening raw files
This is the piece of editing advice I wish someone had handed me ten years ago. Patino makes a point of waiting weeks before pulling up the raw files from this trip. His reasoning is direct: if you were there for a memorable experience and you look at the raw files the same evening, you’ll almost always be disappointed. The images can’t compete with the sensory memory of being on that ridge. The colors look flat, the files look dull, and you start second-guessing whether you shot anything worth keeping.
Give the emotion time to settle. When you return to the files with fresh eyes, you’re evaluating what’s actually there rather than measuring it against a feeling. I follow this same practice now. Two weeks is usually my minimum. A month is better. The files don’t change, but your ability to see them clearly does.
Step 5: Process One Frame, Then Sync
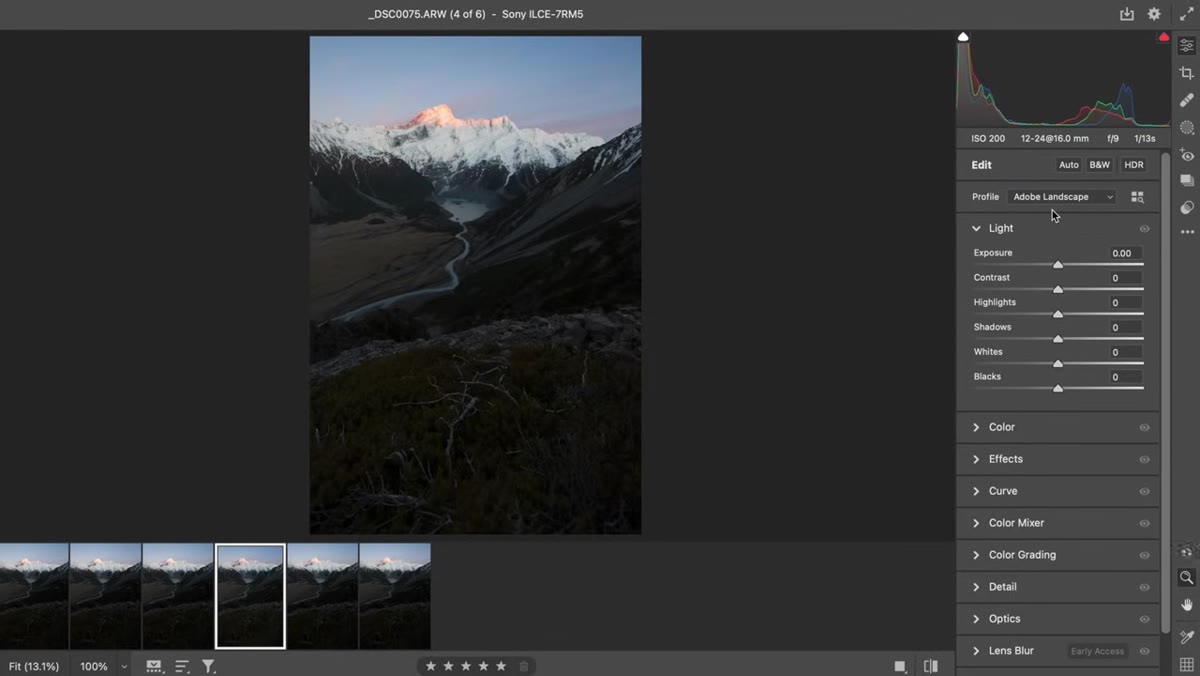 Lightroom develop module with landscape color profile applied
Patino’s editing entry point is simple and repeatable. First, he switches the camera profile in Lightroom from Adobe Standard to Landscape. This single change adds contrast and saturation in a way that more closely matches what the scene looked like to the eye, and it gives you a better starting point than the flat default. From there, he straightens the horizon before doing anything else so that every subsequent adjustment is being made to a correctly oriented image.
Lightroom develop module with landscape color profile applied
Patino’s editing entry point is simple and repeatable. First, he switches the camera profile in Lightroom from Adobe Standard to Landscape. This single change adds contrast and saturation in a way that more closely matches what the scene looked like to the eye, and it gives you a better starting point than the flat default. From there, he straightens the horizon before doing anything else so that every subsequent adjustment is being made to a correctly oriented image.
Once one frame is processed to a finished state, he syncs those settings across all the frames in the focus stack before blending them. This is the efficient move. It keeps the tonal and color treatment consistent across every layer, so when you merge the frames in Photoshop, you’re not fighting mismatched exposures or color shifts between them. Process one, sync all, then blend.
What I’d Add from My Own Shoots
Patino doesn’t mention it explicitly, but the wind that kept them awake is the same wind that will blur your foreground grasses during a focus stack sequence. On exposed ridgelines and alpine locations, even a mild breeze will move vegetation enough between frames to create ghosting in the blend. My workaround is to shoot during the very brief lulls that most wind has, even at its worst. Watch the grass or plants for a two to three second pause, shoot your frame, wait for the next lull, shift focus, repeat. It slows the process down considerably, but it saves you from a messy composite that no masking will fully fix.
The single most important thing Patino demonstrates in this whole tutorial isn’t a Lightroom slider or a focus stacking trick. It’s the willingness to earn the position. You don’t get that shot from a car window. The image exists because someone hiked two hours in, slept badly in the wind, and was standing in the right place at the right minute with a composed frame already waiting. Everything in the edit is just making the file match what was actually there.
Watch the full tutorial on YouTube to see Patino’s complete Lightroom edit and the full focus stack walkthrough from the field to the finished image.
Comments (3)
I've been looking for exactly this kind of tutorial. Perfect timing.
Would love to see a follow-up going deeper into this topic.
Great article! I actually covered something related on my site — the workflows angle is really complementary to this.
Leave a Comment