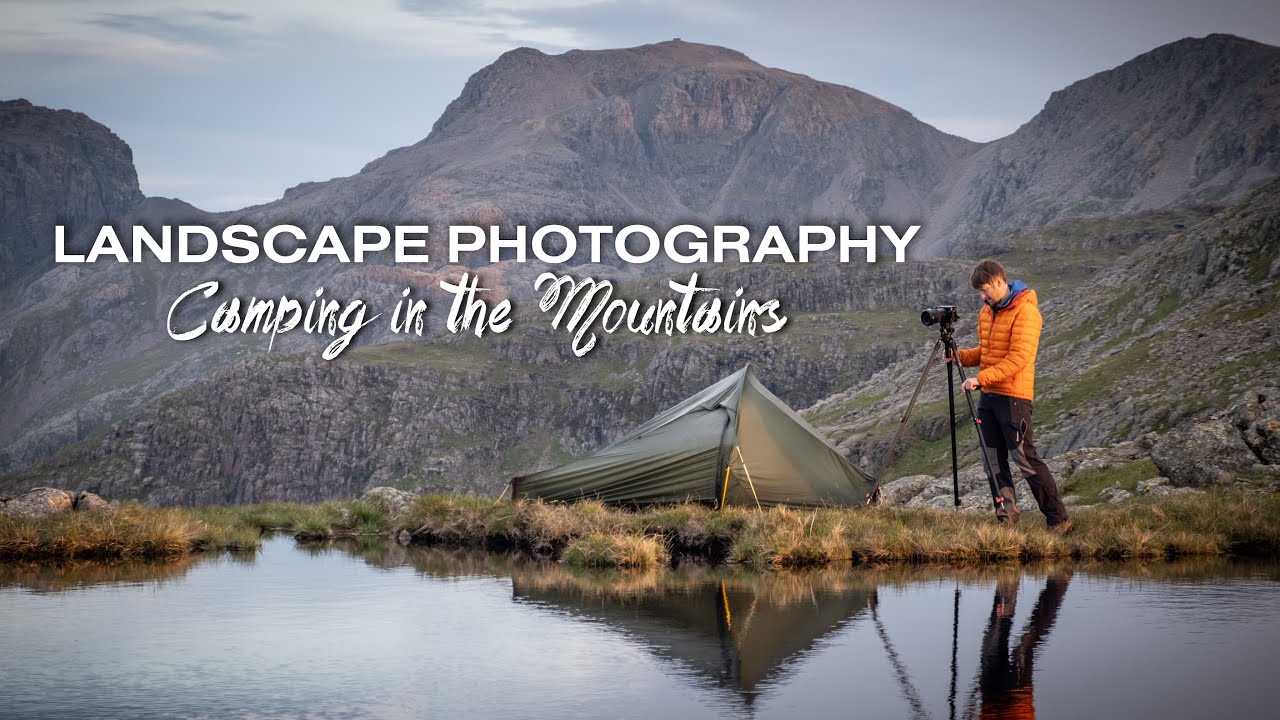
There’s a specific kind of suffering that comes with hauling too much gear up a mountain. I’ve done it more times than I care to admit. The extra filter system, the backup body, the “just in case” lens that adds two pounds and never leaves the bag. You tell yourself you’ll need it. You usually won’t. But every now and then, you pull out that polarizer at exactly the right moment, and the whole scene transforms in front of you. That tension between traveling light and being prepared is one of the real unresolved arguments in landscape photography, and it’s one that Thomas Heaton addresses honestly in his mountain camping tutorial, not by solving it, but by living it out in real time.
In this Thomas Heaton tutorial, Watch the full tutorial on YouTube, Heaton hikes into the mountains with an overpacked bag to camp overnight and shoot both sunset and sunrise. What makes it worth studying isn’t a list of camera settings. It’s watching a seasoned photographer make decisions under pressure, read changing light on the fly, and deal honestly with the moments that don’t work out. After twenty years doing this professionally, I still find that kind of real-field problem-solving more instructive than any controlled studio breakdown.
A mentor once told me that the mountain doesn’t care about your schedule. Heaton’s video is basically a feature-length demonstration of that truth. Here’s how to pull the practical lessons out of it.
Step 1: Accept the Weight Trade-off Before You Leave the Car
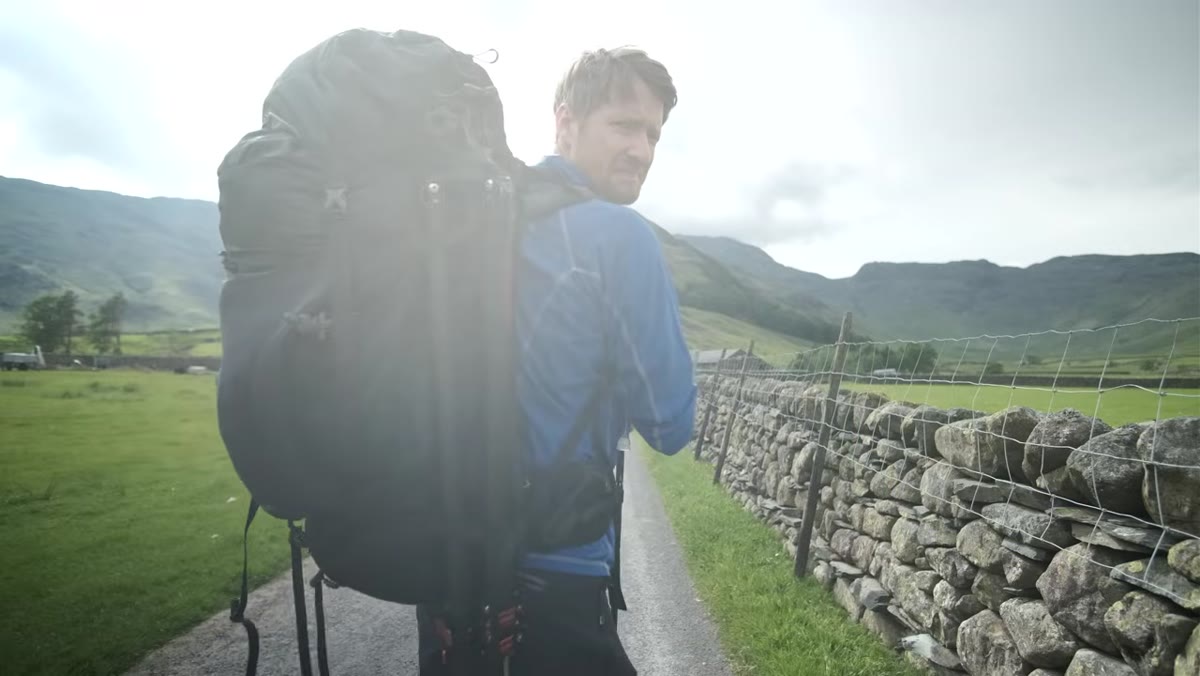 Thomas hiking uphill with visibly heavy pack on mountain trail
Heaton opens by admitting his bag is too heavy. He knows it. He says it out loud. But he also packed his full filter system, and within the first hour, that decision pays off. The lesson isn’t “pack everything” or “pack nothing.” It’s that you need to make a deliberate choice before the hike, not a lazy one. Look at your location research and ask one question: what filters will the light actually demand here? Polarizers for water and wet grass, ND grads for bright skies over dark foregrounds. If you can answer specifically, bring those. If you’re guessing, leave the excess at home.
Thomas hiking uphill with visibly heavy pack on mountain trail
Heaton opens by admitting his bag is too heavy. He knows it. He says it out loud. But he also packed his full filter system, and within the first hour, that decision pays off. The lesson isn’t “pack everything” or “pack nothing.” It’s that you need to make a deliberate choice before the hike, not a lazy one. Look at your location research and ask one question: what filters will the light actually demand here? Polarizers for water and wet grass, ND grads for bright skies over dark foregrounds. If you can answer specifically, bring those. If you’re guessing, leave the excess at home.
Step 2: Stop When the Light Demands It, Even Mid-Hike
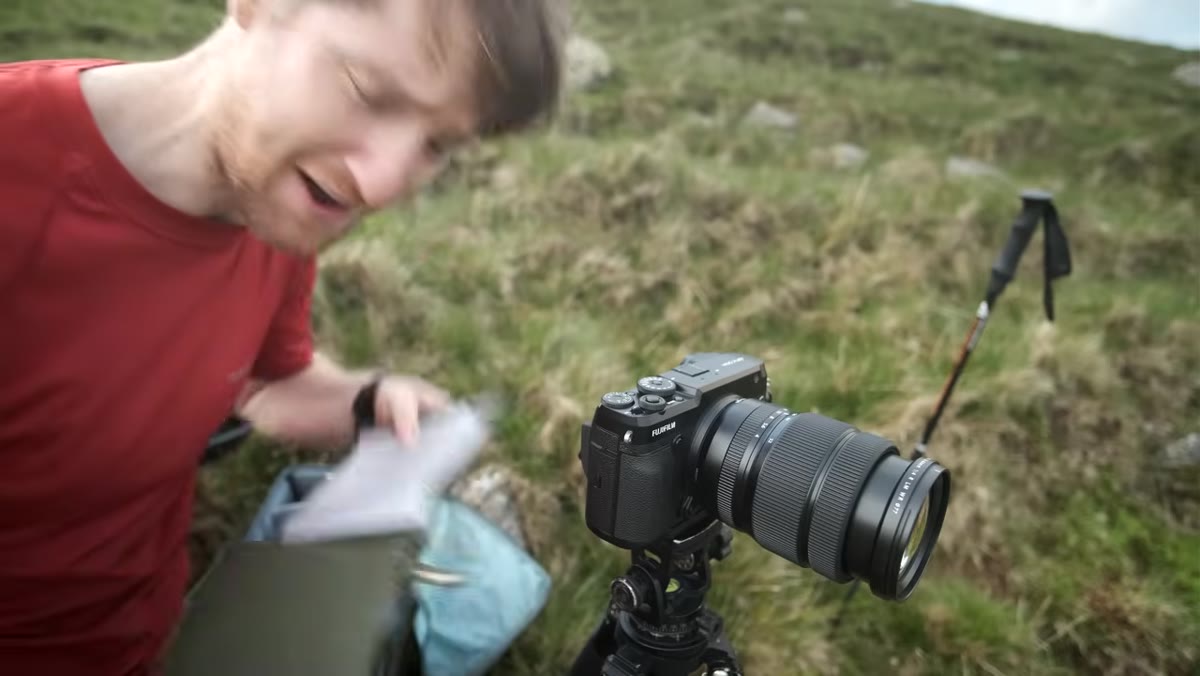 Camera mounted on tripod pointed at cone-shaped mountain peak
Heaton spots a shot mid-hike and stops. He describes the scene clearly: a cone-shaped peak called Pike of Blisco lit by late afternoon dappled light, with dramatic dark storm clouds building behind it and rich spring-green grass in the foreground. He doesn’t walk past and tell himself he’ll catch it on the way back. He sets up, attaches the polarizer, and works the scene. The polarizer matters here specifically because it deepens the contrast between the sunlit grass and the heavy sky, and adds saturation to colors that might otherwise read as flat. Rotate it while looking through the viewfinder until you see the maximum separation between the tones. In this kind of shifting light, you’re working against a clock. Get your shot before the cloud covers the peak.
Camera mounted on tripod pointed at cone-shaped mountain peak
Heaton spots a shot mid-hike and stops. He describes the scene clearly: a cone-shaped peak called Pike of Blisco lit by late afternoon dappled light, with dramatic dark storm clouds building behind it and rich spring-green grass in the foreground. He doesn’t walk past and tell himself he’ll catch it on the way back. He sets up, attaches the polarizer, and works the scene. The polarizer matters here specifically because it deepens the contrast between the sunlit grass and the heavy sky, and adds saturation to colors that might otherwise read as flat. Rotate it while looking through the viewfinder until you see the maximum separation between the tones. In this kind of shifting light, you’re working against a clock. Get your shot before the cloud covers the peak.
Step 3: Read Moving Light as a Timing Problem, Not a Luck Problem
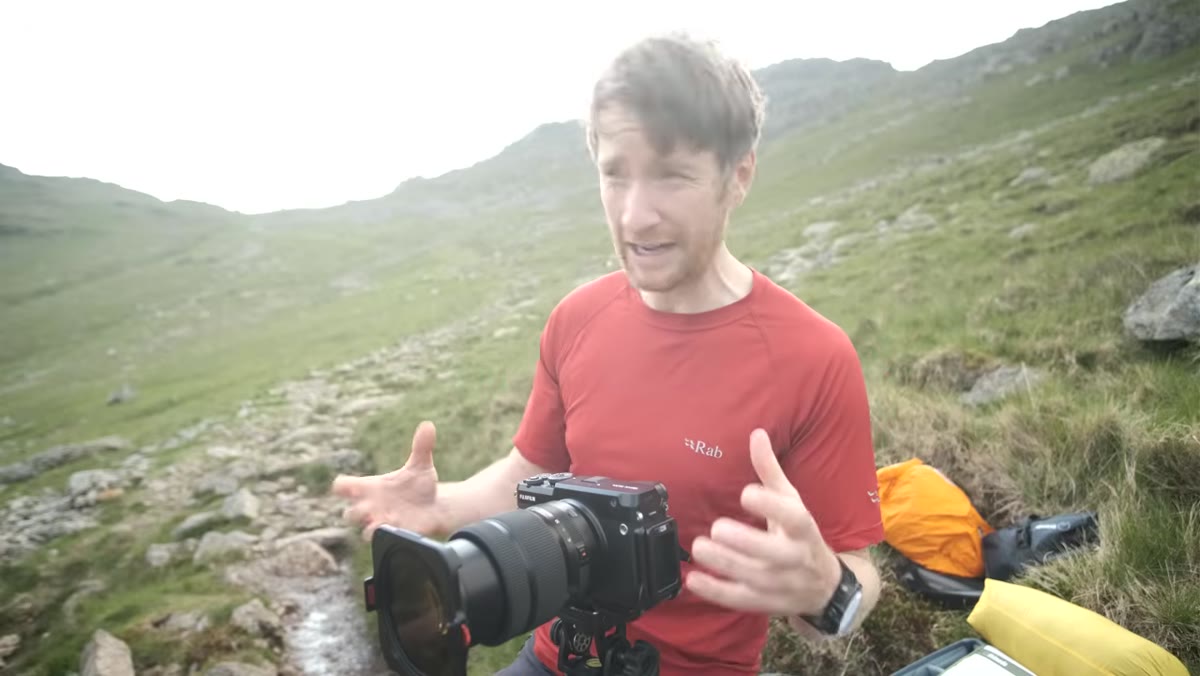 Cloud shadow moving across green hillside during afternoon light
Heaton notes that dappled light from moving clouds is constantly in flux. The light is on the subject, then it isn’t. This is where photographers lose shots by waiting for “perfect” conditions instead of working the conditions in front of them. The discipline here is to identify your composition first, lock in your exposure, and then wait with your finger ready. Burst mode has its place, but in landscape work I prefer to watch the light move, anticipate the peak moment when it hits the subject, and fire then. One clean frame beats thirty mediocre ones.
Cloud shadow moving across green hillside during afternoon light
Heaton notes that dappled light from moving clouds is constantly in flux. The light is on the subject, then it isn’t. This is where photographers lose shots by waiting for “perfect” conditions instead of working the conditions in front of them. The discipline here is to identify your composition first, lock in your exposure, and then wait with your finger ready. Burst mode has its place, but in landscape work I prefer to watch the light move, anticipate the peak moment when it hits the subject, and fire then. One clean frame beats thirty mediocre ones.
Step 4: Scout Camp Before Setting Up, Not After
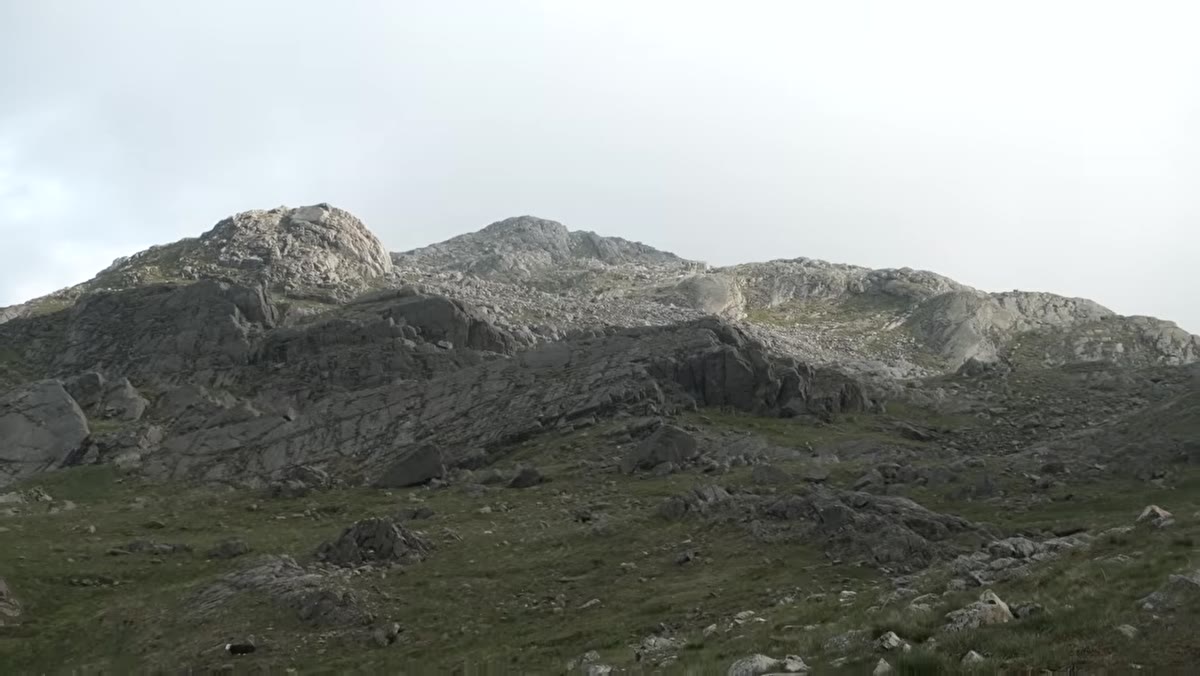 Wide shot of mountain campsite location with tarn visible in background
When Heaton arrives at his camping spot, he notices a strong composition behind him before his tent is even out of his bag. A still tarn, interesting rock distribution, peaks with mist rolling over them. He rushes to set up the tripod, aiming for a low angle to make the most of the foreground. This is correct instinct, and it’s a habit worth building. When you arrive at a campsite, spend fifteen minutes walking the perimeter before you commit to anything. Look for water, leading lines, and elevated foreground interest. Photograph the location mentally before photographing it literally.
Wide shot of mountain campsite location with tarn visible in background
When Heaton arrives at his camping spot, he notices a strong composition behind him before his tent is even out of his bag. A still tarn, interesting rock distribution, peaks with mist rolling over them. He rushes to set up the tripod, aiming for a low angle to make the most of the foreground. This is correct instinct, and it’s a habit worth building. When you arrive at a campsite, spend fifteen minutes walking the perimeter before you commit to anything. Look for water, leading lines, and elevated foreground interest. Photograph the location mentally before photographing it literally.
Step 5: Set Up and Leave the Camera in Position When Light Drops
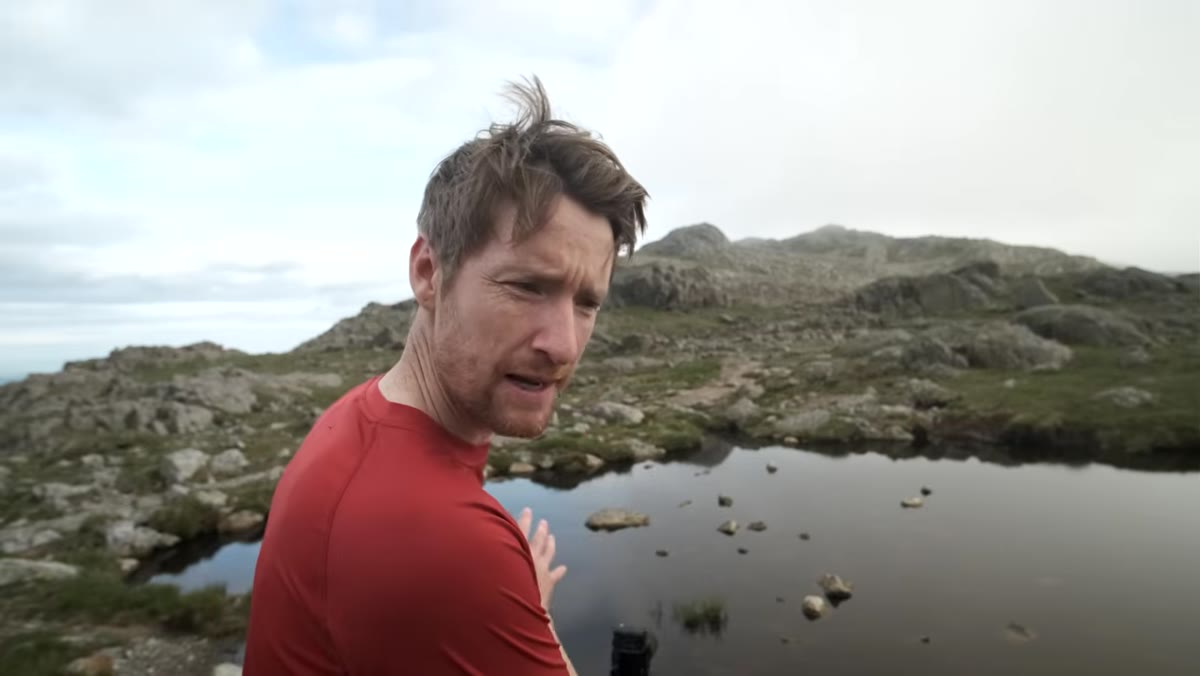 Tripod and camera left in position near tarn as light fades
The light disappears on Heaton before he can fire a shot at the tarn composition. His response is exactly right. He leaves the camera set up where it is, framed and ready, because the light might return. In situations like this, I lock my focus using back-button focus, confirm my composition, and set the camera to aperture priority with exposure compensation dialed in so I’m not scrambling with settings if the light breaks through for sixty seconds. The shot that almost didn’t happen is often the most memorable one of the trip. Being set up and ready is the entire margin between getting it and missing it.
Tripod and camera left in position near tarn as light fades
The light disappears on Heaton before he can fire a shot at the tarn composition. His response is exactly right. He leaves the camera set up where it is, framed and ready, because the light might return. In situations like this, I lock my focus using back-button focus, confirm my composition, and set the camera to aperture priority with exposure compensation dialed in so I’m not scrambling with settings if the light breaks through for sixty seconds. The shot that almost didn’t happen is often the most memorable one of the trip. Being set up and ready is the entire margin between getting it and missing it.
Step 6: Set Up Camp Efficiently to Protect Your Shooting Window
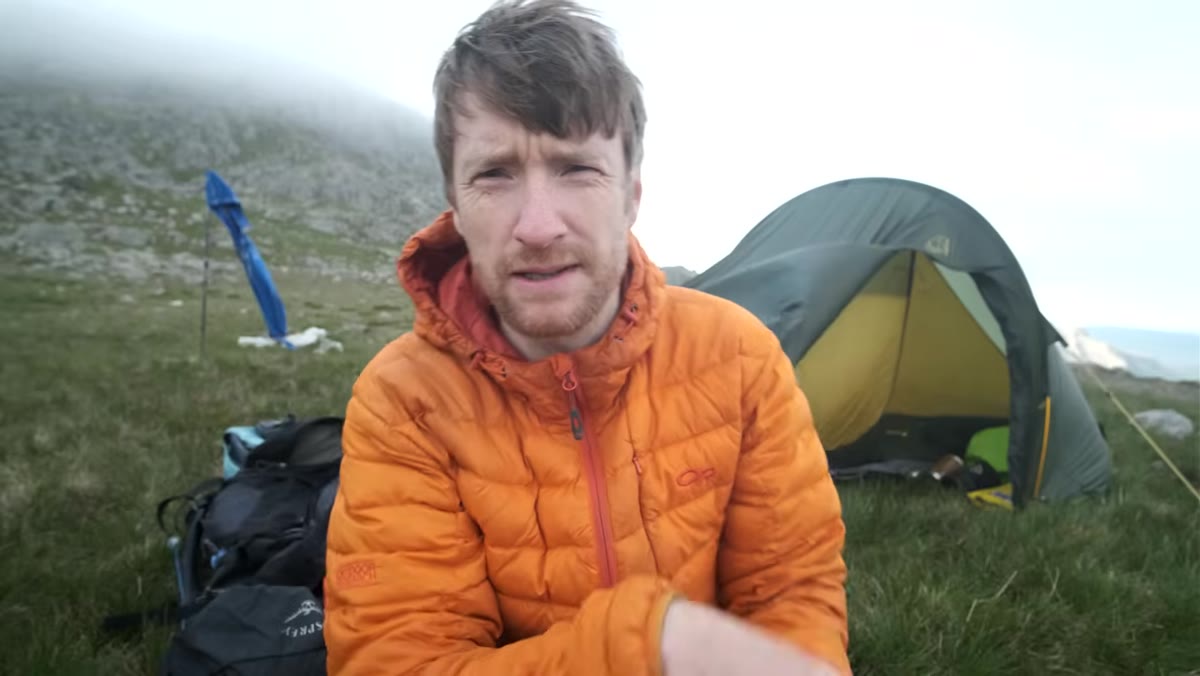 Tent pitched and camp organized in mountain location at dusk
Heaton sets camp after identifying his compositions, not before. This sequencing matters. If you pitch tent first, arrange gear, cook dinner, and then go look for shots, you will miss the golden hour every time. The working rhythm on an overnight shoot should be: arrive, scout, identify priority compositions, set up camera positions, then set up camp. Dinner can wait. Camp can be assembled in the dark if it comes to that. Light cannot be recovered once it’s gone.
Tent pitched and camp organized in mountain location at dusk
Heaton sets camp after identifying his compositions, not before. This sequencing matters. If you pitch tent first, arrange gear, cook dinner, and then go look for shots, you will miss the golden hour every time. The working rhythm on an overnight shoot should be: arrive, scout, identify priority compositions, set up camera positions, then set up camp. Dinner can wait. Camp can be assembled in the dark if it comes to that. Light cannot be recovered once it’s gone.
What I’d Add: The Fog Night Is Still a Working Night
I’ve had more overnight trips end in complete cloud cover than I can count. One trip I drove six hours to a location, sat in fog for two solid days, and came home with exactly one usable shot through a brief break in the weather at dawn. That image became my best-selling print. The lesson Heaton doesn’t quite reach in this segment is that a socked-in night isn’t a wasted night. Walk the landscape after sunset with a headlamp. Memorize where the rocks are, where the water sits, where the best foreground elements live. When the light breaks, even for ten minutes at sunrise, you’ll move fast and confident instead of stumbling around trying to find your shot in low light.
The single most important takeaway from this tutorial is deceptively simple: stop when the light tells you to stop. Not when your schedule allows it, not when camp is set up, not when you’re rested. The mountain doesn’t care about your timeline, and the best photographers are the ones who’ve fully accepted that fact.
Watch the full tutorial on YouTube to follow Thomas Heaton’s full overnight shoot, including the sunset and sunrise sessions that follow what’s covered here.
Comments (2)
Would love to see a follow-up going deeper into this topic.
This should be required reading for anyone starting out.
Leave a Comment