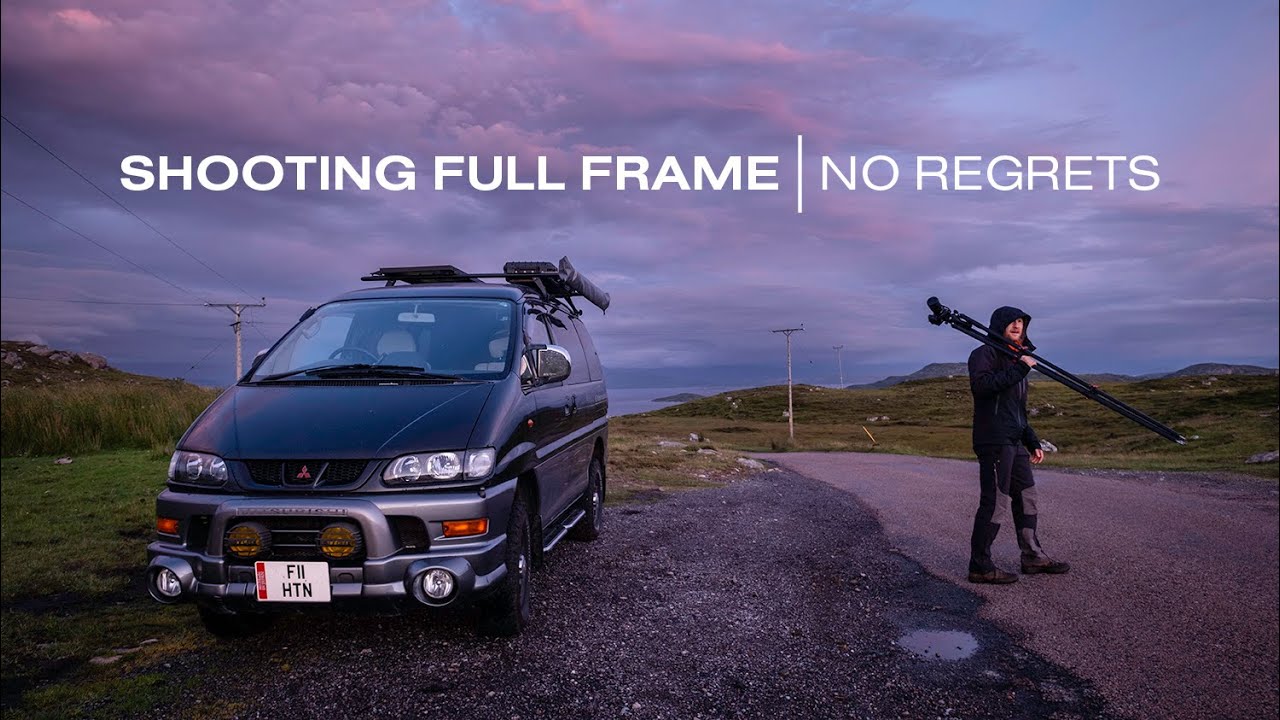
There’s a habit I picked up early in my career that has saved more shoots than any piece of gear I’ve ever bought: going to a location twice. The first visit is for listening. The second is for shooting. I’ve driven three hours to a canyon rim before sunrise, walked it in the dark, and come back the following evening knowing exactly where I’d plant my tripod and why. That split approach, scout first, shoot second, sounds obvious until you’re staring at a sunrise you weren’t prepared for and scrambling to find an angle while the light burns off. In Watch the full tutorial on YouTube, Thomas Heaton demonstrates this exact principle in action during a shoot at Stack Pollaidh in the far northwest Highlands of Scotland, and what unfolds is a genuinely instructive look at how professional photographers think before they press the shutter.
What makes this particular video worth studying isn’t the mountain or the dramatic Scottish weather, although both play a role. It’s the decision Heaton makes to hike Stack Pollaidh with only his infrared camera and no video rig, treating the morning as pure reconnaissance. That choice leads to what he calls one of the best images he’s taken in years: a red deer stag grazing in long grass at the foot of the peak, rendered in the luminous, otherworldly tones that only infrared can produce. The combination of preparation, opportunism, and the right tool for midday light is a workflow worth unpacking carefully.
Step 1: Treat Your First Visit as a Learning Exercise, Not a Shoot
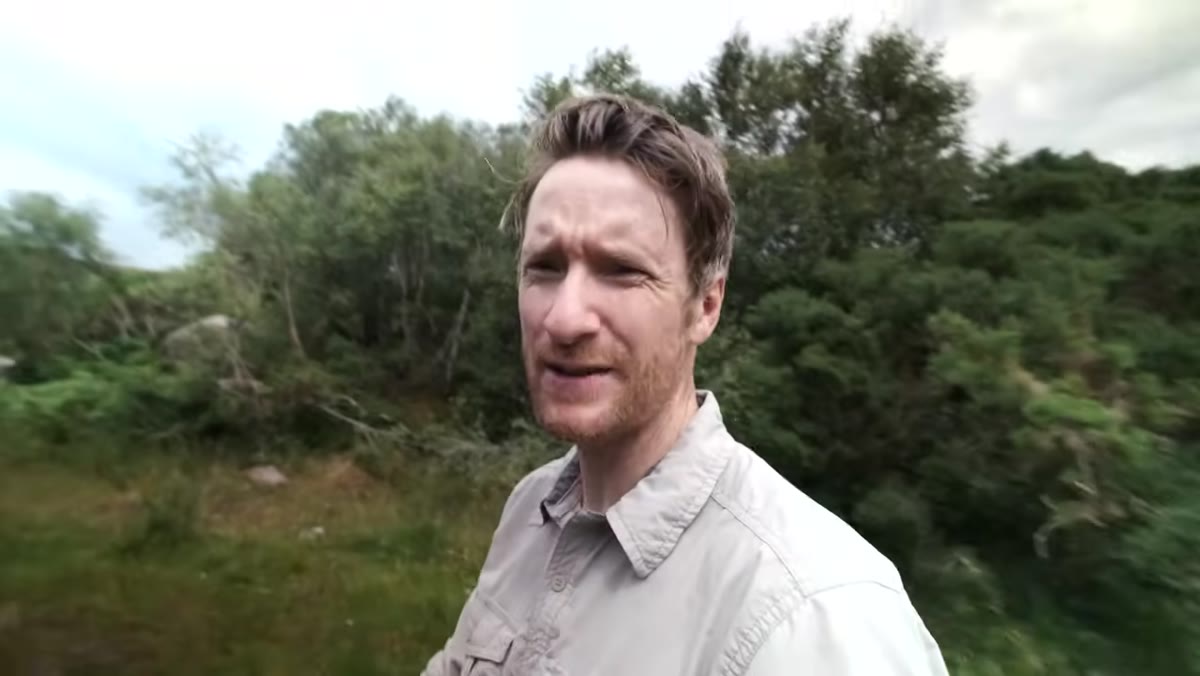 Heaton hiking Stack Pollaidh for the first time at dawn
Before you take a single frame worth keeping, walk the location without the pressure of producing images. Heaton makes this explicit: his morning hike was meant purely to understand the terrain, the sight lines, and the way the light moves across the landscape. He planned to return at sunset with full gear. That low-stakes walk is what put him in position to recognize a once-in-a-day wildlife moment when it appeared.
Heaton hiking Stack Pollaidh for the first time at dawn
Before you take a single frame worth keeping, walk the location without the pressure of producing images. Heaton makes this explicit: his morning hike was meant purely to understand the terrain, the sight lines, and the way the light moves across the landscape. He planned to return at sunset with full gear. That low-stakes walk is what put him in position to recognize a once-in-a-day wildlife moment when it appeared.
When I scout, I carry a notebook and my phone, nothing else. I’m looking at where shadows fall, which foreground elements anchor a wide shot, and where I’d need to stand to compress distance between a subject and a background peak. The scout visit is where your eye does the technical work so your hands are free to be reactive when the real shoot begins.
Step 2: Bring Infrared for Midday Light, Not as a Last Resort
 Fuji XT3 with 55-200mm lens used for infrared deer shot
Landscape photographers are trained to worship golden hour and write off the middle of the day. Infrared photography dismantles that rule entirely. Heaton brought his Fuji XT3, converted to infrared, specifically because midday sun is actually ideal for the effect. Infrared sensors respond to wavelengths of light the human eye doesn’t register, which means harsh overhead light becomes atmospheric rather than flat, foliage goes silver-white, and skies deepen to near-black even at noon.
Fuji XT3 with 55-200mm lens used for infrared deer shot
Landscape photographers are trained to worship golden hour and write off the middle of the day. Infrared photography dismantles that rule entirely. Heaton brought his Fuji XT3, converted to infrared, specifically because midday sun is actually ideal for the effect. Infrared sensors respond to wavelengths of light the human eye doesn’t register, which means harsh overhead light becomes atmospheric rather than flat, foliage goes silver-white, and skies deepen to near-black even at noon.
If you haven’t explored infrared conversion, the practical entry point is a camera conversion through a service like Kolari Vision or LifePixel, which replaces your sensor’s standard filter with an infrared-passing filter. You can also use screw-on infrared filters on a standard camera, though exposure times become very long. Either way, the key takeaway is this: infrared gives you a completely different creative toolkit for hours when standard shooting feels impossible.
Step 3: Match Focal Length to the Story You’re Telling
 Heaton describing the 55-200mm reach used on the stag
The stag was distant. Heaton wasn’t close enough to reach it on foot without spooking it, and he had no video camera capable of capturing it anyway. But the 55 to 200mm zoom on the Fuji gave him enough reach to compress the animal into its landscape context. That compression is the compositional key: the deer becomes part of the mountain rather than a subject floating in front of it.
Heaton describing the 55-200mm reach used on the stag
The stag was distant. Heaton wasn’t close enough to reach it on foot without spooking it, and he had no video camera capable of capturing it anyway. But the 55 to 200mm zoom on the Fuji gave him enough reach to compress the animal into its landscape context. That compression is the compositional key: the deer becomes part of the mountain rather than a subject floating in front of it.
When shooting wildlife within a landscape context, I default to the longer end of whatever I’m carrying. In Bend, I’ve shot elk against the Cascades at 400mm, and the resulting compression makes the range feel genuinely massive. A wide angle in the same situation would have rendered the elk as a speck. Think about what relationship you want between subject and environment, then choose your focal length to serve that relationship rather than defaulting to what’s already on your camera.
Step 4: Plan Your Return Shot Around Conditions, Not Convenience
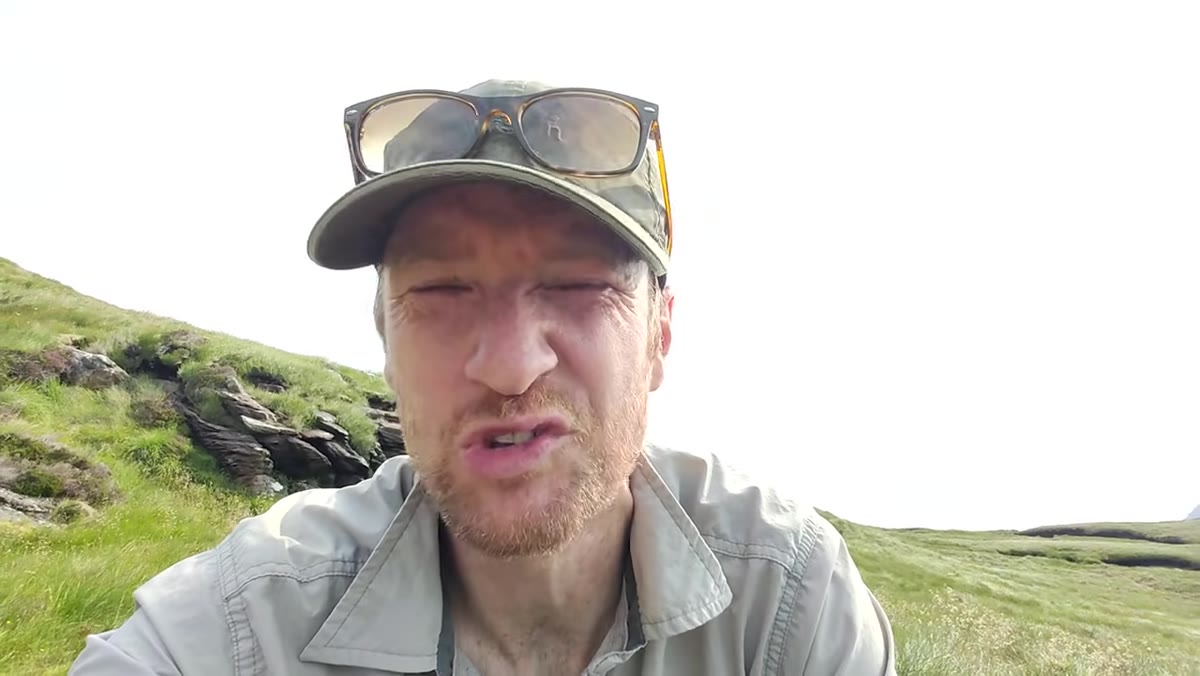 Heaton noting thunderstorms forecast for the sunset return
Having secured a strong midday infrared image, Heaton’s plan was still to return at sunset with his Nikon Z7II for the main event. But thunderstorms were forecast, and he acknowledged openly that the evening shoot might not happen. This is the part of the workflow that separates working photographers from hobbyists: you plan the return trip, you pack for it, and you accept that weather is not your employee.
Heaton noting thunderstorms forecast for the sunset return
Having secured a strong midday infrared image, Heaton’s plan was still to return at sunset with his Nikon Z7II for the main event. But thunderstorms were forecast, and he acknowledged openly that the evening shoot might not happen. This is the part of the workflow that separates working photographers from hobbyists: you plan the return trip, you pack for it, and you accept that weather is not your employee.
My mentor once told me the mountain doesn’t care about your schedule, and that sentence has lived rent-free in my head for two decades. I’ve sat in fog for two days waiting for a shot that almost didn’t come. When it finally did, it became my best-selling print. Build your shooting days around the light that’s possible, not the light you expected, and keep the gear ready for conditions to shift at any moment.
Step 5: Protect Yourself and Your Audience from Comment-Section Scams
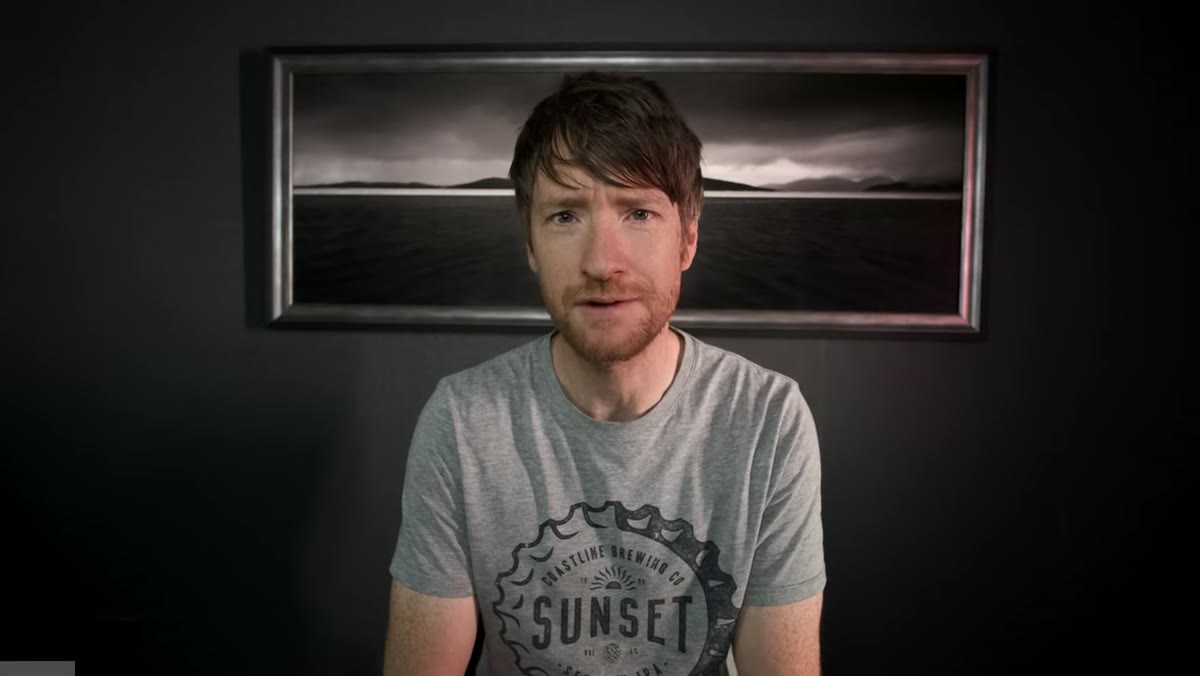 Heaton addressing the camera with a serious opening warning
This step sits outside the photography workflow, but it matters. Heaton opens the video with a warning about impersonation scams running in his YouTube comments. Fake accounts using his name and photo reply to viewers claiming they’ve won prizes, then direct them to Telegram or WhatsApp to collect a “shipping fee.” It’s a common pattern targeting photography audiences specifically.
Heaton addressing the camera with a serious opening warning
This step sits outside the photography workflow, but it matters. Heaton opens the video with a warning about impersonation scams running in his YouTube comments. Fake accounts using his name and photo reply to viewers claiming they’ve won prizes, then direct them to Telegram or WhatsApp to collect a “shipping fee.” It’s a common pattern targeting photography audiences specifically.
The practical rule is simple: no legitimate creator runs giveaways through comment replies asking for payment. If a reply promises you a camera and asks for money, it’s a scam. Ignore it, report the account, and don’t let it stop you from engaging with real creators in the comments.
What I’d Do Differently in the American West
Scotland’s challenges are cloud cover and access. In the Oregon high desert, my version of this workflow deals with smoke season, rapidly shifting afternoon thermals, and wildlife that tends to appear during the flattest light of the day. The infrared approach translates directly: I’ve started carrying my infrared-converted body on every scout trip, treating it as a way to bank images during hours I’d otherwise write off.
The one adjustment I’d make to Heaton’s kit: in open sagebrush country, a polarizing filter stacked with infrared produces a sky contrast that feels almost printed rather than photographed. It’s worth experimenting with on converted cameras if your lens diameter allows it.
The single most important lesson in this video isn’t about gear or settings. It’s that your best shot of the day might happen during the walk you took to prepare for your best shot of the day. Show up early, stay observant, carry the right camera for the light that exists. The rest follows.
Watch the full tutorial on YouTube and pay attention to how Heaton talks through his reasoning in the field. That running internal monologue is the real masterclass.
Comments
Leave a Comment