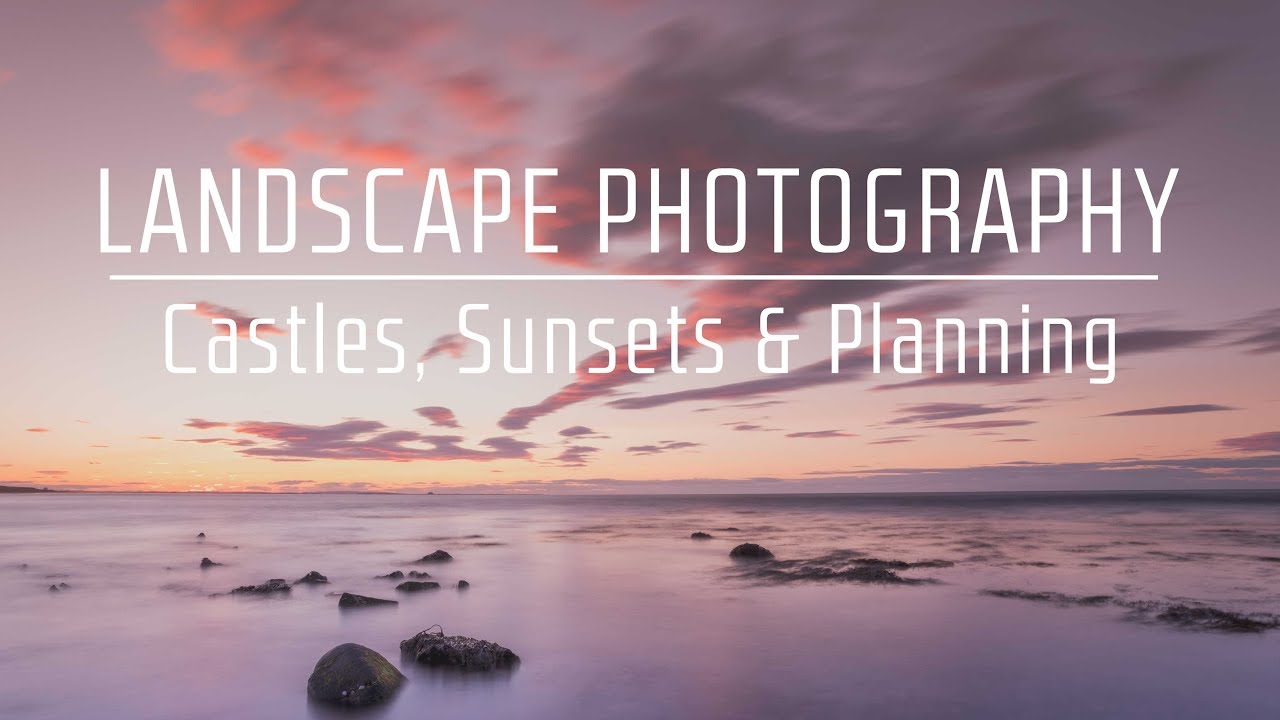
There’s a version of landscape photography that looks effortless from the outside. You show up, the light goes golden, you press the shutter. What nobody sees is the week of weather-watching, the tide chart pinned to the fridge, the three different parking scenarios mapped out the night before. After twenty years of doing this professionally, I can tell you that the image is almost always made before I leave the house. The ones that weren’t planned are usually the ones I don’t sell.
That’s why I want to walk through this tutorial from First Man Photography, which covers his full planning process for a castle-and-sunset shoot. Watch the full tutorial on YouTube. What struck me watching it is how closely his process mirrors mine, right down to the specific tools he reaches for. He’s shooting coastlines in the UK, I’m mostly working in the high desert of the Pacific Northwest, but the planning logic is identical. If you’ve been going out and hoping for the best, this framework will change how you work.
There’s a quote that stuck with me from a mentor early in my career. He said the mountain doesn’t care about your schedule. What he meant was that you can’t will good light into existence. You can only put yourself in the right place at the right time, and that takes work done long before you pick up a camera.
Step 1: Choose Your Location Intentionally
 Photographer describing initial location-thinking process
Don’t start with “I want to shoot something beautiful.” Start with a specific anchor point. A castle, a sea stack, a ridgeline, a bridge. Something with inherent visual weight that gives the landscape structure. First Man Photography describes starting with a clear sense of what kind of place he wants to be in, then letting the research follow. This matters because it keeps you from drifting. Vague intentions produce vague images.
Write down one primary subject before you open any app or map. Everything else in your planning will orbit that decision.
Step 2: Scout the Location Using Google Maps
 Discussing Google Maps for initial location research
Once you have a subject in mind, open Google Maps and treat it like a field guide. Switch to satellite view and study the surrounding terrain. Look for natural leading lines, water features, elevated vantage points, and anything that might create a foreground-to-background relationship with your main subject. Check whether Google has tagged any viewpoints in the area, those pins are often placed by locals who already found the good angles.
The goal here is spatial understanding. You want to arrive at a location with a mental map already built, not spend your golden hour wandering. Zoom in and out. Rotate your view. Drop into Street View if the location has road access. This kind of armchair scouting saves legs and saves light.
Step 3: Look at Other Photographers’ Work - Then Stop
 Discussing researching other photographers’ compositions
This is the step people either skip entirely or overdo, and both are mistakes. First Man Photography makes a point I find genuinely wise. He’ll look at existing images of a location just long enough to confirm that strong compositions exist there, then he closes the browser. He doesn’t want someone else’s framing living rent-free in his head when he arrives on location.
I follow the same rule. Use other photographers’ work as proof of concept, not as a blueprint. If you show up trying to recreate a shot you saw on Instagram, you’re not making art. You’re making a copy. Confirm the location has potential, then trust yourself to find your own angle.
Step 4: Check Tide Times if Water Is Involved
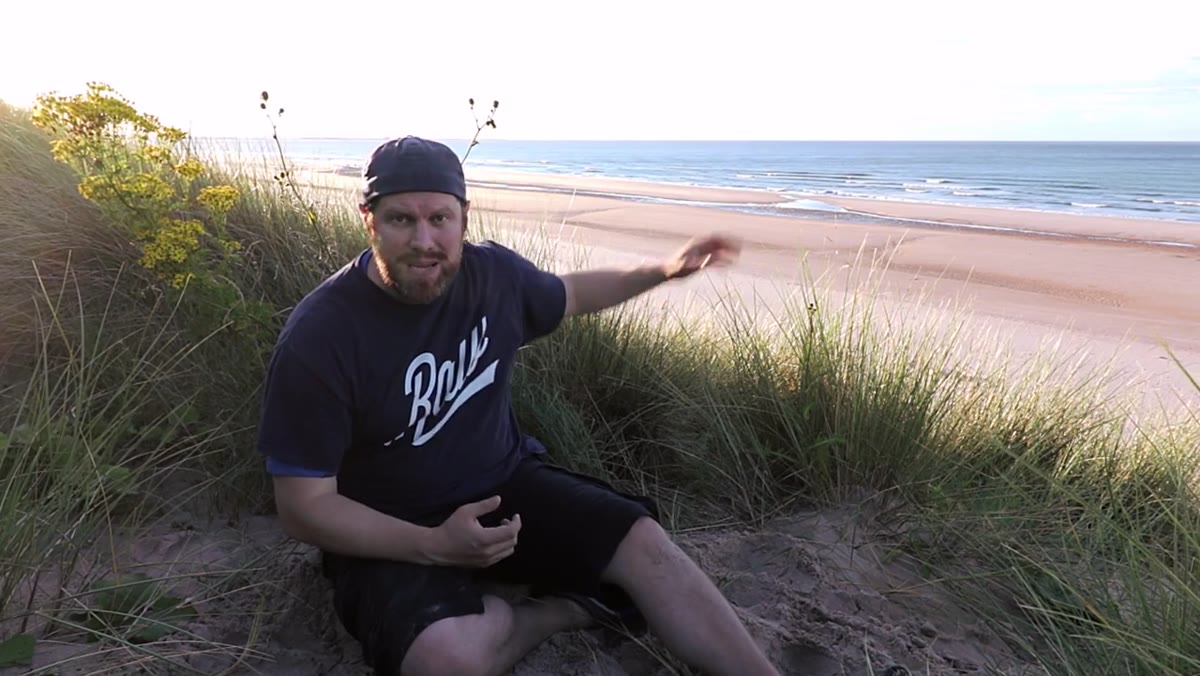 Discussing tide apps and beach safety planning
If your location involves any coastal or tidal element, tide times are non-negotiable. This isn’t just about composition, it’s about safety. First Man Photography mentions this directly, and I’ll reinforce it. Getting cut off by an incoming tide while you’re fiddling with a tripod is a situation that ends photography careers and sometimes worse. Download a tide app before you go. Know your high and low windows. Plan your arrival around water access, not just light.
From a creative standpoint, tide timing also shapes the image. Low tide reveals texture, rock formations, and reflective wet sand. High tide compresses the scene and changes your foreground options entirely. Both can be beautiful, but you need to choose, not discover it by accident when you get there.
Step 5: Use PhotoPills to Lock In Your Sun Position
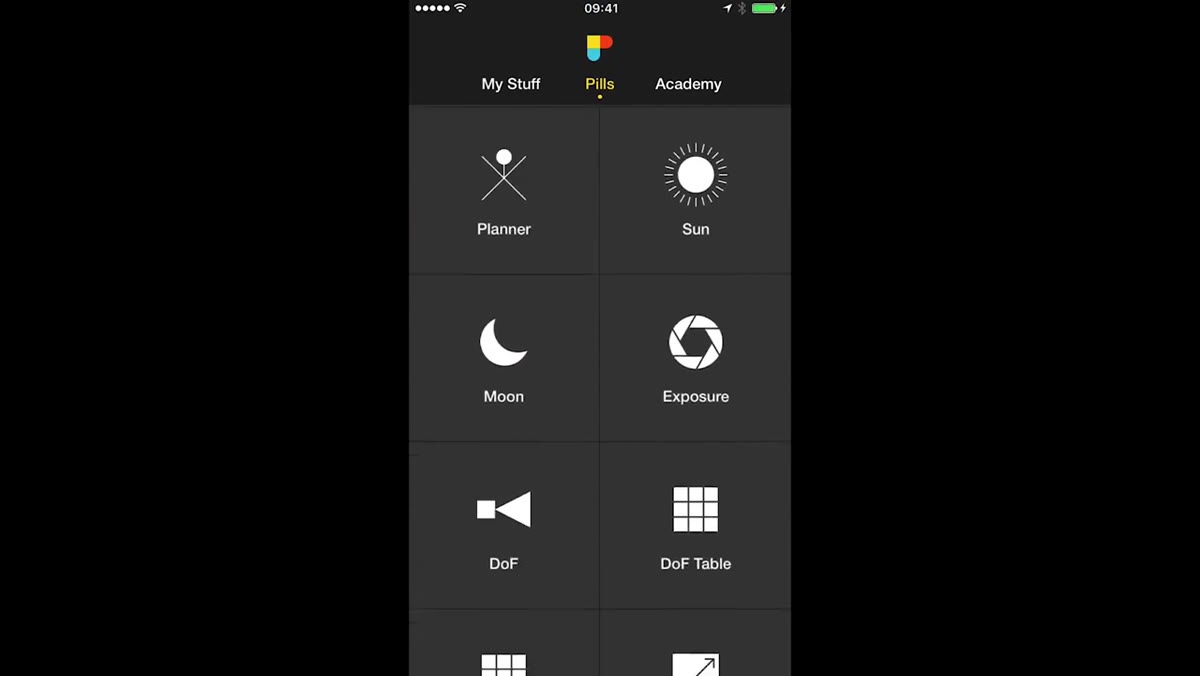 Describing PhotoPills app features for shoot planning
PhotoPills is the tool that closes the gap between hoping the light is right and knowing it will be. Load your location coordinates, set your date, and the app shows you exactly where the sun will rise or set on the horizon. The augmented reality feature lets you point your phone at the actual landscape and see the sun’s path overlaid in real time. You can plan months in advance and know precisely which rock formation the sun will drop behind in December.
For long exposure work, PhotoPills also includes an exposure calculator that factors in filter strength and gives you a target shutter speed. Set it up at home, write down your numbers, and you spend less time doing math and more time watching the light change. The app costs a few dollars and pays for itself the first time it saves a shoot.
Step 6: Read the Weather - Seriously
 Talking about weather forecasting obsession for photography
A clear blue sky is the enemy of dramatic landscape photography. What you want is structure, texture, movement in the clouds. First Man Photography describes becoming almost obsessed with weather forecasting, not because he cares about whether to pack an umbrella, but because cloud behavior determines whether the image has atmosphere or looks like a postcard.
Watch forecasts across multiple days leading up to a shoot. Look for fronts moving through, for partial cloud cover during the golden hour window. Apps like Windy or Weather Underground give you more granular data than a standard forecast. If the weather looks flat and clear, consider rescheduling. The best landscape light almost always involves clouds doing something interesting.
Step 7: Plan for People and Logistics
 Discussing crowds, timing, and practical shoot logistics
Crowds kill compositions. If you’re shooting a popular location during summer, factor in that other humans will be there, often walking through your frame, setting up their own tripods, or just standing exactly where you need to be. The simplest fix is timing. Early morning and late evening thin the crowds dramatically. First Man Photography points this out plainly. It’s not complicated, it just requires commitment to being there before most people are awake.
Beyond crowds, plan the practical layer. What gear are you bringing and why. How long is the drive. Where do you park. What’s your exit if the weather changes fast. These logistics feel boring to think about, but they free up mental space when you’re actually on location and the light is shifting every thirty seconds.
What I’d Add From the Field
Planning is the scaffolding, but you have to be willing to tear it down when the location surprises you. I’ve arrived with a composition fully mapped out in my head, only to find that the real shot was forty feet to the left, in a direction I hadn’t considered. The plan gets you there and gets you ready. It doesn’t get you the image. That part still requires you to slow down, look around, and respond to what’s actually in front of you.
I also shoot a location I’ve pre-planned more than once whenever possible. The first visit is reconnaissance even when I bring the camera. The second visit is where the planning pays off.
The single most important shift you can make as a landscape photographer is treating the work before the shoot as seriously as the shoot itself. Good light rewards prepared photographers. It doesn’t wait for people who showed up hoping something would work out.
Watch the full tutorial on YouTube to see First Man Photography walk through this process against a real location, in real conditions. It’s worth your time.
Comments
Leave a Comment