There’s a moment in post-processing that every landscape photographer knows. You’ve done everything right in Lightroom. White balance is dialed in, the tone curve feels honest to what you saw at the scene, and the shadows in the foreground are finally holding detail. And yet something is still missing. The image is technically correct but not quite finished. That gap is where a handful of well-chosen plugins earn their keep, and it’s something I’ve spent years figuring out through trial and error.
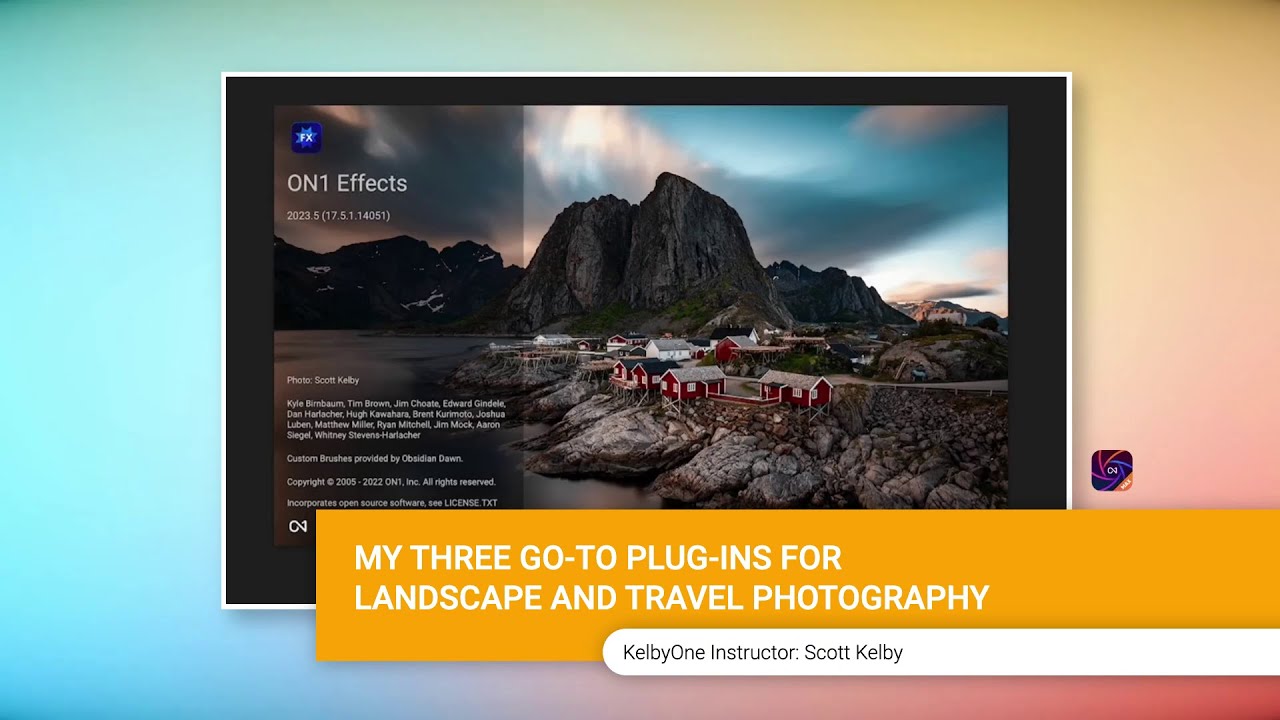
I came across a KelbyOne tutorial recently where instructor Eric Huna walks through the three plugins he leans on most for landscape and travel work. Watch the full tutorial on YouTube before or after reading this, because seeing the before-and-after comparisons he shows is genuinely useful. What struck me was how closely his workflow mirrors what I’ve landed on after two decades of hauling cameras into the dark. Not because we’re working with the same gear or shooting the same places, but because the problems are universal. Noise from a high-ISO gamble, a crop that ate half your megapixels, an image that just needs one more layer of atmosphere. These plugins are his solutions, and they’ve become part of my own toolkit too.
Step 1: Use ON1 Effects as Your Finishing Move, Not Your First Move
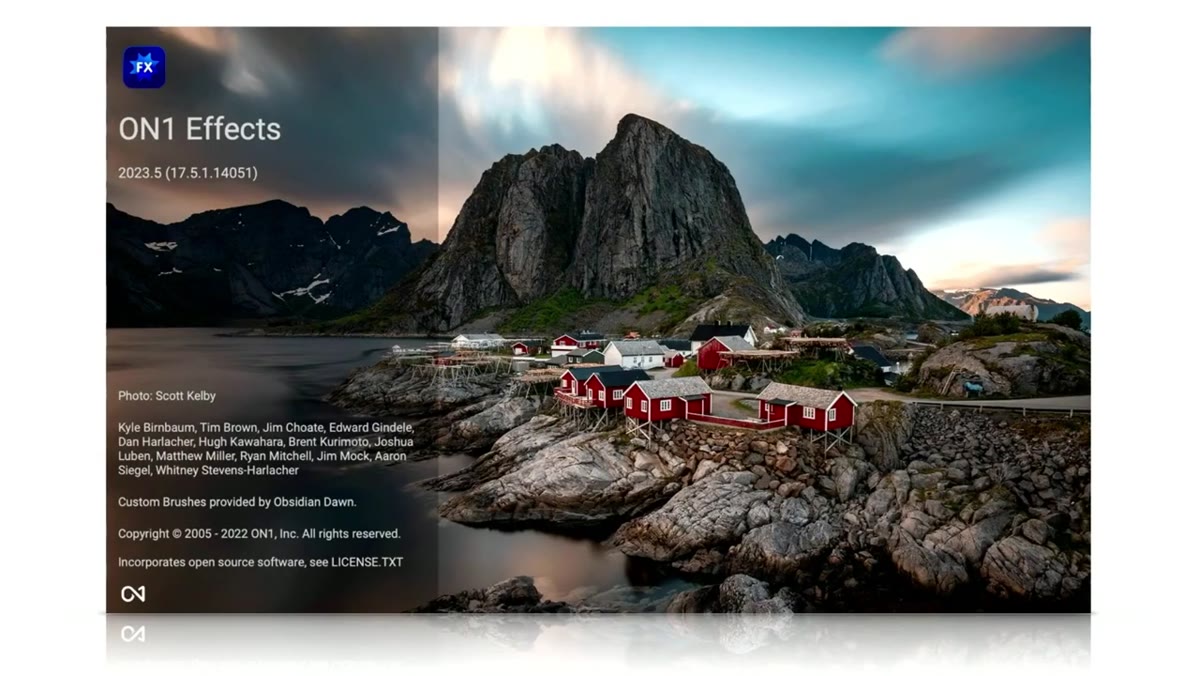 ON1 Effects plugin open with landscape presets visible
The most important thing Huna says about ON1 Effects is when he uses it. Not at the beginning of his edit. At the end. He gets the image to a place he’s happy with inside Lightroom, standard corrections handled, and then he exports to ON1 Effects to add what he calls finishing moves. That framing matters. If you go to ON1 Effects before your fundamentals are solid, you’re polishing something that isn’t ready.
ON1 Effects plugin open with landscape presets visible
The most important thing Huna says about ON1 Effects is when he uses it. Not at the beginning of his edit. At the end. He gets the image to a place he’s happy with inside Lightroom, standard corrections handled, and then he exports to ON1 Effects to add what he calls finishing moves. That framing matters. If you go to ON1 Effects before your fundamentals are solid, you’re polishing something that isn’t ready.
Within the plugin, his go-to tools for landscape work are the sun flare effect, the sunshine overlay, and the tone enhancer. The tone enhancer in particular does something that’s hard to replicate manually: it adds a sense of depth and richness to midtones without blowing out highlights or crushing shadows. Apply it at reduced opacity, around 50 to 70 percent, and check the effect against your sky and your foreground separately. If one area is benefiting and the other is suffering, use the masking brush to protect what doesn’t need the treatment.
Step 2: Open the Image in ON1 NoNoise AI When You Pushed Your ISO
 NoNoise AI interface with slider controls and preview
Huna is straightforward about the situations that send him to ON1 NoNoise AI: a broken tripod, a forgotten tripod, or a moment that wouldn’t wait for a proper setup. I’ve been in all three of those situations. I’ve also been in a fourth one that he doesn’t mention, standing in a river at first light where a tripod simply isn’t practical. In every one of those cases, ISO goes up and noise comes in.
NoNoise AI interface with slider controls and preview
Huna is straightforward about the situations that send him to ON1 NoNoise AI: a broken tripod, a forgotten tripod, or a moment that wouldn’t wait for a proper setup. I’ve been in all three of those situations. I’ve also been in a fourth one that he doesn’t mention, standing in a river at first light where a tripod simply isn’t practical. In every one of those cases, ISO goes up and noise comes in.
What separates NoNoise AI from older noise reduction tools is that it uses AI processing to distinguish between noise and actual texture. That distinction is everything in landscape photography, where the grain in a rock face and the grain of digital noise can look similar to a blunt algorithm. You bring the image into the plugin, let it analyze the file, and it applies a starting reduction that you can tune with the Detail and Noise sliders. Start conservative. It’s easier to add a second pass than to recover texture you’ve smoothed away.
Step 3: Don’t Leave NoNoise Without Trying Tack Sharp AI
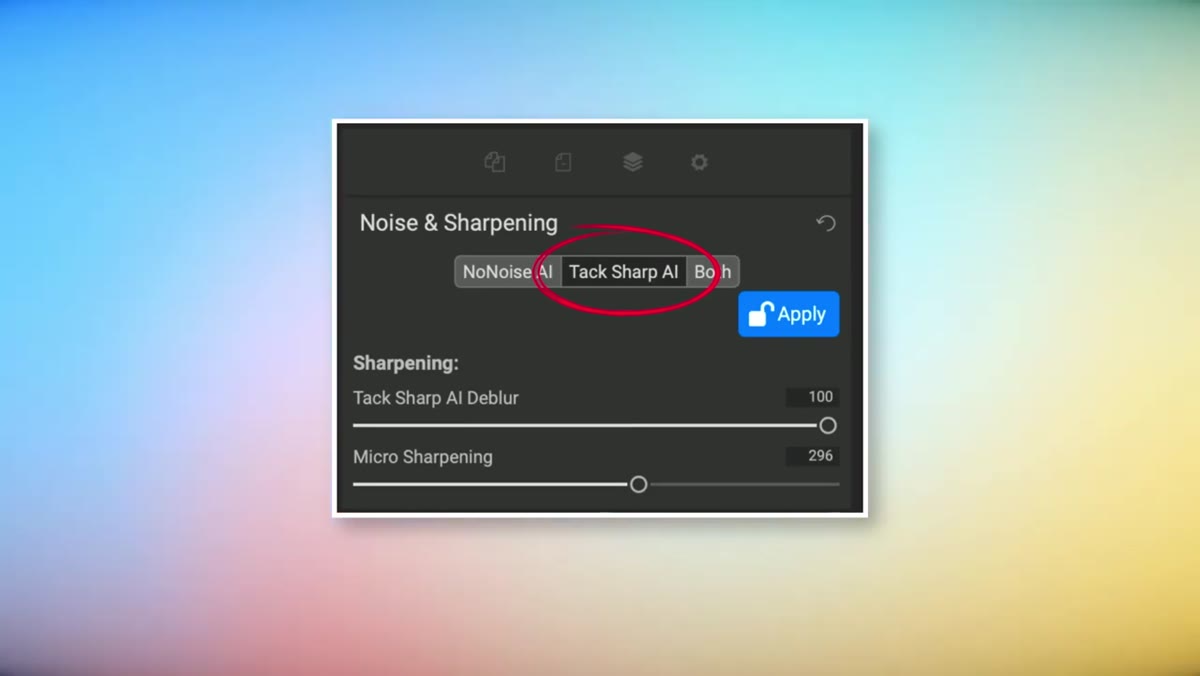 Tack Sharp AI panel selected within NoNoise AI interface
This is the thing in the tutorial I’d want anyone to hear twice. Buried inside ON1 NoNoise AI is a separate sharpening engine called Tack Sharp AI, and Huna is almost frustrated that it lives inside a noise plugin because it’s capable enough to stand on its own. He’s right. This is a deblurring tool, not just a clarity slider. It’s designed to recover edge definition from images that are slightly soft due to camera shake, subject movement, or focus that landed just behind where you wanted it.
Tack Sharp AI panel selected within NoNoise AI interface
This is the thing in the tutorial I’d want anyone to hear twice. Buried inside ON1 NoNoise AI is a separate sharpening engine called Tack Sharp AI, and Huna is almost frustrated that it lives inside a noise plugin because it’s capable enough to stand on its own. He’s right. This is a deblurring tool, not just a clarity slider. It’s designed to recover edge definition from images that are slightly soft due to camera shake, subject movement, or focus that landed just behind where you wanted it.
You don’t have to run noise reduction to use it. Open NoNoise AI, skip the noise panel entirely, and go straight to Tack Sharp AI. Enable it, use the preview to check the effect at 100 percent zoom on an area with fine detail like tree branches or stone texture, and adjust the Amount until the edge definition improves without introducing artifacts. Then click OK and let it process. On a 22-megapixel file it takes a few seconds. On a larger file, give it a minute.
Step 4: Upscale Heavy Crops with ON1 Resize AI
 ON1 Resize AI with percentage field set and preview rendering
Huna shoots with a 22-megapixel camera. He mentions it without apology, and I respect that. The tool serves the work, not the other way around. But a 22-megapixel file that gets cropped to isolate a distant ridgeline can drop to 1,400 pixels on the long edge fast, and that’s not printable at any meaningful size.
ON1 Resize AI with percentage field set and preview rendering
Huna shoots with a 22-megapixel camera. He mentions it without apology, and I respect that. The tool serves the work, not the other way around. But a 22-megapixel file that gets cropped to isolate a distant ridgeline can drop to 1,400 pixels on the long edge fast, and that’s not printable at any meaningful size.
ON1 Resize AI solves this by using AI interpolation rather than traditional bicubic scaling. The difference is visible. Where traditional upscaling introduces a soft, slightly waxy look, Resize AI tends to preserve and sometimes enhance edge contrast. Huna sets his resize to percentage and types in 300 percent. That’s aggressive, but for a heavily cropped file destined for print, it’s often the right call. Set your output resolution based on your print size, check the sharpening output panel before you export, and compare the result to the original crop at matched sizes. Most of the time the AI version will hold up better than you expect.
What I’d Add From the Field
The piece of this workflow I’ve had to learn the hard way is sequence. Run these plugins in the right order and they compound well. Run them out of order and you create problems. My sequence: noise reduction first, sharpening second, resizing third if needed, and ON1 Effects last. Sharpening after noise reduction gives the AI a cleaner file to work with. Resizing before effects means your finishing overlays are applied to the final output dimensions, which matters for how blending modes and opacity behave at print size.
I’ll also say this: none of these plugins fix a bad exposure or a missed composition. I’ve stood in fog for two days waiting for a shot that turned out to be the only frame worth keeping from the whole trip. No plugin rescued that image. It was right to begin with. These tools are most powerful when the photograph underneath them is already doing its job.
The single most important idea from this tutorial is one Huna doesn’t state directly but demonstrates throughout: plugins belong at the end of a disciplined process, not at the beginning of a shortcut. Get your foundations right in Lightroom, then bring in the tools that take the image somewhere Lightroom can’t.
Watch the full tutorial on YouTube to see the before-and-after previews that show exactly how much each of these plugins moves the needle on a real landscape file.
Comments
Leave a Comment