
There’s a shot I nearly gave up on three times before I finally got it. A lone ponderosa pine on a ridge east of Bend, backlit by a storm rolling in from the Cascades. The conditions that made it work were not the ones I’d planned for. The flat golden hour I’d imagined never arrived. What showed up instead was rain, mist, and a kind of natural separation between the tree and the hillside behind it that no amount of waiting for perfect light could have manufactured. That’s the thing about weather. When you stop fighting it, it starts doing compositional work for you.
That memory came back to me when I watched Adam’s recent video over at First Man Photography, where he documents his final one-to-one landscape photography workshop in the Lake District. Watch the full tutorial on YouTube. The session doubles as a genuine field lesson, and what he demonstrates around a single tree in an old quarry is a tight, practical breakdown of how elevation, focal length, and atmospheric conditions combine to separate a subject from a complex background. I’ve been doing this for twenty years and I still found myself nodding along.
What follows is my own walkthrough of the technique, pulled from the video and expanded with what I know from shooting similar scenes. If you’ve ever stood in front of a beautiful subject and come home with a flat, busy image, this is exactly the kind of thinking that fixes it.
Step 1: Choose Your Subject Before You Choose Your Composition
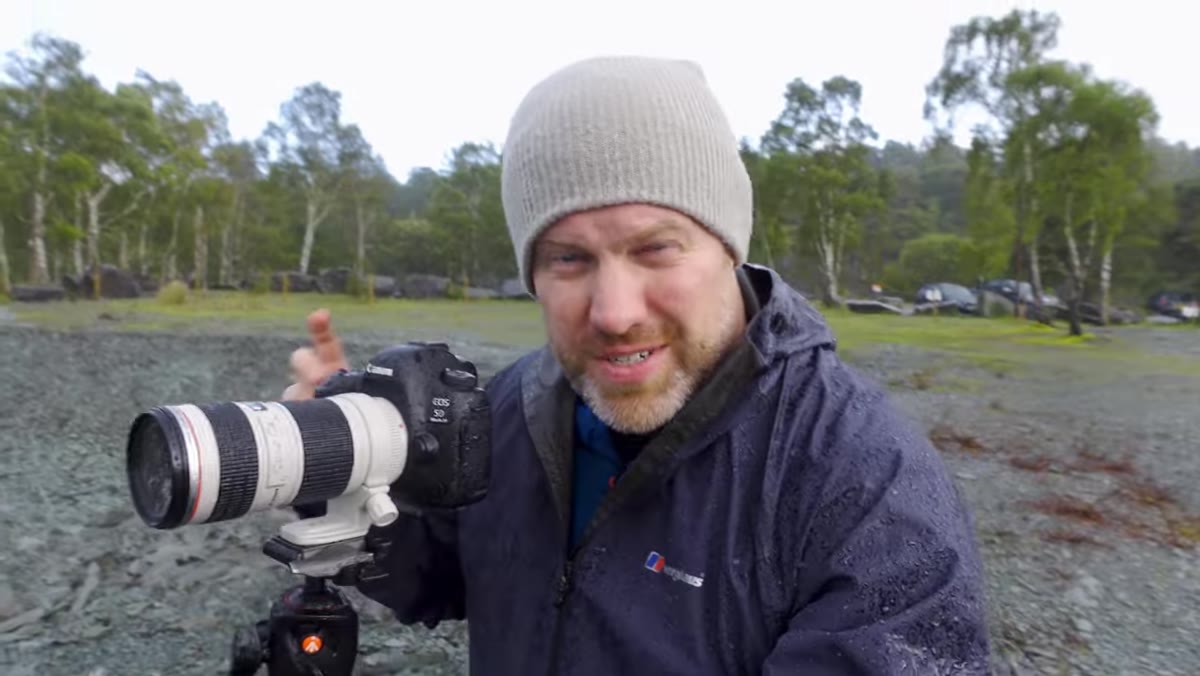 Adam set up on high ground with camera trained on a single tree
Before you touch your camera, identify the single element you’re building the image around. Adam spots a tree growing in a disused quarry and commits to it entirely. Everything else in the frame, the mountains opening up behind it, the silver birches starting to turn, the rain moving through the valley, becomes supporting cast rather than competition. This sounds obvious, but it’s the step most photographers skip. They arrive at a location and start shooting the whole scene. Pick one thing and let the scene serve it.
Adam set up on high ground with camera trained on a single tree
Before you touch your camera, identify the single element you’re building the image around. Adam spots a tree growing in a disused quarry and commits to it entirely. Everything else in the frame, the mountains opening up behind it, the silver birches starting to turn, the rain moving through the valley, becomes supporting cast rather than competition. This sounds obvious, but it’s the step most photographers skip. They arrive at a location and start shooting the whole scene. Pick one thing and let the scene serve it.
Step 2: Use Elevation to Control Your Background
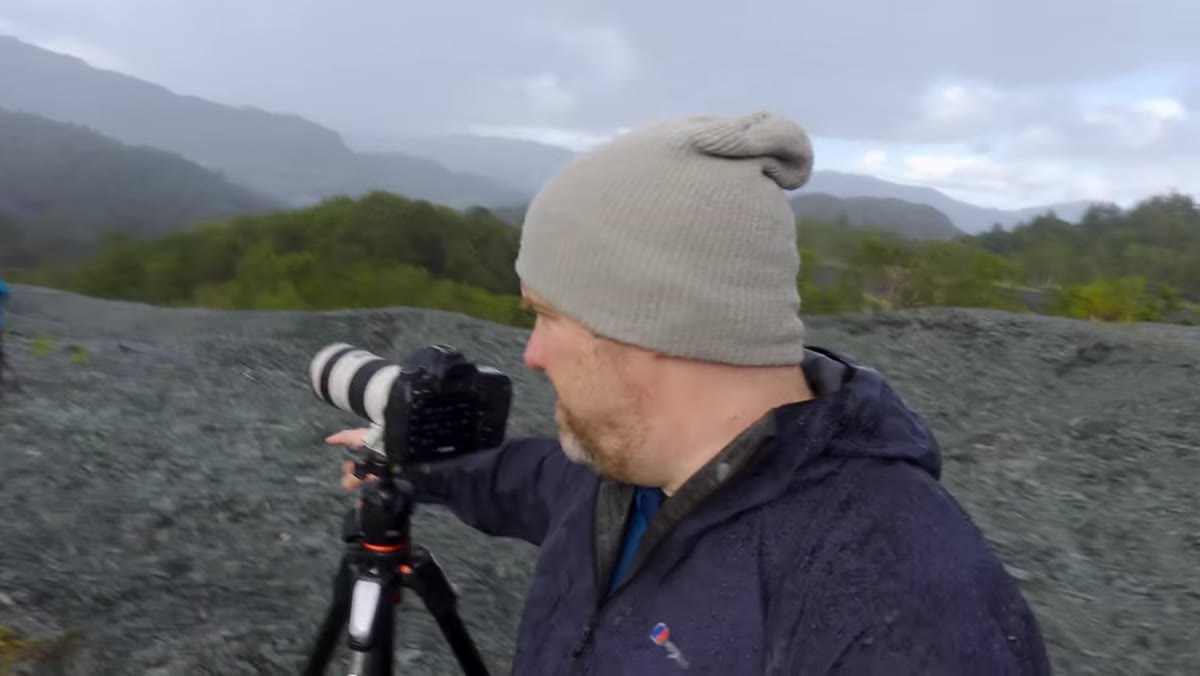 Camera positioned high so tree base sits against the open valley
This is where Adam makes a decision that most people would overlook. He positions himself higher on the hillside rather than dropping down to a more accessible shooting level. The reason is specific and teachable. By staying elevated, he ensures that the base of the tree sits against the open valley floor rather than the dense tree-covered rock face directly behind it. That one choice gives the tree visual breathing room at the point where it meets the ground, which is often where compositions collapse into visual noise. When you’re scouting, don’t just look at your subject. Look at what sits directly behind the lowest point of it.
Camera positioned high so tree base sits against the open valley
This is where Adam makes a decision that most people would overlook. He positions himself higher on the hillside rather than dropping down to a more accessible shooting level. The reason is specific and teachable. By staying elevated, he ensures that the base of the tree sits against the open valley floor rather than the dense tree-covered rock face directly behind it. That one choice gives the tree visual breathing room at the point where it meets the ground, which is often where compositions collapse into visual noise. When you’re scouting, don’t just look at your subject. Look at what sits directly behind the lowest point of it.
Step 3: Reach for the Telephoto
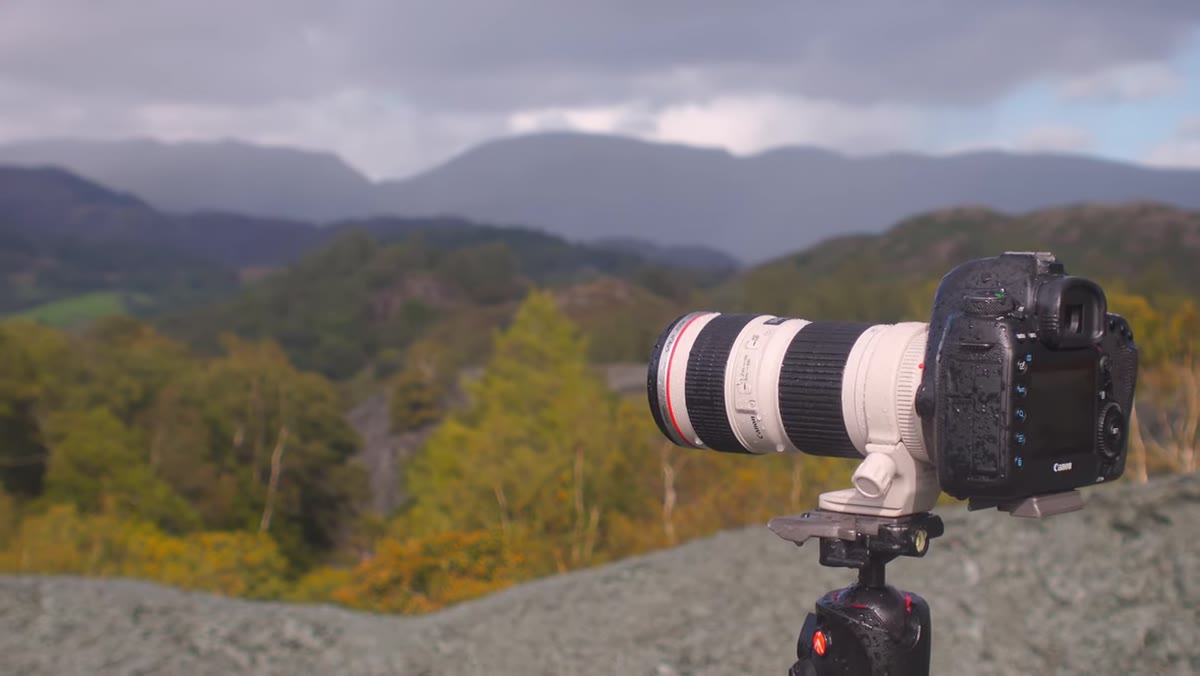 70-200mm lens on camera, focal length set around 100mm
Adam is shooting with a 70-200mm lens at around 100mm, and the choice matters for reasons beyond simple framing. Telephoto compression reduces the apparent distance between the tree and the background, which sounds counterintuitive if you’re trying to separate them. But combined with the elevated position and the atmospheric rain in the valley, the compression actually makes the misty background feel like a deliberate layer rather than a cluttered mess. The other practical benefit is that 100mm lets him maintain his height on the hillside and still fill the frame with the tree without physically moving closer and losing the angle. On my own shoots, I reach for the 70-200 far more often than I used to, especially when foreground elements are minimal and the subject itself has to carry the image.
70-200mm lens on camera, focal length set around 100mm
Adam is shooting with a 70-200mm lens at around 100mm, and the choice matters for reasons beyond simple framing. Telephoto compression reduces the apparent distance between the tree and the background, which sounds counterintuitive if you’re trying to separate them. But combined with the elevated position and the atmospheric rain in the valley, the compression actually makes the misty background feel like a deliberate layer rather than a cluttered mess. The other practical benefit is that 100mm lets him maintain his height on the hillside and still fill the frame with the tree without physically moving closer and losing the angle. On my own shoots, I reach for the 70-200 far more often than I used to, especially when foreground elements are minimal and the subject itself has to carry the image.
Step 4: Let Weather Create Separation
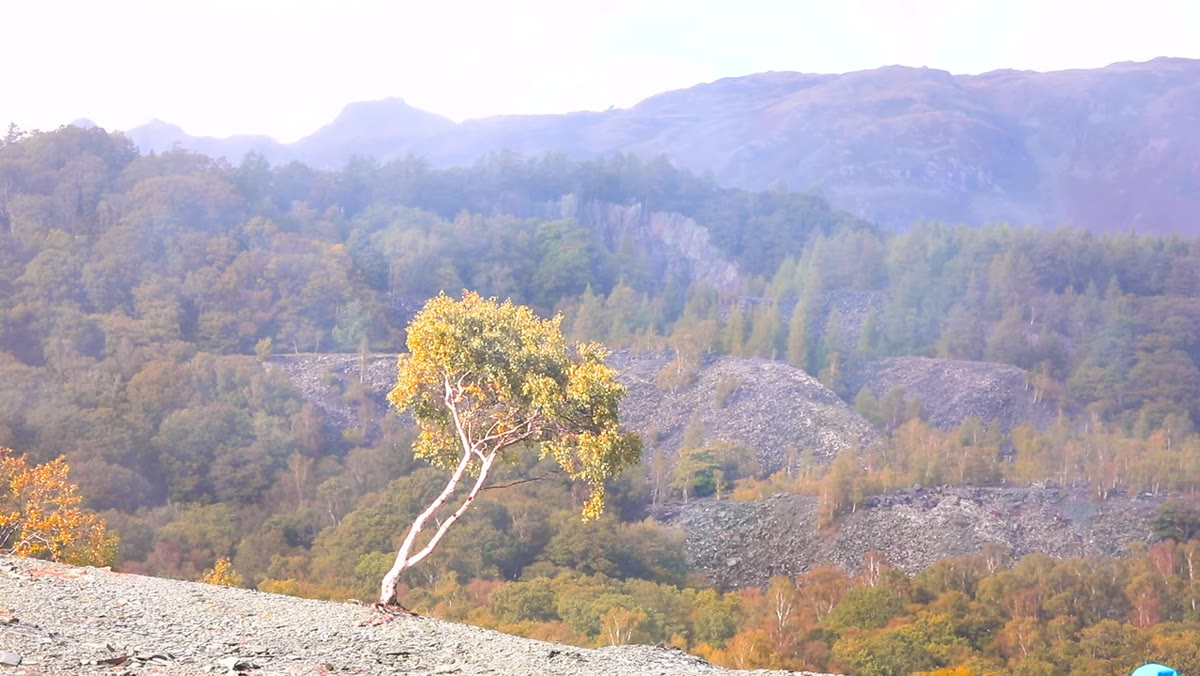 Rain visible in valley behind the tree, softening the background
The rain moving through the valley is doing something that no amount of post-processing fully replicates. It’s creating tonal separation between the sharp, defined tree in the foreground and the softer, slightly obscured background. The tree reads clearly. The quarry wall behind it recedes. This is the compositional value of bad weather, and it’s worth waiting for. If you’re shooting in dry, flat light, everything in the frame tends to compete at the same contrast level. Rain, mist, and fog push background elements back. Adam notes this directly, and he’s right to treat the rain not as a problem to endure but as an active part of the composition.
Rain visible in valley behind the tree, softening the background
The rain moving through the valley is doing something that no amount of post-processing fully replicates. It’s creating tonal separation between the sharp, defined tree in the foreground and the softer, slightly obscured background. The tree reads clearly. The quarry wall behind it recedes. This is the compositional value of bad weather, and it’s worth waiting for. If you’re shooting in dry, flat light, everything in the frame tends to compete at the same contrast level. Rain, mist, and fog push background elements back. Adam notes this directly, and he’s right to treat the rain not as a problem to endure but as an active part of the composition.
Step 5: Lock Focus, Then Adjust Exposure for Wind
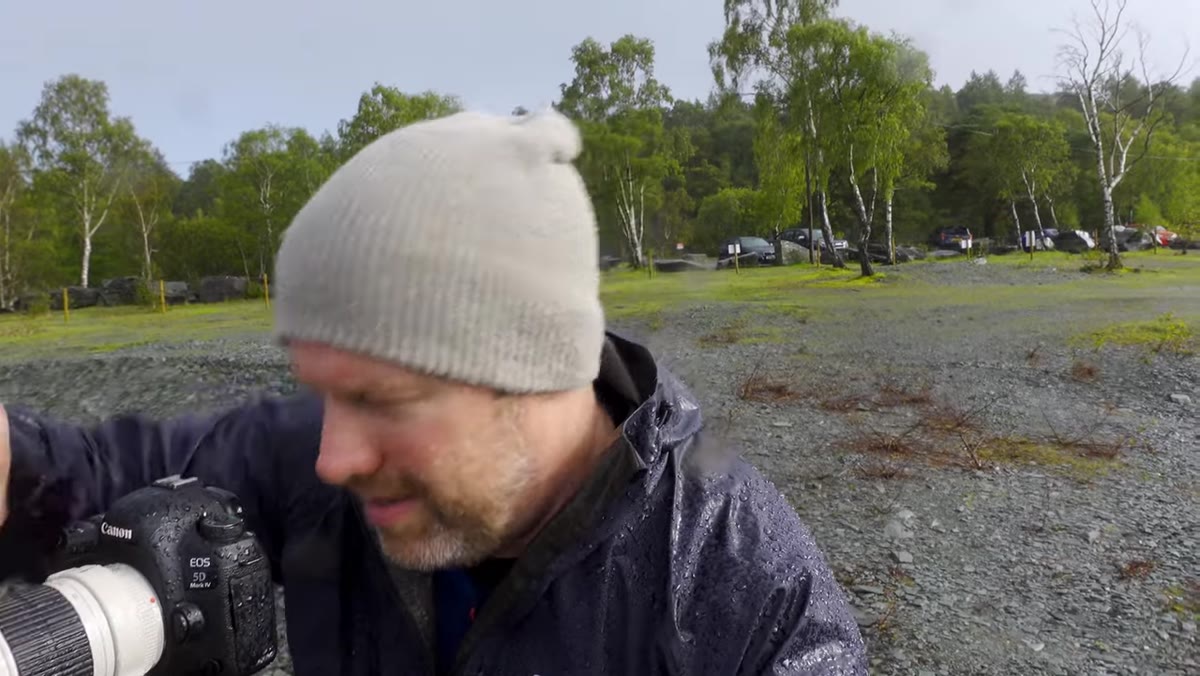 Manual focus locked on tree, ISO raised to push shutter speed
Once he’s happy with the composition, Adam locks his focus in manual mode rather than continuing to rely on autofocus. In windy conditions with moving branches, autofocus can drift onto the wrong plane mid-shot. Locking it off removes that variable. He then raises his ISO to push the shutter speed to 1/125s, fast enough to freeze the branches moving in the wind. He’s shooting at f/8, a choice that gives him enough depth of field to keep the tree sharp while still allowing some natural softening of the more distant background. The logic here is clean: freeze the subject you care about, let the background sit where it naturally falls in terms of sharpness.
Manual focus locked on tree, ISO raised to push shutter speed
Once he’s happy with the composition, Adam locks his focus in manual mode rather than continuing to rely on autofocus. In windy conditions with moving branches, autofocus can drift onto the wrong plane mid-shot. Locking it off removes that variable. He then raises his ISO to push the shutter speed to 1/125s, fast enough to freeze the branches moving in the wind. He’s shooting at f/8, a choice that gives him enough depth of field to keep the tree sharp while still allowing some natural softening of the more distant background. The logic here is clean: freeze the subject you care about, let the background sit where it naturally falls in terms of sharpness.
Step 6: Work the Changing Light While Holding Your Composition
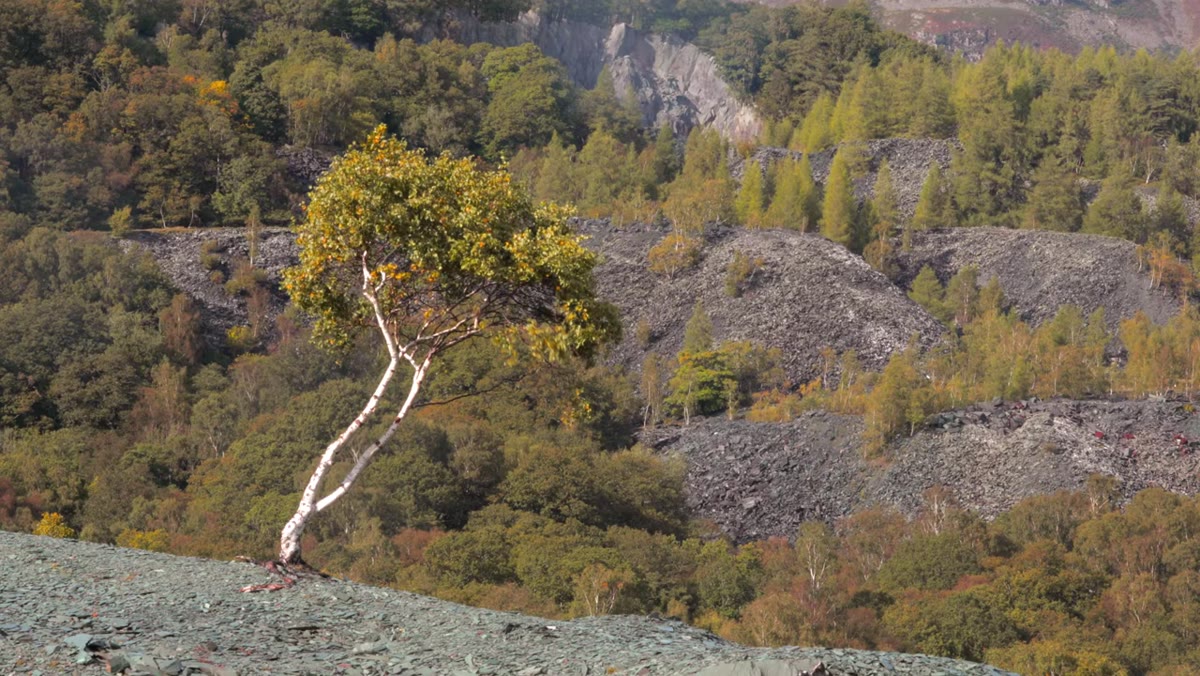 Light breaking through clouds, rain returning to valley
Conditions in the video shift constantly. Light opens up, rain pulls back, then returns. Adam’s response is not to recompose every time something changes. He holds his position and works the variations from a single, committed angle. This is a discipline worth practicing. Once you’ve found the composition that works, the temptation is to keep second-guessing it as conditions evolve. Trust the setup and concentrate on the moment of light instead.
Light breaking through clouds, rain returning to valley
Conditions in the video shift constantly. Light opens up, rain pulls back, then returns. Adam’s response is not to recompose every time something changes. He holds his position and works the variations from a single, committed angle. This is a discipline worth practicing. Once you’ve found the composition that works, the temptation is to keep second-guessing it as conditions evolve. Trust the setup and concentrate on the moment of light instead.
What I’d Add: Arrive Before the Weather Clears
The hardest part of this kind of shooting is the arrival. Most photographers show up after the rain has passed, hoping for clean skies and golden light. I’ve had my best results by being in position while the weather is still moving. The transition between rain and clearing light tends to produce exactly the atmospheric layering Adam is describing here, a window that closes faster than you’d expect. I once sat in drizzle for an hour and a half at a location in eastern Oregon, ready to pack up three different times. The ten minutes when the storm began breaking over the ridge were the only ten minutes that mattered. Getting there early enough to be in position when that window opens is the unglamorous part of the technique nobody puts in the thumbnail.
The single most transferable idea in this video is that difficult conditions are compositional tools, not obstacles. Rain creates the separation that a clean day can’t offer. Elevation controls what sits behind your subject. A telephoto lens lets you manage both. When those three things align, the image tends to make itself.
Watch the full tutorial on YouTube to see Adam work through all of this in real time. Watching the conditions change across those twelve minutes is as instructive as any of the individual techniques.
Comments
Leave a Comment