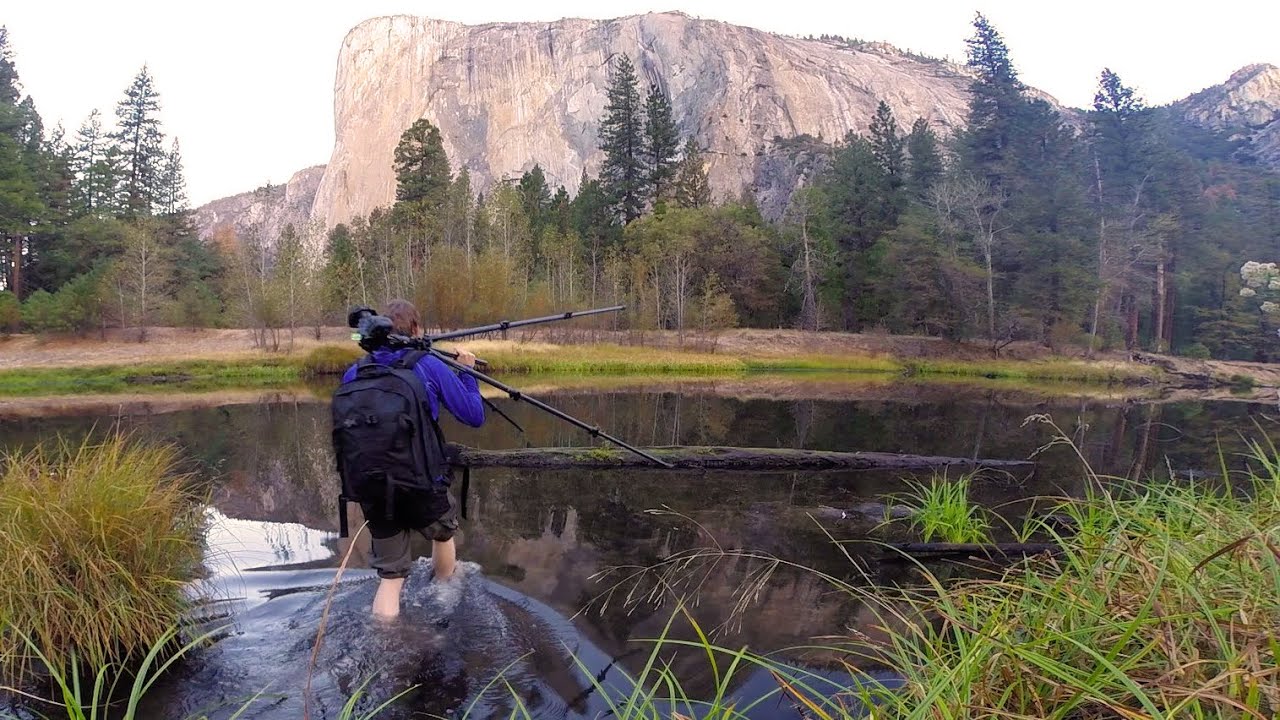
There’s a specific kind of problem that shows up over and over in riverside and lakeshore photography: the foreground you want is never quite where you need it to be. The interesting rock, the piece of driftwood, the lone plant breaking the surface – it’s always a few feet into the water. I’ve been shooting landscapes full-time for two decades and I still find myself pulling off my boots at 5am more often than feels entirely reasonable. My kids have opinions about this. Strong ones.
That tension between the perfect compositional anchor and the inconvenient reality of where it sits is exactly what Thomas Heaton works through in this behind-the-scenes Yosemite Valley tutorial. What makes it worth your time isn’t the location, as breathtaking as El Capitan at first light is. It’s the methodical, unglamorous problem-solving he applies to a situation most photographers would either skip or handle sloppily. Watch the full tutorial on YouTube and then come back through these steps.
The core technique here is a focus stack blended with bracketed exposures – two separate but complementary tools that together solve two separate but related problems: depth of field that extends from a close foreground all the way to distant cliffs, and a tonal range that preserves detail in both the dark water and the bright sky catching first light. Neither problem is exotic. Both come up constantly.
Step 1: Arrive Before the Light and Scout the Bank
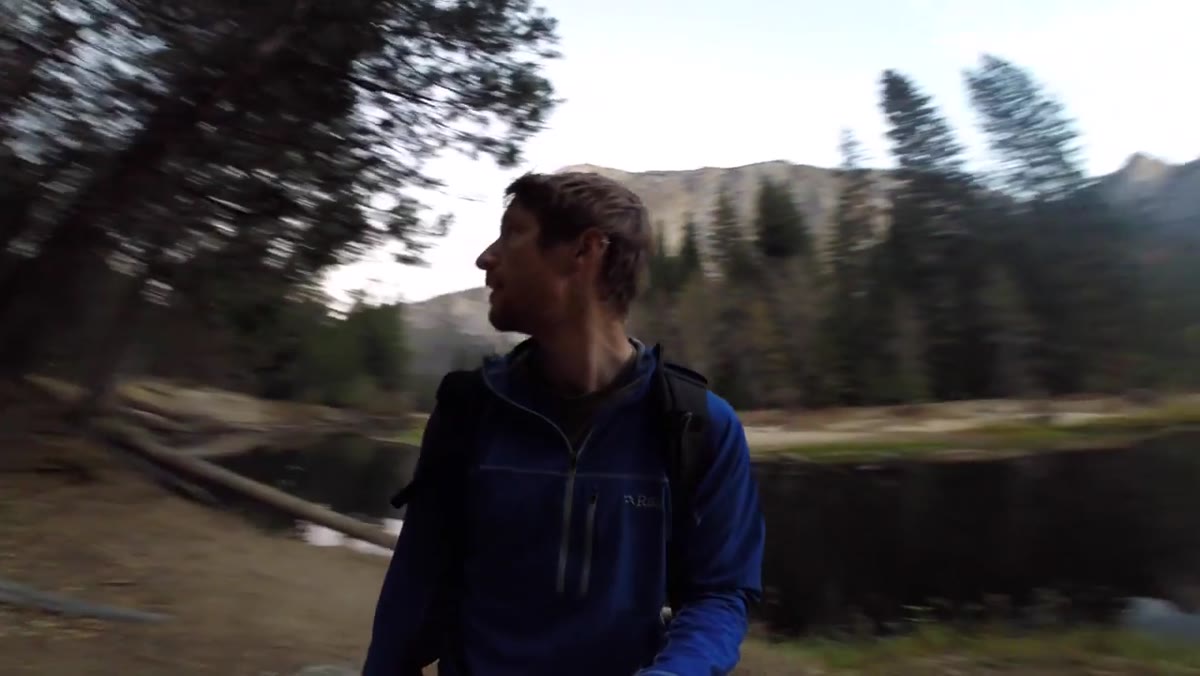 Heaton standing on riverbank in pre-dawn darkness
Heaton is on location before sunrise, and that timing is not incidental. The soft, directionless light of pre-dawn is when you can move around and evaluate a scene without committing to a composition prematurely. First light arrives fast and unforgiving. If you’re still figuring out where to stand when the color hits the sky, you’ve already lost the shot. Walk the bank in the gray minutes before sunrise. Look for leading lines in the water – any element that draws the eye from the lower frame toward the background. Note where the reflection is cleanest and where current or texture breaks it up.
Step 2: Identify a Foreground Element and Commit to It
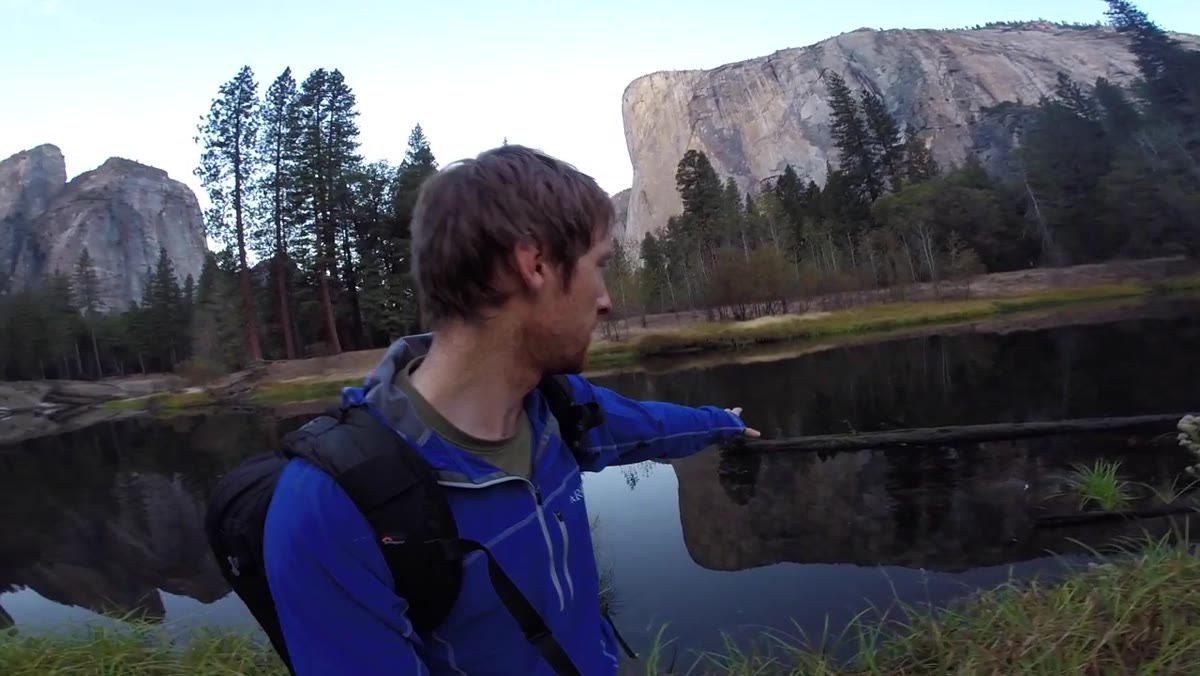 Driftwood with single plant visible in shallow river water
Heaton spots a piece of driftwood with a single plant growing from it sitting in the shallows. It does two things at once: it gives the frame a natural entry point and it leads the eye directly toward the cliffs in the background. This is the kind of foreground anchor that transforms a wide landscape from a postcard into a photograph with genuine visual weight. The test I use: if you cropped out the foreground, would the image lose something essential? If yes, it’s doing its job. If the shot would be just as strong without it, keep walking.
Step 3: Wade In and Lock Down Your Position
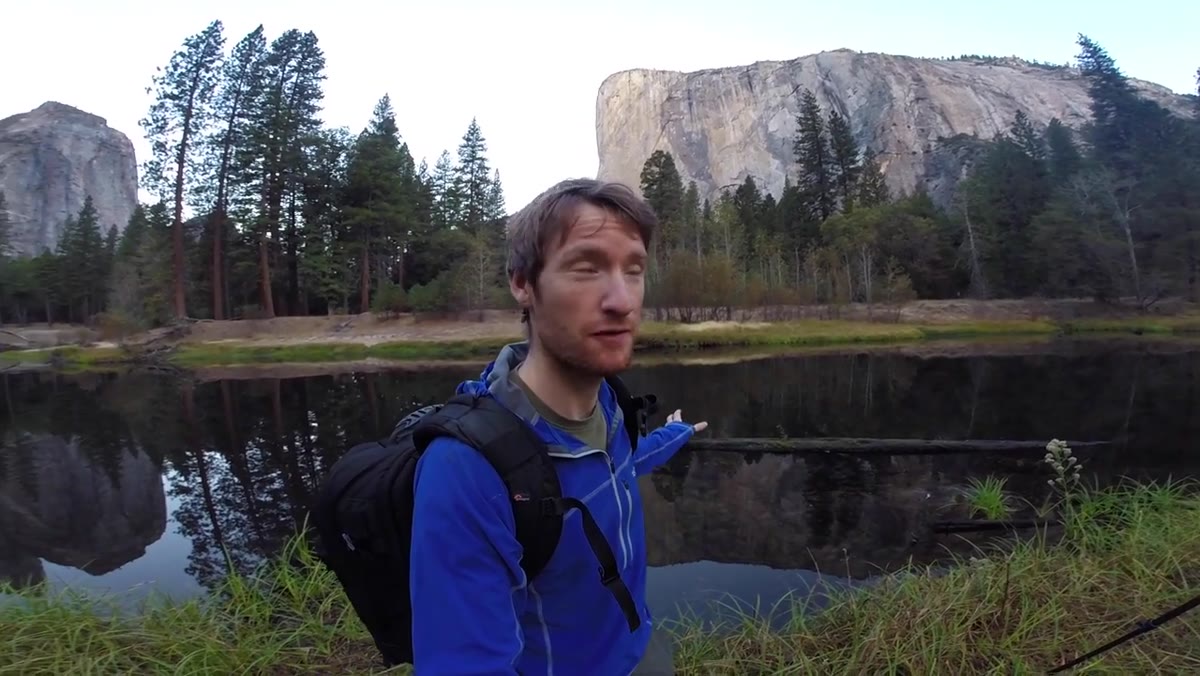 Heaton stepping into the river with camera and tripod
Once Heaton identifies the shot, he gets into the river. No hesitation. Cold feet are a small price for a clean composition. Set your tripod carefully on the riverbed – on rocks rather than silt where possible, since silt shifts and vibrates. Get your position dialed in, then stop moving entirely. This is the part people underestimate. Even standing still in moving water, your body creates small pressure waves that travel outward and disturb the surface reflection. Let the water settle completely around your legs before you touch the camera. Give it a full minute if you need to.
Step 4: Set Your Aperture for Maximum Sharpness
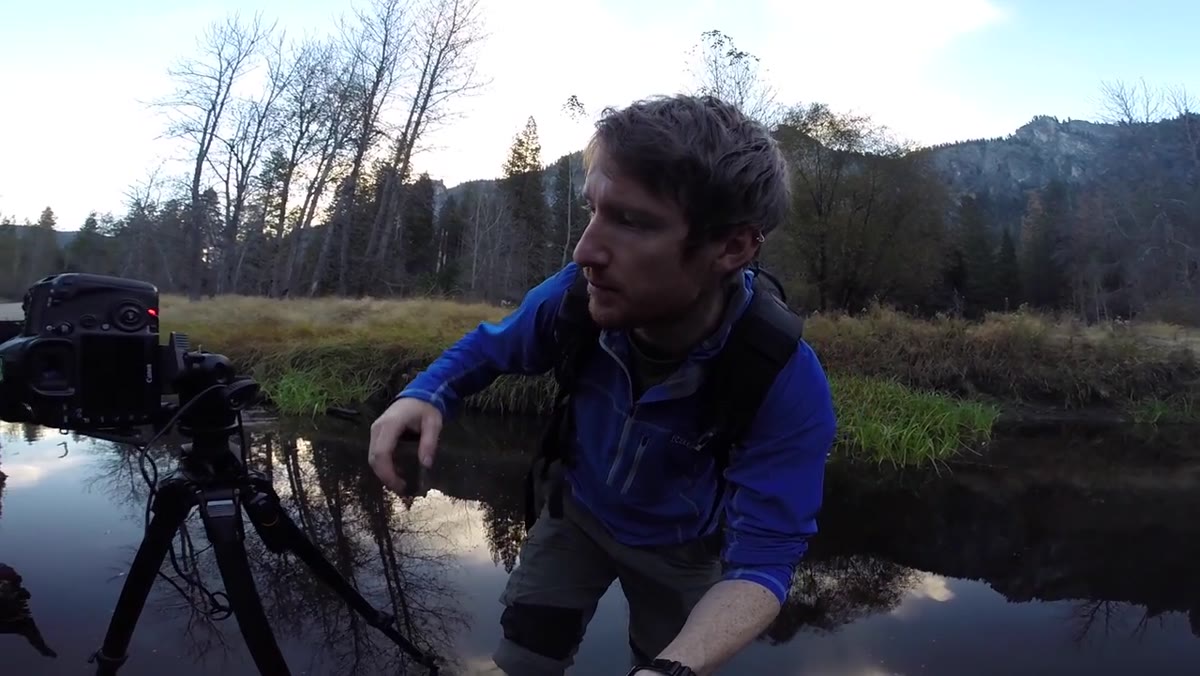 Camera display showing f/9 aperture setting
Heaton shoots at f/9, which he identifies as the sharpest aperture for his particular lens. This is a detail worth taking seriously for your own kit. Every lens has a sweet spot – usually two to three stops down from wide open – where diffraction hasn’t started to soften the image but you’ve also moved past any wide-aperture aberrations. For most mid-range zoom lenses this falls somewhere between f/8 and f/11. If you don’t know your lens’s sharpest aperture, shoot a flat test surface at every full stop and compare at 100%. It’s an afternoon well spent.
Step 5: Shoot Bracketed Exposures Focused on Infinity
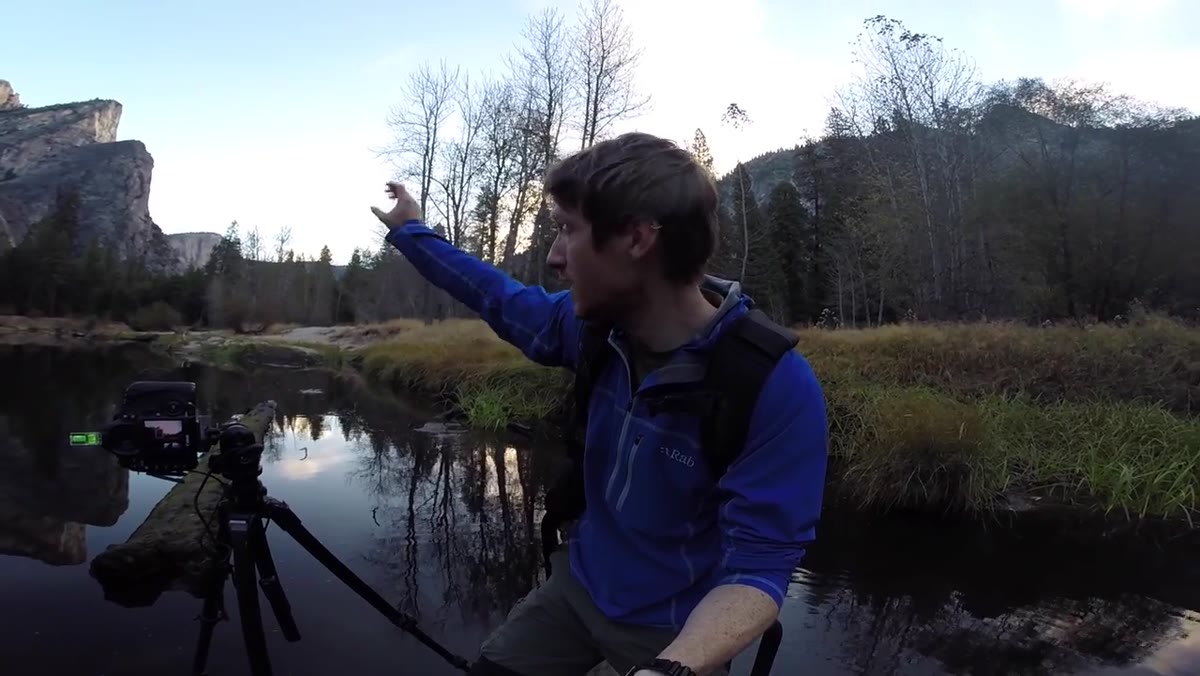 Heaton focusing lens on distant cliff face
With the camera stable and the aperture set, Heaton focuses on the distant cliffs and shoots a bracketed sequence of approximately 1.5 stops in either direction from his metered exposure. Three frames: one exposed for the highlights, one metered, one for the shadows. This gives him the raw material to blend tonal detail in post without the flat, compressed look of HDR processing done heavy-handedly. Use your camera’s auto-bracketing function if it has one, and trigger with a remote or the self-timer to avoid any vibration from pressing the shutter.
Step 6: Refocus on the Foreground and Shoot a Second Bracket
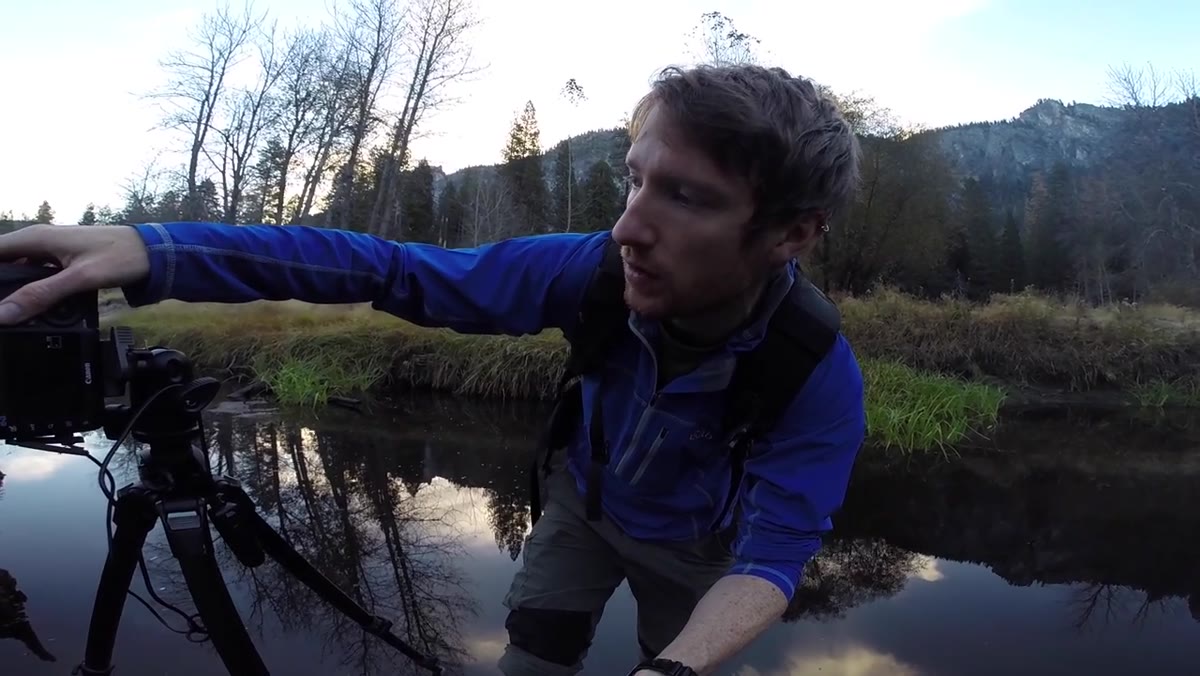 Camera display during live view focus on driftwood foreground
Without moving the tripod, Heaton switches to live view and carefully refocuses on the driftwood in the foreground, then shoots the same bracketed sequence again. Live view is important here because the magnified view lets you confirm critical sharpness on a small, close subject without guessing. You now have two sets of bracketed frames: one sharp in the background, one sharp in the foreground. In post, you’ll blend the foreground-focused files with the infinity-focused files using luminosity masks or manual layer masking, keeping the sharpest parts of each. The result is an image that’s genuinely sharp from a few feet in front of your lens all the way to the horizon.
Step 7: Stay Still Through Every Frame
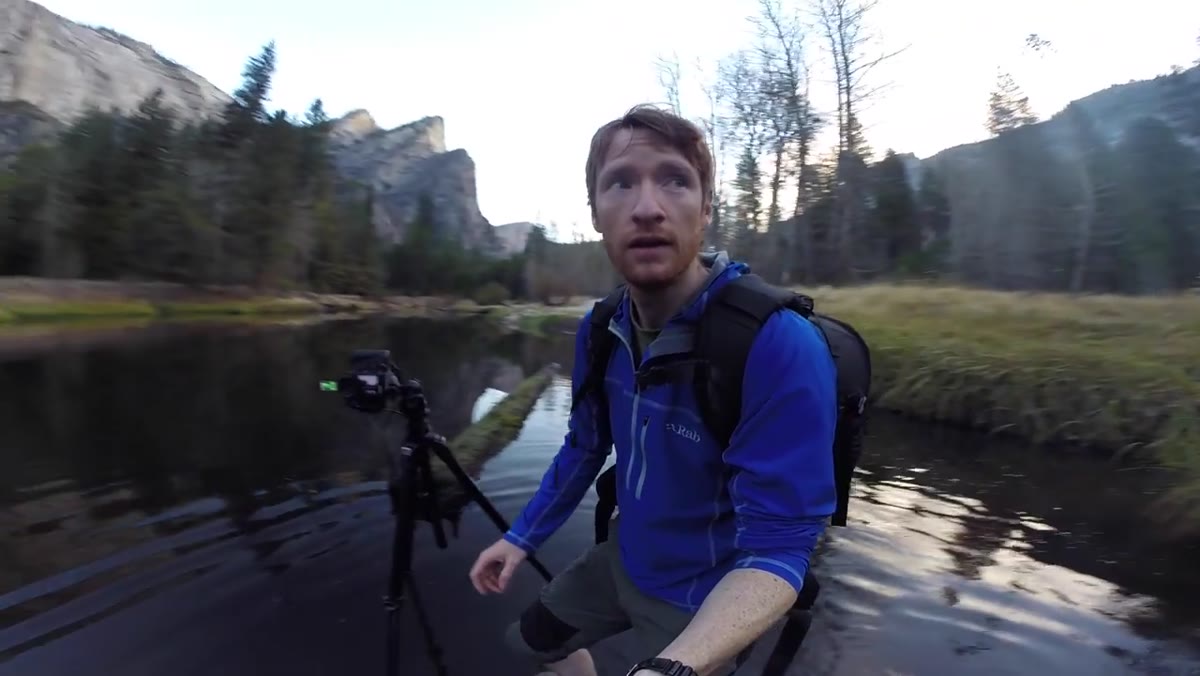 Heaton standing motionless in water waiting for reflection to settle
This is the step that separates usable files from frustrating ones. Heaton is explicit about it: any movement creates ripples, and ripples destroy the reflection. Between each bracket sequence, wait. Watch the water surface. If you see rings moving outward from your position, don’t shoot. This kind of patience is genuinely uncomfortable when you’re standing in cold water and the light is changing by the minute, but blurry reflections or misaligned frames ruin the blend in post and there’s no fixing them later.
A Note from the Field on Blending These Files
I want to add one practical caveat from my own experience with this technique. When you’re blending the foreground and background focus stacks in post, align your layers before you do anything else – even when the tripod hasn’t moved, there can be very slight shifts between frames, especially if the water level around your tripod legs changed slightly between shots. Use Photoshop’s auto-align layers function on the full bracket set before you start masking. It takes thirty seconds and saves you from subtle ghosting that’s hard to diagnose once you’re deep into the blend.
The real lesson inside this tutorial is one I had to learn from standing in enough rivers to know better: the shot you want is almost never the convenient one. The interesting foreground is in the water. The good light is at an unreasonable hour. The reflection requires you to stay still longer than feels productive. Thomas Heaton doesn’t treat any of this as a hardship – he treats it as the job. That framing, more than any specific f-stop, is what makes the difference.
Watch the full tutorial on YouTube to see the complete sequence and the final result from Yosemite Valley.
Comments (2)
This is the kind of content that keeps me coming back.
Great article! I actually covered something related on my site — the gear angle is really complementary to this.
Leave a Comment