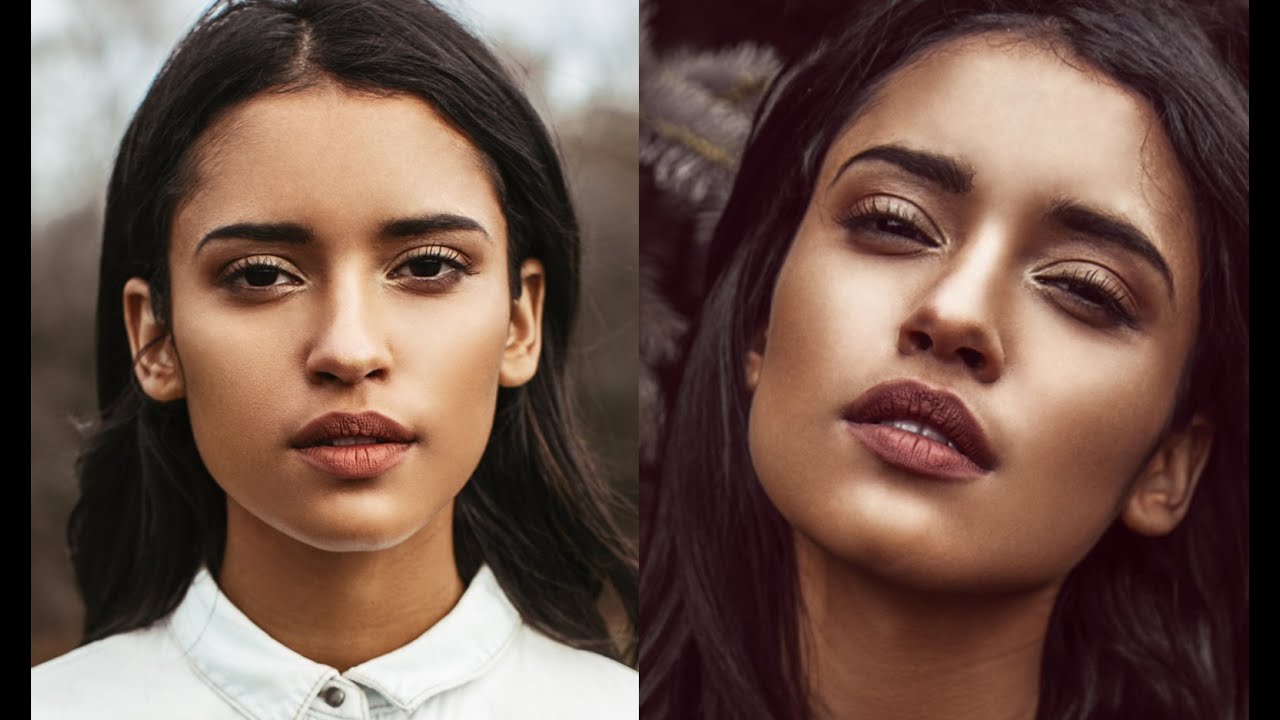
Most of my subjects don’t move. Granite ridgelines, still water at first light, a stand of ponderosa pines catching the last of the evening sun. I’ve spent twenty years learning how to read light and wait out weather, but put a person in front of my lens and I become strangely hesitant. I freeze in a way the landscape never makes me freeze. That’s why a tutorial focused on directing real people in real outdoor light caught my attention hard enough to stop scrolling.
Watch the full tutorial on YouTube
In this Jessica Kobeissi tutorial, she works with a non-model subject named Angelica in an outdoor location using a 50mm lens and available natural light. The session is messy, windy, and real. Watching it, I recognized the same unpredictable conditions I deal with every morning I’m out before dawn. What I didn’t recognize was how confidently she kept the session moving. That’s the gap this tutorial filled for me, and I think it can do the same for any outdoor photographer who occasionally needs a human element in the frame.
The technique here isn’t complicated. It’s directorial. It’s about maintaining momentum, giving your subject something physical to do, and using the environment rather than fighting it. Simple principles, but watching them executed under actual field conditions is a different thing from reading about them.
Step 1: Position Your Subject Relative to the Environment
 Photographer positioning subject near metal structure outdoors
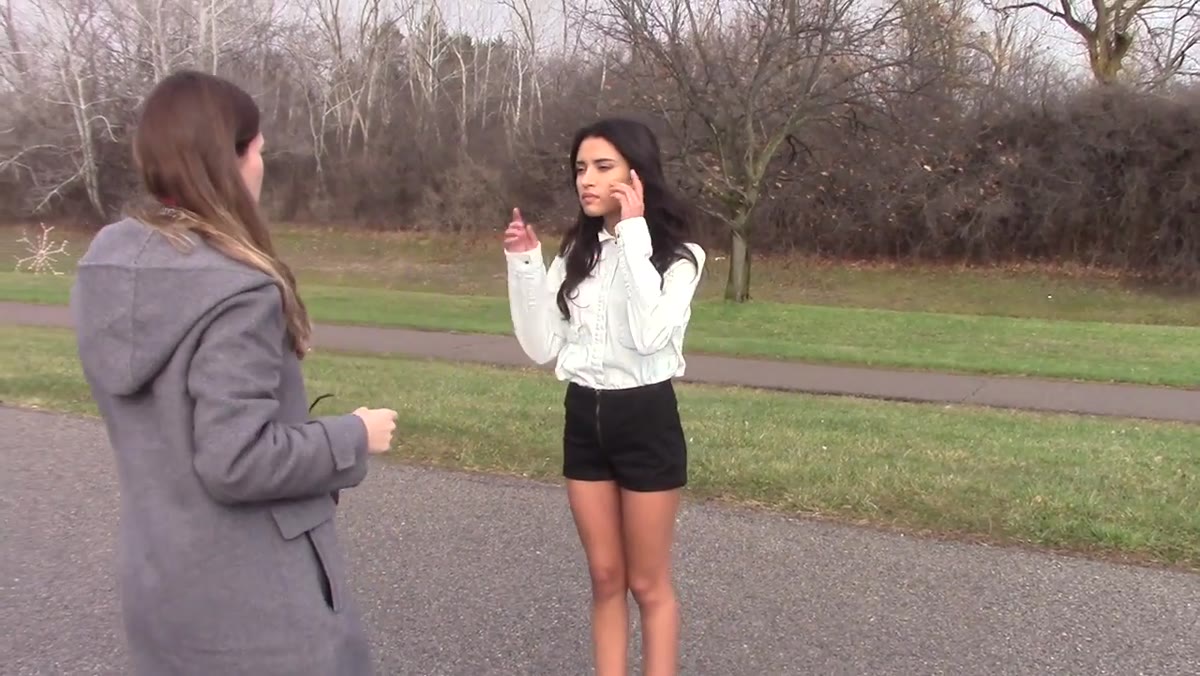
Before you fire a single frame, think about what’s behind and around your subject, not just the light falling on their face. Kobeissi immediately works with the location’s physical features, using a structure the subject can actually touch and lean against. This gives the subject something to anchor themselves to and gives you, the photographer, a compositional frame to work with. For landscape photographers, this is instinctive when we’re composing a vista, but we forget to apply the same spatial thinking when a person enters the scene. Place your subject where the environment does some of the work for you.
Photographer positioning subject near metal structure outdoors
Before you fire a single frame, think about what’s behind and around your subject, not just the light falling on their face. Kobeissi immediately works with the location’s physical features, using a structure the subject can actually touch and lean against. This gives the subject something to anchor themselves to and gives you, the photographer, a compositional frame to work with. For landscape photographers, this is instinctive when we’re composing a vista, but we forget to apply the same spatial thinking when a person enters the scene. Place your subject where the environment does some of the work for you.
Step 2: Use Physical Props and Clothing as Pose Anchors
 Subject adjusting sweater while photographer gives direction
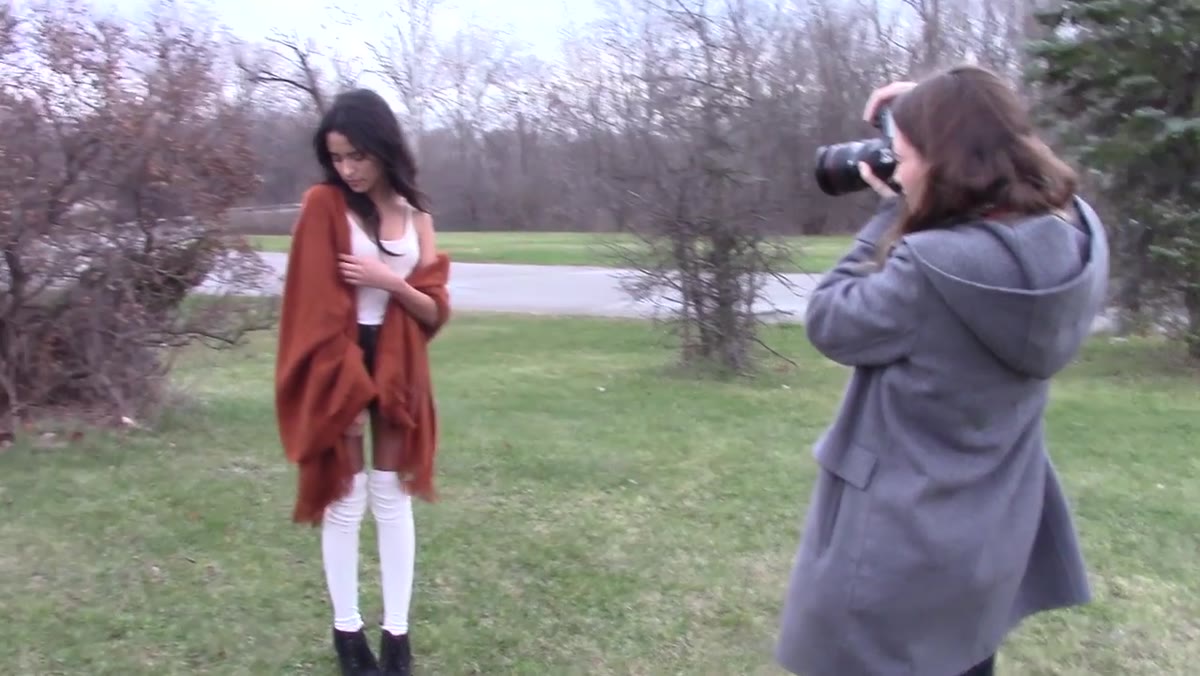
Kobeissi notices that her subject has a sweater she can interact with, and she leans into it immediately. Touching or adjusting a piece of clothing gives a non-model something specific and natural to do with their hands, which solves one of the most common stiffness problems in outdoor portraiture. Rather than saying “relax your hands,” she gives a task. The body follows the task and the tension disappears from the frame. When I’ve brought people out to shoot - my kids joining me on a river shoot, or a workshop participant who wandered into the composition - I’ve found that handing them something, whether that’s a camera strap, a jacket, or just asking them to shade their eyes and look toward the light, transforms the shot.
Subject adjusting sweater while photographer gives direction
Kobeissi notices that her subject has a sweater she can interact with, and she leans into it immediately. Touching or adjusting a piece of clothing gives a non-model something specific and natural to do with their hands, which solves one of the most common stiffness problems in outdoor portraiture. Rather than saying “relax your hands,” she gives a task. The body follows the task and the tension disappears from the frame. When I’ve brought people out to shoot - my kids joining me on a river shoot, or a workshop participant who wandered into the composition - I’ve found that handing them something, whether that’s a camera strap, a jacket, or just asking them to shade their eyes and look toward the light, transforms the shot.
Step 3: Keep Subjects in Continuous Motion
 Subject walking with purpose while photographer shoots
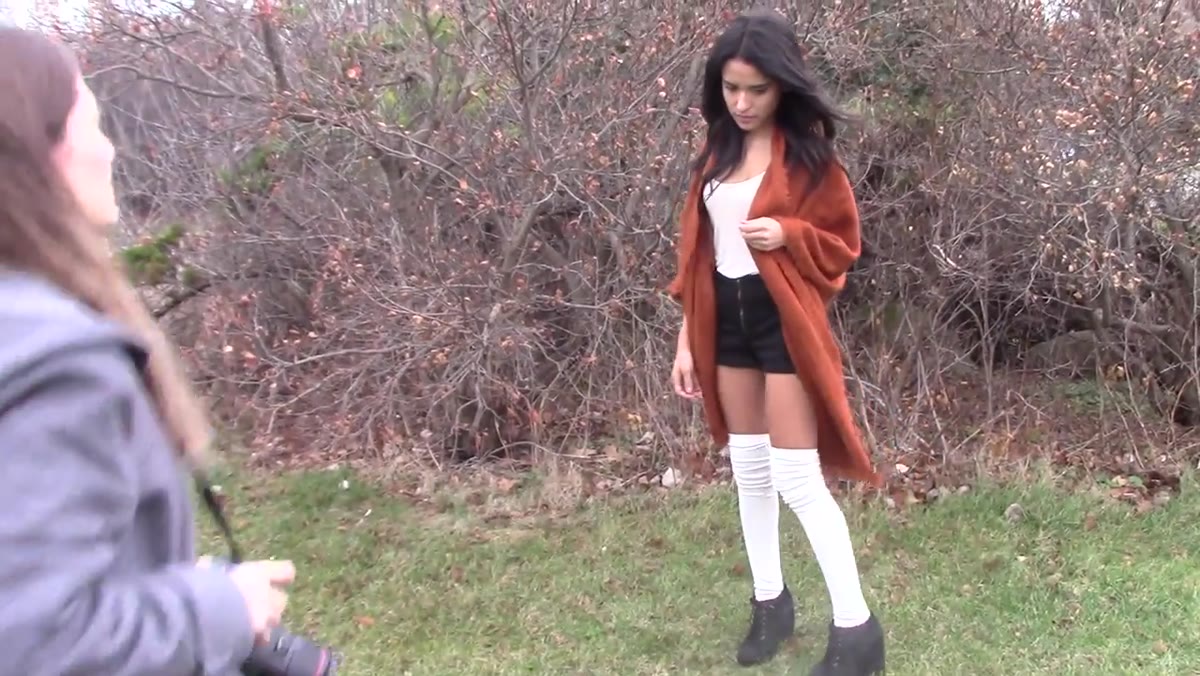
The single technique Kobeissi returns to most consistently is keeping her subject moving. She asks for a purposeful walk, a direction to look, a specific attitude to embody. The key insight she shares is that movement generates usable frames. You’re not waiting for a perfect static moment. You’re pulling selects from a stream of natural motion. Set your shutter speed high enough to freeze the movement cleanly - in open natural light I’d be at 1/500 or faster depending on the brightness - and just keep shooting as they move through the space. Burst mode earns its keep here.
Subject walking with purpose while photographer shoots
The single technique Kobeissi returns to most consistently is keeping her subject moving. She asks for a purposeful walk, a direction to look, a specific attitude to embody. The key insight she shares is that movement generates usable frames. You’re not waiting for a perfect static moment. You’re pulling selects from a stream of natural motion. Set your shutter speed high enough to freeze the movement cleanly - in open natural light I’d be at 1/500 or faster depending on the brightness - and just keep shooting as they move through the space. Burst mode earns its keep here.
Step 4: Direct with Simple, Specific Language
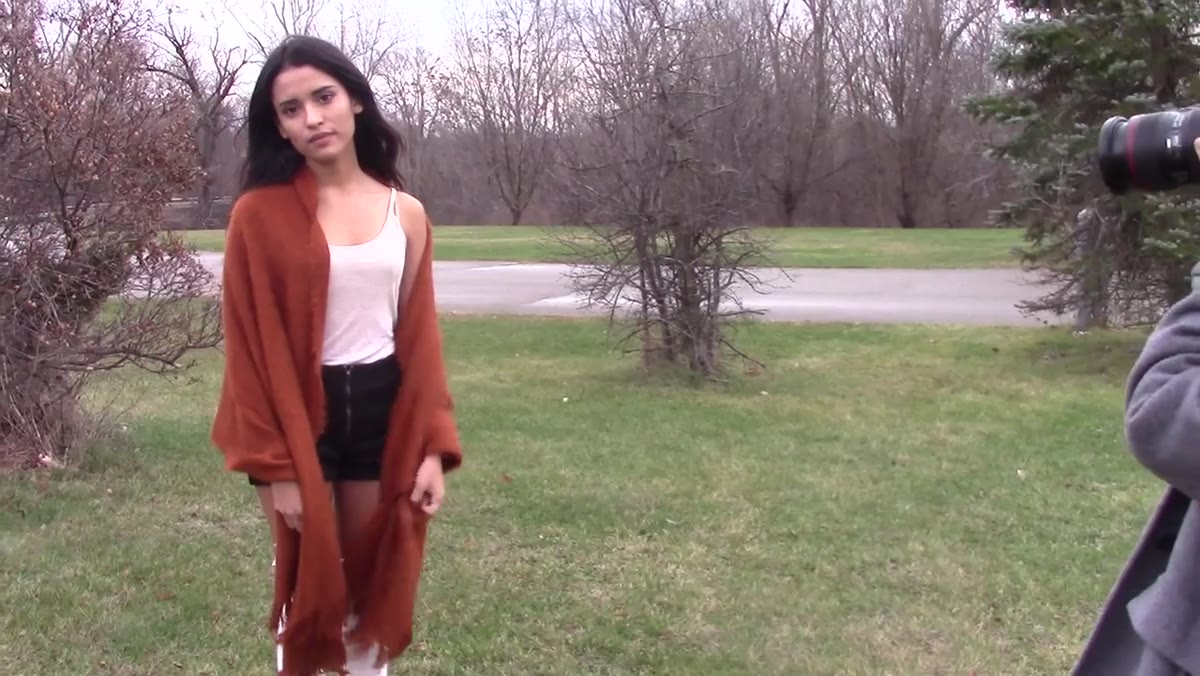 Photographer giving verbal direction, subject responding
Vague direction produces vague results. Kobeissi doesn’t say “look natural” or “just be yourself.” She says look this way. Tilt your head back. Slow everything down. Each instruction is a single, physical, achievable action. When subjects are inexperienced, the gap between a general request and a specific one is enormous. “Be casual” means nothing to someone who’s nervous in front of a lens. “Let your shoulders drop and look off to your left” means something they can actually execute. Write yourself a short mental list of five or six specific physical directions before any shoot involving people. Head tilt, shoulder position, chin angle, hand placement, direction of gaze. Work through them systematically if you get stuck.
Photographer giving verbal direction, subject responding
Vague direction produces vague results. Kobeissi doesn’t say “look natural” or “just be yourself.” She says look this way. Tilt your head back. Slow everything down. Each instruction is a single, physical, achievable action. When subjects are inexperienced, the gap between a general request and a specific one is enormous. “Be casual” means nothing to someone who’s nervous in front of a lens. “Let your shoulders drop and look off to your left” means something they can actually execute. Write yourself a short mental list of five or six specific physical directions before any shoot involving people. Head tilt, shoulder position, chin angle, hand placement, direction of gaze. Work through them systematically if you get stuck.
Step 5: Use the “Bored” Emotional Note
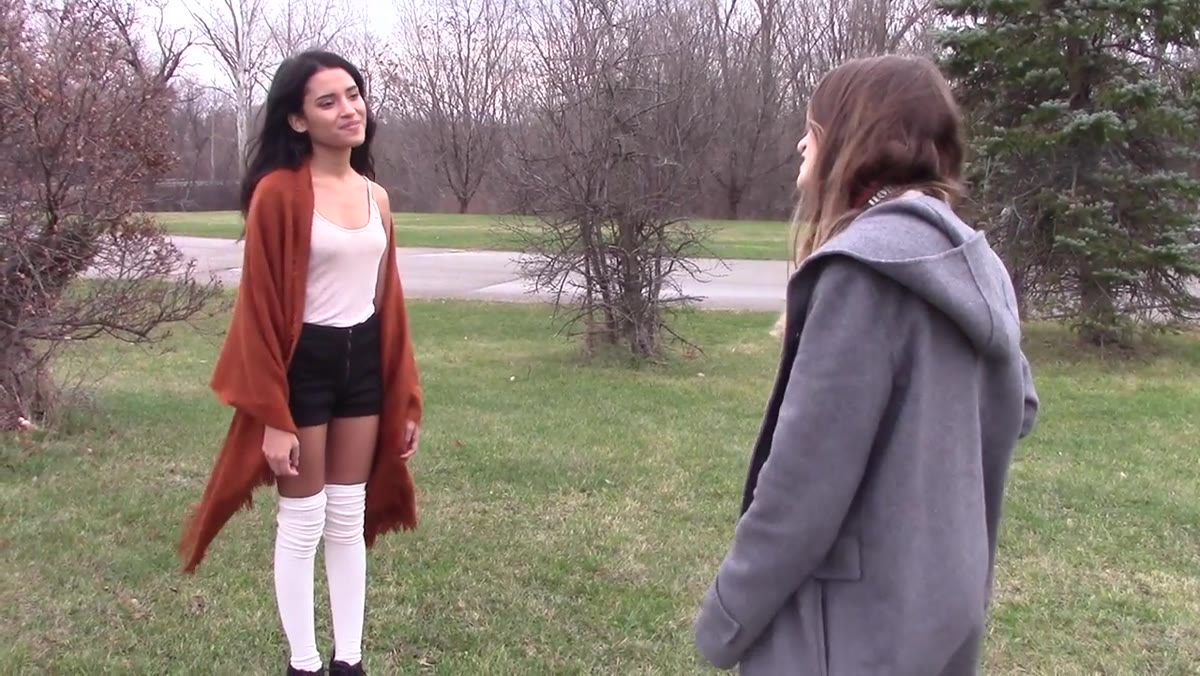 Subject with relaxed, neutral expression during motion
One of the more counterintuitive pieces of direction Kobeissi offers is telling her subject to look bored. In portrait photography, this reads as effortless and editorial. It removes the forced smile, the wide eyes, the please-let-this-be-over expression that non-models default to when they don’t know what to do with their face. Neutral is actually hard to perform, but “bored” gives people a character to inhabit. It’s the same principle as asking someone to think of something slightly funny rather than telling them to smile. The indirect instruction produces the authentic result.
Subject with relaxed, neutral expression during motion
One of the more counterintuitive pieces of direction Kobeissi offers is telling her subject to look bored. In portrait photography, this reads as effortless and editorial. It removes the forced smile, the wide eyes, the please-let-this-be-over expression that non-models default to when they don’t know what to do with their face. Neutral is actually hard to perform, but “bored” gives people a character to inhabit. It’s the same principle as asking someone to think of something slightly funny rather than telling them to smile. The indirect instruction produces the authentic result.
Step 6: Debrief With Your Subject
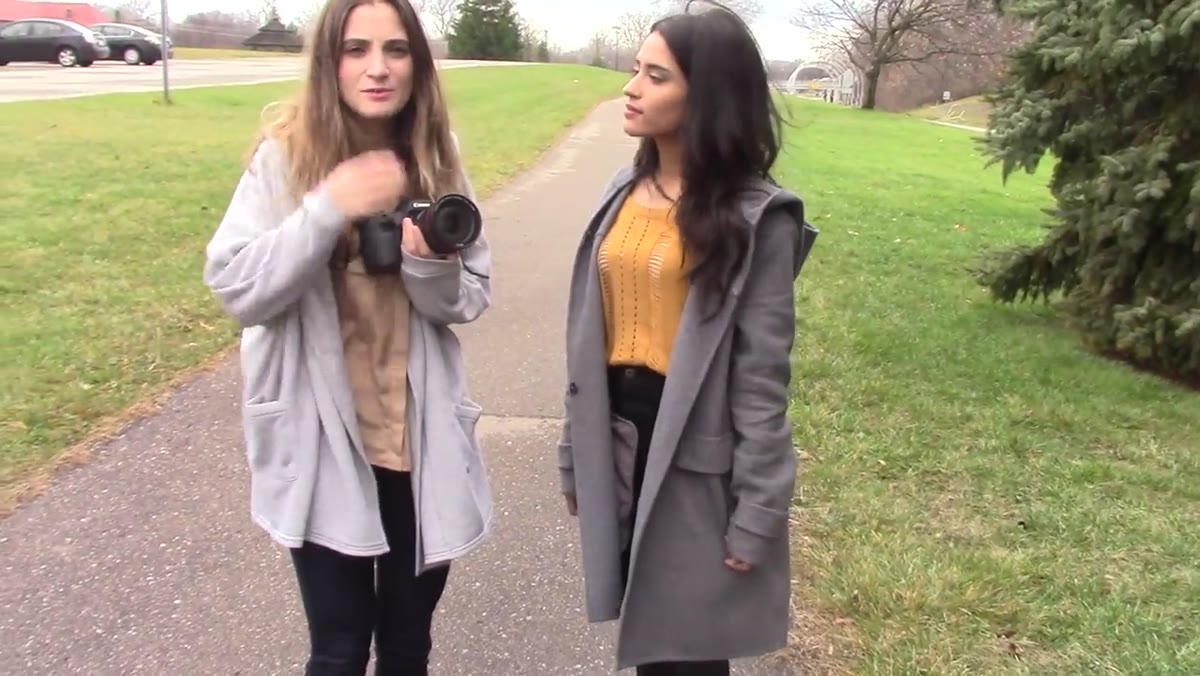 Photographer and subject talking casually after the session ends
After the shoot wraps, Kobeissi checks in with Angelica, asking what the experience was like and reinforcing what worked. This isn’t just courtesy. It’s information gathering. You learn whether your direction was clear, whether the subject felt comfortable, and what you’d do differently next time. In a workshop setting, I’ve made it a habit to ask participants what confused them or felt awkward. Their answers have changed how I give direction. The debrief also matters for future sessions - a subject who leaves feeling good about themselves comes back, and brings friends.
Photographer and subject talking casually after the session ends
After the shoot wraps, Kobeissi checks in with Angelica, asking what the experience was like and reinforcing what worked. This isn’t just courtesy. It’s information gathering. You learn whether your direction was clear, whether the subject felt comfortable, and what you’d do differently next time. In a workshop setting, I’ve made it a habit to ask participants what confused them or felt awkward. Their answers have changed how I give direction. The debrief also matters for future sessions - a subject who leaves feeling good about themselves comes back, and brings friends.
What I’d Add From Two Decades in the Field
The conditions in this tutorial are the conditions I live in. Wind, shifting light, strangers wandering through the frame, locations that don’t cooperate. What Kobeissi demonstrates is a kind of adaptive patience that landscape photographers know well but apply differently. We wait for the light to come to us. Portrait photographers in natural light have to create momentum while the light does whatever it wants.
Where I’d push this further: lean into the environmental chaos. Wind-blown hair, squinting into bright sky, a jacket pulled close against cold air. These are not problems to solve. They are the photograph. My best-selling print came from two days of fog and one frame that finally opened up. The “imperfect” conditions wrote the whole story. The same logic applies to portraits outdoors. The element that’s bothering you is often the element that makes the image.
The most important lesson from this tutorial is deceptively simple: keep your subject doing something. Stillness and self-consciousness are cousins. The moment you give someone a task, a direction, a physical action to perform, their body stops performing “being photographed” and starts performing the task. That’s when the real frames happen.
Watch the full tutorial on YouTube and pay attention to how Kobeissi never lets the energy drop, even when the wind fights her and strangers park nearby and nothing is quite under control. That adaptability is the real skill on display.
Comments
Leave a Comment