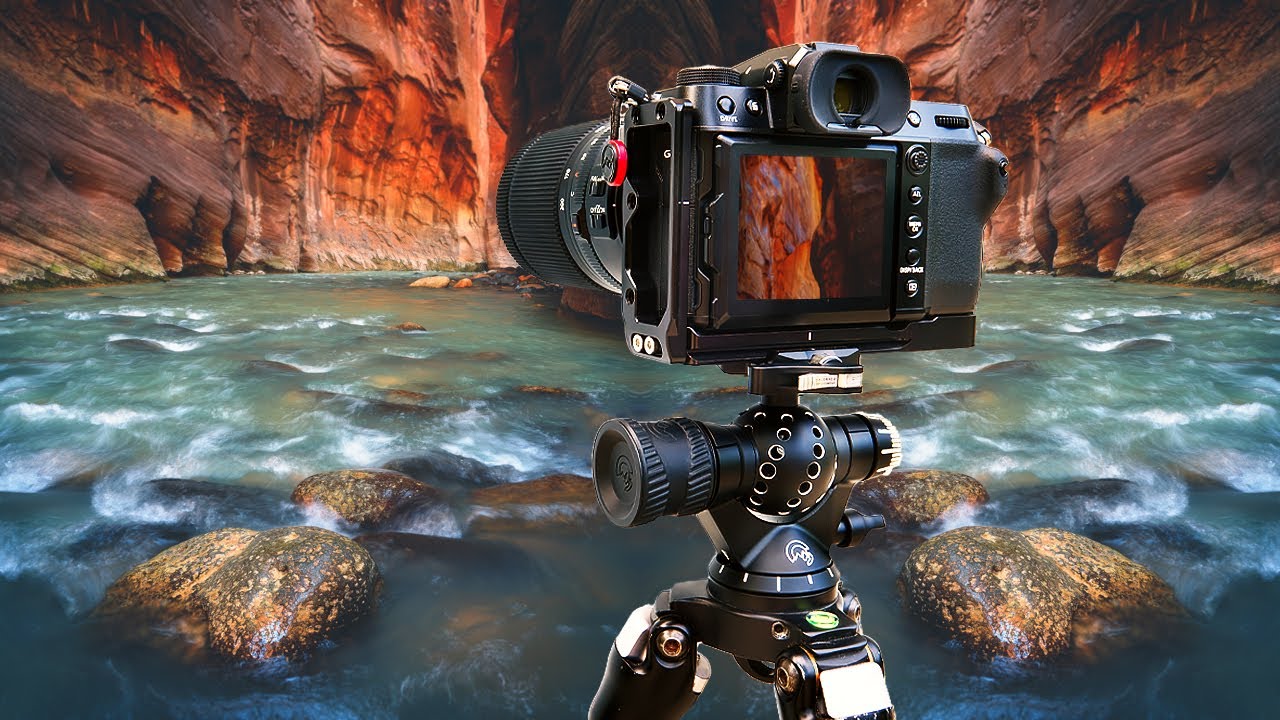
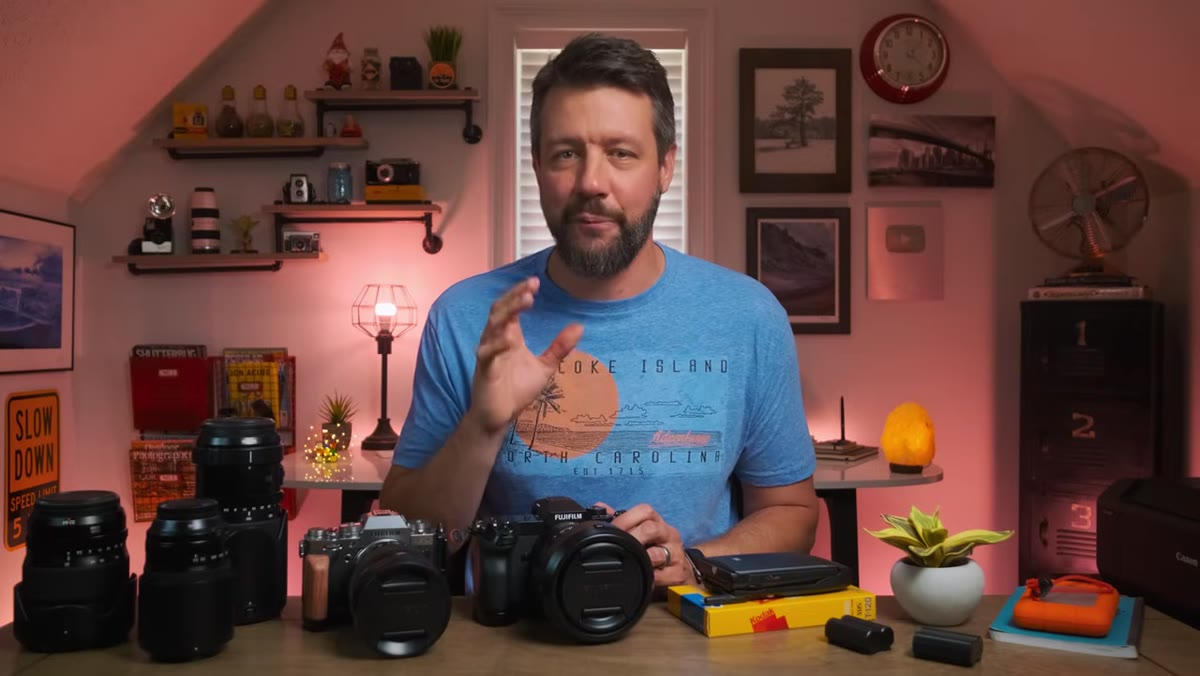
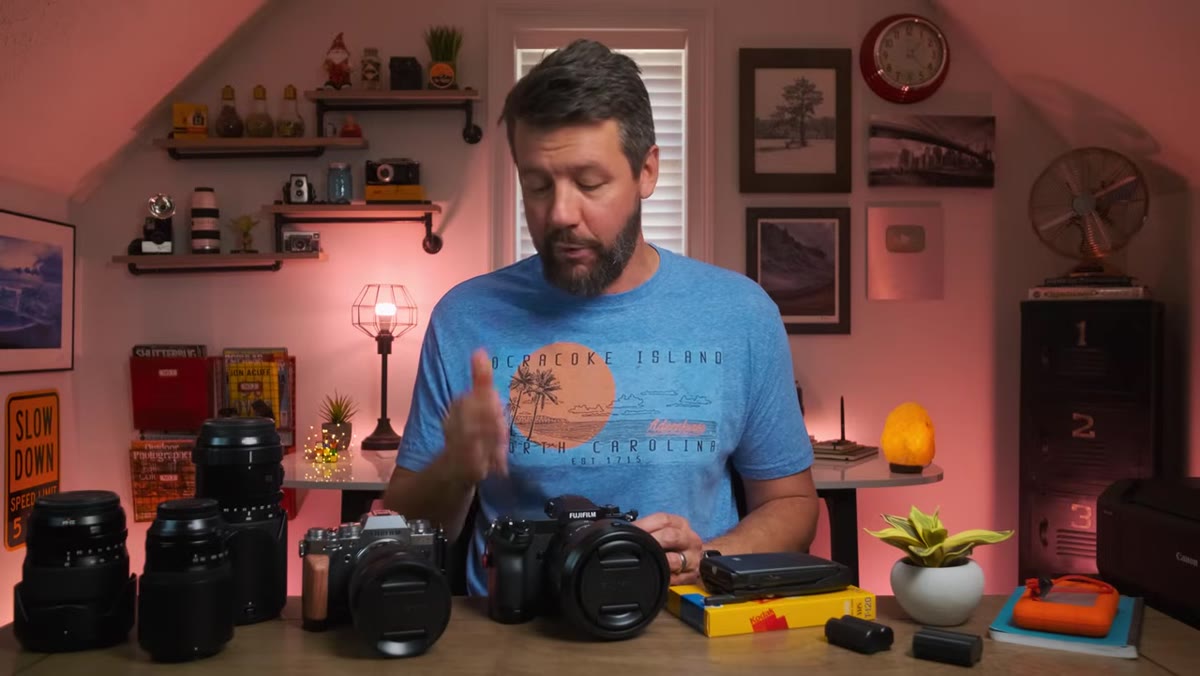
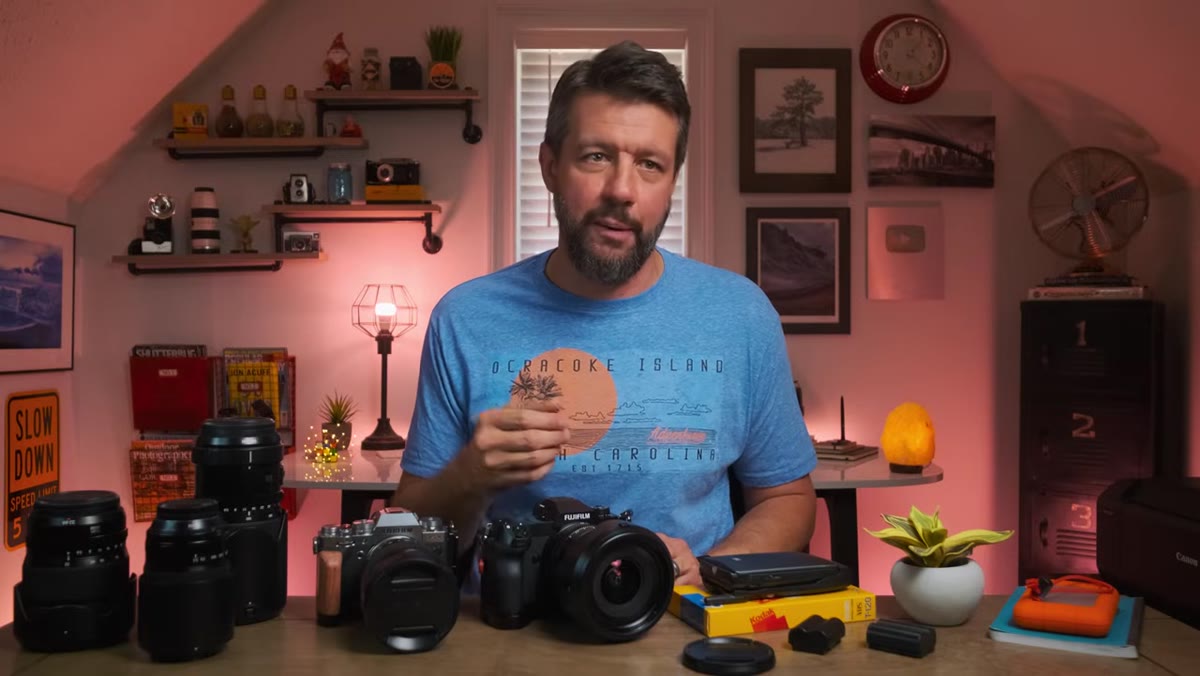
There’s a particular kind of discomfort that comes from watching someone else use a tool you think you understand. I’ve been shooting landscapes for two decades, and I still catch myself assuming that more megapixels, better dynamic range, or a faster autofocus system will solve problems that are actually compositional. So when I sat down with Watch the full tutorial on YouTube - Mark Denney’s hands-on tutorial with the Fujifilm GFX100s - I wasn’t expecting to be humbled. I was.
What Denney does in this video isn’t a spec sheet rundown. He takes a six-thousand-dollar medium format camera into actual landscape conditions and asks a harder question: does this thing change how I see, or just how much data I capture? That’s a question I find myself asking every time a new body lands on my desk. The answer, as it usually is, lives somewhere in the gap between what the camera promises and what the light actually does.
The tutorial is structured around real field use, not a controlled test environment. That matters. Watching someone navigate autofocus behavior, exposure decisions, and compositional instincts under real sky, real wind, and real pressure to come home with something worth keeping - that’s the kind of education you can actually transfer to your own work.
Step 1: Understand What You’re Committing To Before You Fire a Single Frame
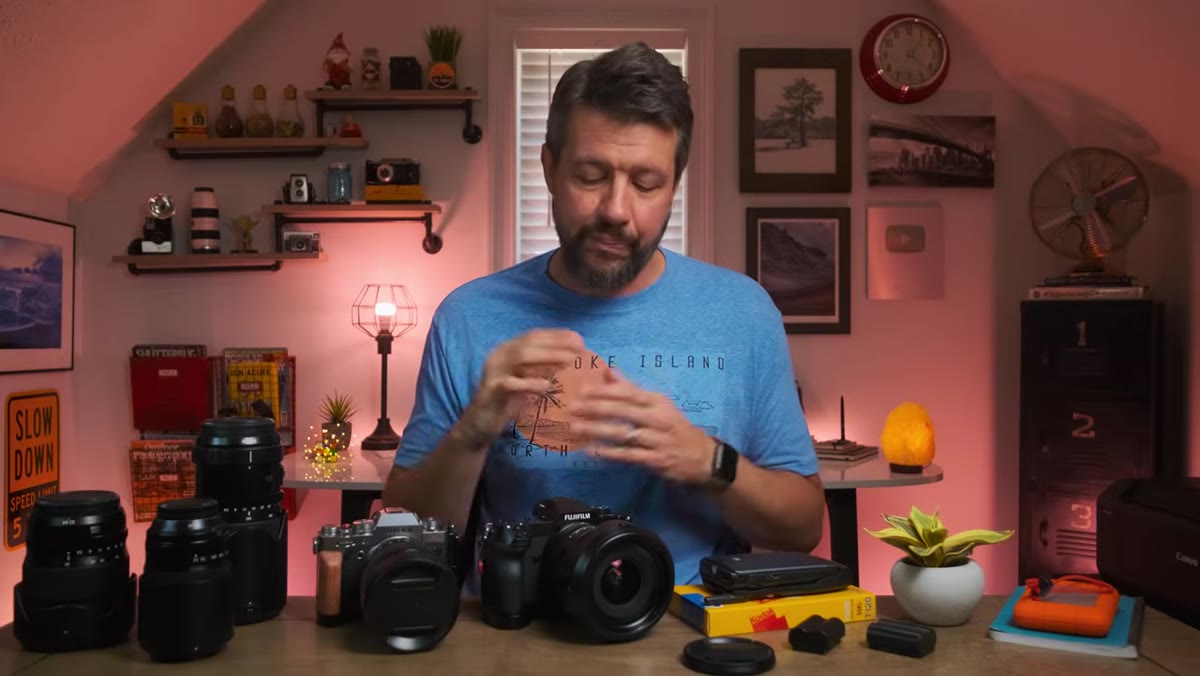
 Fujifilm GFX100s body shown close, field setting visible
Before Denney even talks settings, he establishes context. The GFX100s is a medium format system, which means it carries different expectations than a mirrorless crop or full-frame body. The sensor size changes your depth of field behavior, your lens weight, and your patience threshold. If you pick this camera up expecting it to behave like a Sony A7 series, you will fight it the whole day.
Fujifilm GFX100s body shown close, field setting visible
Before Denney even talks settings, he establishes context. The GFX100s is a medium format system, which means it carries different expectations than a mirrorless crop or full-frame body. The sensor size changes your depth of field behavior, your lens weight, and your patience threshold. If you pick this camera up expecting it to behave like a Sony A7 series, you will fight it the whole day.
The practical takeaway here is to spend time before your shoot understanding what the format’s native strengths actually are: extraordinary tonal gradation in skies and shadows, resolution that holds up at extreme print sizes, and a certain rendering quality in highlights that smaller sensors genuinely cannot replicate. Know what you’re asking the tool to do.
Step 2: Set Your Exposure Framework for the Conditions, Not for the Histogram
 Camera display showing exposure settings in open landscape
Denney works deliberately with exposure here, and his approach reflects something I’ve come to believe strongly: the histogram is a reference, not a destination. In high dynamic range landscape conditions, chasing a perfectly centered histogram will cost you the highlight detail in your sky or crush your shadows into noise. Neither serves the final image.
Camera display showing exposure settings in open landscape
Denney works deliberately with exposure here, and his approach reflects something I’ve come to believe strongly: the histogram is a reference, not a destination. In high dynamic range landscape conditions, chasing a perfectly centered histogram will cost you the highlight detail in your sky or crush your shadows into noise. Neither serves the final image.
His field approach is to protect the highlights first, then assess what the shadows need in post. With a sensor as capable as the one in the GFX100s, you have real latitude to lift shadow detail without introducing significant noise. Set your ISO conservatively - this camera performs well through ISO 800 and holds acceptable quality higher - and use exposure compensation to keep your brightest tones from clipping. Check the blinkies, not the waveform center.
Step 3: Work the Autofocus System Deliberately in Low Contrast Light
 Camera being aimed at landscape, autofocus behavior visible
One of the more honest moments in this tutorial is when Denney acknowledges that medium format autofocus, even in a modern system like this, behaves differently from what sports and wildlife shooters expect. In landscape work, this matters less than people assume. You are rarely tracking a moving subject. You are locking focus on a rock, a treeline, or a foreground element and then fine-tuning your depth of field decisions.
Camera being aimed at landscape, autofocus behavior visible
One of the more honest moments in this tutorial is when Denney acknowledges that medium format autofocus, even in a modern system like this, behaves differently from what sports and wildlife shooters expect. In landscape work, this matters less than people assume. You are rarely tracking a moving subject. You are locking focus on a rock, a treeline, or a foreground element and then fine-tuning your depth of field decisions.
His recommendation is to use single-point autofocus rather than zone or wide-area modes when working landscapes. Pick your sharpest anchor point - usually something with clear edge contrast in the foreground - lock it, then use your aperture to extend depth of field through the scene. For most landscape situations, f/8 through f/11 gives you the sharpest optical performance on GFX lenses without introducing diffraction softness.
Step 4: Slow Down Your Compositional Process to Match the Format
 Photographer positioning camera low near water or ground level
This is where the tutorial lands its most useful insight, and it’s one that doesn’t get said enough: a camera this capable demands a slower compositional process. When you know you’re working with 100 megapixels of resolution, every sloppy horizon, every missed foreground anchor, every slightly soft focus point becomes more visible, not less. The resolution exposes your habits.
Photographer positioning camera low near water or ground level
This is where the tutorial lands its most useful insight, and it’s one that doesn’t get said enough: a camera this capable demands a slower compositional process. When you know you’re working with 100 megapixels of resolution, every sloppy horizon, every missed foreground anchor, every slightly soft focus point becomes more visible, not less. The resolution exposes your habits.
Denney takes time here to physically work around his scene - adjusting camera height, testing different foreground relationships, watching how the background elements stack against the sky at various positions. This isn’t fussiness. It’s the work. A mentor of mine once told me the mountain doesn’t care about your schedule, and I’ve never found a better argument for slowing down before you press the shutter. Treat each composition decision as if you’re shooting film and have twelve frames to work with. The discipline changes what you see.
Step 5: Post-Processing Expectations - What Medium Format Latitude Actually Gives You
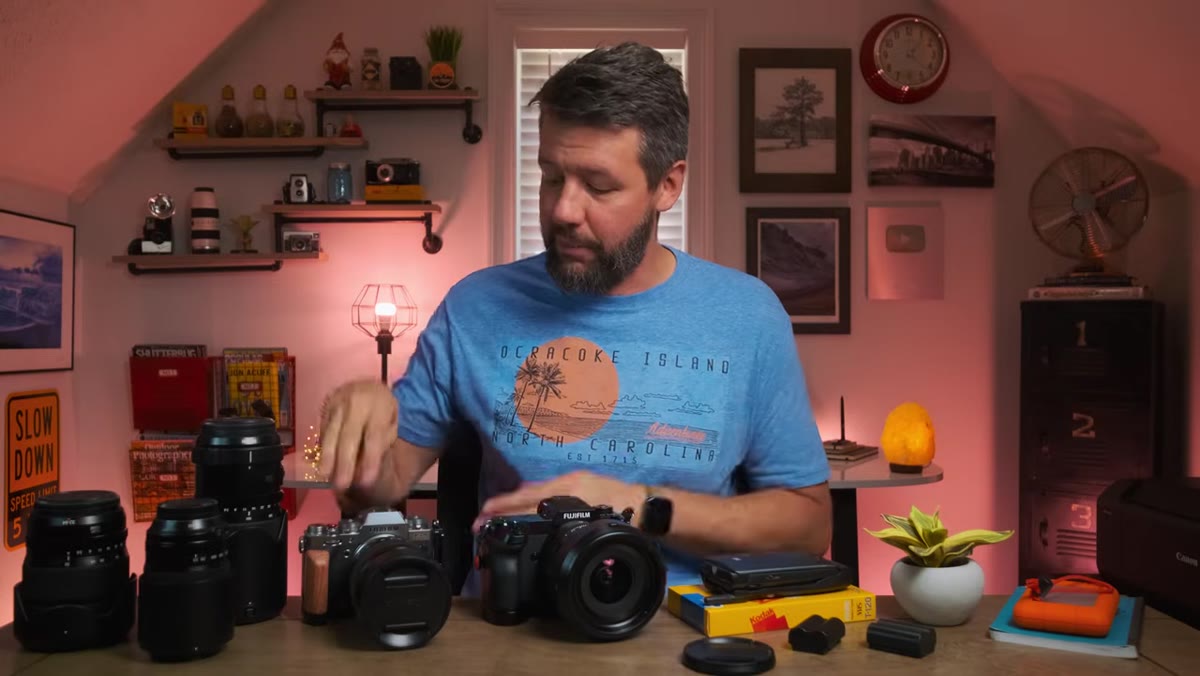 Image review or post-processing interface showing tonal range
Denney closes his field session by addressing what the files look like when you bring them home, and this is where the investment either justifies itself or doesn’t. The GFX100s produces files with a tonal range that gives you real flexibility in recovering shadow detail and pulling back blown highlights - within reason. It is not magic. An overexposed sky is still an overexposed sky.
Image review or post-processing interface showing tonal range
Denney closes his field session by addressing what the files look like when you bring them home, and this is where the investment either justifies itself or doesn’t. The GFX100s produces files with a tonal range that gives you real flexibility in recovering shadow detail and pulling back blown highlights - within reason. It is not magic. An overexposed sky is still an overexposed sky.
What the format does do exceptionally well is hold micro-detail through aggressive tonal adjustments. When you push exposure or pull clarity on a 100-megapixel file, the underlying structure of the image stays intact in a way that smaller sensors simply cannot sustain. For large-format printing, which is where I sell most of my work, this is the real argument for the system. The difference shows at 40 inches wide.
A Note From Two Decades in the Field
I won’t pretend I’m ready to trade my existing kit for a GFX system tomorrow. The weight, the cost, and the slower operational pace are real considerations for anyone who moves fast in the field or shoots in conditions where a smaller kit means more access. I’ve stood in freezing rivers at dawn with cameras that cost a tenth of this, and I’ve come home with images I’m still proud of.
But what Denney’s tutorial clarified for me is that medium format isn’t really a camera upgrade. It’s a practice upgrade. The equipment asks something different of you. If you’re not already shooting deliberately, with intention behind every setting and patience behind every composition, the resolution will simply record your carelessness in higher definition.
The single most important thing I took from this tutorial is the confirmation that constraint breeds precision. Whether that constraint is the cost-per-shot discipline of film, the weight of a larger kit, or the slower autofocus behavior of medium format, anything that makes you pause before the shutter fires is doing you a favor.
Watch the full tutorial on YouTube and see how Denney works through these decisions in actual field conditions. The real education is in watching his pace, not just his settings.
Comments
Leave a Comment