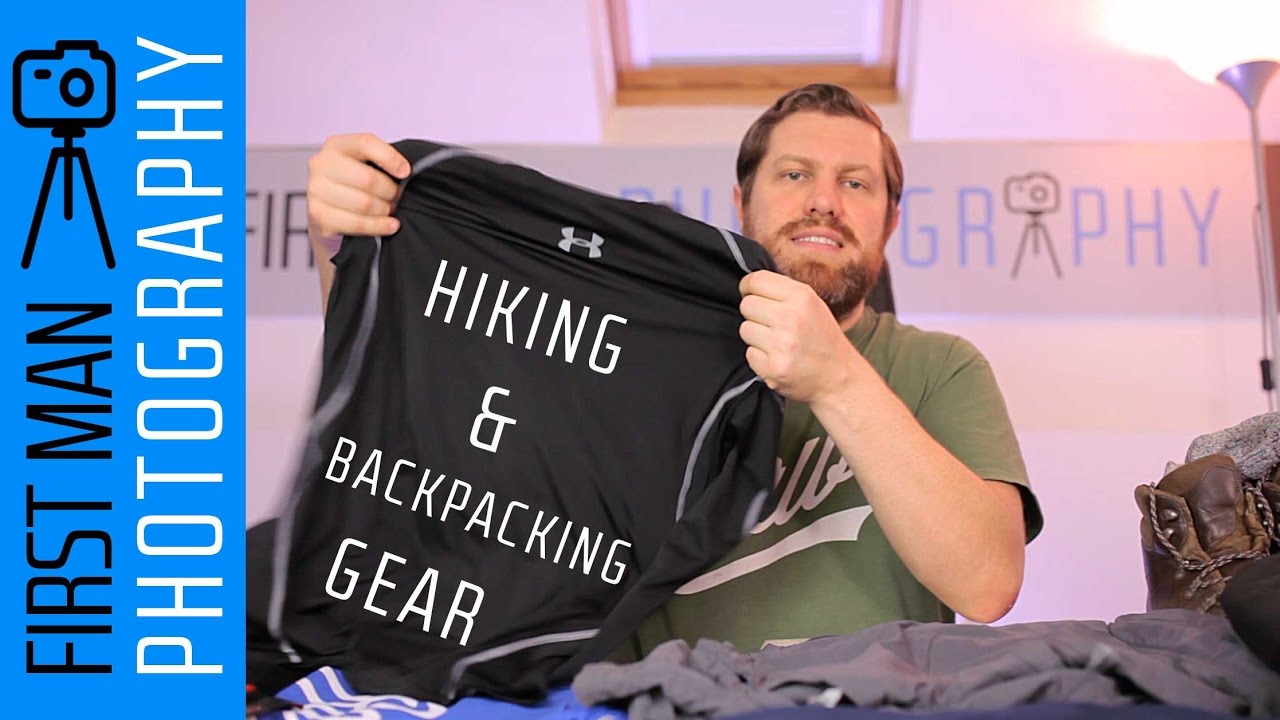
There’s a version of mountain photography that looks romantic from the outside. The lone figure on a ridge at golden hour, mist rolling through the valley below. What that image never shows is the two hours of hiking that preceded it, the soaked boots from a stream crossing, or the moment your fingers get too cold to work the aperture ring. I’ve spent twenty years learning that the camera is rarely the thing that limits a shoot. More often, it’s everything else you did or didn’t think to bring.
In this First Man Photography tutorial, Watch the full tutorial on YouTube, the photographer walks through the non-camera gear he carries when hiking and backpacking for landscape work. It’s the kind of video that gets requested after people watch someone slog through bad weather on a vlog and wonder how they’re still moving and shooting. The answer, almost always, comes down to preparation before you ever leave the trailhead.
What struck me watching this is how closely his system mirrors the one I’ve refined over years of pre-dawn departures out of Bend. The specifics differ, but the logic is identical. You’re not dressing for the weather at the trailhead. You’re dressing for every version of weather the mountain might hand you by the time you’re an hour from the car.
Step 1: Build Your Upper Body Layers From the Skin Out
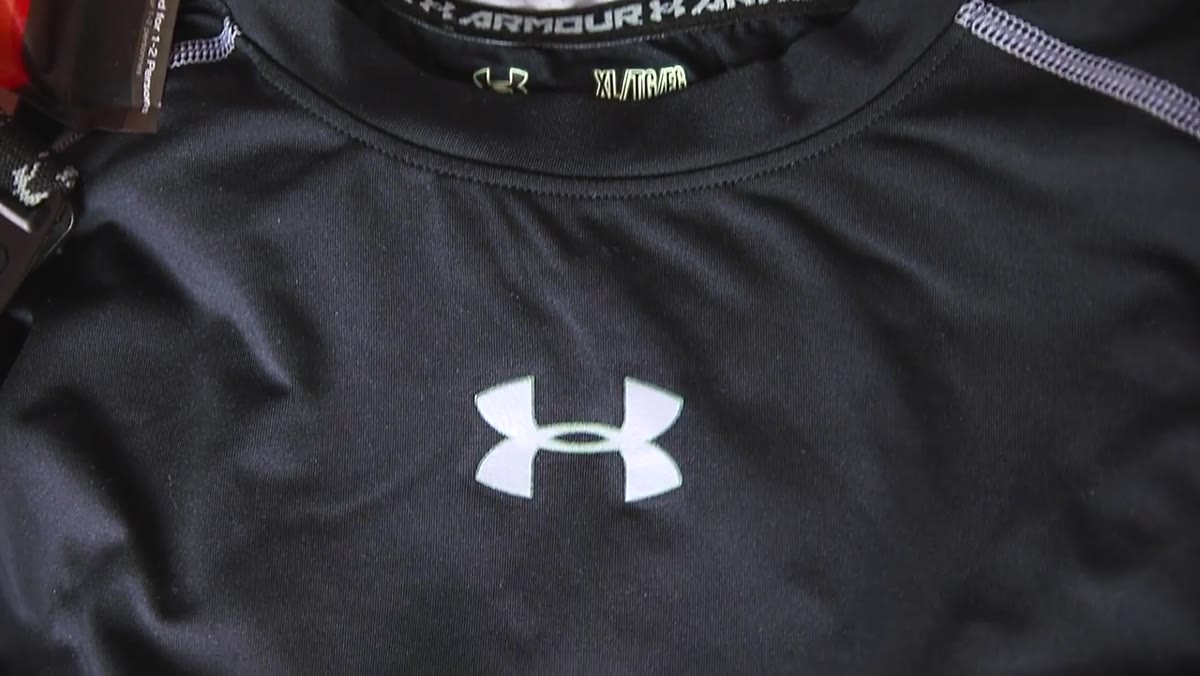 Holding up an Under Armour moisture-wicking base layer shirt
The foundation of a workable clothing system is a moisture-wicking base layer worn directly against your skin. Synthetic materials like polyester move sweat away from your body and dry quickly rather than holding moisture against you. This matters more than most people realize. Wet fabric against cold skin will drain your body heat faster than almost any weather condition you’ll encounter. On a hard uphill approach, you will sweat. The base layer’s job is to manage that so you don’t pay for it on the exposed ridgeline twenty minutes later.
Holding up an Under Armour moisture-wicking base layer shirt
The foundation of a workable clothing system is a moisture-wicking base layer worn directly against your skin. Synthetic materials like polyester move sweat away from your body and dry quickly rather than holding moisture against you. This matters more than most people realize. Wet fabric against cold skin will drain your body heat faster than almost any weather condition you’ll encounter. On a hard uphill approach, you will sweat. The base layer’s job is to manage that so you don’t pay for it on the exposed ridgeline twenty minutes later.
Over that, a mid-layer adds warmth through simple physics. Stacked clothing traps air between the layers, and that trapped air is what actually insulates you. The tutorial creator is honest that he adds a cotton layer here partly for aesthetics, which is a reasonable human decision. Cotton does hold moisture longer than synthetics, so if you’re pushing hard in wet conditions, a technical mid-layer is the safer choice. But on a moderate hike in mixed weather, a sturdy cotton piece works fine, and there’s something to be said for not looking like you’re auditioning for a gear catalog when you’re just trying to make photographs.
Step 2: Match Your Leg Layers to the Temperature
 Displaying thermal base layer pants alongside hiking trousers
Legs need the same layered thinking as your torso, and they’re easy to neglect because your lower body generates more heat while walking. The tutorial recommends thermal base layer pants, the kind that sit tight to the skin and retain warmth when temperatures drop, worn under a pair of dedicated walking trousers. Those trousers should be quick-drying and resistant to absorbing water. They don’t need to be expensive, but they need to not become dead weight when wet.
Displaying thermal base layer pants alongside hiking trousers
Legs need the same layered thinking as your torso, and they’re easy to neglect because your lower body generates more heat while walking. The tutorial recommends thermal base layer pants, the kind that sit tight to the skin and retain warmth when temperatures drop, worn under a pair of dedicated walking trousers. Those trousers should be quick-drying and resistant to absorbing water. They don’t need to be expensive, but they need to not become dead weight when wet.
The key practical point here is choosing trousers you can layer over without having to strip down on a cold hillside. A proper fit through the thigh and knee, without being too slim, lets the base layer underneath do its job without restricting your movement on technical terrain.
Step 3: Add a Waterproof Outer Layer for Your Legs
 Pulling out waterproof over-trousers from the pack
When rain moves in fast, which it does in the mountains with very little warning, the ability to pull waterproof over-trousers on top of everything else without removing your boots is a small logistical triumph. This is the piece most day hikers skip and then regret. They go over your existing trousers, so your system stays intact underneath. Cold, wet legs don’t just make you miserable. They slow you down, compromise your decision-making, and cut your shoot short.
Pulling out waterproof over-trousers from the pack
When rain moves in fast, which it does in the mountains with very little warning, the ability to pull waterproof over-trousers on top of everything else without removing your boots is a small logistical triumph. This is the piece most day hikers skip and then regret. They go over your existing trousers, so your system stays intact underneath. Cold, wet legs don’t just make you miserable. They slow you down, compromise your decision-making, and cut your shoot short.
I carry a lightweight pair in the top pocket of my pack on any shoot with even a marginal weather forecast. On a day I drove three hours to catch a specific light window, a fast-moving front came through and dumped rain for forty minutes. Because I had the waterproof layer on inside of two minutes, I was still in position when the clouds broke.
Step 4: Invest Seriously in Your Footwear
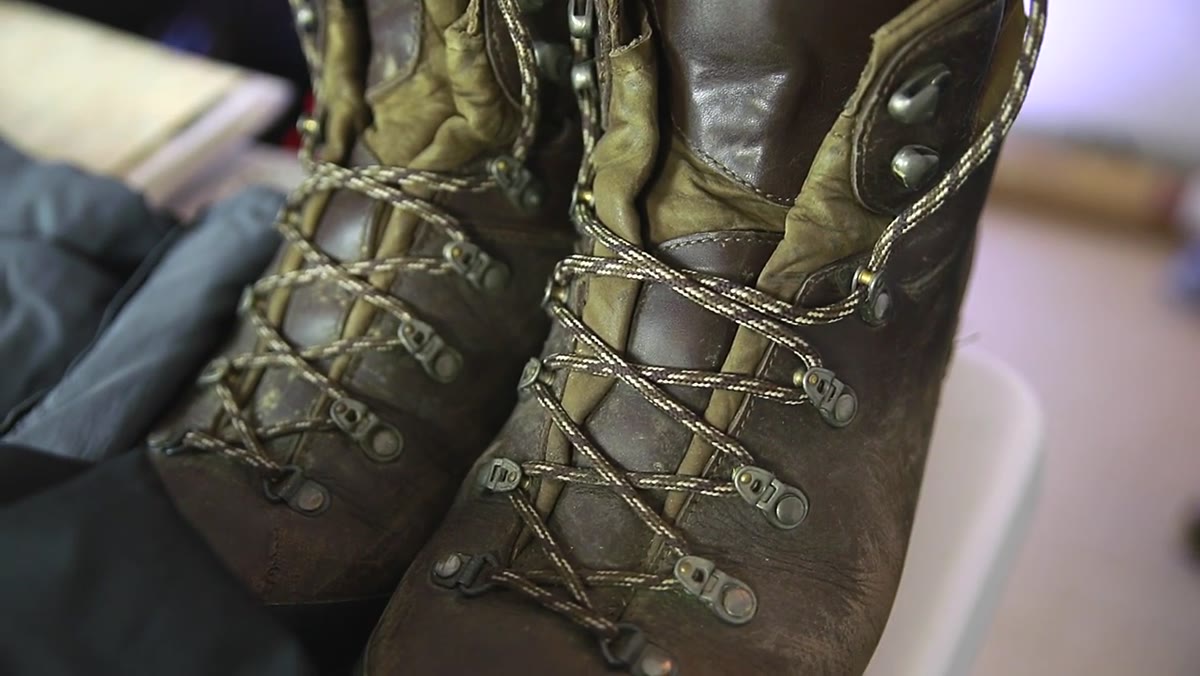 Holding up Scarpa waterproof hiking boots with sealed tongue
The tutorial is emphatic on this point, and it’s correct. Foot discomfort is not a minor inconvenience in the field. It is a shoot-ending, potentially safety-compromising problem. The recommendation here is a quality pair of waterproof walking boots with proper ankle support, worn over thick socks. The specific boots shown cost around 150 British pounds. That sounds like a lot until you’ve turned back early because of blisters, or rolled an ankle on loose rock because your footwear gave you no lateral support.
Holding up Scarpa waterproof hiking boots with sealed tongue
The tutorial is emphatic on this point, and it’s correct. Foot discomfort is not a minor inconvenience in the field. It is a shoot-ending, potentially safety-compromising problem. The recommendation here is a quality pair of waterproof walking boots with proper ankle support, worn over thick socks. The specific boots shown cost around 150 British pounds. That sounds like a lot until you’ve turned back early because of blisters, or rolled an ankle on loose rock because your footwear gave you no lateral support.
Waterproof boots with a sealed tongue construction let you step through shallow water crossings, which happen constantly in mountain terrain, without stopping to find a dry route. I’ve been mid-composition at a stream edge more times than I can count, and being able to simply step in and adjust my position without a second thought is worth every penny of a good boot’s price tag. Get fitted properly, break them in before a serious hike, and don’t cheap out here.
Step 5: Treat Socks as Part of the System, Not an Afterthought
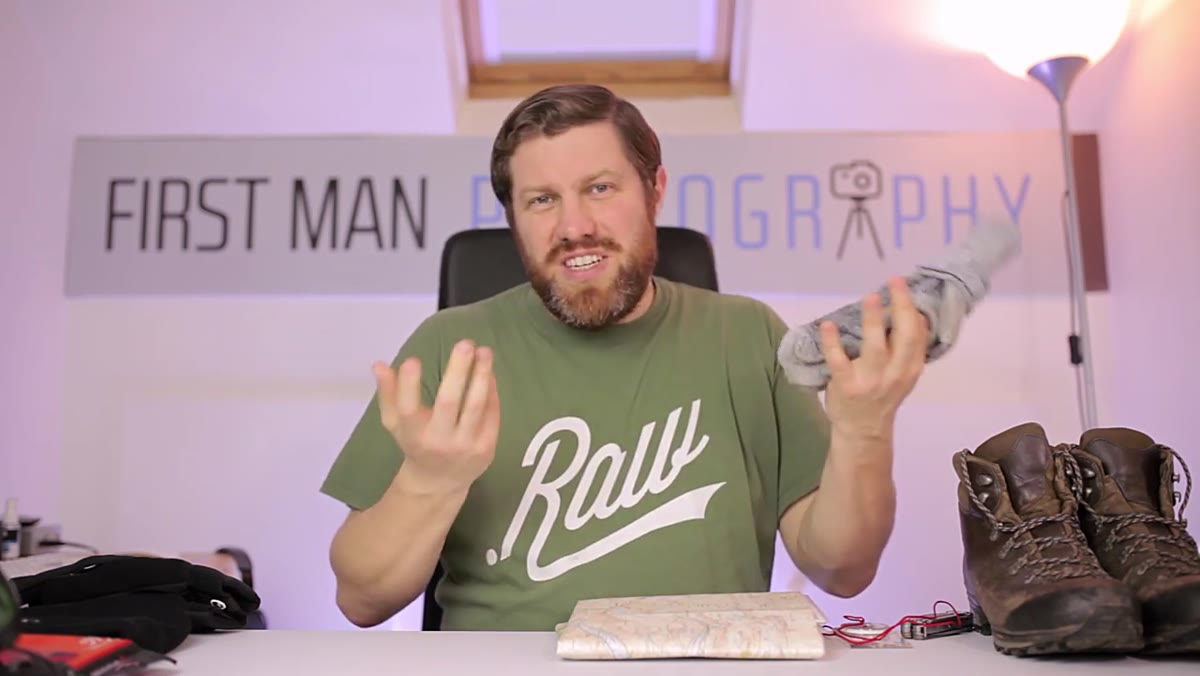 Referencing thick walking socks worn under hiking boots
A good boot paired with a thin or worn-out sock is a blister waiting to happen. Thick, cushioned walking socks create a buffer between your foot and the boot, manage moisture at the skin level, and add a small amount of thermal insulation. Wool-blend socks are worth looking at specifically because they regulate temperature across a wide range, resist odor on multi-day trips, and hold some warmth even when damp.
Referencing thick walking socks worn under hiking boots
A good boot paired with a thin or worn-out sock is a blister waiting to happen. Thick, cushioned walking socks create a buffer between your foot and the boot, manage moisture at the skin level, and add a small amount of thermal insulation. Wool-blend socks are worth looking at specifically because they regulate temperature across a wide range, resist odor on multi-day trips, and hold some warmth even when damp.
This is one of those pieces of kit where spending fifteen dollars more makes a tangible difference on hour four of a hike.
What I’d Add From My Own Kit
The tutorial covers the core clothing system well. What I’d build on top of it is this: always carry a packable insulated jacket, even in summer. In Oregon, I’ve been caught in near-freezing temperatures on exposed ridgelines in August. A lightweight down or synthetic puffy compresses to almost nothing and adds enough warmth to keep you functional when a thermal layer alone isn’t cutting it.
I’d also add a note about hands. Cold fingers cannot operate a camera precisely. A pair of thin liner gloves that let you work the controls, with a warmer shell glove you can pull on between shots, has extended more shoots for me than almost any piece of clothing.
The single most important thing this tutorial reinforces is something a mentor told me early in my career. The mountain does not care about your schedule or your shot list. It will give you weather, cold, and terrain on its own terms. The photographers who keep shooting when conditions turn are the ones who prepared for conditions they didn’t expect. Clothing is not glamorous gear to talk about, but getting it right is what keeps you out there long enough for the light to do something worth photographing.
Watch the full tutorial on YouTube to see the complete gear breakdown from First Man Photography, including additional items beyond what’s covered here.
Comments (5)
Applied this to my portfolio shots and the improvement is noticeable.
Been doing this wrong for years apparently. Thanks for the wake-up call.
I tried this on a client project yesterday and the results were way better than expected.
Applied this to my portfolio shots and the improvement is noticeable.
Great article! I actually covered something related on my site — the compositing angle is really complementary to this.
Leave a Comment