Most of my working life is spent waiting. Waiting for light, waiting for clouds to shift, waiting for the river surface to go still. I am not, by any stretch, a portrait photographer. But here’s the thing about spending twenty years in the field: you develop an eye for how light falls on a subject, and eventually someone asks you to put a person in front of that light instead of a mountain. That’s where things used to fall apart for me.
The problem wasn’t technical. I can manage exposure in difficult conditions with my eyes half closed. The problem was everything else: how to pose someone, how to move through a location efficiently, how to pull a usable image out of an ordinary background. I stumbled across this Jessica Kobeissi tutorial while looking for exactly that kind of help, and it turned out to be one of the most practically useful things I’ve watched in a long time. Watch the full tutorial on YouTube before or alongside this breakdown.
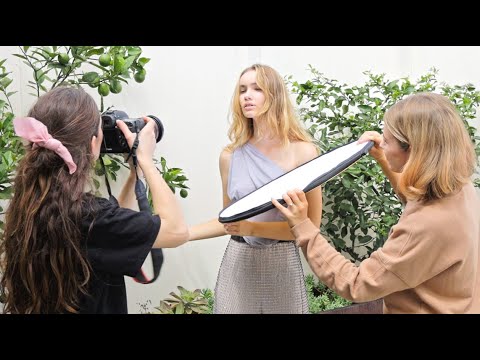
What struck me immediately is how closely her process mirrors good landscape work. She reads a location the way I read a hillside at dawn: quickly, practically, always looking for where the light is doing something interesting. The shoot happens in Sydney, with a 19-year-old subject named Josefina, using a Canon 5D Mark IV and a 24-70mm lens. The conditions were unreliable, the location modest. The results are anything but.
Step 1: Read the light before you touch your camera
 Photographer surveying the outdoor patio location in Sydney
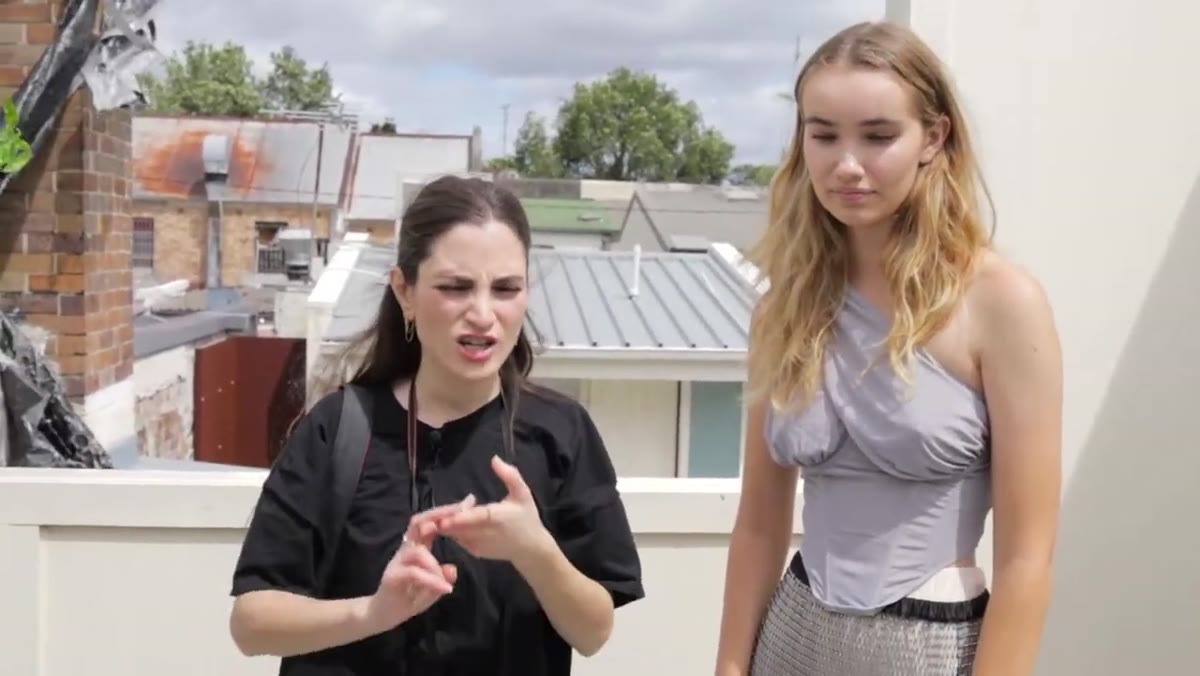
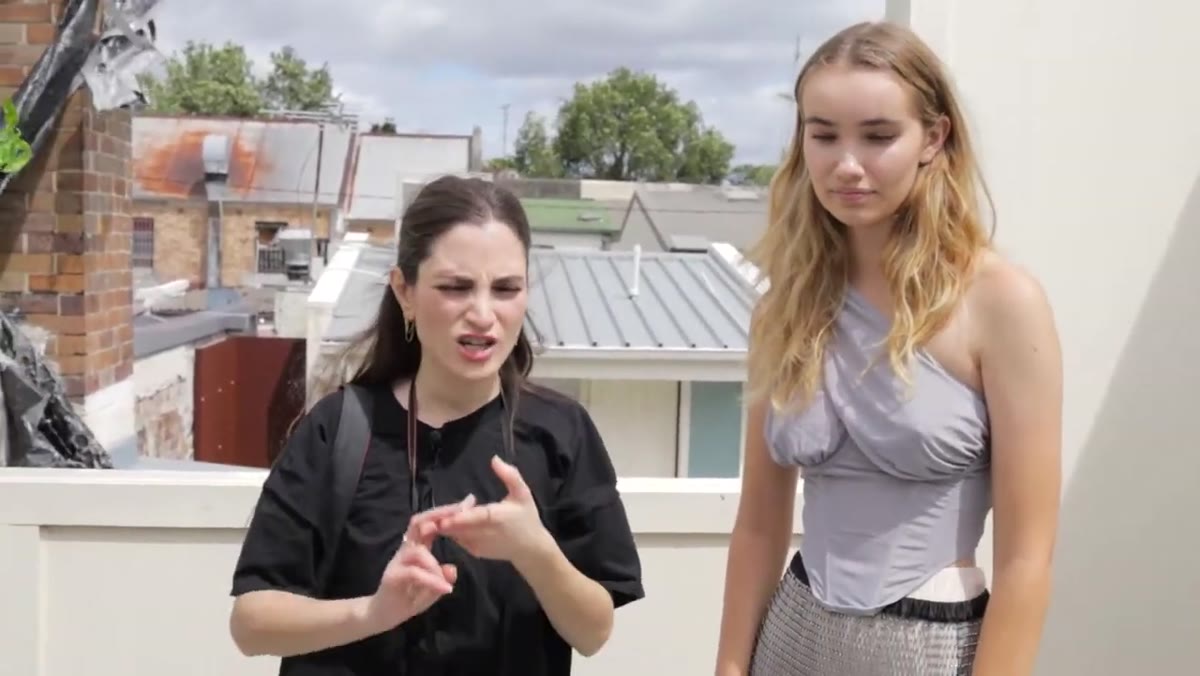
The first thing Kobeissi does isn’t fire a single frame. She assesses what she’s working with: available sunlight, wind direction, background elements. On this particular day in Sydney, flash flood warnings had been in effect the day before, so she wasn’t banking on anything. When the sun appeared, she recognized the opportunity and moved immediately.
Photographer surveying the outdoor patio location in Sydney
The first thing Kobeissi does isn’t fire a single frame. She assesses what she’s working with: available sunlight, wind direction, background elements. On this particular day in Sydney, flash flood warnings had been in effect the day before, so she wasn’t banking on anything. When the sun appeared, she recognized the opportunity and moved immediately.
This is the habit I’d push any outdoor photographer to build, portrait or otherwise. Walk the space for two minutes before shooting. Note where the light is softened by shade, where a wall or structure can act as a natural backdrop, and what background elements might compete with your subject. A cluttered background can ruin an otherwise perfect frame, and it’s far easier to position your subject correctly upfront than to fix it in post.
Step 2: Use a reflector to manage shadows on the face
 Reflector being positioned near the subject’s face in outdoor light
Even with good ambient light, faces tend to pick up unwanted shadows, especially under the eye sockets and chin. Kobeissi brings in a reflector early in the shoot to bounce light back toward Josefina’s face, and the difference is immediate. She positions it low and slightly to the front, letting it fill without flattening the image into something that looks like a passport photo.
Reflector being positioned near the subject’s face in outdoor light
Even with good ambient light, faces tend to pick up unwanted shadows, especially under the eye sockets and chin. Kobeissi brings in a reflector early in the shoot to bounce light back toward Josefina’s face, and the difference is immediate. She positions it low and slightly to the front, letting it fill without flattening the image into something that looks like a passport photo.
For anyone used to working with natural light in the field, this is second nature. I use a collapsible reflector for the same reason when I’m shooting in canyon light or under tree cover: the ambient exposure may be correct, but the shadows on rock or bark need fill. On a face, this matters even more. You’re not buying an expensive piece of gear here. A decent 5-in-1 reflector costs under forty dollars and fits in any camera bag.
Step 3: Start with variety, not perfection
 Full body framing transitioning to closer headshot compositions
Kobeissi moves deliberately through different focal lengths and distances from the start: full body, waist up, close headshots. She’s not hunting for the one perfect frame from one position. She’s building a range. This approach is worth stealing directly.
Full body framing transitioning to closer headshot compositions
Kobeissi moves deliberately through different focal lengths and distances from the start: full body, waist up, close headshots. She’s not hunting for the one perfect frame from one position. She’s building a range. This approach is worth stealing directly.
When I’m shooting a landscape I know well, I still make myself move. Wide establishing shots, compressed mid-range images, tight detail frames. The same logic applies here. Different framings reveal different qualities in a subject. A shot from slightly below, angled up to include the blue sky, reads completely differently from a straight-on portrait. Kobeissi finds the blue sky angle by physically crouching, and notes it in the moment. That kind of real-time attention to what the frame is doing is the difference between working and just shooting.
Step 4: Direct poses specifically, not generally
 Photographer giving specific hand and arm placement directions to model
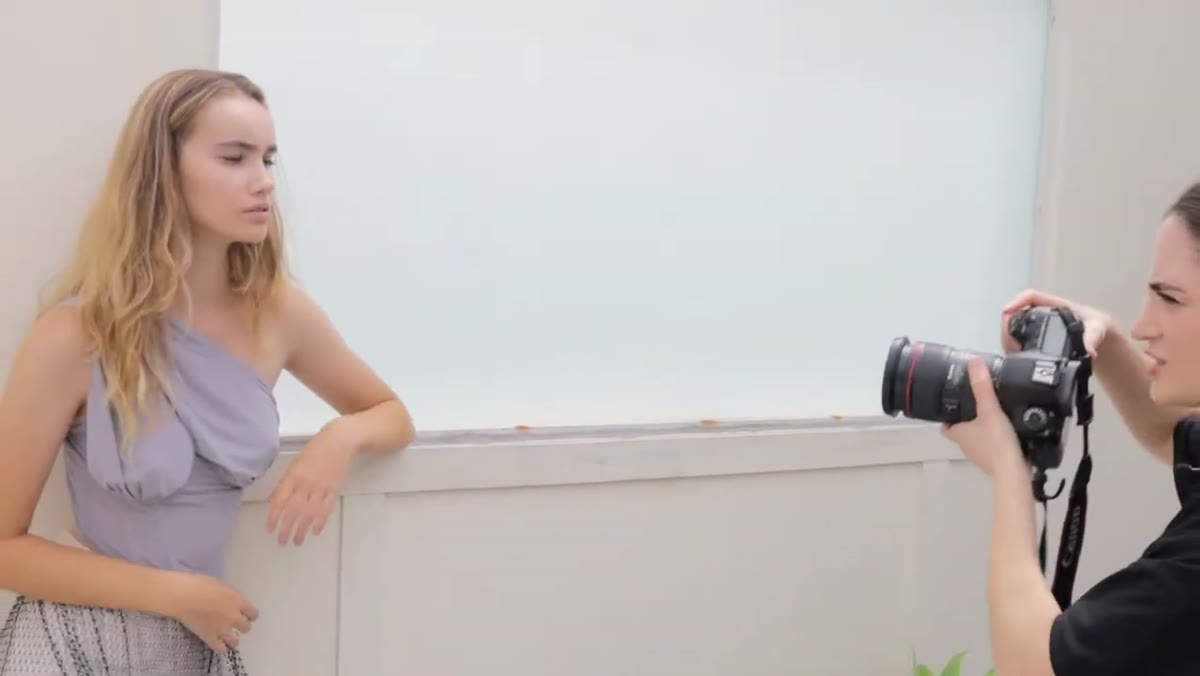
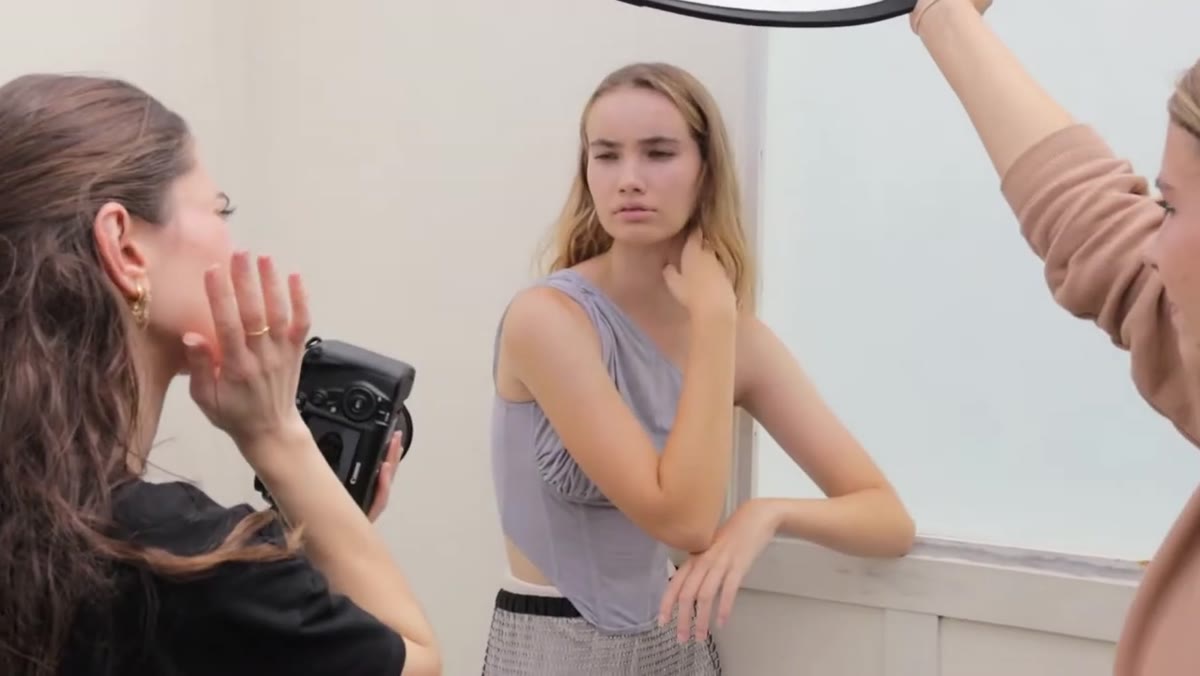
“Look here” is not a direction. Kobeissi is specific: chin up a little, bring the shoulder in, move the hair to this side, place the hand this way. When something isn’t working she adjusts one thing at a time, checking the back of the camera after each change. That last part matters. She’s not guessing. She’s confirming.
Photographer giving specific hand and arm placement directions to model
“Look here” is not a direction. Kobeissi is specific: chin up a little, bring the shoulder in, move the hair to this side, place the hand this way. When something isn’t working she adjusts one thing at a time, checking the back of the camera after each change. That last part matters. She’s not guessing. She’s confirming.
Portrait direction is a skill, but it’s not a mysterious one. Think of it like adjusting a composition: you’re moving elements until the frame works. The subject’s body is just another element. If you’re not used to directing people, build a short mental checklist: face, shoulders, hands, feet. Check each one before you shoot. Most unflattering portraits come down to one of those four things being in an awkward position.
Step 5: Change location without actually moving
 Subject repositioned a few feet to a slightly different spot in the same patio
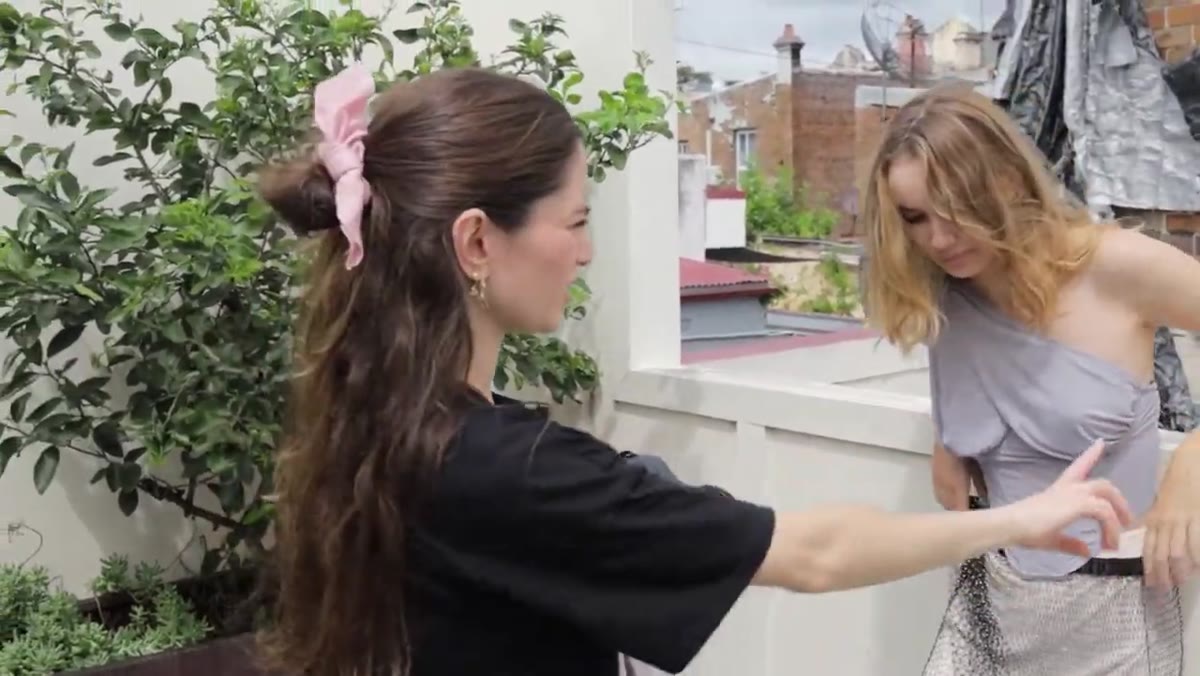
One of the most useful moments in the tutorial is when Kobeissi decides to “switch it up” and her location change is maybe six feet to the left. She’s not scouting a new spot. She’s shifting the relationship between her subject and the background, changing what’s in the frame behind Josefina’s shoulder and how the light is hitting her.
Subject repositioned a few feet to a slightly different spot in the same patio
One of the most useful moments in the tutorial is when Kobeissi decides to “switch it up” and her location change is maybe six feet to the left. She’s not scouting a new spot. She’s shifting the relationship between her subject and the background, changing what’s in the frame behind Josefina’s shoulder and how the light is hitting her.
This is pure field logic. In landscape work, sometimes moving three feet changes the entire foreground-to-background relationship. The same is true in portraiture. A small shift in subject position, camera height, or angle can take you from a flat snapshot to something that feels intentional and considered. Don’t pack up and drive somewhere new when the location isn’t performing. Walk around it first.
Step 6: Build toward movement and action at the end
 Subject walking toward the camera during the final sequence of the shoot
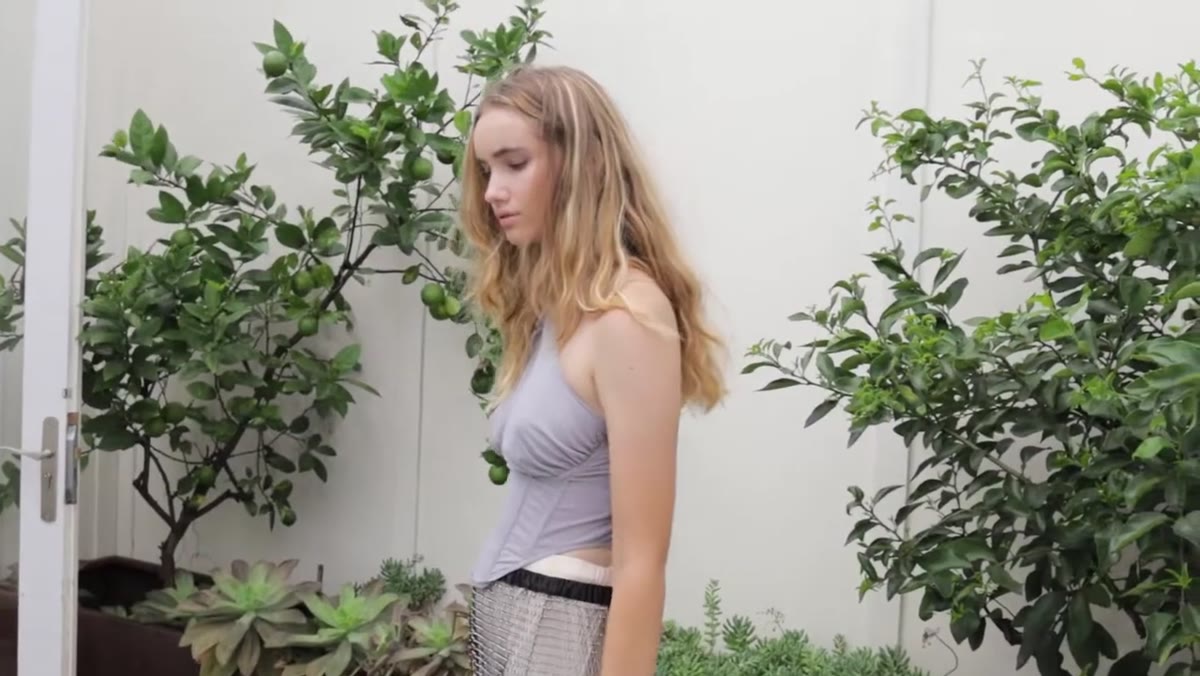
Near the close of the session, Kobeissi asks Josefina to walk toward the camera. It’s a simple ask, but the result is frames with natural energy that the posed shots don’t have. Candid motion from a subject who’s been shooting for forty minutes tends to look relaxed in a way that the early frames rarely do.
Subject walking toward the camera during the final sequence of the shoot
Near the close of the session, Kobeissi asks Josefina to walk toward the camera. It’s a simple ask, but the result is frames with natural energy that the posed shots don’t have. Candid motion from a subject who’s been shooting for forty minutes tends to look relaxed in a way that the early frames rarely do.
Saving this kind of open direction for the end is smart pacing. By the time you ask someone to just move naturally, they’ve warmed up. They’re not thinking about what to do with their hands anymore. The guard is down. If you ask for it too early, you usually get stiff, self-conscious movement that reads worse than a static pose.
What I’d add from my own experience
The strongest technique in this tutorial is one Kobeissi models throughout without naming it directly: she never stops reading the frame. She notices the trash bag on the chimney and adjusts. She notices the angle that picks up blue sky and stays low. She notices when the wind is doing something interesting with the hair and works with it rather than waiting for it to stop.
Landscape photography trained me to treat the world around a frame as constantly changing material. The light is moving, the wind is moving, the scene is never static. Portraits feel different because the subject can think and respond, but the principle is identical. You’re not setting up a frame and executing it. You’re watching for when the frame assembles itself and being ready to fire when it does. Still shooting some film now and then reinforces this. It forces a stillness of attention that’s easy to lose when you know you can just take another three hundred frames.
The single most important thing Kobeissi demonstrates in this tutorial is this: a modest location, managed well, is more than enough. You do not need a dramatic backdrop. You need good light, a clear subject, and enough attention to recognize when the frame is working.
Watch the full tutorial on YouTube and pay particular attention to how she moves through the shoot. The technical details matter, but her pacing and attention are the real lesson.
Comments
Leave a Comment