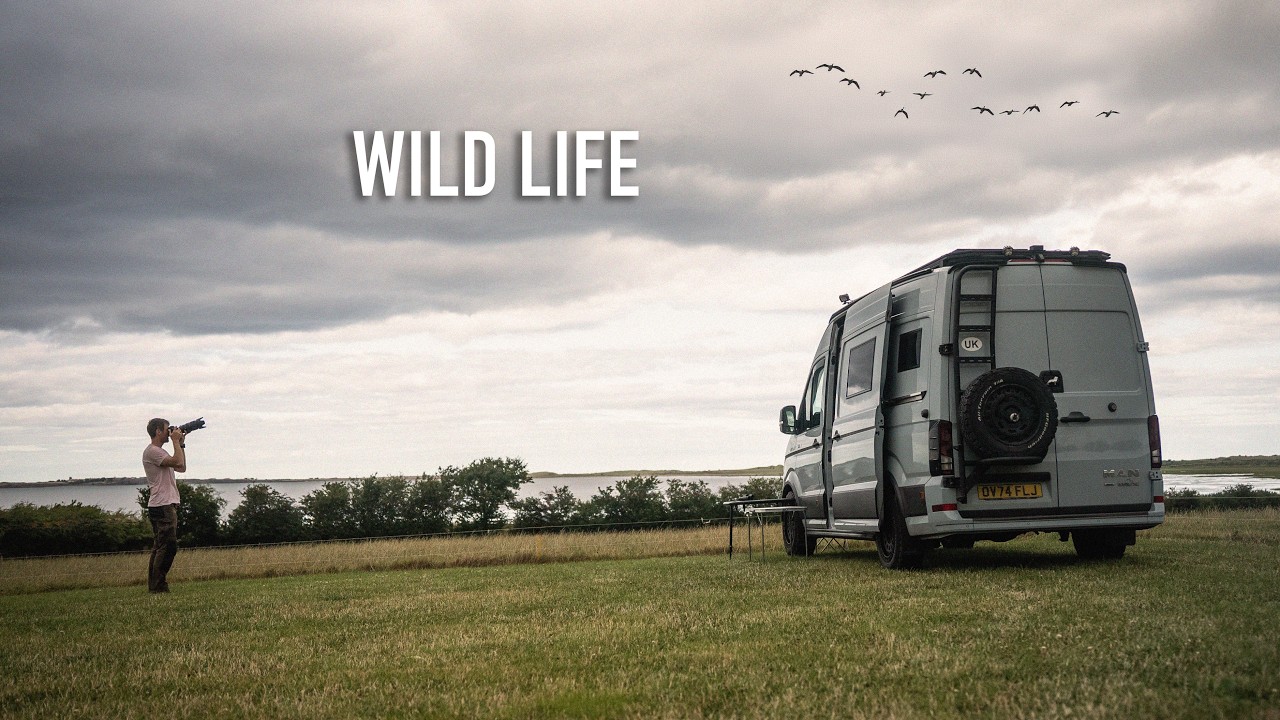
There’s a particular kind of shoot I’ve done dozens of times over twenty years: the one where everything you planned evaporates within the first hour. Wrong season, wrong access, wrong light. You either pack up and sulk, or you adapt and find something better than what you came for. The photographers who last in this work are the ones who’ve made peace with that second path. That’s why I keep coming back to Thomas Heaton’s work. His approach isn’t about controlling conditions. It’s about staying curious when conditions refuse to cooperate.
In this Thomas Heaton tutorial, he camps overnight on the Northumberland coast near Lindisfarne National Nature Reserve, packs a 100-400mm lens, and sets off with wildlife photography in mind. What unfolds is something more instructive than a clean wildlife session would have been. Access restrictions close most of the beach for ground-nesting birds. Rain arrives on cue. The wildlife keeps its distance. And yet Heaton keeps shooting, keeps adjusting, and keeps finding frames. That problem-solving instinct is the real lesson here. Watch the full tutorial on YouTube
Step 1: Gear Selection for a Dual-Purpose Shoot
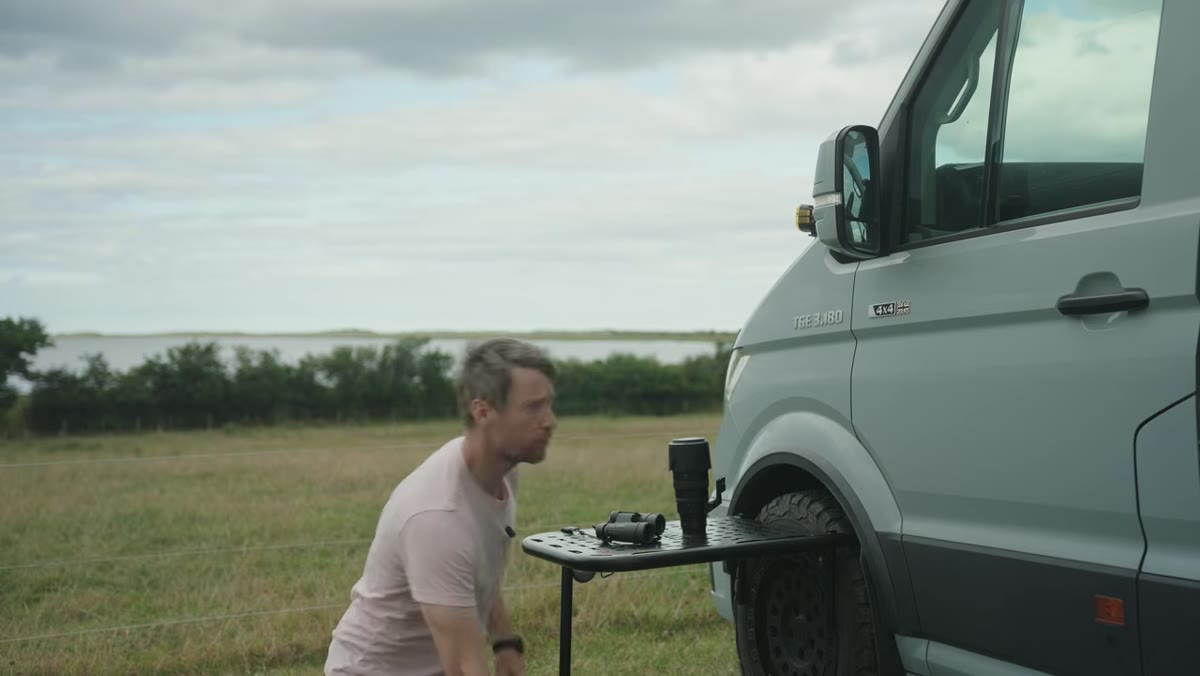 Thomas assembling 100-400mm lens and checking battery
When you’re camping and shooting, every ounce matters, and so does versatility. Heaton pairs a 100-400mm zoom with binoculars, which is a smart dual-purpose kit for coastal environments. The long zoom handles wildlife at distance without requiring you to stalk close enough to disturb nesting birds. The binoculars let you scout behavior and movement before you ever raise the camera. One thing he almost skips: checking the battery. He nearly heads out on a full day’s shoot with a dead camera. Check your charge the night before, not as you’re walking out the door. It sounds basic because it is, but a drained battery has ended more golden-hour sessions than bad weather ever has.
Thomas assembling 100-400mm lens and checking battery
When you’re camping and shooting, every ounce matters, and so does versatility. Heaton pairs a 100-400mm zoom with binoculars, which is a smart dual-purpose kit for coastal environments. The long zoom handles wildlife at distance without requiring you to stalk close enough to disturb nesting birds. The binoculars let you scout behavior and movement before you ever raise the camera. One thing he almost skips: checking the battery. He nearly heads out on a full day’s shoot with a dead camera. Check your charge the night before, not as you’re walking out the door. It sounds basic because it is, but a drained battery has ended more golden-hour sessions than bad weather ever has.
Step 2: Use a Bird Hide as a Tactical Reset
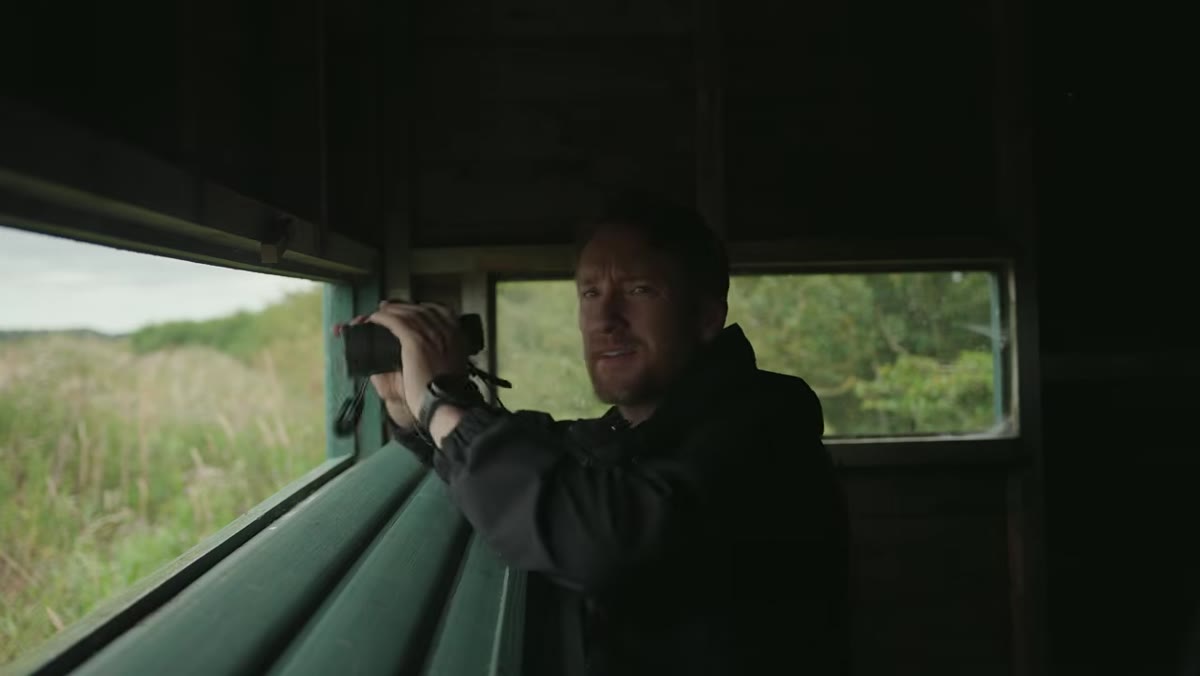 Interior of bird hide overlooking wetland habitat
When rain hits hard and photography feels pointless, Heaton ducks into a bird hide. Most photographers treat this as a shelter stop. He treats it as a recon position. A hide lets you observe movement, behavior, and light transitions without exposing yourself or your equipment. Even if you’re not shooting yet, you’re learning where the birds are feeding, how they’re moving, and what the background looks like at different angles. I’ve spent entire mornings in hides in the Pacific Northwest without firing a single frame, and come away with information that made the next visit far more productive. The hide isn’t a consolation prize. It’s part of the process.
Interior of bird hide overlooking wetland habitat
When rain hits hard and photography feels pointless, Heaton ducks into a bird hide. Most photographers treat this as a shelter stop. He treats it as a recon position. A hide lets you observe movement, behavior, and light transitions without exposing yourself or your equipment. Even if you’re not shooting yet, you’re learning where the birds are feeding, how they’re moving, and what the background looks like at different angles. I’ve spent entire mornings in hides in the Pacific Northwest without firing a single frame, and come away with information that made the next visit far more productive. The hide isn’t a consolation prize. It’s part of the process.
Step 3: Read Access Restrictions Before You Commit to a Composition
 Closed beach signage on Northumberland nature reserve
This is the step most photographers skip, and Heaton learns it the hard way on camera, which makes it more useful to watch. Large sections of this reserve are closed from April through September to protect ground-nesting birds. Some footpaths only open in June and July. He knew access was complicated, hoped it wouldn’t be, and arrived to find the best stretches locked off. Before any shoot on a nature reserve, check the seasonal access map from the managing body, whether that’s Natural England, the RSPB, or a state wildlife agency here in the US. A five-minute check before you drive hours saves a lot of standing at a fence wondering what might have been.
Closed beach signage on Northumberland nature reserve
This is the step most photographers skip, and Heaton learns it the hard way on camera, which makes it more useful to watch. Large sections of this reserve are closed from April through September to protect ground-nesting birds. Some footpaths only open in June and July. He knew access was complicated, hoped it wouldn’t be, and arrived to find the best stretches locked off. Before any shoot on a nature reserve, check the seasonal access map from the managing body, whether that’s Natural England, the RSPB, or a state wildlife agency here in the US. A five-minute check before you drive hours saves a lot of standing at a fence wondering what might have been.
Step 4: Let Surprise Compositions Replace Your Original Plan
 Coastal grasses and wildflowers with moody overcast sky
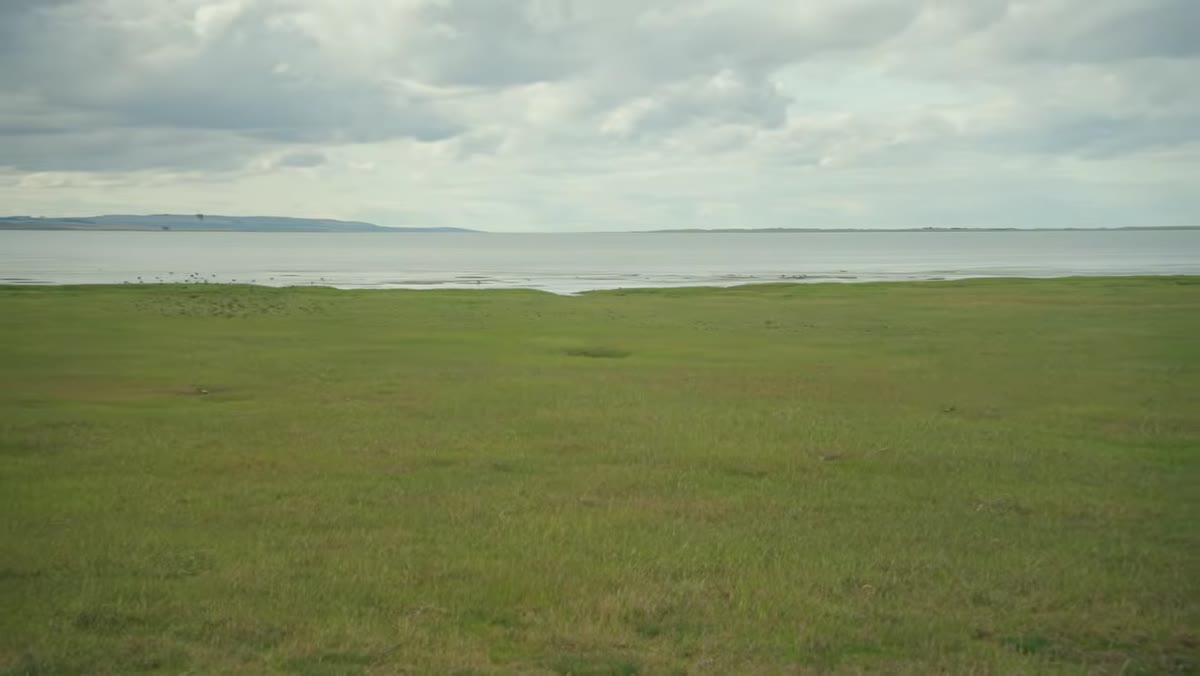
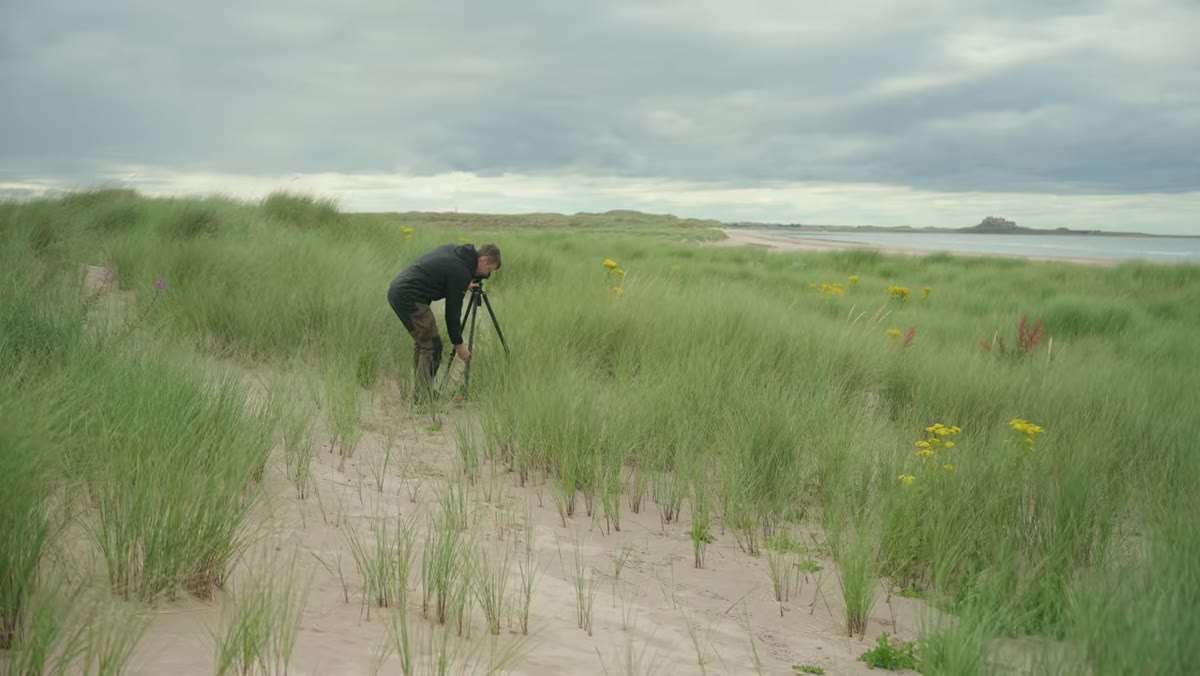
Once Heaton reaches the accessible section of beach, he abandons the wildlife agenda almost immediately. What he finds instead is a foreground of coastal grasses and wildflowers against a heavy, overcast sky. He hadn’t planned for this. He hadn’t scouted it. He just recognized it as a photograph when he arrived. This is the skill worth practicing: keeping your vision flexible enough to see what’s actually in front of you rather than what you expected to find. I trained myself out of rigid shot lists years ago because they create a kind of tunnel vision that causes you to walk past genuinely interesting scenes while searching for the one you had in mind. Arrive with intent, but not with a fixed image.
Coastal grasses and wildflowers with moody overcast sky
Once Heaton reaches the accessible section of beach, he abandons the wildlife agenda almost immediately. What he finds instead is a foreground of coastal grasses and wildflowers against a heavy, overcast sky. He hadn’t planned for this. He hadn’t scouted it. He just recognized it as a photograph when he arrived. This is the skill worth practicing: keeping your vision flexible enough to see what’s actually in front of you rather than what you expected to find. I trained myself out of rigid shot lists years ago because they create a kind of tunnel vision that causes you to walk past genuinely interesting scenes while searching for the one you had in mind. Arrive with intent, but not with a fixed image.
Step 5: Choose Between Sharpness and Motion Based on Conditions
 Thomas setting F16 and ISO 500 for windy foreground grass
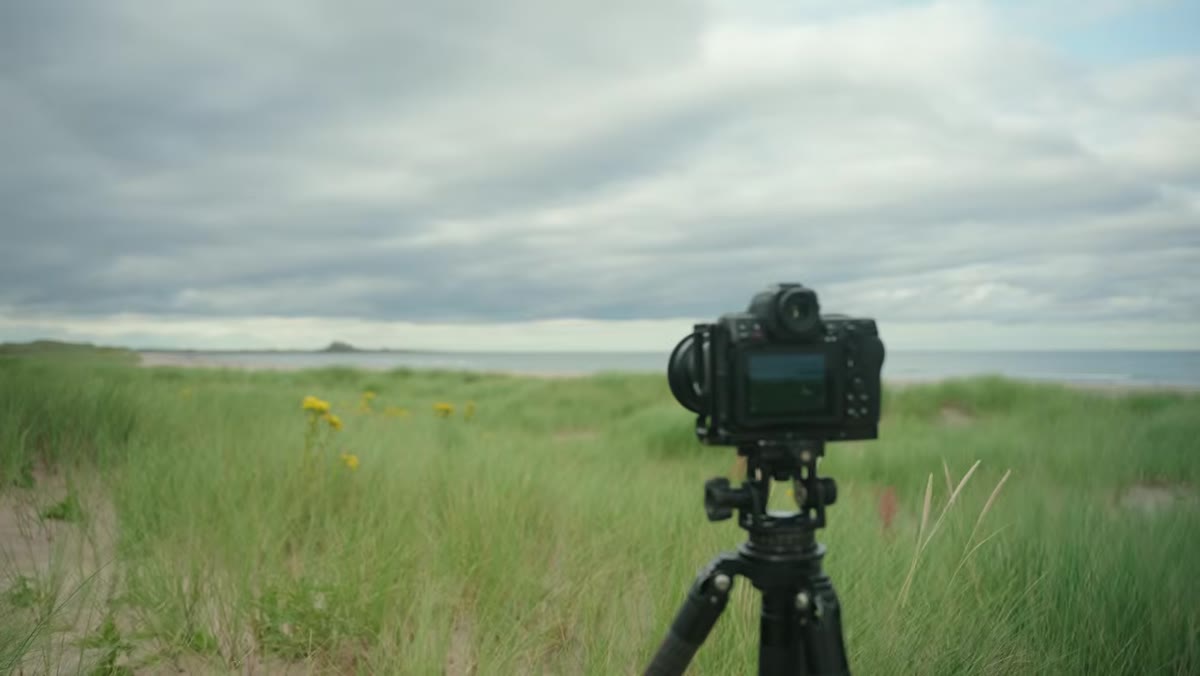
Here’s where the technical decision-making gets practical. Heaton is shooting grasses and flowers in wind, and he faces a choice that comes up constantly in landscape work: do you try to freeze the movement, or do you lean into it? His first instinct is to stop down to F16 for depth of field and raise ISO to 500 to keep the shutter fast enough to freeze the grass. That’s a reasonable starting point. But he quickly realizes the compromise on sharpness isn’t worth it, and he pivots toward a long exposure instead, letting the wind blur the foreground into something more impressionistic. The key technical note here is the logic chain: wide aperture for depth of field requires slower shutter, slower shutter in wind creates motion blur, so if you’re getting blur anyway, make it intentional and dramatic rather than accidental and soft.
Thomas setting F16 and ISO 500 for windy foreground grass
Here’s where the technical decision-making gets practical. Heaton is shooting grasses and flowers in wind, and he faces a choice that comes up constantly in landscape work: do you try to freeze the movement, or do you lean into it? His first instinct is to stop down to F16 for depth of field and raise ISO to 500 to keep the shutter fast enough to freeze the grass. That’s a reasonable starting point. But he quickly realizes the compromise on sharpness isn’t worth it, and he pivots toward a long exposure instead, letting the wind blur the foreground into something more impressionistic. The key technical note here is the logic chain: wide aperture for depth of field requires slower shutter, slower shutter in wind creates motion blur, so if you’re getting blur anyway, make it intentional and dramatic rather than accidental and soft.
Step 6: Shoot Wildlife Opportunistically, Not Obsessively
 Ringed plover on wet sand at the water’s edge
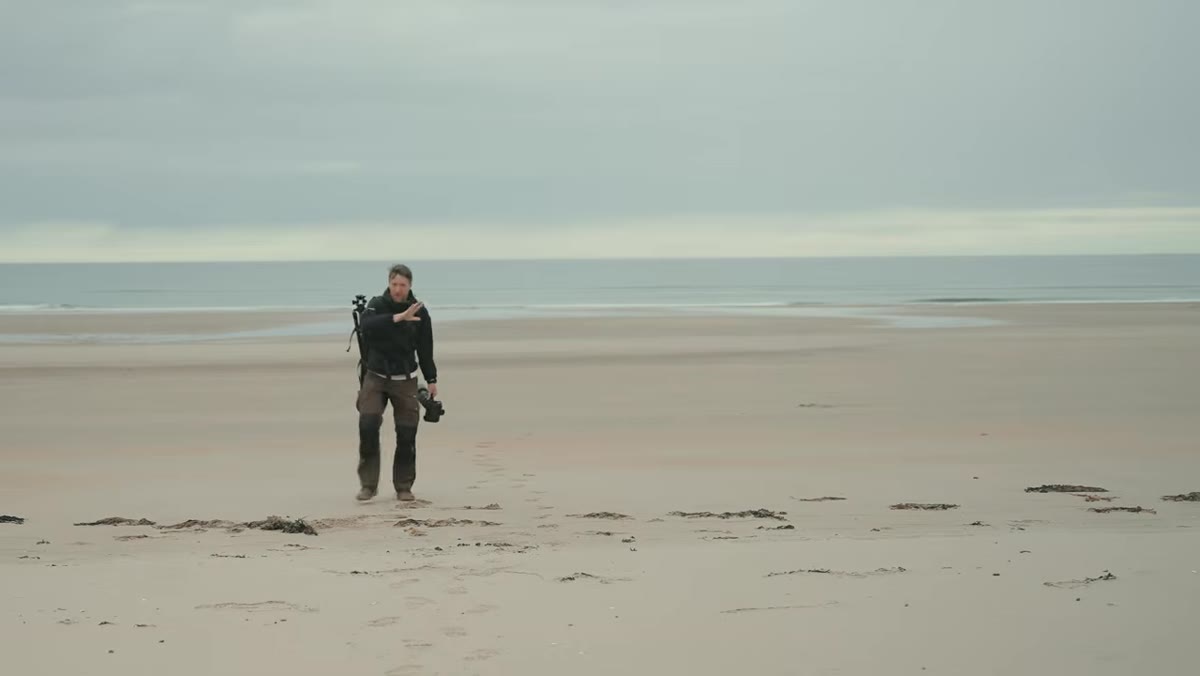
Near the water’s edge, a ringed plover appears on clean wet sand. Heaton raises the 100-400mm, acknowledges the bird is just outside ideal distance, and takes the shot without chasing it. This is wildlife photography discipline in a single moment. Pursuing the bird to close that distance would likely flush it and ruin any chance of a natural behavior shot. Taking what’s available, even if it’s not perfect, keeps the encounter intact and sometimes leads to the bird moving closer on its own. With ground-nesting shorebirds especially, giving distance is both an ethical responsibility and a practical strategy.
Ringed plover on wet sand at the water’s edge
Near the water’s edge, a ringed plover appears on clean wet sand. Heaton raises the 100-400mm, acknowledges the bird is just outside ideal distance, and takes the shot without chasing it. This is wildlife photography discipline in a single moment. Pursuing the bird to close that distance would likely flush it and ruin any chance of a natural behavior shot. Taking what’s available, even if it’s not perfect, keeps the encounter intact and sometimes leads to the bird moving closer on its own. With ground-nesting shorebirds especially, giving distance is both an ethical responsibility and a practical strategy.
A Note From the Field: The Value of Expensive Mistakes
Heaton mentions the campsite was the most expensive he’d ever stayed at, which made me think about how I relate value to outcomes in this work. Some of my highest-cost trips have produced thin portfolios. Some of my best images came from pulling over on a free roadside with nothing but muddy boots and an hour to spare. The expense of a shoot and the quality of what you bring home are entirely unrelated. What matters is whether you stayed observant, made decisions under pressure, and kept working when the original plan dissolved.
The single idea I’d carry away from this tutorial is simpler than any camera setting: the best photographers aren’t the ones with the best locations or the clearest skies. They’re the ones who stay curious and keep shooting when everything goes sideways. Heaton models that instinct throughout this video, and it’s worth watching the whole thing to see it play out in real time.
Watch the full tutorial on YouTube
Comments
Leave a Comment