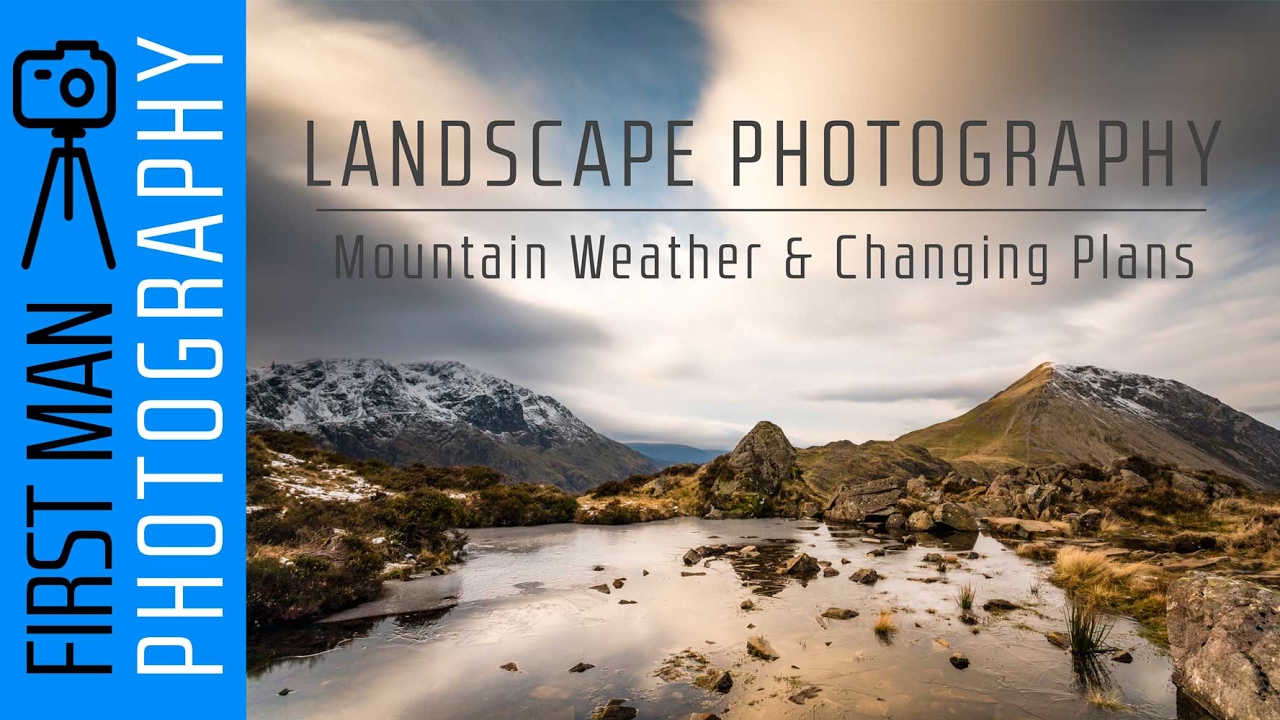
There is a particular kind of photographer who shows up with a perfect shot list, a scouted location, a tide chart, and a color-coded timeline, and then watches the weather tear it all apart by noon. I have been that photographer more times than I care to count. Twenty years of dragging gear up ridgelines before sunrise will teach you, eventually, that your plan is just a starting point. The mountain, as a mentor of mine once put it, does not care about your schedule. What matters is how you adapt when it stops cooperating.
That tension between preparation and flexibility is exactly what makes this recent vlog from First Man Photography so worth studying. Watch the full tutorial on YouTube before or after reading this breakdown. In it, the creator heads into the Buttermere area of England’s Lake District with a clear objective: climb Haystacks mountain, shoot the tarn at higher elevation, and finish with a planned sunset at Buttermere. What unfolds is a masterclass in in-field decision-making, and the lessons apply whether you are shooting the Cascades from my backyard in Bend or the fells of northwest England.
What I want to walk through here is not just what he shoots, but how he thinks while he is moving. That cognitive process, the constant recalculation of time, light, energy, and opportunity, is the real skill being demonstrated.
Step 1: Arrive with a primary objective and a time budget
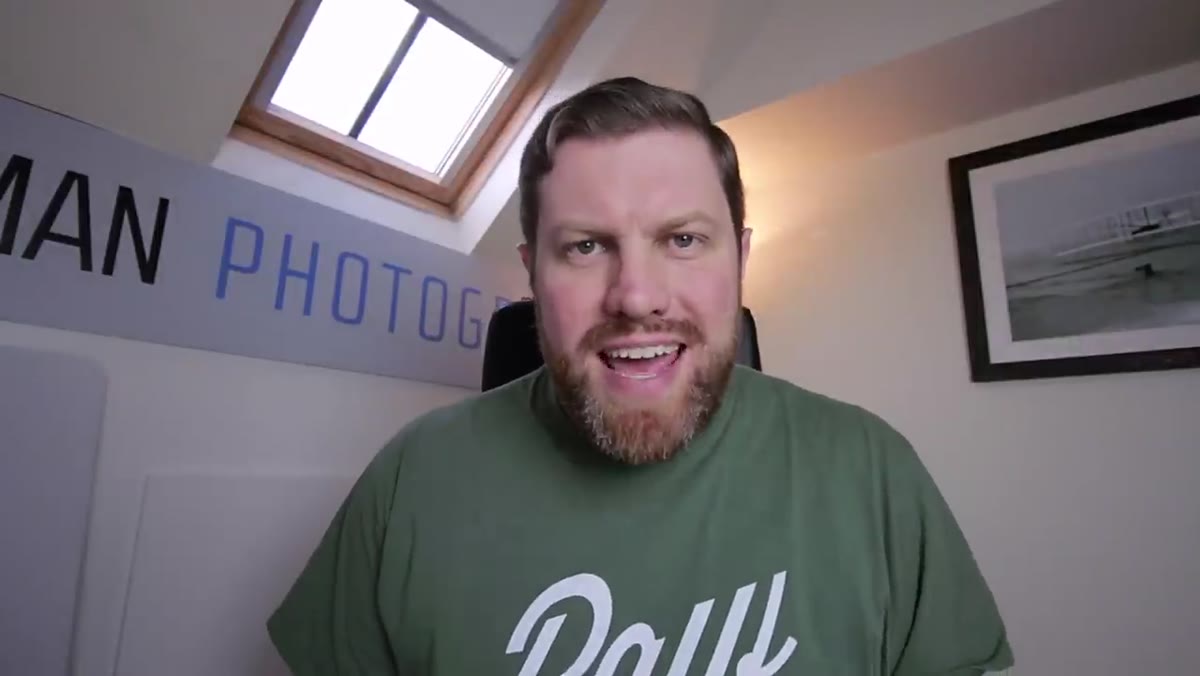 Photographer stating plan to climb Haystacks in Buttermere area
Before the first frame of scenery rolls, the purpose of the outing is already stated clearly: reach the higher elevations of Haystacks, shoot the tarn, and circle back for a sunset composition at Buttermere. That is not one goal, that is three, each dependent on the previous one being executed on time. When you set out for a location like this, especially in winter when daylight runs short, write down your shot priority in order. Know which one you are willing to sacrifice if conditions force a choice. Going in without that hierarchy means you will hesitate at every junction and likely miss all of them.
Photographer stating plan to climb Haystacks in Buttermere area
Before the first frame of scenery rolls, the purpose of the outing is already stated clearly: reach the higher elevations of Haystacks, shoot the tarn, and circle back for a sunset composition at Buttermere. That is not one goal, that is three, each dependent on the previous one being executed on time. When you set out for a location like this, especially in winter when daylight runs short, write down your shot priority in order. Know which one you are willing to sacrifice if conditions force a choice. Going in without that hierarchy means you will hesitate at every junction and likely miss all of them.
In practical terms: check your sunrise and sunset times the night before, map the walking time to your primary location with a buffer of at least 25 percent, and identify your non-negotiable shot. Everything else is a bonus.
Step 2: Recognize the seasonal constraint on shooting time
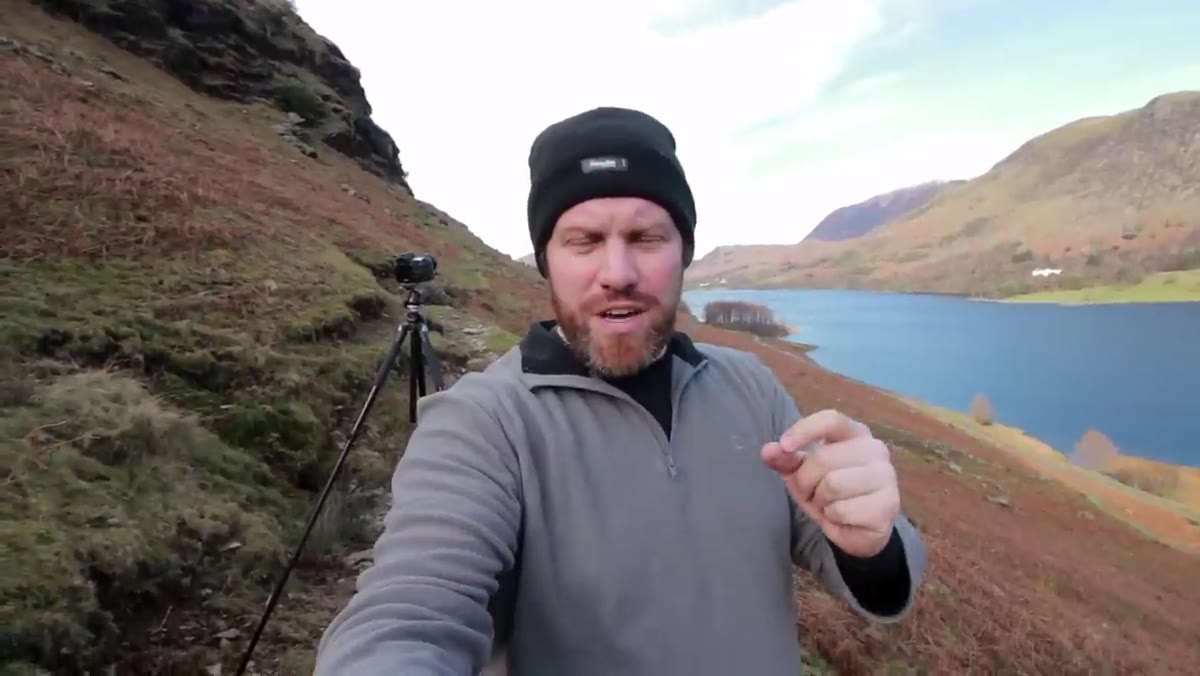 Hiker on lower slopes with wide valley views opening behind him
One of the most honest observations in the video comes early on the climb, when the creator acknowledges that in winter you simply cannot stop for every composition that opens up. The landscape at lower elevations starts revealing itself almost immediately, which is both a gift and a trap. Every halt costs you daylight at the top.
Hiker on lower slopes with wide valley views opening behind him
One of the most honest observations in the video comes early on the climb, when the creator acknowledges that in winter you simply cannot stop for every composition that opens up. The landscape at lower elevations starts revealing itself almost immediately, which is both a gift and a trap. Every halt costs you daylight at the top.
This is something I think about every November through February when I am working in the Oregon high desert or the Cascades foothills. The light window is not just shorter, it is also lower and faster-moving. Your eyes adjust to the beauty and your brain starts rationalizing stops. The discipline is not in ignoring those compositions. It is in making a fast assessment: can I get this in two minutes or less, or does it require setting up a tripod and waiting? If it requires waiting, it probably belongs on a return trip rather than this one.
Step 3: Make fast, handheld opportunistic captures without breaking pace
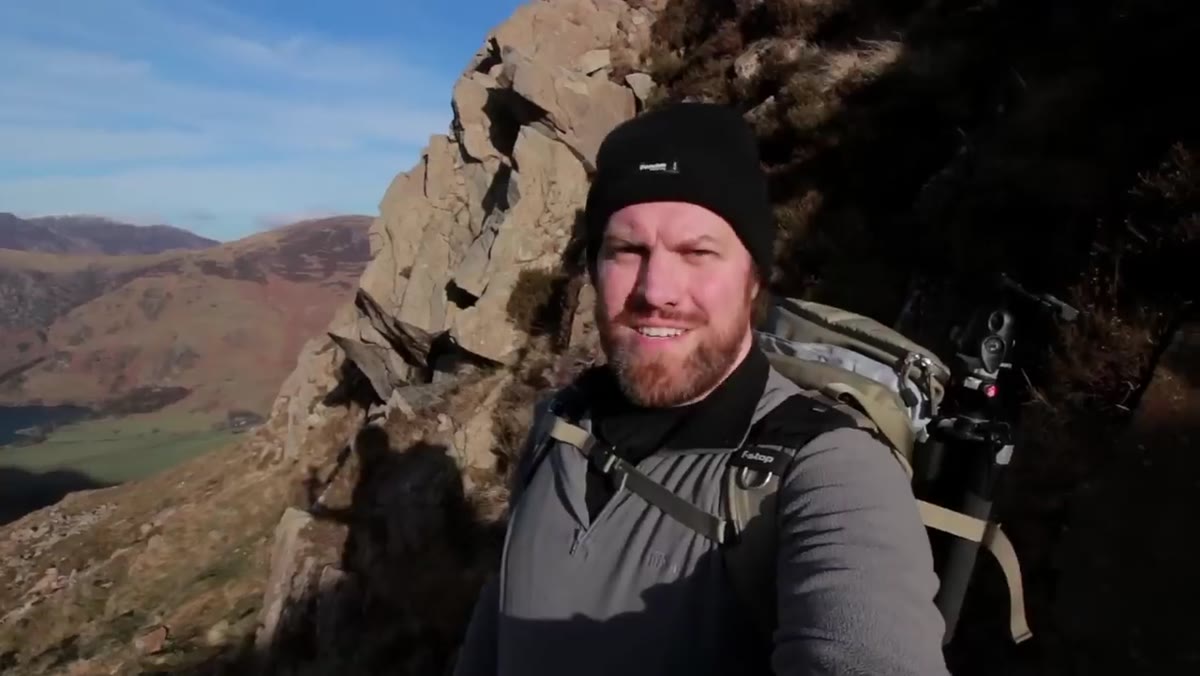 Photographer pausing briefly for a handheld shot of mountainside composition
Midway up the climb, he spots a composition he describes with real specificity: the mountain’s slope running diagonally from upper right to lower left, the foreground green and grey rock catching yellow-toned winter sunlight, and a snow-capped peak sitting in contrast behind it. He stops, shoots it handheld, and moves on.
Photographer pausing briefly for a handheld shot of mountainside composition
Midway up the climb, he spots a composition he describes with real specificity: the mountain’s slope running diagonally from upper right to lower left, the foreground green and grey rock catching yellow-toned winter sunlight, and a snow-capped peak sitting in contrast behind it. He stops, shoots it handheld, and moves on.
This is a legitimate field skill and one that gets undervalued in tutorials that only ever show tripod-mounted, meticulously framed images. A handheld capture in good light, with a clean compositional idea and a fast shutter speed to counter the wind, will produce a usable image. When I see a shot like that, I use the back button focus, bump my ISO to whatever keeps me above 1/400s in those conditions, and take three or four frames. I do not chimp the histogram on location. I note the composition mentally and keep moving. The goal is to honor the opportunity without letting it derail the plan.
Step 4: Read the diagonal and use terrain lines as compositional anchors
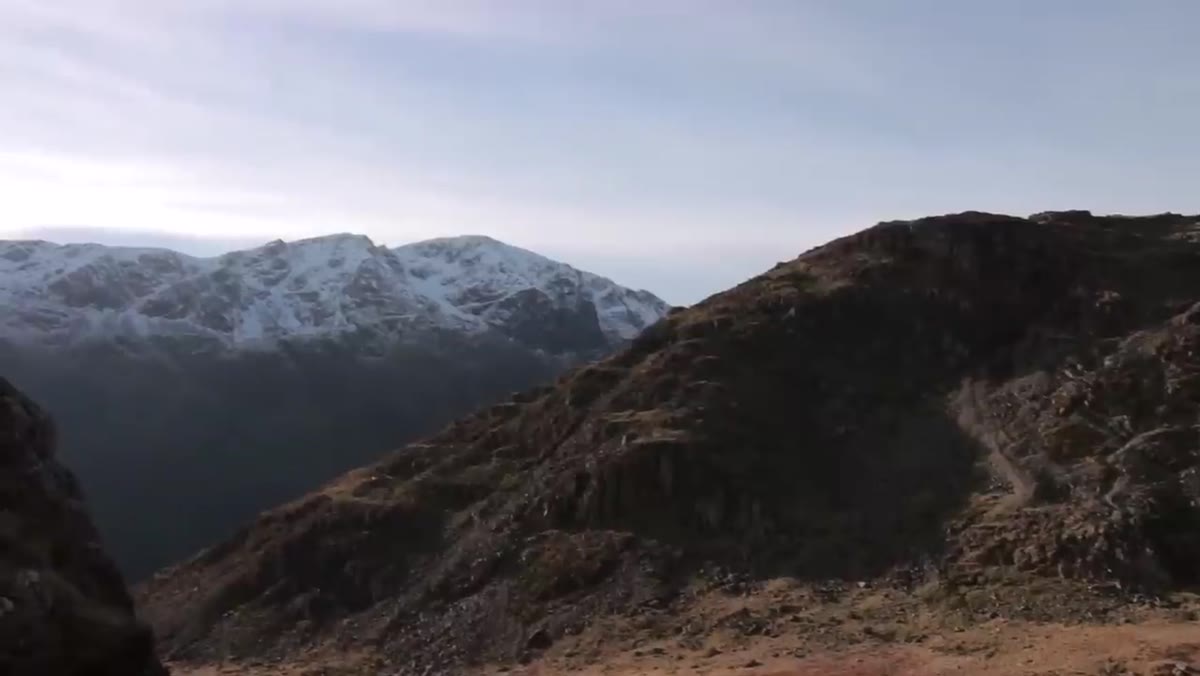 Mountain slope running diagonally across the frame toward snow-capped peak
The compositional instinct he describes deserves its own step because it is teachable. A diagonal line running corner to corner through a frame creates movement and energy in a way that a horizontal horizon simply cannot. When the slope of a mountain does that work for you naturally, your job is to position yourself so the line enters and exits the frame at its strongest corners, typically lower-left to upper-right or the reverse.
Mountain slope running diagonally across the frame toward snow-capped peak
The compositional instinct he describes deserves its own step because it is teachable. A diagonal line running corner to corner through a frame creates movement and energy in a way that a horizontal horizon simply cannot. When the slope of a mountain does that work for you naturally, your job is to position yourself so the line enters and exits the frame at its strongest corners, typically lower-left to upper-right or the reverse.
Stand in slightly different positions and watch how the angle changes. A shift of ten feet sideways on a hillside can collapse or extend that diagonal significantly. He notes the color contrast as well: warm-lit foreground against a cooler, darker background. That is a two-stop difference in perceived brightness working in your favor. Let the terrain give you the depth, and your exposure becomes simpler.
Step 5: Accept that summit conditions will sometimes close the door
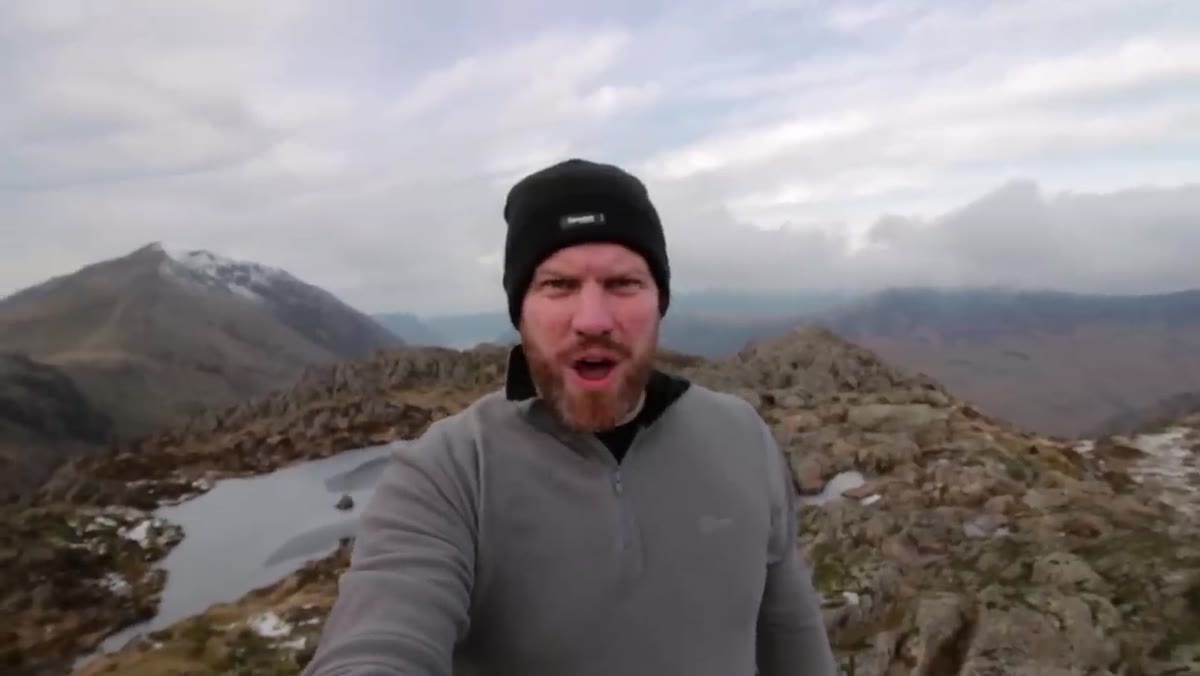 Top of Haystacks, visibly windy with weather rolling in across ridge
He reaches the summit and the weather has moved in. High winds, cold, limited visibility. The plan for lingering golden-hour shots at the tarn is no longer viable. This is not failure. This is mountain photography.
Top of Haystacks, visibly windy with weather rolling in across ridge
He reaches the summit and the weather has moved in. High winds, cold, limited visibility. The plan for lingering golden-hour shots at the tarn is no longer viable. This is not failure. This is mountain photography.
The practical lesson here is about physical preparation as much as creative preparation. Conditions at elevation change faster than the forecasts suggest, particularly in maritime climates like the Lake District. Dress for the worst version of the forecast, not the best. Carry an extra layer you hope not to need. When conditions force you off a summit early, your fallback location should already be in your head, which in this case was Buttermere below.
What I Do Differently at This Point in the Day
When a planned primary location shuts down on me, my first instinct used to be frustration. Now I treat it as a redirect. I have a rule I picked up after too many wasted drives: any location you reach teaches you something about the next visit, even if you come home empty. That mental shift keeps you shooting instead of sulking.
On a day like this Haystacks shoot, I would have been moving back toward lower elevation well before the summit deteriorated, banking on the soft post-storm light that often appears in the valley just as the ridge clouds over. Buttermere under that kind of sky, with storm texture still moving overhead, can produce something more interesting than a clean sunset ever would. Flexibility is not lowering your standards. It is raising your situational awareness.
The single most transferable idea in this entire video is this: your shot plan is a framework for decision-making, not a script. The photographers who consistently come home with strong work are not the ones with the best plans. They are the ones who know exactly which part of the plan to abandon, and when.
Watch the full tutorial on YouTube and pay particular attention to the moments where the creator is visibly weighing time against opportunity. That internal calculation is the real craft being shown.
Comments
Leave a Comment