There’s a question I still ask myself every single time I set up my tripod, no matter how many times I’ve done this. Not what aperture. Not what shutter speed. Where do I focus? Get that wrong and it doesn’t matter how beautiful the light is or how perfectly timed your shutter release was. Soft images don’t sell prints, and they definitely don’t hold up on a 30-inch canvas. After twenty years of shooting landscapes, I can make that call quickly most of the time, but I still go back to first principles when a scene throws me off. That’s what I appreciated about this William Patino tutorial, Watch the full tutorial on YouTube, because it lays out the logic clearly, with real images and real decisions, not just theory.
What Patino is really teaching here is a thinking framework, not a magic focus point. The answer depends on three variables working together: your aperture, your focal length, and how close you are to your nearest subject. Change any one of those and the correct focus point shifts. Once you understand how those three interact, you stop guessing and start solving. Here is how I’d walk you through it.
Step 1: Understand the Three Variables Before You Touch the Focus Ring
 Three key factors listed: aperture, focal length, subject proximity
Before you make any focus decision, you need a quick mental checklist. Aperture determines how much depth of field you’re working with. Narrower apertures like f/11 or f/16 give you more front-to-back sharpness, wider apertures like f/4 give you very little. Focal length matters too: a 16mm wide-angle lens renders far more of a scene in focus at a given aperture than a 70mm or 200mm lens would. And proximity is the kicker. The closer you are to your foreground subject, the harder it becomes to hold sharpness across the full frame. Run through all three in your head before you pick your focus point. They’re not independent choices.
Three key factors listed: aperture, focal length, subject proximity
Before you make any focus decision, you need a quick mental checklist. Aperture determines how much depth of field you’re working with. Narrower apertures like f/11 or f/16 give you more front-to-back sharpness, wider apertures like f/4 give you very little. Focal length matters too: a 16mm wide-angle lens renders far more of a scene in focus at a given aperture than a 70mm or 200mm lens would. And proximity is the kicker. The closer you are to your foreground subject, the harder it becomes to hold sharpness across the full frame. Run through all three in your head before you pick your focus point. They’re not independent choices.
Step 2: Default to the Middle Third of the Scene for Most Wide-Angle Shots
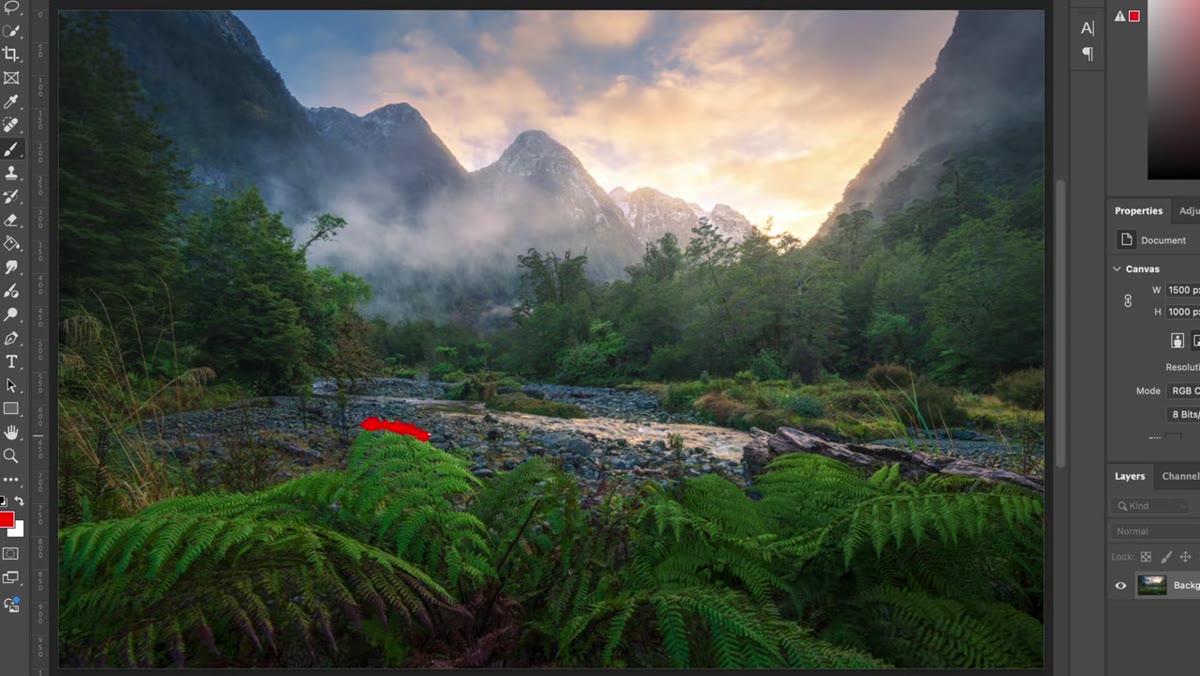
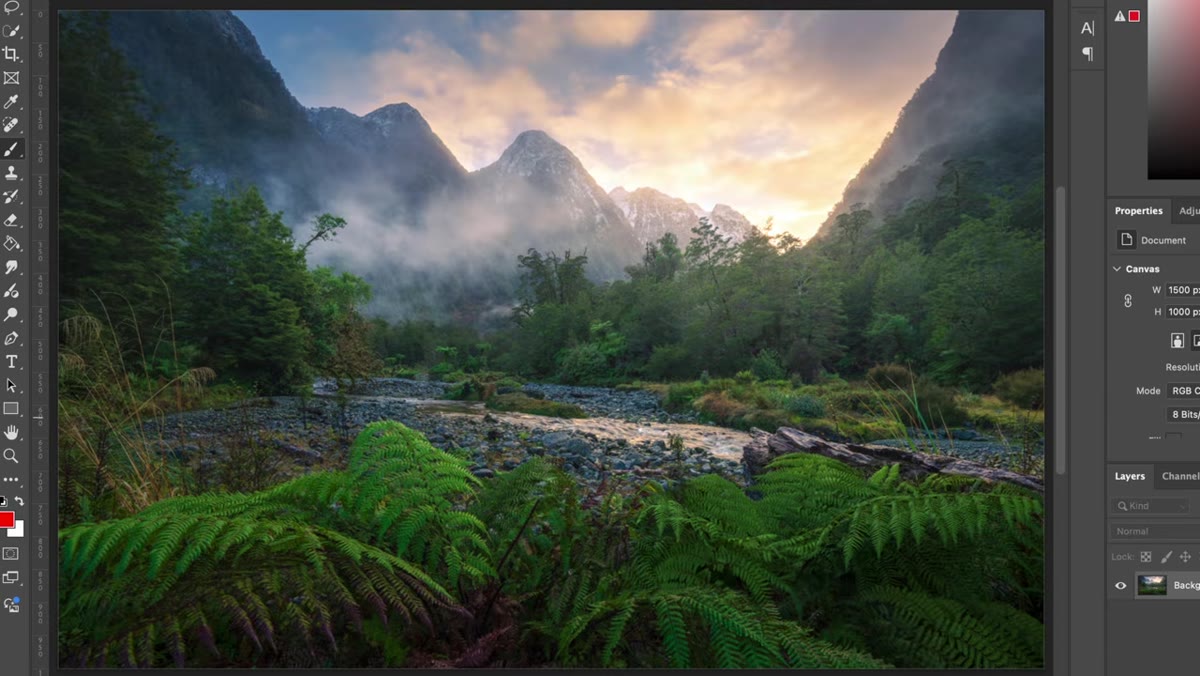 Wide landscape with fern foreground, mountains behind, focus zone indicated in midground
For the majority of classic wide-angle landscape setups, which is probably 90 percent of what most of us shoot, Patino’s answer is consistent: focus in the midground. Not the immediate foreground. Not the far horizon. Somewhere in that middle zone between the two. In a scene with a textured foreground and a mountain range behind it, that means placing your focus point roughly a third to halfway into the frame. The optical math works out in your favor because depth of field extends both in front of and behind your chosen focus point, and it extends further behind it than in front of it. Putting your focus in the middle leverages that asymmetry.
Wide landscape with fern foreground, mountains behind, focus zone indicated in midground
For the majority of classic wide-angle landscape setups, which is probably 90 percent of what most of us shoot, Patino’s answer is consistent: focus in the midground. Not the immediate foreground. Not the far horizon. Somewhere in that middle zone between the two. In a scene with a textured foreground and a mountain range behind it, that means placing your focus point roughly a third to halfway into the frame. The optical math works out in your favor because depth of field extends both in front of and behind your chosen focus point, and it extends further behind it than in front of it. Putting your focus in the middle leverages that asymmetry.
The practical move here is not to overthink the specific subject within the midground. Whether it’s a river bend, a cluster of rocks, or the leading edge of some ferns, the difference in distance to your lens is negligible. The lens sees all of it as roughly the same zone. Pick a midground anchor, set your focus, and move on.
Step 3: Choose Your Aperture Based on How Close You Are to the Foreground
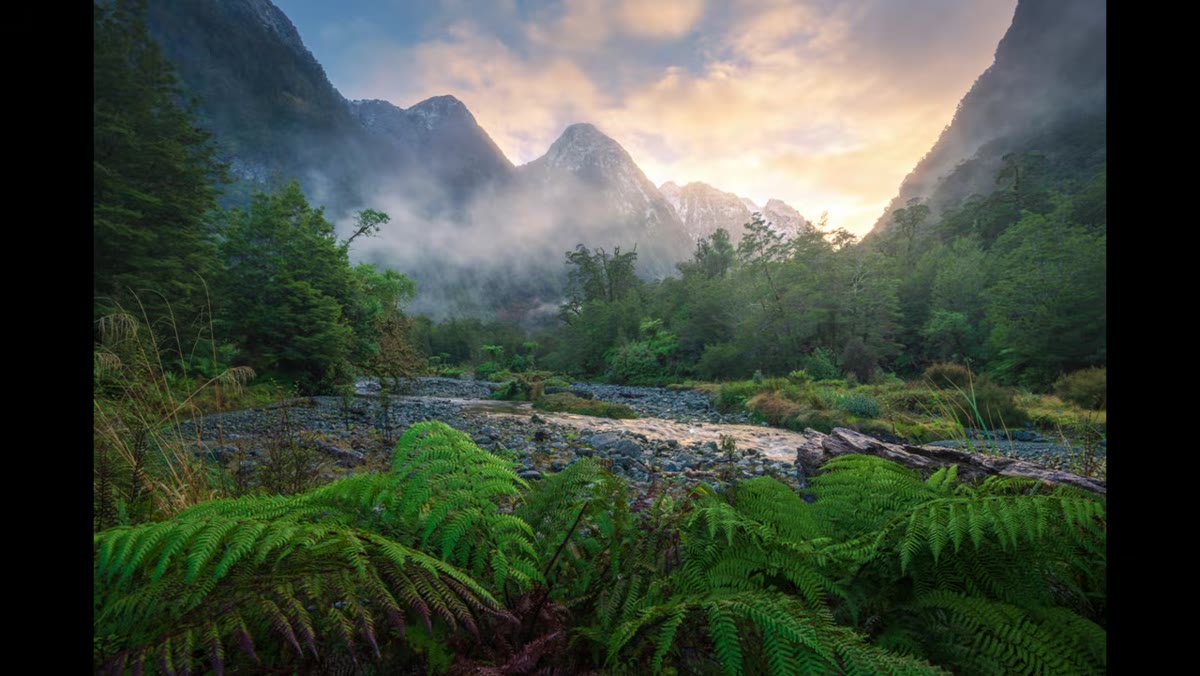 Wide-angle scene with very close foreground, aperture range f8-f16 discussed
Once you’ve identified your focus point, aperture becomes your main dial for stretching sharpness to the edges of the frame. Patino walks through this practically: start at f/8 if you’re shooting wide and your foreground isn’t extremely close. Review the image on the back of the camera, then zoom into the corners and check both the foreground and the background critically. If the far background is soft, move to f/11. If the foreground is still soft at f/11, try f/16. This iterative approach, shoot, review, adjust, is honest field practice. It’s not a failure to need two tries. It’s just how it works.
Wide-angle scene with very close foreground, aperture range f8-f16 discussed
Once you’ve identified your focus point, aperture becomes your main dial for stretching sharpness to the edges of the frame. Patino walks through this practically: start at f/8 if you’re shooting wide and your foreground isn’t extremely close. Review the image on the back of the camera, then zoom into the corners and check both the foreground and the background critically. If the far background is soft, move to f/11. If the foreground is still soft at f/11, try f/16. This iterative approach, shoot, review, adjust, is honest field practice. It’s not a failure to need two tries. It’s just how it works.
Step 4: Use In-Camera Review Critically - Zoom Into the Corners
 Reviewing image on camera, zooming in to check sharpness at corners and background
The review step deserves its own attention because most people do it wrong. Glancing at the image at full view on the LCD tells you almost nothing about corner sharpness. You need to zoom in, physically navigate to the far background, then navigate to the foreground, and check both. Patino is explicit about this. A shot that looks sharp at thumbnail size can be disappointingly soft in the corners when you get home and open it on a monitor. Build the habit of doing that quality check in the field when you still have time to reshoot.
Reviewing image on camera, zooming in to check sharpness at corners and background
The review step deserves its own attention because most people do it wrong. Glancing at the image at full view on the LCD tells you almost nothing about corner sharpness. You need to zoom in, physically navigate to the far background, then navigate to the foreground, and check both. Patino is explicit about this. A shot that looks sharp at thumbnail size can be disappointingly soft in the corners when you get home and open it on a monitor. Build the habit of doing that quality check in the field when you still have time to reshoot.
Step 5: When Depth of Field Isn’t Enough, Focus Stack
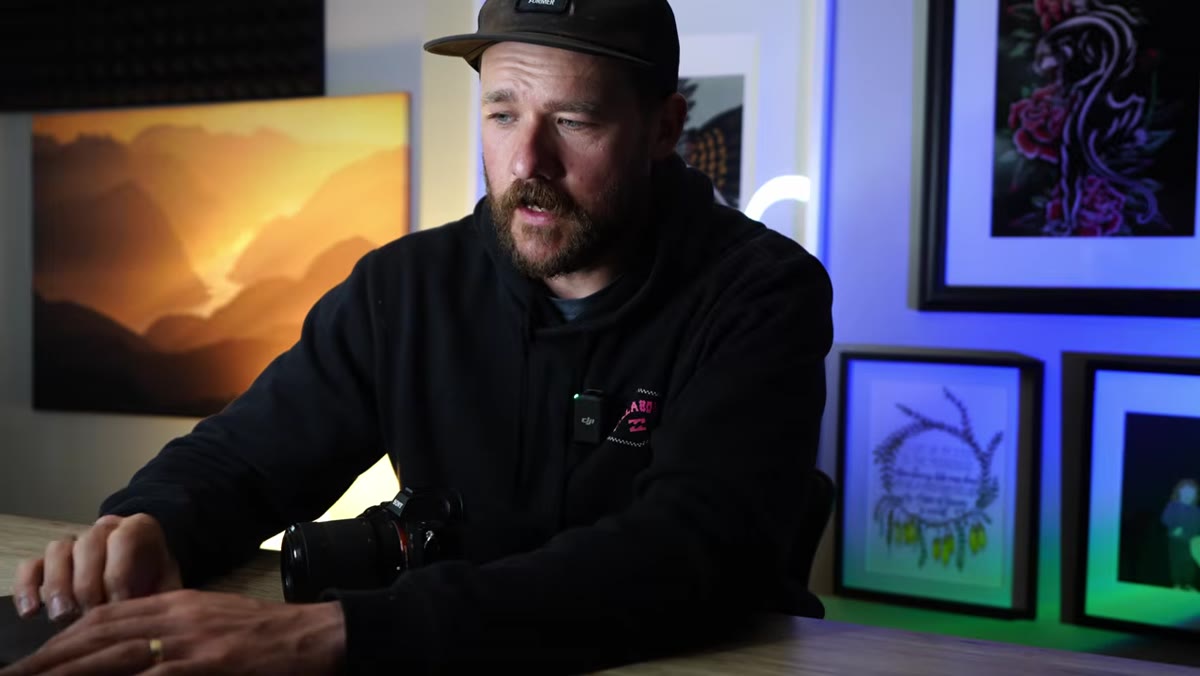 Diagram of focus stacking: one frame focused near, one focused far
Sometimes you’ve pushed to f/16 and you’re still not getting sharpness all the way from a very close foreground to a distant horizon. That’s not a failure of technique, it’s just physics. The scene requires more depth of field than a single frame can provide. The solution is focus stacking: take one frame focused on the near foreground, one on the midground or background, and blend them in post. Patino treats this as a practical tool, not a last resort. Two or three frames merged in Photoshop or Lightroom gives you an effective depth of field that no single aperture can match.
Diagram of focus stacking: one frame focused near, one focused far
Sometimes you’ve pushed to f/16 and you’re still not getting sharpness all the way from a very close foreground to a distant horizon. That’s not a failure of technique, it’s just physics. The scene requires more depth of field than a single frame can provide. The solution is focus stacking: take one frame focused on the near foreground, one on the midground or background, and blend them in post. Patino treats this as a practical tool, not a last resort. Two or three frames merged in Photoshop or Lightroom gives you an effective depth of field that no single aperture can match.
Step 6: For Scenes with a Dominant Single Subject, Focus Directly on It
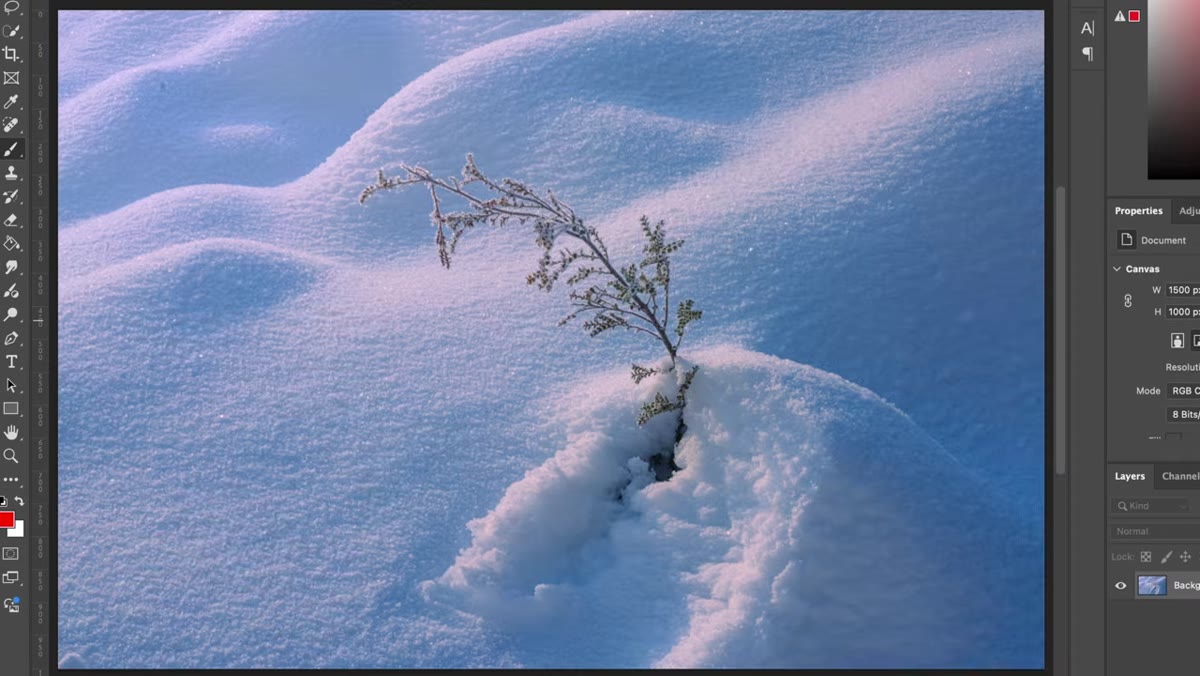 Close branch subject isolated against background, direct focus on branch
Not every landscape scene has foreground, midground, and background layers. Sometimes you have one clear subject - a branch against a sky, a lone tree in a field, a boulder close to the lens with nothing interesting behind it. In those cases, abandon the midground rule entirely and focus directly on the subject. There’s no depth-of-field puzzle to solve when the composition doesn’t demand front-to-back sharpness. Read the scene first, then choose your strategy.
Close branch subject isolated against background, direct focus on branch
Not every landscape scene has foreground, midground, and background layers. Sometimes you have one clear subject - a branch against a sky, a lone tree in a field, a boulder close to the lens with nothing interesting behind it. In those cases, abandon the midground rule entirely and focus directly on the subject. There’s no depth-of-field puzzle to solve when the composition doesn’t demand front-to-back sharpness. Read the scene first, then choose your strategy.
What Twenty Years in the Field Adds to This
I still occasionally shoot a roll of film, partly because it slows me down and forces me to commit to every frame. One habit that carried over from that practice: I always ask myself whether I actually need front-to-back sharpness before I start chasing it. Patino’s framework is excellent for scenes that demand it, but some of my best-selling prints were made at f/5.6 with a soft, dreamy background that draws the eye straight to the subject. Depth of field is a creative choice before it’s a technical one. Know how to achieve full-frame sharpness, but also know when to deliberately let it go.
The single most important idea in this tutorial is also the simplest: for wide-angle landscape scenes, focus in the midground and let your aperture do the rest. Stop guessing at the foreground or locking onto the horizon. That middle zone, reviewed critically on the LCD and adjusted by aperture until both ends of the frame hold, is where consistently sharp landscape images come from.
Watch the full tutorial on YouTube to see Patino walk through the actual images and live adjustments. Seeing the specific frames he references makes the focus zones much easier to visualize before you head out to shoot.
Comments
Leave a Comment