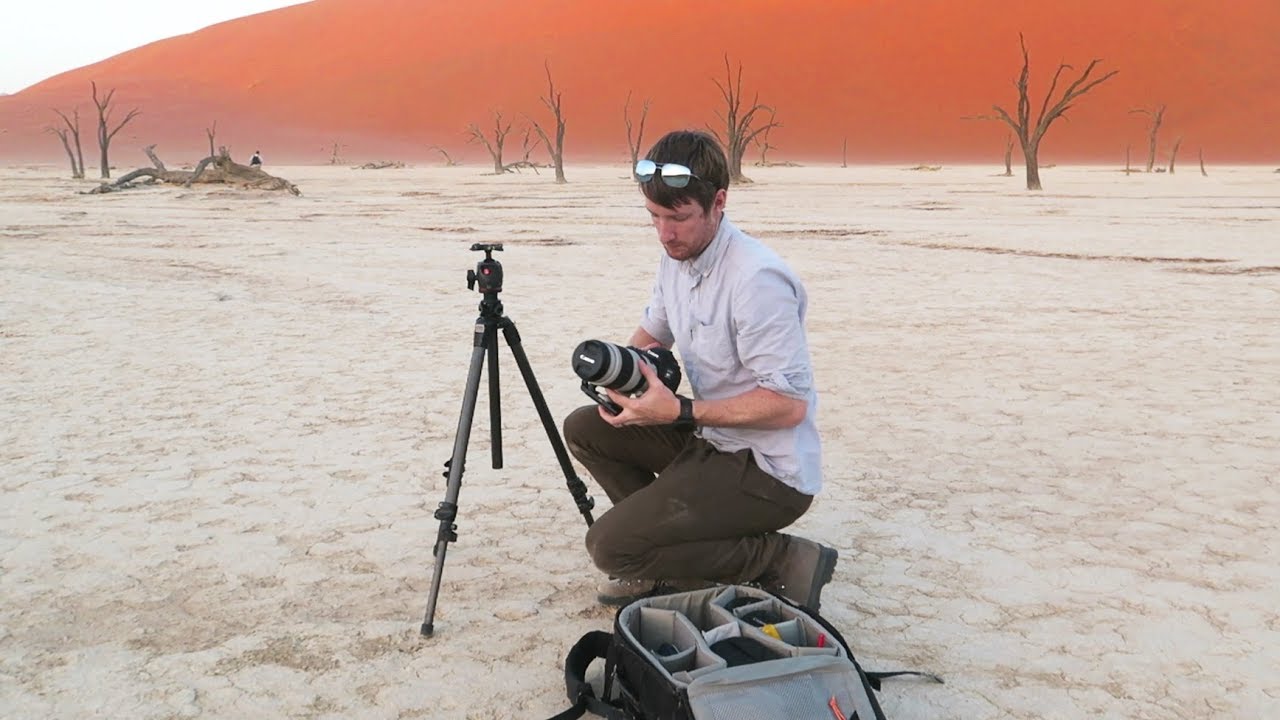
There’s a particular kind of paralysis that hits when you’re standing inside a landscape so enormous it refuses to organize itself into a frame. I’ve felt it in the Oregon high desert, in Iceland, in the Palouse. The scene is undeniably beautiful, but every wide-angle composition you try looks like a postcard that forgot its subject. The foreground is cluttered, the horizon is restless, and nothing tells you where to look. For years, my instinct was to keep pushing with the 16-35mm until something clicked. It rarely did.
What actually solved it was a shift I resisted for longer than I should admit: reaching for the long end of my kit instead. In this Thomas Heaton tutorial, Watch the full tutorial on YouTube, Heaton works through two locations in Namibia, including the white dunes near Swakopmund and the ghost trees of Deadvlei in Sossusvlei, and the footage makes an unusually honest case for telephoto landscape work. He struggles, adapts, and pulls genuinely strong images out of conditions that would have sent a lot of photographers back to the car. What follows is my own breakdown of what he demonstrates and how I’ve folded those ideas into my own fieldwork.
Step 1: Arrive Early and Accept the Disorientation
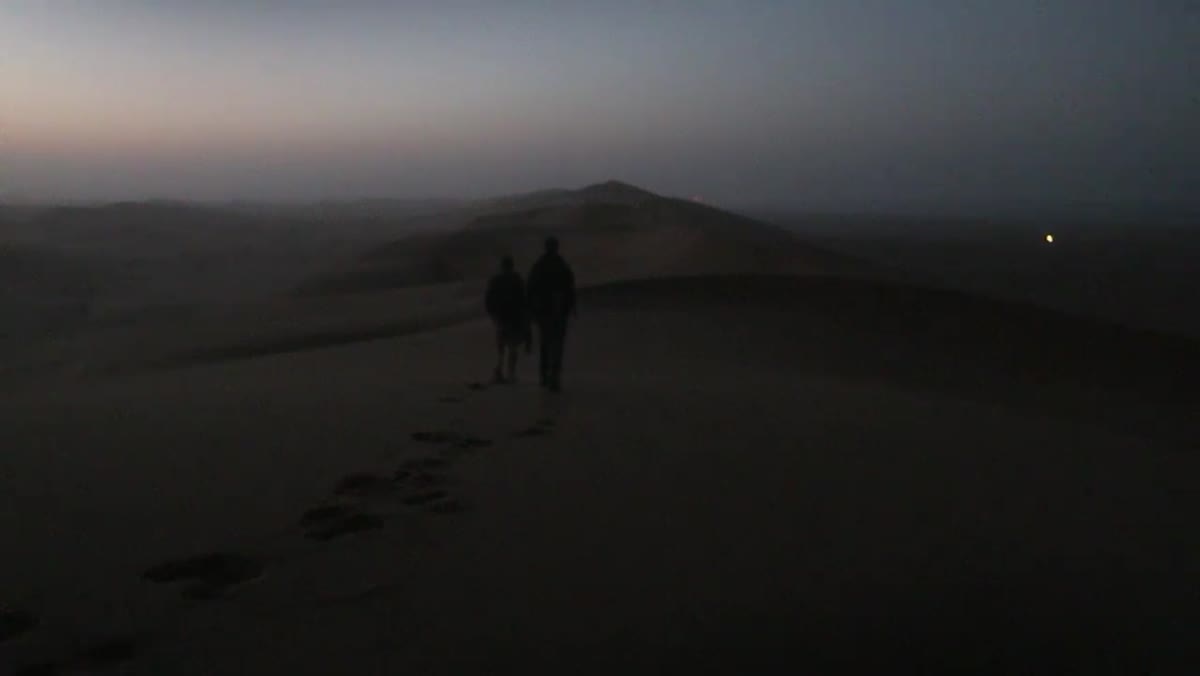 Photographer walking through white dunes in dim pre-sunrise light
Heaton arrives at the dunes roughly half an hour before sunrise, and the first thing he acknowledges is how hard it is to read the landscape in flat, pre-dawn light. Shapes disappear. Distances become unreliable. This is not a problem to solve immediately. It’s information. Walking the scene before the light arrives tells you where the interesting forms live, even if you can’t fully see them yet.
Photographer walking through white dunes in dim pre-sunrise light
Heaton arrives at the dunes roughly half an hour before sunrise, and the first thing he acknowledges is how hard it is to read the landscape in flat, pre-dawn light. Shapes disappear. Distances become unreliable. This is not a problem to solve immediately. It’s information. Walking the scene before the light arrives tells you where the interesting forms live, even if you can’t fully see them yet.
Force yourself to physically explore rather than planting your tripod at the first promising spot. In low-contrast light, your eye will naturally be drawn to tonal variation and line rather than color, which is exactly the kind of seeing that rewards telephoto work later.
Step 2: When the Wide Angle Fails, Commit to the Long Lens
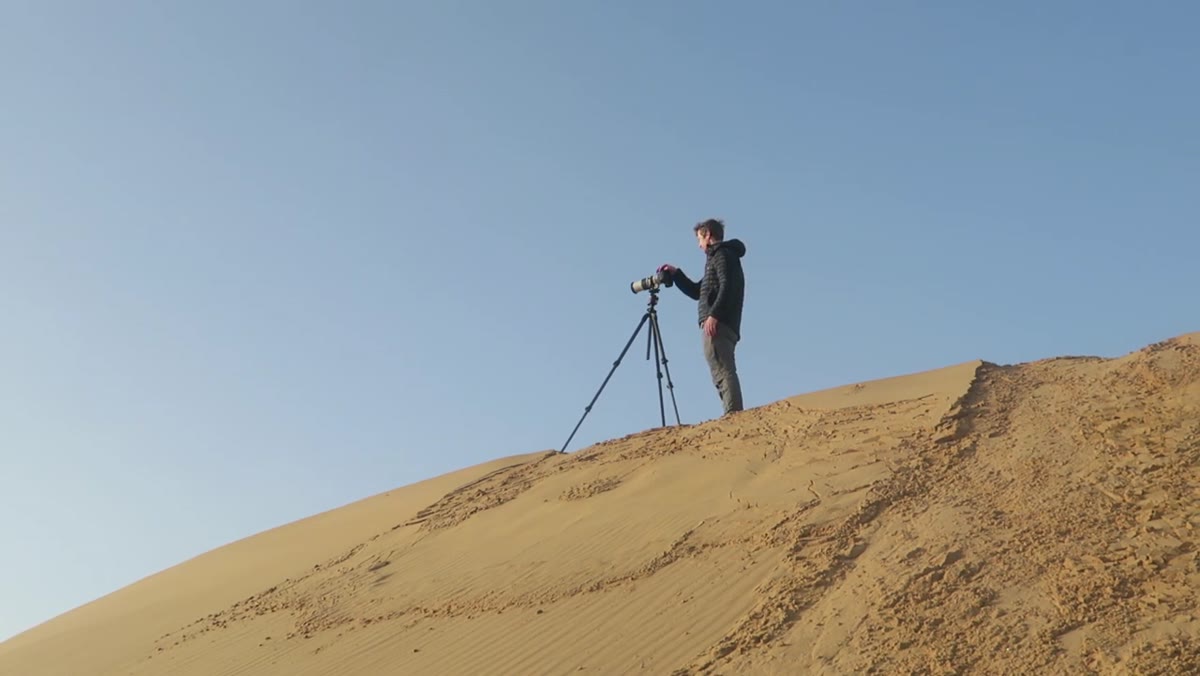 Photographer with long lens raised, shooting across dune landscape
Once the sun crests and the wind picks up, Heaton stops fighting for a grand wide-angle scene and puts the long lens on. He’s shooting at just over 300mm. This is the pivot the whole video turns on, and it’s a genuinely useful mental shift to practice. The landscape hasn’t changed. His relationship to it has.
Photographer with long lens raised, shooting across dune landscape
Once the sun crests and the wind picks up, Heaton stops fighting for a grand wide-angle scene and puts the long lens on. He’s shooting at just over 300mm. This is the pivot the whole video turns on, and it’s a genuinely useful mental shift to practice. The landscape hasn’t changed. His relationship to it has.
A telephoto focal length in the 200-400mm range lets you edit the world down to its essentials. You’re not capturing a place so much as a moment of light falling across a specific texture. That’s a completely different creative task, and it’s one where a chaotic or “flat” landscape often has more to offer than a tidy one.
Step 3: Focus to Infinity and Hunt for Shapes
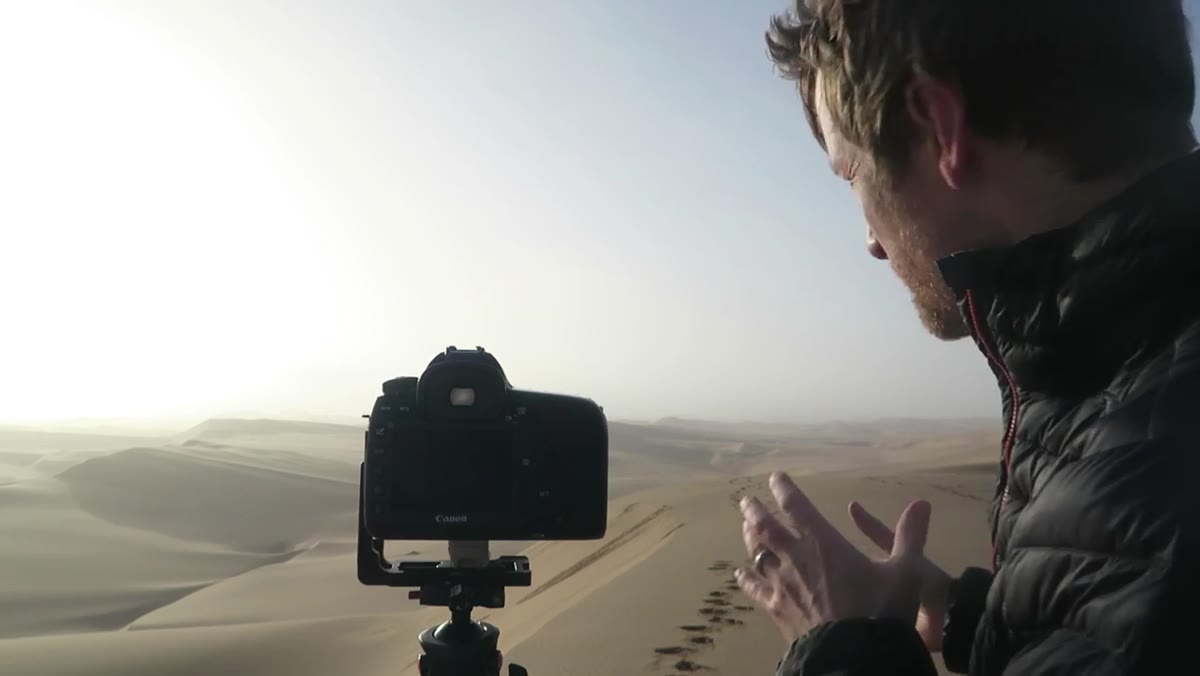 View through telephoto lens isolating dune ridgelines and shadow patterns
Heaton’s field approach here is refreshingly simple. He sets focus to infinity, which is appropriate when you’re picking out features miles away, and then moves the lens slowly across the landscape looking for abstract patterns. He’s not trying to build a three-part composition with foreground interest and leading lines. He’s finding shapes.
View through telephoto lens isolating dune ridgelines and shadow patterns
Heaton’s field approach here is refreshingly simple. He sets focus to infinity, which is appropriate when you’re picking out features miles away, and then moves the lens slowly across the landscape looking for abstract patterns. He’s not trying to build a three-part composition with foreground interest and leading lines. He’s finding shapes.
Look for the geometry the light is revealing. Ridge lines, shadow edges, the repeating curve of dune faces. At 300mm, even a subtle difference in tone between a sunlit slope and a shaded valley becomes a graphic, almost painterly element. Shoot at f/8 to f/11 to keep the distant details sharp, and use your body or a bag to shield the front element from wind and stray light.
Step 4: Let Footprint Contamination Change Your Direction
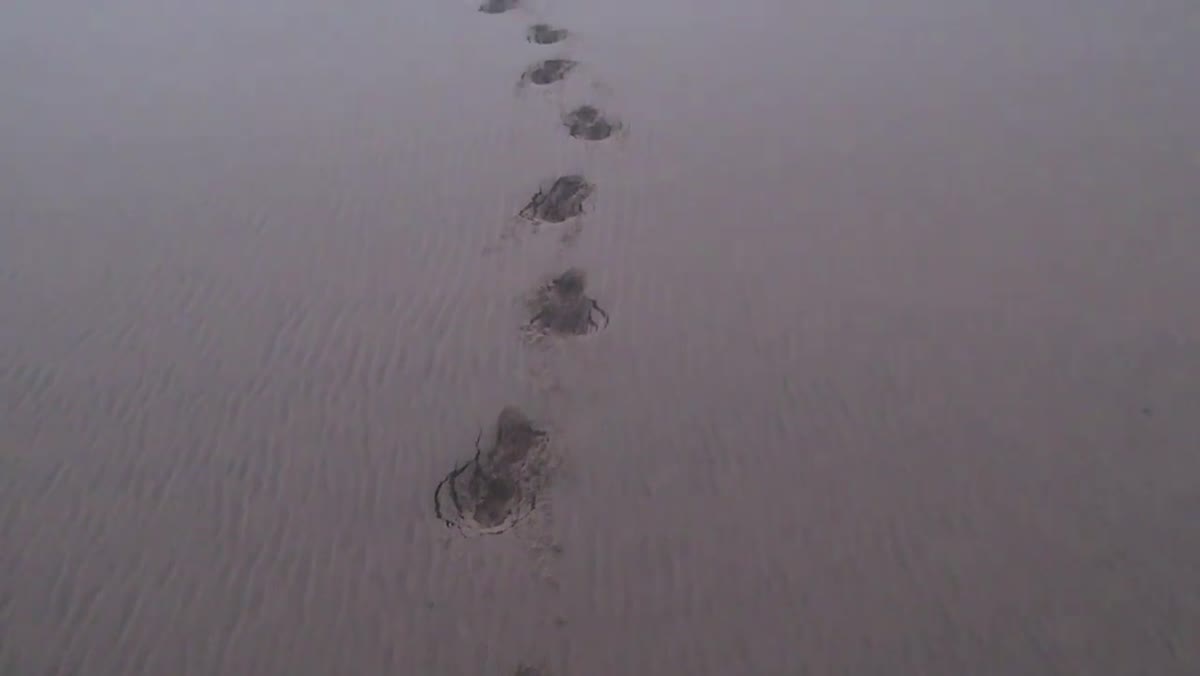 Photographer looking back across dunes, evaluating where footprints have disrupted sand
This is a practical detail that doesn’t get discussed much in telephoto tutorials: in a pristine landscape like a sand dune field, every step you take behind you is a potential composition you’ve just destroyed. Heaton mentions this explicitly, noting that where he’s already walked is no longer clean to photograph from that direction.
Photographer looking back across dunes, evaluating where footprints have disrupted sand
This is a practical detail that doesn’t get discussed much in telephoto tutorials: in a pristine landscape like a sand dune field, every step you take behind you is a potential composition you’ve just destroyed. Heaton mentions this explicitly, noting that where he’s already walked is no longer clean to photograph from that direction.
Use this constraint productively. It forces you to commit to a direction and work what’s in front of you rather than second-guessing yourself every hundred meters. In tight, short sessions before the light goes, that forced commitment is often what produces images rather than a more exploratory approach.
Step 5: Read the Location Before You Reach for the Camera
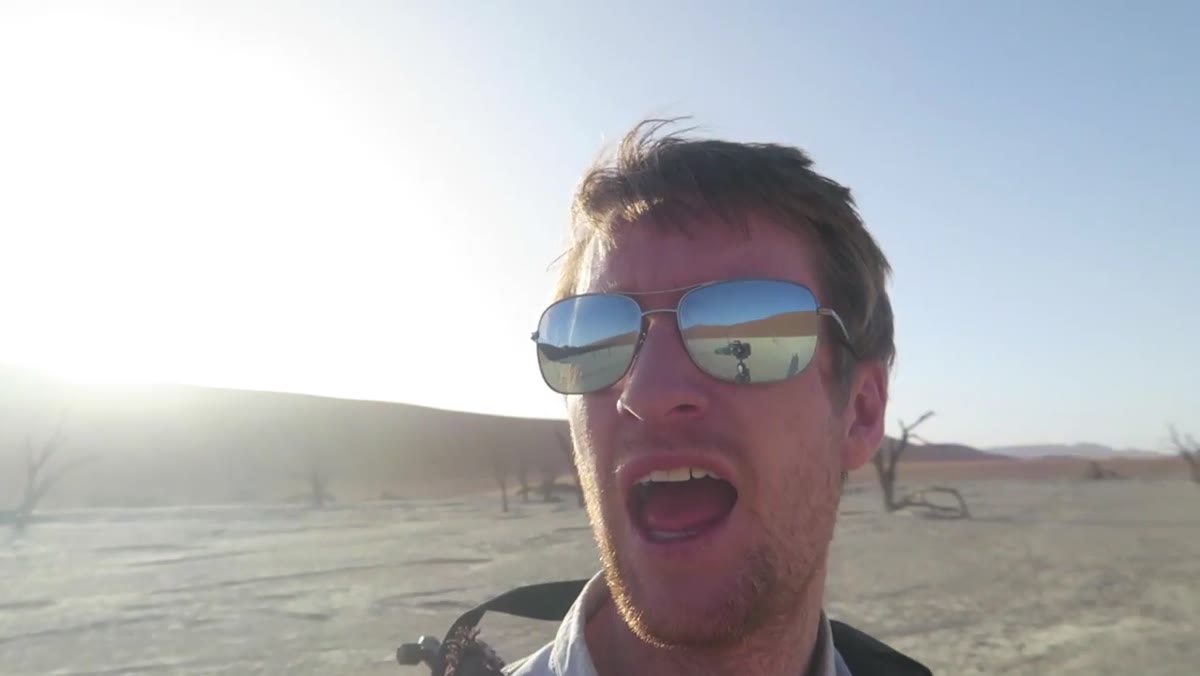 Wide view of Deadvlei pan with dead trees surrounded by red dunes
When Heaton arrives at Deadvlei, his first reaction is honest: he’s not sure how to photograph it. The iconic dead camelthorn trees are surrounded by other trees and obstructions, and his initial walk-through produces no obvious compositions. He doesn’t shoot anything yet.
Wide view of Deadvlei pan with dead trees surrounded by red dunes
When Heaton arrives at Deadvlei, his first reaction is honest: he’s not sure how to photograph it. The iconic dead camelthorn trees are surrounded by other trees and obstructions, and his initial walk-through produces no obvious compositions. He doesn’t shoot anything yet.
This deliberate pause is a skill. Spend five to ten minutes walking the location without the camera at your eye. Note where the light is moving, which subjects are isolated and which are cluttered, and what’s happening at the edges of your frame at different positions. The best compositions in complex locations rarely announce themselves from the car park.
Step 6: Use the Long Lens to Isolate One Subject from Chaos
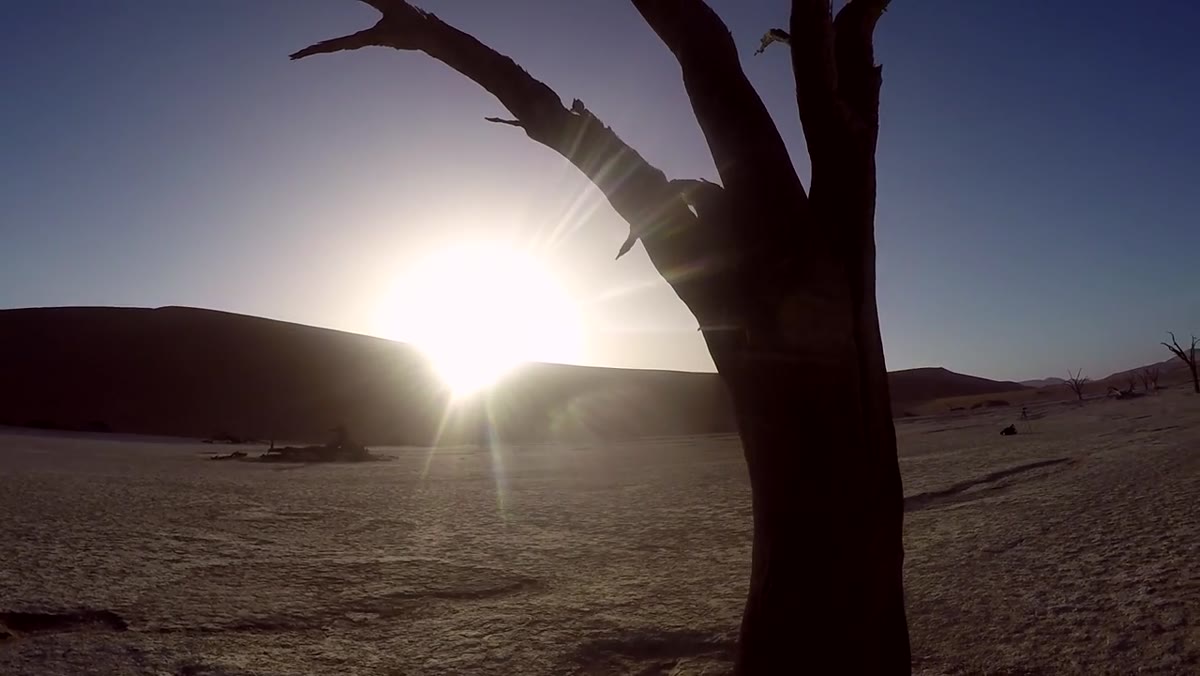 Single dominant dead tree isolated against red sand and smaller background trees
Heaton’s breakthrough at Deadvlei comes when he stops trying to capture the scene and starts using the long focal length to isolate a single dominant tree against the red sand backdrop. He describes the light moving up the dunes quickly, which means he’s working fast, but the key decision was made before the light arrived: choose one subject and commit.
Single dominant dead tree isolated against red sand and smaller background trees
Heaton’s breakthrough at Deadvlei comes when he stops trying to capture the scene and starts using the long focal length to isolate a single dominant tree against the red sand backdrop. He describes the light moving up the dunes quickly, which means he’s working fast, but the key decision was made before the light arrived: choose one subject and commit.
At longer focal lengths, the compressed perspective works in your favor here. Background elements, the smaller trees, the other visitors, the messy middle ground, are absorbed into a softer plane that reinforces rather than competes with your main subject. Expose for the lit subject and let the background’s drama fill in around it.
A Note from the High Desert
I’ve spent a lot of mornings chasing wide-angle drama in the juniper flats and rimrock country around Bend, and I’ve come home with average images far more often than I’d like to admit. The long lens discipline Heaton demonstrates changed something for me: I started shooting more film on those trips, partly because it forces me to slow down and actually decide what I’m photographing before I press the shutter. That patience transfers back to digital work. You stop fishing and start selecting.
The other thing I’d add is that long lens landscape work trains your eye in ways that improve your wide-angle shooting too. Once you’ve spent a morning hunting for isolated shapes and textures at 300mm, you start seeing those elements inside a wider frame and building compositions around them rather than hoping the scene organizes itself.
The single most transferable idea from this tutorial is that focal length is a creative decision, not a default. When a landscape overwhelms you with scale or complexity, a long lens isn’t a compromise. It’s an editorial choice that often produces stronger, more considered work than reaching for the widest glass in your bag.
Watch the full tutorial on YouTube to see Heaton work through both locations in real time. Watching how he responds to the conditions as they change is as instructive as any technique he describes.
Comments (2)
This is going in my reference folder. Incredibly useful.
Couldn't agree more. I've seen this make a huge difference in retouching work specifically.
Leave a Comment