Pre-visualization is one of those words that gets thrown around in photography circles until it loses all meaning. But strip away the jargon and it comes down to a simple, brutal question: can you see the finished image clearly enough in your mind to go build it in the field? After twenty years of doing this for a living, I still fail at that more often than I’d like to admit. The gap between the picture I drove three hours to make and the one I actually came home with is where most of my real learning has happened.
That’s why this William Patino tutorial stopped me mid-coffee on a Tuesday morning. Watch the full tutorial on YouTube. Patino is chasing a specific mountain in New Zealand’s Fiordland, a shot he’s attempted four times over several years. No luck yet. But he goes back. What he documents along the way is less a photography tutorial in the traditional sense and more a master class in the entire decision-making ecosystem that determines whether you come home with something extraordinary or just another forgettable frame.
For anyone who’s been shooting landscapes long enough to know that luck is mostly preparation wearing a good disguise, this one’s worth slowing down for.
Step 1: Define the Image Before You Define the Location
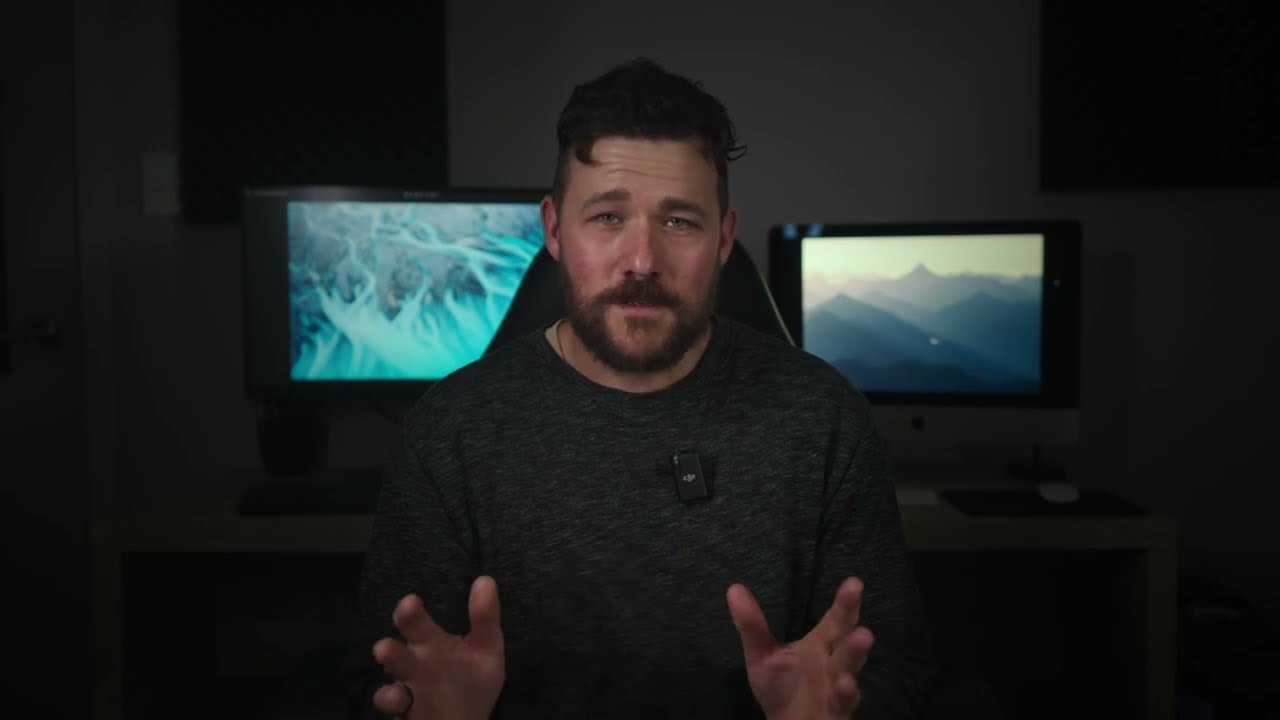
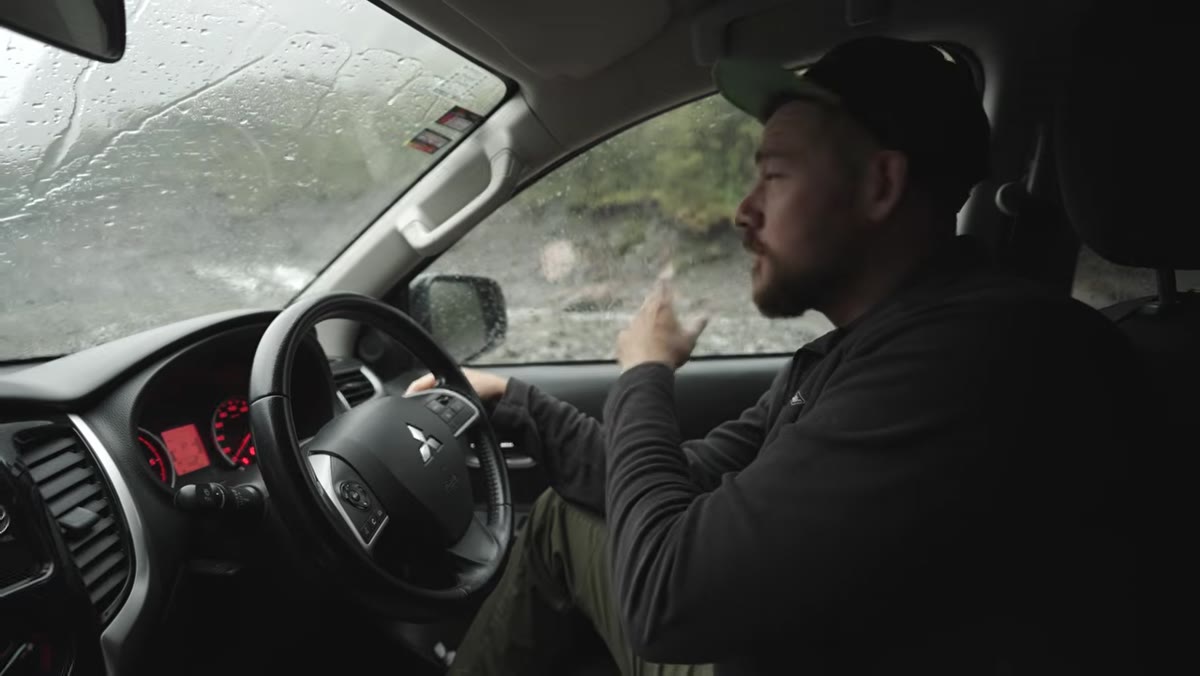
 Patino speaking to camera about pre-visualization
The first move Patino makes isn’t picking up a camera. It’s articulating exactly what the image requires. He’s not headed to a valley because it’s pretty. He knows he needs a specific angle on a characteristic mountain shape, recent rain to feed waterfalls on the slopes, low atmospheric haze from evaporation in the surrounding rainforest, and directional golden-hour light. Each of those is a non-negotiable ingredient.
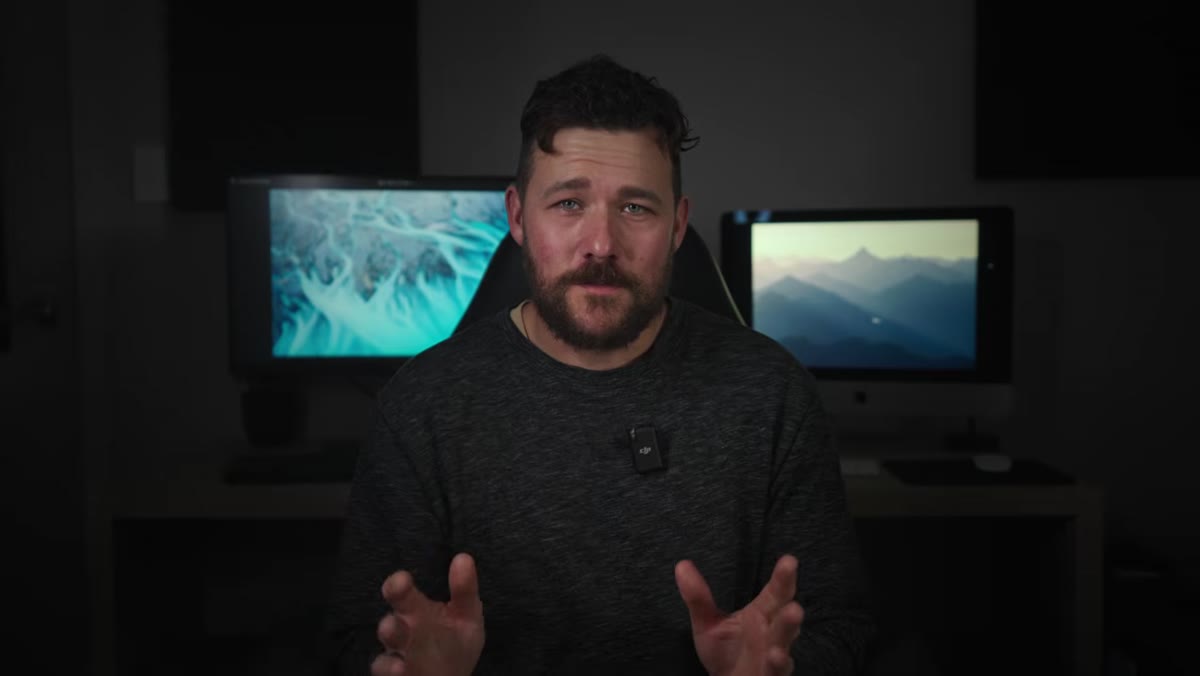
Patino speaking to camera about pre-visualization
The first move Patino makes isn’t picking up a camera. It’s articulating exactly what the image requires. He’s not headed to a valley because it’s pretty. He knows he needs a specific angle on a characteristic mountain shape, recent rain to feed waterfalls on the slopes, low atmospheric haze from evaporation in the surrounding rainforest, and directional golden-hour light. Each of those is a non-negotiable ingredient.
This kind of precision changes how you plan everything downstream. When I’m prepping for a shoot, I write down the conditions my image actually needs, not just “nice light” or “dramatic sky.” If I can’t name what I need, I can’t plan for it, and I definitely can’t recognize it when it’s starting to develop in front of me. Patino has been waiting years for this specific convergence. That’s not obsession. That’s knowing your subject well enough to be selective.
Step 2: Read the Weather in Real Time, Not Just the Forecast
 Phone screen showing Windy app satellite imagery
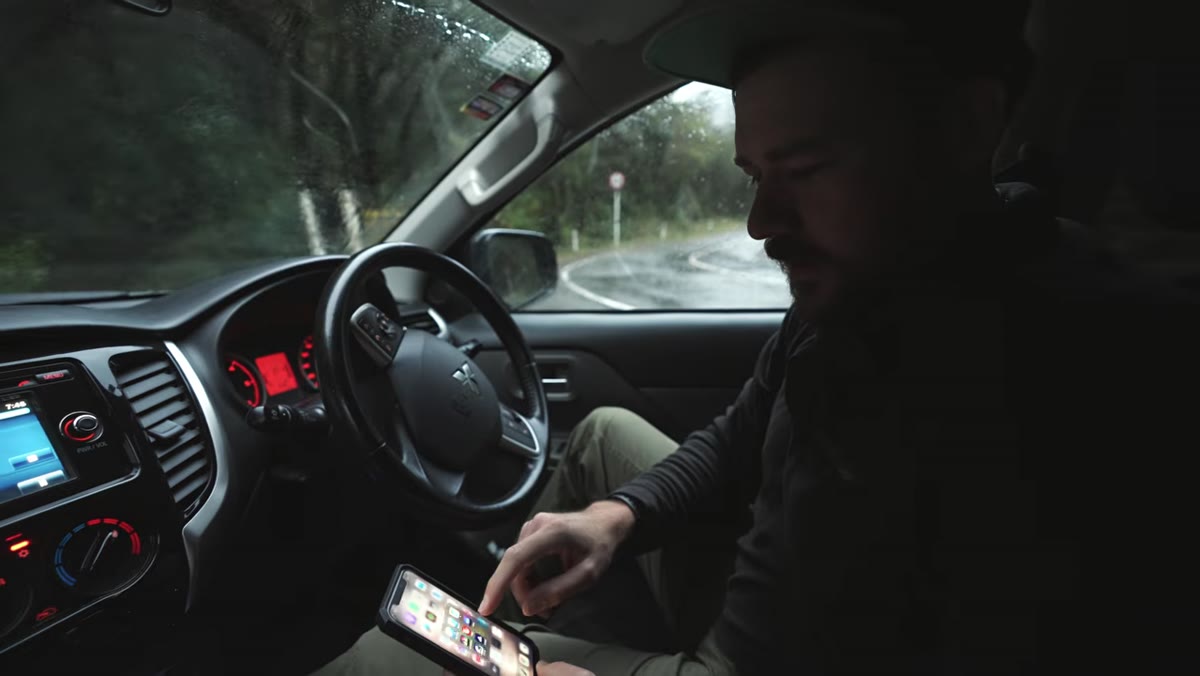
Most photographers check a weather app the night before and call it planning. Patino uses satellite imagery in the field, specifically the Windy app, to watch conditions developing in real time. There’s a critical difference between a forecast and what the satellite is actually showing you at that moment. A forecast is a model’s best guess. The satellite is evidence.
Phone screen showing Windy app satellite imagery
Most photographers check a weather app the night before and call it planning. Patino uses satellite imagery in the field, specifically the Windy app, to watch conditions developing in real time. There’s a critical difference between a forecast and what the satellite is actually showing you at that moment. A forecast is a model’s best guess. The satellite is evidence.
He can see the front moving through and estimate how far out the clearing is, giving him a working window to position himself. In terrain like Fiordland, where weather systems can shift in under thirty minutes, that kind of live reading isn’t optional. I’ve started doing the same thing on shoots in the Cascades. I’ll pull up satellite imagery while I’m still in the truck, recalibrate my timing, and adjust my position before I’ve even put on my boots. It’s turned several potential skunks into workable sessions.
Step 3: Scout for Separation, Foreground, and Access Together
 Patino pointing toward moraine wall and creek on approach
Location scouting done poorly is just admiring scenery. Done well, it’s solving a composition problem before you’re standing in it with golden light burning off. Patino identifies that simply parking near the mountain puts him too close and eliminates any sense of scale or separation. He needs distance. He also needs a foreground element, and a rain-fed creek running along an old glacial moraine wall gives him both texture and motion to anchor the frame.
Patino pointing toward moraine wall and creek on approach
Location scouting done poorly is just admiring scenery. Done well, it’s solving a composition problem before you’re standing in it with golden light burning off. Patino identifies that simply parking near the mountain puts him too close and eliminates any sense of scale or separation. He needs distance. He also needs a foreground element, and a rain-fed creek running along an old glacial moraine wall gives him both texture and motion to anchor the frame.
He’s thinking in layers: foreground creek, middle-distance valley, background peak. And he’s thinking practically: can I physically get to where I need to be? The moraine wall requires some bushwhacking, but it’s knowable terrain. When I scout a location, I try to answer three questions before I commit: Where does the light hit first? What stops the eye from falling out of the frame? And can I actually stand there? If I can’t answer all three, I’m not ready to be there at dawn.
Step 4: Know the Conditions That Will Kill the Shot
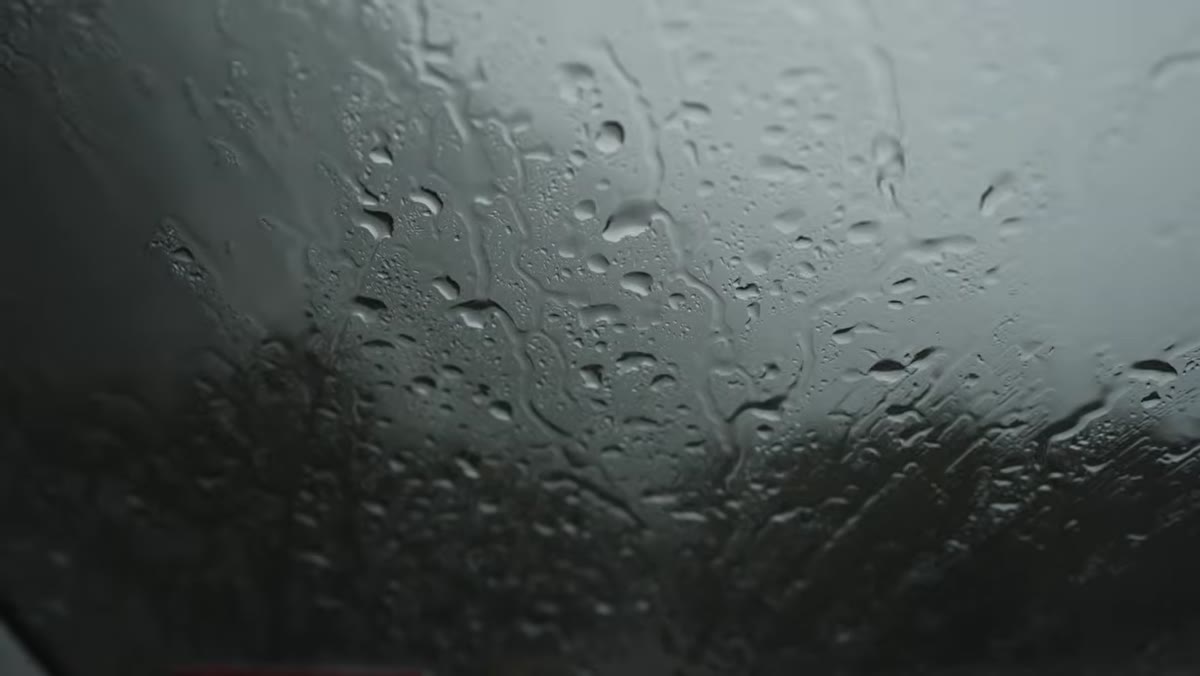
 Low cloud base completely obscuring mountain summit
Patino stands near his location watching a cloud base sitting so low the mountain has completely disappeared. He’s not panicking. He’s diagnosing. He understands that some conditions are productive, partial cloud, atmospheric mist, light filtering through breaks, and some are just dead. A cloud base below the summit means there’s nothing to photograph yet.
Low cloud base completely obscuring mountain summit
Patino stands near his location watching a cloud base sitting so low the mountain has completely disappeared. He’s not panicking. He’s diagnosing. He understands that some conditions are productive, partial cloud, atmospheric mist, light filtering through breaks, and some are just dead. A cloud base below the summit means there’s nothing to photograph yet.
This is a distinction worth internalizing. Partial obstruction and atmospheric softness are often features, not bugs. Complete socking-in is a different problem. Knowing which one you’re dealing with tells you whether to wait or move. My old mentor used to say the mountain doesn’t care about your schedule, and he was right. But you still have to decide when patience is wisdom and when it’s just stubbornness keeping you from a better opportunity somewhere else.
Step 5: Execute Plan B Without Mourning Plan A
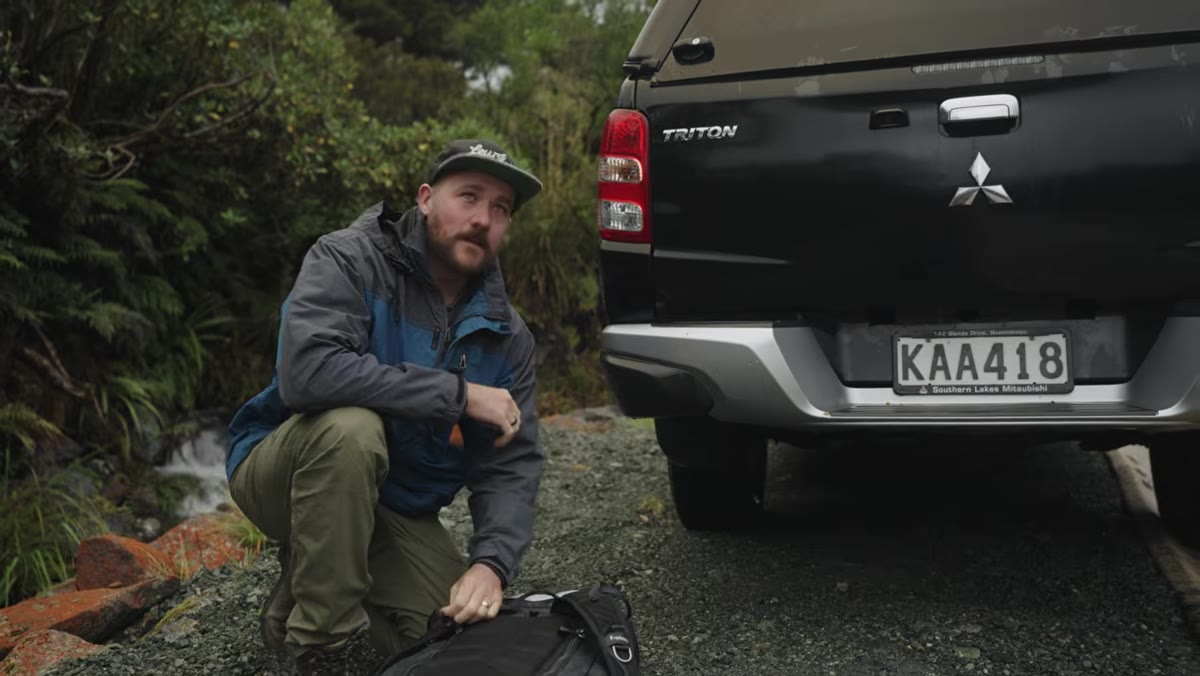
 Patino back in vehicle, shifting to alternate valley
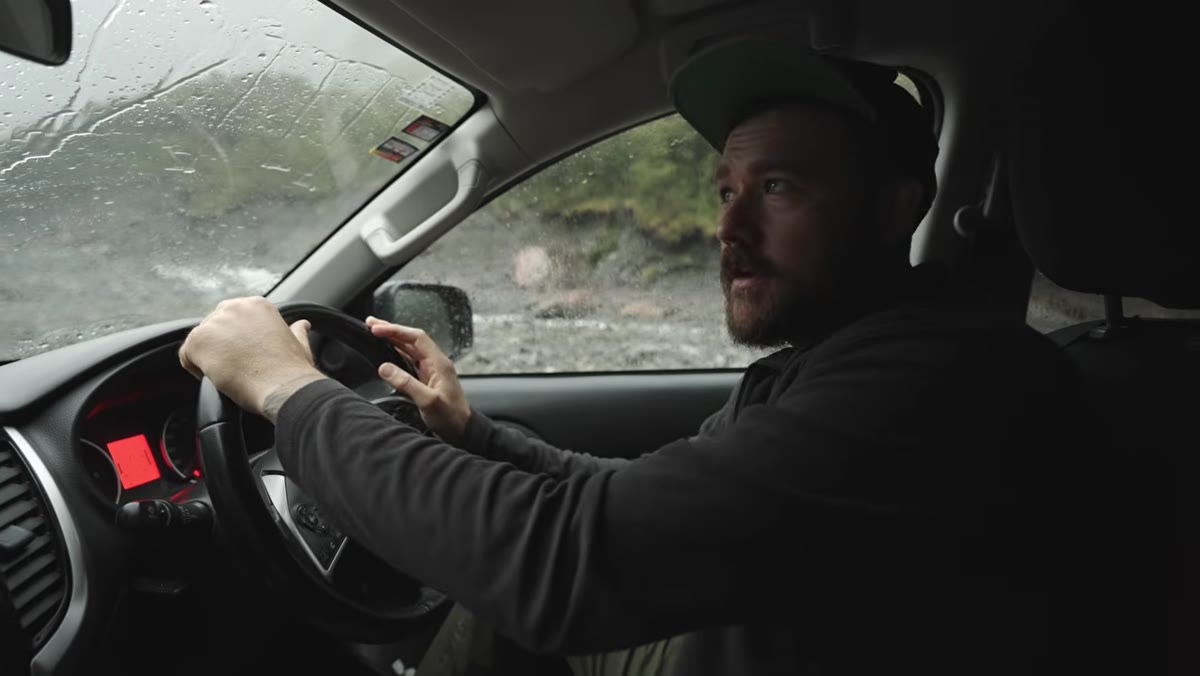
After holding position and watching the cloud refuse to lift, Patino makes the call to drive to a different valley entirely. He doesn’t frame it as failure. He frames it as reading the information available and responding to it. Plan B was already thought through before he left home. He’s not improvising in a panic. He’s executing the next option in a sequence he already designed.
Patino back in vehicle, shifting to alternate valley
After holding position and watching the cloud refuse to lift, Patino makes the call to drive to a different valley entirely. He doesn’t frame it as failure. He frames it as reading the information available and responding to it. Plan B was already thought through before he left home. He’s not improvising in a panic. He’s executing the next option in a sequence he already designed.
This is where having a mental map of backup locations pays off in ways that are hard to overstate. Before any serious shoot, I identify at least two or three alternatives that share some of the conditions I’m after but offer different topography or orientation. If the light goes wrong on the east-facing slope, I want to know exactly where I’m driving next. The decision to move should take seconds, not twenty minutes of second-guessing.
Step 6: Trust the Transition Moment
 Rain stopping, mountains beginning to emerge from cloud
The rain stops. The mountains start to materialize through the remaining cloud. This is the moment Patino has been reading the weather to find, the transition between the storm and the clearing, when the atmosphere is still loaded with moisture and the light starts to cut through. He describes the evaporation rising out of the rainforest as “atmospheric gold,” and that’s not hyperbole. That transitional period, often fifteen to forty minutes long, is frequently more interesting than the full golden hour that follows it.
Rain stopping, mountains beginning to emerge from cloud
The rain stops. The mountains start to materialize through the remaining cloud. This is the moment Patino has been reading the weather to find, the transition between the storm and the clearing, when the atmosphere is still loaded with moisture and the light starts to cut through. He describes the evaporation rising out of the rainforest as “atmospheric gold,” and that’s not hyperbole. That transitional period, often fifteen to forty minutes long, is frequently more interesting than the full golden hour that follows it.
Getting this moment requires being in position before it arrives. You cannot sprint to your tripod spot after the light breaks. You need to be cold, set up, and waiting when the transition begins. I’ll often accept slightly worse overall conditions to guarantee I’m at the composition before things get good, because the cost of being late is always higher than the cost of waiting.
What I’d Add From My Own Experience
The hardest thing this video illustrates, without ever stating it directly, is how much of landscape photography is compressed into decisions that happen before the shutter fires. Patino’s multi-year commitment to a single frame reflects something I’ve come to believe deeply: the images that matter take time to earn. My best-selling print came from a shoot where I drove six hours, sat in dense fog for two days, and came home with a single frame from a twenty-minute window when the fog thinned just enough. That was not luck. That was having been there, read the conditions, and stayed ready.
The technical elements here, app choices, compositional layering, backup planning, are teachable. The harder skill is the tolerance for uncertainty that lets you execute all of them without losing your nerve.
The single most portable idea from this tutorial is that pre-visualization doesn’t stop when you leave the house. It’s a live, continuous process that adapts to what the landscape is actually doing. Stay fluid, stay observant, and make your decisions from what you see, not what you hoped for.
Watch the full tutorial on YouTube to follow Patino through the full session, including whether the conditions finally delivered what he’d been chasing for four attempts.
Comments (1)
I've watched a dozen tutorials on this and yours is the clearest by far.
Leave a Comment