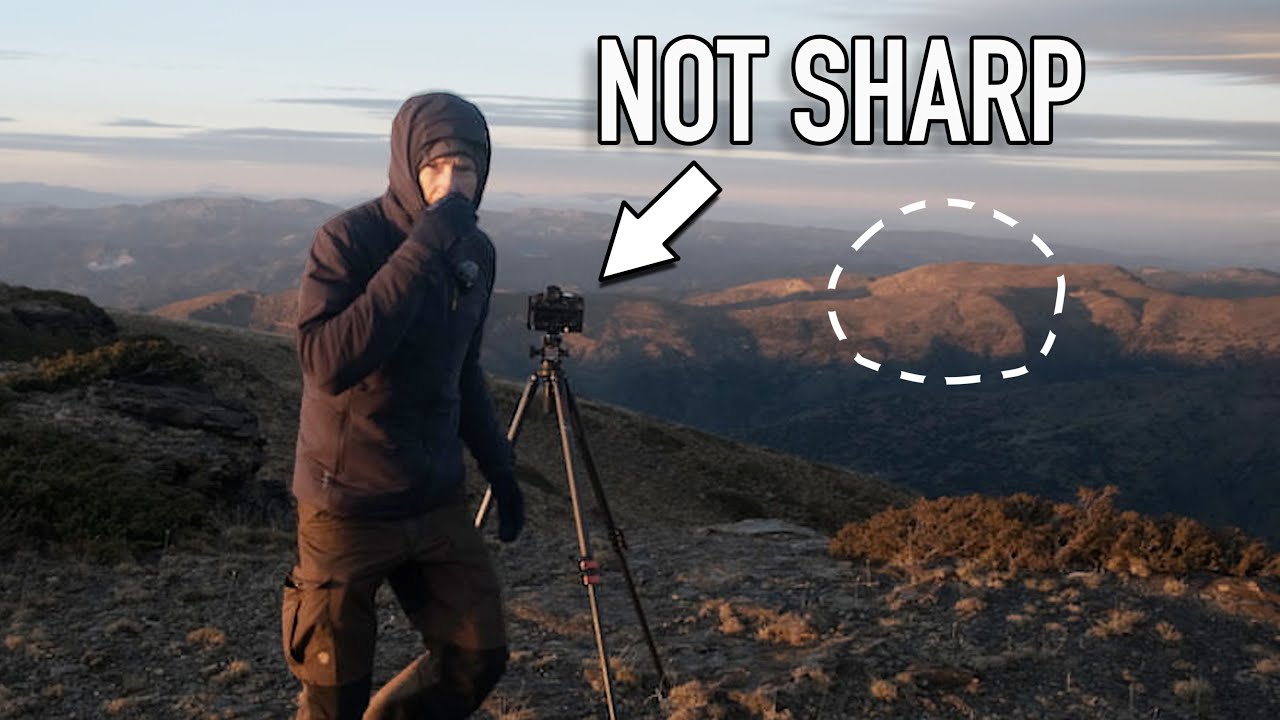
Sharpness has humbled me more times than I care to admit. Twenty years into this work, I still occasionally pull up an image on the big monitor back in my studio in Bend and feel that sinking recognition — soft edges, a slightly missed focus point, motion blur I didn’t notice in the field because I was too excited about the light. It’s one of those problems that doesn’t announce itself until it’s too late, and by then the golden hour is gone and you’re driving home with a card full of near-misses.
That’s exactly why I keep returning to tutorials like this one. In this Thomas Heaton tutorial on why images lack sharpness, Heaton works through the problem with the kind of methodical honesty you only get from someone who has been burned by it enough times to stop guessing. Watch the full tutorial on YouTube — it’s worth your time. But if you want a breakdown you can reference in the field without scrubbing through video, here’s how I’d walk you through the core of what he covers.
The real value in his approach is that he doesn’t treat sharpness as a single problem. It’s a chain, and the weakness can be anywhere in it. Miss one link and the whole image suffers. What follows is that chain, laid out as steps you can actually work through at your next shoot.
Step 1: Confirm Your Shutter Speed Is Fast Enough for the Conditions
 Heaton arriving at a location in driving rain and poor visibility
Camera shake is the silent killer of landscape sharpness, and it shows up in ways that are easy to misread as focus error. The rule of thumb most photographers learned — keep your shutter speed above the reciprocal of your focal length — is a starting point, not a ceiling. At 24mm you might think 1/30s is safe, but on a tripod that’s been set up on soft ground with wind pushing the camera, it often isn’t. Add a heavy telephoto and the margin shrinks fast.
Heaton arriving at a location in driving rain and poor visibility
Camera shake is the silent killer of landscape sharpness, and it shows up in ways that are easy to misread as focus error. The rule of thumb most photographers learned — keep your shutter speed above the reciprocal of your focal length — is a starting point, not a ceiling. At 24mm you might think 1/30s is safe, but on a tripod that’s been set up on soft ground with wind pushing the camera, it often isn’t. Add a heavy telephoto and the margin shrinks fast.
In the field, I check three things before I trust my shutter speed: Is the tripod on solid ground? Am I using a remote shutter release or the camera’s two-second timer? And if there’s any wind, am I using a speed fast enough to counteract it even with a locked-down setup? Bump your ISO before you sacrifice shutter speed on a moving scene. The noise is fixable. The blur is not.
Step 2: Check Your Aperture Isn’t Killing Your Sharpness at the Extremes
 Heaton standing in rain, evaluating whether conditions are worth shooting
Most lenses are not at their sharpest at their widest aperture or their smallest. Shooting wide open at f/2.8 gives you a razor-thin depth of field that makes precise focus critical to the point of near-impossible in landscape work. But chasing depth of field all the way to f/22 introduces diffraction softening, which makes the whole image look like it was shot through a very clean piece of glass that was still somehow slightly wrong.
Heaton standing in rain, evaluating whether conditions are worth shooting
Most lenses are not at their sharpest at their widest aperture or their smallest. Shooting wide open at f/2.8 gives you a razor-thin depth of field that makes precise focus critical to the point of near-impossible in landscape work. But chasing depth of field all the way to f/22 introduces diffraction softening, which makes the whole image look like it was shot through a very clean piece of glass that was still somehow slightly wrong.
The sweet spot for most landscape lenses sits between f/8 and f/11. That’s where I park the aperture dial unless I have a specific compositional reason to move away from it. If I need more depth of field than f/11 gives me, I start thinking about focus stacking before I reach for f/16 or beyond.
Step 3: Nail Your Focus Point, Don’t Trust Autofocus to Guess
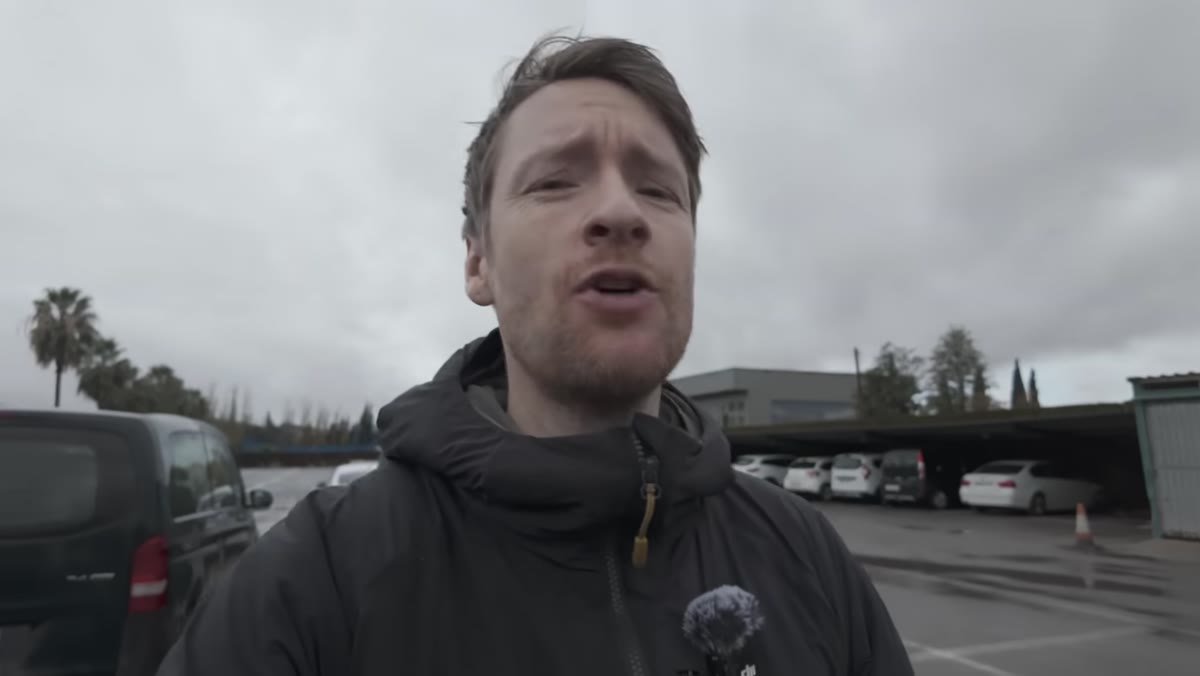 Heaton back at the hotel, reviewing the decision to leave the location
Autofocus is impressive, and I use it. But I don’t trust it blindly, especially in low contrast conditions like pre-dawn shoots, foggy scenes, or anything with a large expanse of water or sky. The camera looks for an edge to lock onto. If the scene doesn’t offer one in the right place, the focus point drifts and you won’t see it on the back of the camera at shooting review size.
Heaton back at the hotel, reviewing the decision to leave the location
Autofocus is impressive, and I use it. But I don’t trust it blindly, especially in low contrast conditions like pre-dawn shoots, foggy scenes, or anything with a large expanse of water or sky. The camera looks for an edge to lock onto. If the scene doesn’t offer one in the right place, the focus point drifts and you won’t see it on the back of the camera at shooting review size.
Live view with manual focus and a magnified view is the method I rely on for anything static and critical. Pick a high-contrast edge at the distance you want sharp, zoom in to 10x on the live view, and dial the focus ring until that edge snaps. It takes thirty extra seconds and it saves images. On single-point autofocus, make sure you’re placing the point deliberately rather than letting the camera choose from a wide zone.
Step 4: Deal With Your Energy and Attention Before You Deal With Your Settings
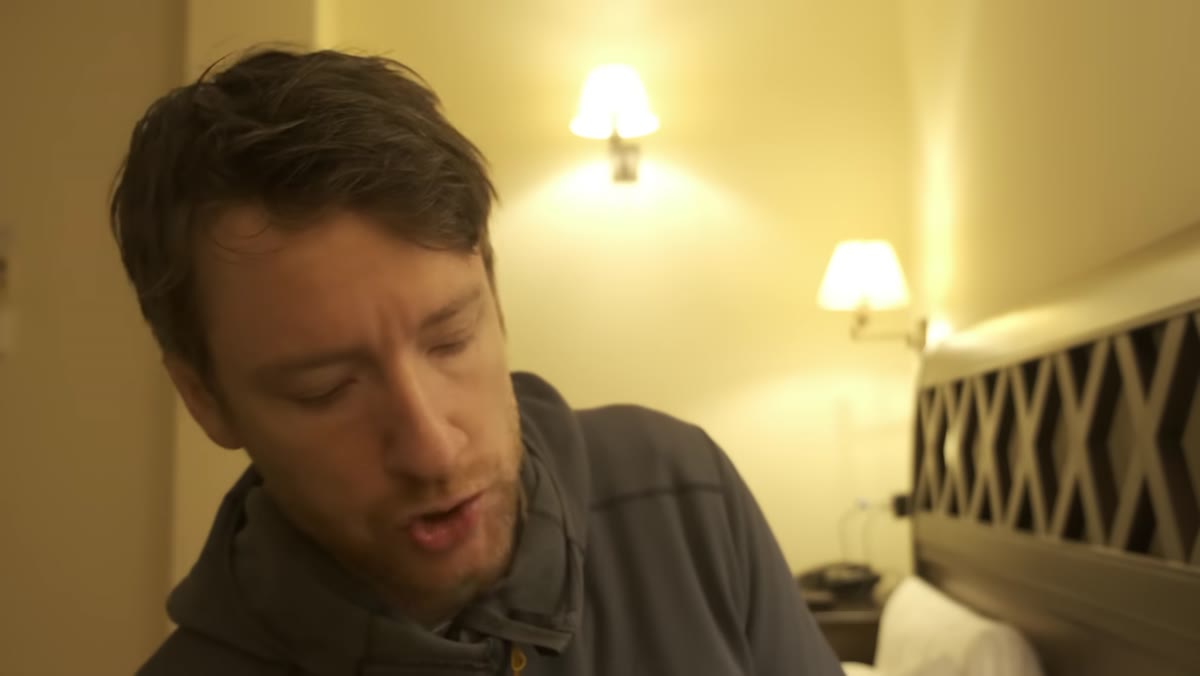 Heaton in the hotel room discussing the supplements and routines he uses on long trips
This one sounds like it doesn’t belong in a sharpness tutorial. Stay with me. Heaton takes a detour here to talk about how he manages his energy across multi-day shoots — sleep, nutrition, supplements, not drinking alcohol on working trips. On the surface it reads like a lifestyle segment, but the underlying point is dead serious: you make worse technical decisions when you’re exhausted.
Heaton in the hotel room discussing the supplements and routines he uses on long trips
This one sounds like it doesn’t belong in a sharpness tutorial. Stay with me. Heaton takes a detour here to talk about how he manages his energy across multi-day shoots — sleep, nutrition, supplements, not drinking alcohol on working trips. On the surface it reads like a lifestyle segment, but the underlying point is dead serious: you make worse technical decisions when you’re exhausted.
I’ve seen it in my own work and I’ve seen it in workshop students. The missed focus point, the shutter speed that was almost right, the aperture you didn’t double-check because you were already thinking about the composition — these errors cluster at the end of long days and early mornings after poor sleep. Building a physical routine around your shooting trips isn’t indulgence. It’s quality control. I’m not going to tell you what supplements to take, but I will tell you that treating the fourth morning of a shoot the same way you treat the first one is a skill, and it shows in the images.
Step 5: Review Your Images Critically at Full Size, Not on the Camera Screen
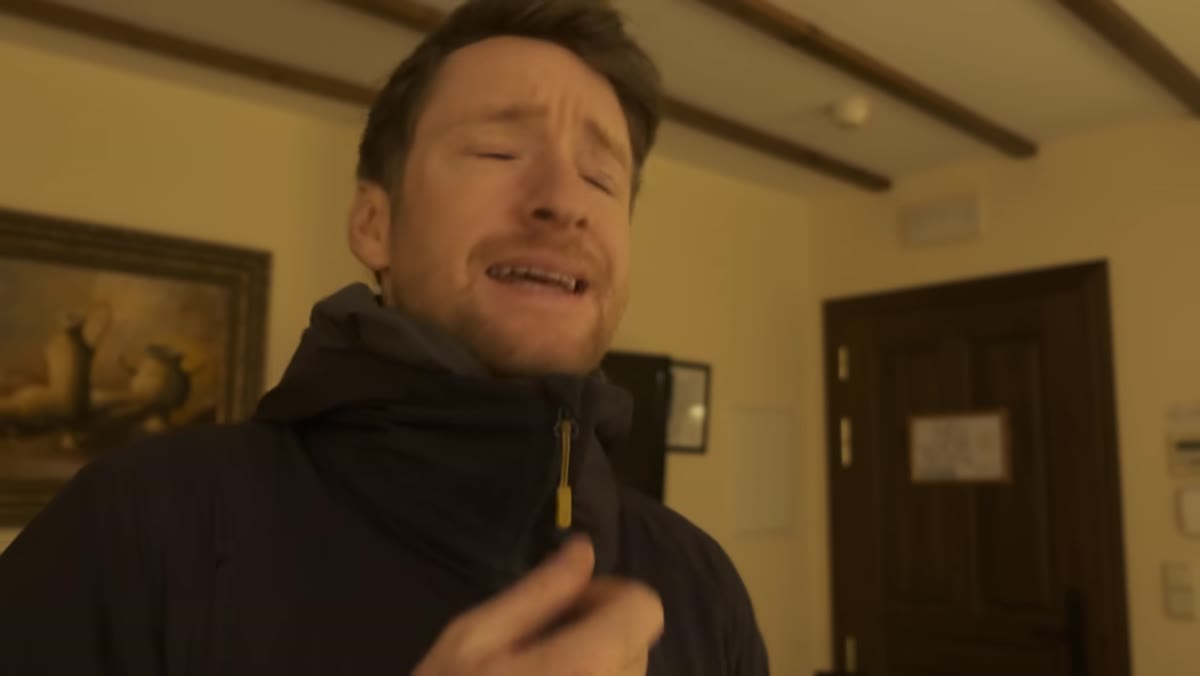 Heaton packing bags and preparing to move to a new mountain location
The camera’s rear LCD will lie to you. An image that looks tack sharp at the default review size on a three-inch screen can be soft when you open it at 100% in Lightroom. Make it a habit to zoom in on every critical shot before you leave the location, not after you get home. On location review at 100% is the only review that matters.
Heaton packing bags and preparing to move to a new mountain location
The camera’s rear LCD will lie to you. An image that looks tack sharp at the default review size on a three-inch screen can be soft when you open it at 100% in Lightroom. Make it a habit to zoom in on every critical shot before you leave the location, not after you get home. On location review at 100% is the only review that matters.
When I’m culling after a shoot, I don’t make final sharpness judgments at the grid view or even the standard loupe. I go to 1:1 and I look at the area of the frame that I intended to be sharpest. If it isn’t sharp there, nothing else in the image saves it.
A Note From My Own Experience
The thing I’d add to Heaton’s framework is this: conditions will sometimes make technical perfection impossible, and learning to recognize those conditions quickly is as valuable as any camera setting. I once spent two full days sitting in fog at a location six hours from home because I kept telling myself the light might break. It never did. I came home with one usable frame, and that frame turned out to be my best-selling print. But the lesson I actually took from that trip wasn’t about sharpness. It was about the difference between waiting with intention and waiting out of stubbornness.
Heaton makes a clean call in this video to walk away from a soaked location rather than push through for diminishing returns. That kind of judgment protects your images in a way that no aperture setting can. Sometimes the sharpest decision you make has nothing to do with the camera.
The single most important takeaway here is that sharpness failures almost always have a specific cause, and that cause is findable if you work through the chain systematically rather than blaming the gear or the conditions. Shutter speed, aperture, focus method, physical readiness, and honest post-shoot review — address each one and the soft images start disappearing from your hard drive.
Watch the full tutorial on YouTube and see how Heaton walks through this in his own words, on location.
Comments
Leave a Comment