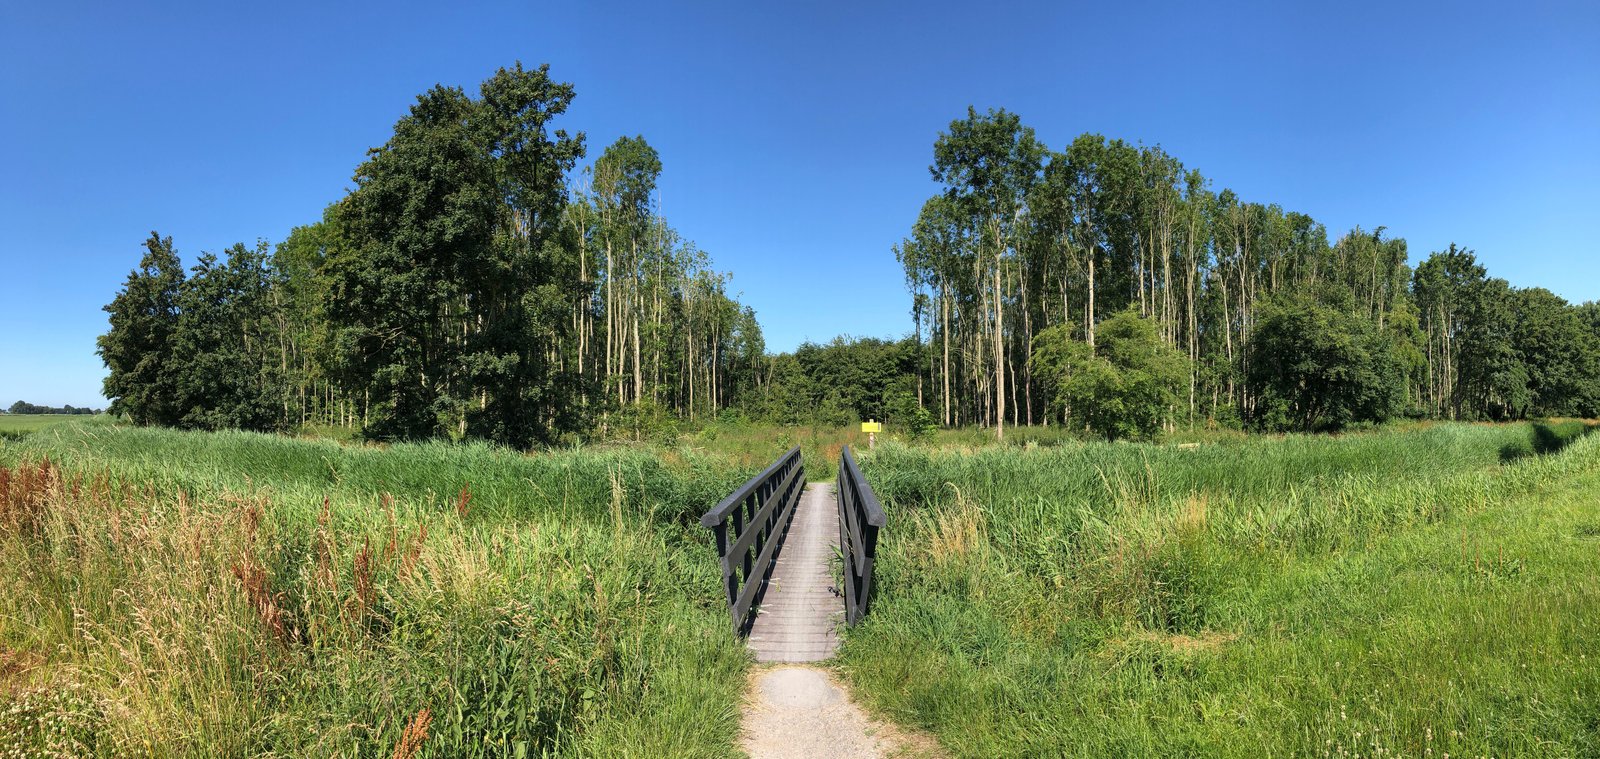
There’s a ridgeline outside of Bend that faces east, and on clear mornings in October the light comes in so low and golden that the juniper trees throw shadows fifty feet long. The scene is too wide for any single frame. Even my 14mm lens can’t hold it. The first time I shot a panorama there, I came home, loaded the files into Lightroom, and watched the software choke on a set of images that almost, but not quite, lined up. The horizon curved. The trees repeated. A patch of sky simply didn’t exist. I had done everything wrong while feeling like I was doing everything right.
That was about fifteen years into my career. I should have known better. But panoramas are one of those techniques that look simple until they don’t work, and by then you’re standing in a parking lot with cold hands and a card full of unusable files.
What’s Actually Happening When You Rotate the Camera
The core problem with handheld panoramas, and with many tripod panoramas, is that the camera rotates around the wrong point. When you swing the camera left to right on a standard ball head, it pivots around the tripod mount screw, which sits under the camera body. But that’s not the right axis. The right axis is the nodal point of the lens, sometimes called the entrance pupil, which sits somewhere inside the glass, not at the body.
When you rotate around the wrong point, nearby elements shift relative to each other between frames. This is parallax error. The stitching software tries to compensate, but it can only stretch and warp so much before the image breaks. The farther away your subject, the less this matters. A mountain range a mile out will stitch fine even handheld. A stand of flowers twenty feet in front of you will be a disaster.
For landscapes with a true foreground, you need a nodal rail or a panoramic head that lets you slide the camera forward until the entrance pupil sits directly above the rotation axis. I use the Really Right Stuff panning clamp with a nodal slide. The whole setup runs around $400 to $500 new, and it’s worth every dollar for complex scenes.
The Settings That Actually Matter
I shoot every panorama in manual mode, which is the only way to guarantee consistent exposure across all frames. Auto exposure will drift, and even a quarter-stop difference between frames creates visible seams in the final stitch. I set my aperture between f/8 and f/11 for maximum sharpness, dial in my ISO first based on available light, and then set shutter speed. I also lock white balance manually. Auto white balance shifts subtly frame to frame, which shows up as color banding in the final image.
Overlap is something photographers consistently underdo. I aim for 40 to 50 percent overlap between frames, not the 20 to 25 percent that feels intuitive. More overlap gives the stitching algorithm more shared data to work with. It means more frames, yes, but the results are dramatically cleaner. For a five-shot horizontal panorama at 40 percent overlap, I’m typically working with seven or eight frames.
I shoot in portrait orientation rather than landscape. Rotating the camera 90 degrees feels counterintuitive when you’re building a wide image, but it gives you significantly more vertical coverage in the final stitch, which saves you from that horizontal sliver problem where the panorama is enormous side to side but only a few inches tall when you print it.
The One Time I Almost Skipped All of This
A few winters ago I drove up to a location in the Cascades before a storm front moved in. I was in a hurry, the light was changing fast, and I grabbed a five-shot handheld sequence without leveling my tripod head or locking my exposure. The foreground was a frozen creek bed, maybe fifteen feet away.
I knew as I was doing it that I was cutting corners. My mentor used to say that the mountain doesn’t care about your schedule, and he was right, but I had convinced myself the light was more important than the method. It wasn’t. The stitch produced a warped horizon, the creek rocks duplicated and ghosted, and the whole file was garbage. The light had been extraordinary. The image was unusable. I walked away with nothing, which is a specific kind of frustrating that I’ve learned to treat as a tuition payment.
Stitching and Output: Where the Work Ends Up
Adobe Lightroom’s built-in panorama merge is genuinely good for straightforward sequences. For complex scenes with significant parallax, PTGui Pro handles it better. A license runs about $109, and for photographers who shoot panoramas regularly, it’s not optional. PTGui lets you manually set control points between frames, which gives you precise control over how the software aligns problem areas.
For final output, a well-executed five-frame sequence shot on a 45-megapixel body will produce a stitched file around 200 to 300 megapixels. That’s a file that prints cleanly at 40 by 80 inches. My largest panorama print sold, a Cascade ridgeline scene, runs 48 inches wide and the detail holds from six inches away. That print exists because I took the time to level the head, lock the exposure, and shoot eight frames instead of five.
When the Stitch Is the Wrong Choice
Not every wide scene needs to be a panorama. A single frame with the right lens and the right foreground element will almost always feel more alive than a stitched image where the photographer was just trying to fit more in. I use panoramas when the horizontal scope of the scene is itself the subject, when the width is the point. The ridgeline at dawn earns a panorama. A meadow with a single interesting tree probably doesn’t.
The technique is just a tool. What the image needs to say should come first, and the method should follow from that, not the other way around.
Comments (4)
Been doing this wrong for years apparently. Thanks for the wake-up call.
Great article! I actually covered something related on my site — the business angle is really complementary to this.
Would love to see a follow-up going deeper into this topic.
This saved me so much time on my last edit. Wish I'd found this sooner.
Leave a Comment