
I have stood in more blown-out sunsets than I care to count. Not my sunsets — the ones other photographers show me on the back of their cameras, faces fallen, asking why the sky looks like a white sheet when thirty seconds ago it was on fire. After twenty years shooting landscapes full-time, I’ve watched this exact moment of disappointment repeat itself on workshop hillsides from the Oregon coast to the high desert. The cause is almost always the same thing, and so is the fix.
That’s why William Patino’s tutorial landed so cleanly with me when I watched it. He’s spent years teaching in the field the same way I have, and the problems he identifies are the ones that actually cost beginners their best shots. Watch the full tutorial on YouTube — it’s worth your time. What follows is my own breakdown of his core lesson on exposure, with some notes from the field added where I’ve seen things play out a little differently.
The tutorial focuses on one of the most common and most fixable problems in landscape photography: losing detail in the sky. Patino breaks it down clearly — what the problem looks like, why it happens, and how to correct it. I’m going to walk through that structure step by step, because the order matters.
Step 1: Recognize What a Blown-Out Sky Actually Looks Like
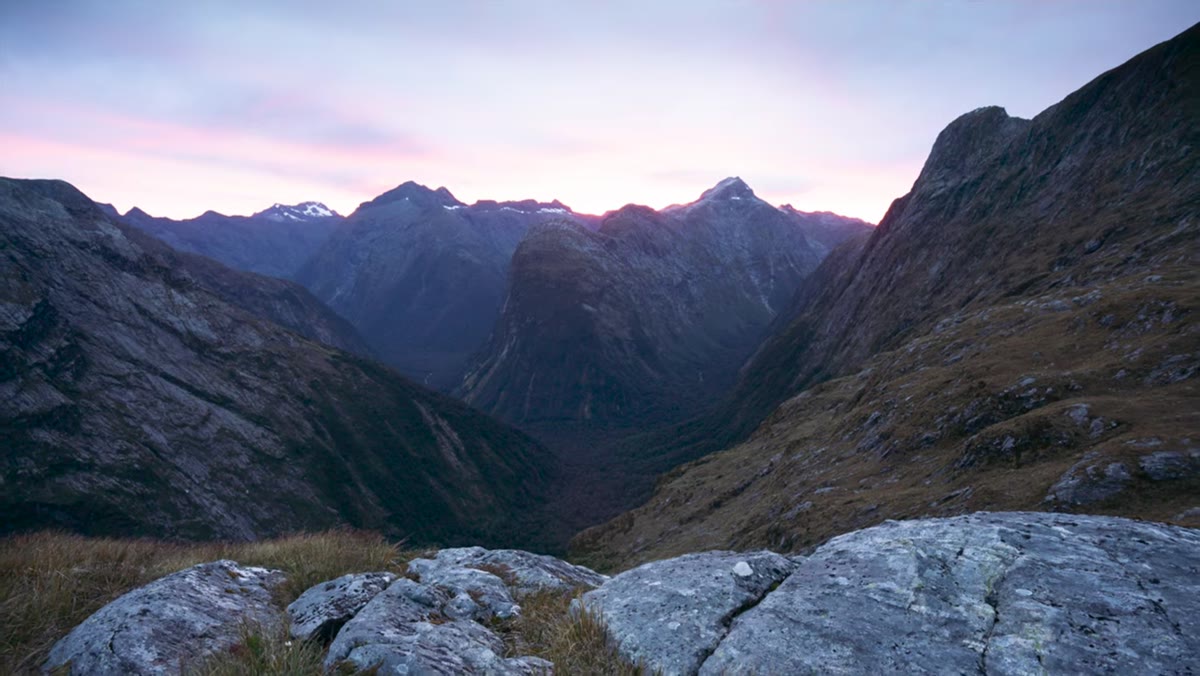 Overexposed sky with lost cloud detail in frame
Before you can fix the problem, you need to train your eye to see it. A blown-out sky isn’t always dramatic. Sometimes it’s subtle — a soft white haze where cloud texture should be, or highlights that look fine on a small screen but fall apart when you open the file on your monitor at home. The telltale sign is flat, featureless white in areas where you know there was detail when you pressed the shutter. If you photographed a sky full of structure and came home with a blank ceiling, your exposure was running too hot.
Overexposed sky with lost cloud detail in frame
Before you can fix the problem, you need to train your eye to see it. A blown-out sky isn’t always dramatic. Sometimes it’s subtle — a soft white haze where cloud texture should be, or highlights that look fine on a small screen but fall apart when you open the file on your monitor at home. The telltale sign is flat, featureless white in areas where you know there was detail when you pressed the shutter. If you photographed a sky full of structure and came home with a blank ceiling, your exposure was running too hot.
This happens most often during golden hour, which is exactly when you most want the shot. The light is beautiful but the dynamic range between a bright sky and a darker foreground is extreme. Your eye handles that range effortlessly. Your camera does not.
Step 2: Understand Why Auto Mode Causes This Problem
 Camera in aperture priority mode with bright sky in background
Patino points directly at auto and aperture priority modes as the likely culprit here, and he’s right. When the camera makes its own exposure decisions, it’s looking at the whole frame and trying to get an average result. In a typical landscape, the foreground — soil, grass, rock, water — makes up the majority of the image area. That foreground is darker. The camera meters for those tones, brings them up to a reasonable brightness, and in doing so it overexposes everything at the bright end of the scale, including your sky.
Camera in aperture priority mode with bright sky in background
Patino points directly at auto and aperture priority modes as the likely culprit here, and he’s right. When the camera makes its own exposure decisions, it’s looking at the whole frame and trying to get an average result. In a typical landscape, the foreground — soil, grass, rock, water — makes up the majority of the image area. That foreground is darker. The camera meters for those tones, brings them up to a reasonable brightness, and in doing so it overexposes everything at the bright end of the scale, including your sky.
The camera isn’t making a mistake by its own logic. It’s just solving the wrong problem. It’s optimizing for the shadows when you needed it to protect the highlights. This is why I refuse to shoot anything on auto. The camera cannot know what you care about in the frame. You have to tell it.
Step 3: Learn Manual Mode and the Exposure Triangle
 Manual mode settings shown on camera display
This is the step that beginners resist, and I understand why. Manual mode feels like climbing into the cockpit of something complicated when you just want to take a picture. But the exposure triangle — aperture, shutter speed, and ISO — is not complicated once you spend a few sessions with it. Patino recommends looking it up on YouTube, and there are solid resources out there. The payoff is that once you understand how those three controls relate to each other, you stop fighting your camera and start directing it.
Manual mode settings shown on camera display
This is the step that beginners resist, and I understand why. Manual mode feels like climbing into the cockpit of something complicated when you just want to take a picture. But the exposure triangle — aperture, shutter speed, and ISO — is not complicated once you spend a few sessions with it. Patino recommends looking it up on YouTube, and there are solid resources out there. The payoff is that once you understand how those three controls relate to each other, you stop fighting your camera and start directing it.
In practical field terms: when you’re facing a bright sky at sunset, you expose for the highlights first. Set your exposure so the sky holds its detail, even if that means your foreground goes darker than you’d like. You can recover shadow detail in post. You cannot recover a sky that was never recorded.
Step 4: Use Exposure Compensation as a Bridge
 Exposure compensation dial being adjusted on camera
If you’re not ready to go full manual, Patino offers a practical middle step: exposure compensation. While staying in an auto mode, you can dial the exposure down so the camera isn’t pushing everything so bright. Check your screen, see that the sky is losing detail, and pull the compensation in the negative direction until the highlights start to hold.
Exposure compensation dial being adjusted on camera
If you’re not ready to go full manual, Patino offers a practical middle step: exposure compensation. While staying in an auto mode, you can dial the exposure down so the camera isn’t pushing everything so bright. Check your screen, see that the sky is losing detail, and pull the compensation in the negative direction until the highlights start to hold.
It’s a useful tool and a reasonable place to start. That said, it’s a bit like steering a car from the back seat. You’re influencing the decision without fully owning it. I’d treat exposure compensation as a learning phase rather than a permanent method — it teaches you the relationship between brightness and detail in a low-stakes way while you build toward shooting manually.
Step 5: Read the Histogram, Not the Screen
 Histogram displayed on camera showing highlights clipping on right edge
This is the piece of advice I give every single person who comes out on a workshop with me, and Patino covers it clearly. The LCD screen on the back of your camera lies to you. It looks different in bright light, it looks different in shade, and it flatters the image in ways that will mislead your decisions. The histogram tells the truth.
Histogram displayed on camera showing highlights clipping on right edge
This is the piece of advice I give every single person who comes out on a workshop with me, and Patino covers it clearly. The LCD screen on the back of your camera lies to you. It looks different in bright light, it looks different in shade, and it flatters the image in ways that will mislead your decisions. The histogram tells the truth.
The histogram is a graph that shows where your tonal data sits, from shadows on the left to highlights on the right. When the data piles up and spills off the right edge of the graph, you’ve lost highlight detail. That’s clipping, and it’s gone for good. When the data hugs the left side, you’re underexposed. The goal is to keep that data within the graph, with particular attention to the right edge. If you have to choose between a slightly dark foreground and a blown sky, choose the dark foreground every time. Shadows come back. Skies don’t.
What Twenty Years in the Field Adds to This
Patino’s advice is solid and I’d give it to any beginner without hesitation. The one thing I’d layer on top of it is this: the histogram is most useful when you check it immediately after every shot in challenging light, not once at the end of a sequence. Light changes fast at golden hour. A correct exposure at 7:14pm can be completely wrong at 7:18pm. Get in the habit of glancing at the graph every time, adjusting as you go, and you’ll stop arriving home with folders full of unsalvageable skies.
I also still shoot a roll of film occasionally for exactly this reason. Film forces you to think hard before pressing the shutter because each frame costs something. That discipline transfers back to digital and makes you a more deliberate shooter overall.
The single most important takeaway from Patino’s tutorial is this: expose for the highlights, especially the sky, and let the shadows fall where they fall. Modern cameras recover shadow detail remarkably well in post. Highlight detail that was never captured cannot be manufactured after the fact. Build that priority into your shooting instincts from the beginning and you’ll save yourself a lot of disappointment on the drive home.
Watch the full tutorial on YouTube for Patino’s complete walkthrough, including additional tips he covers beyond exposure.
Comments
Leave a Comment