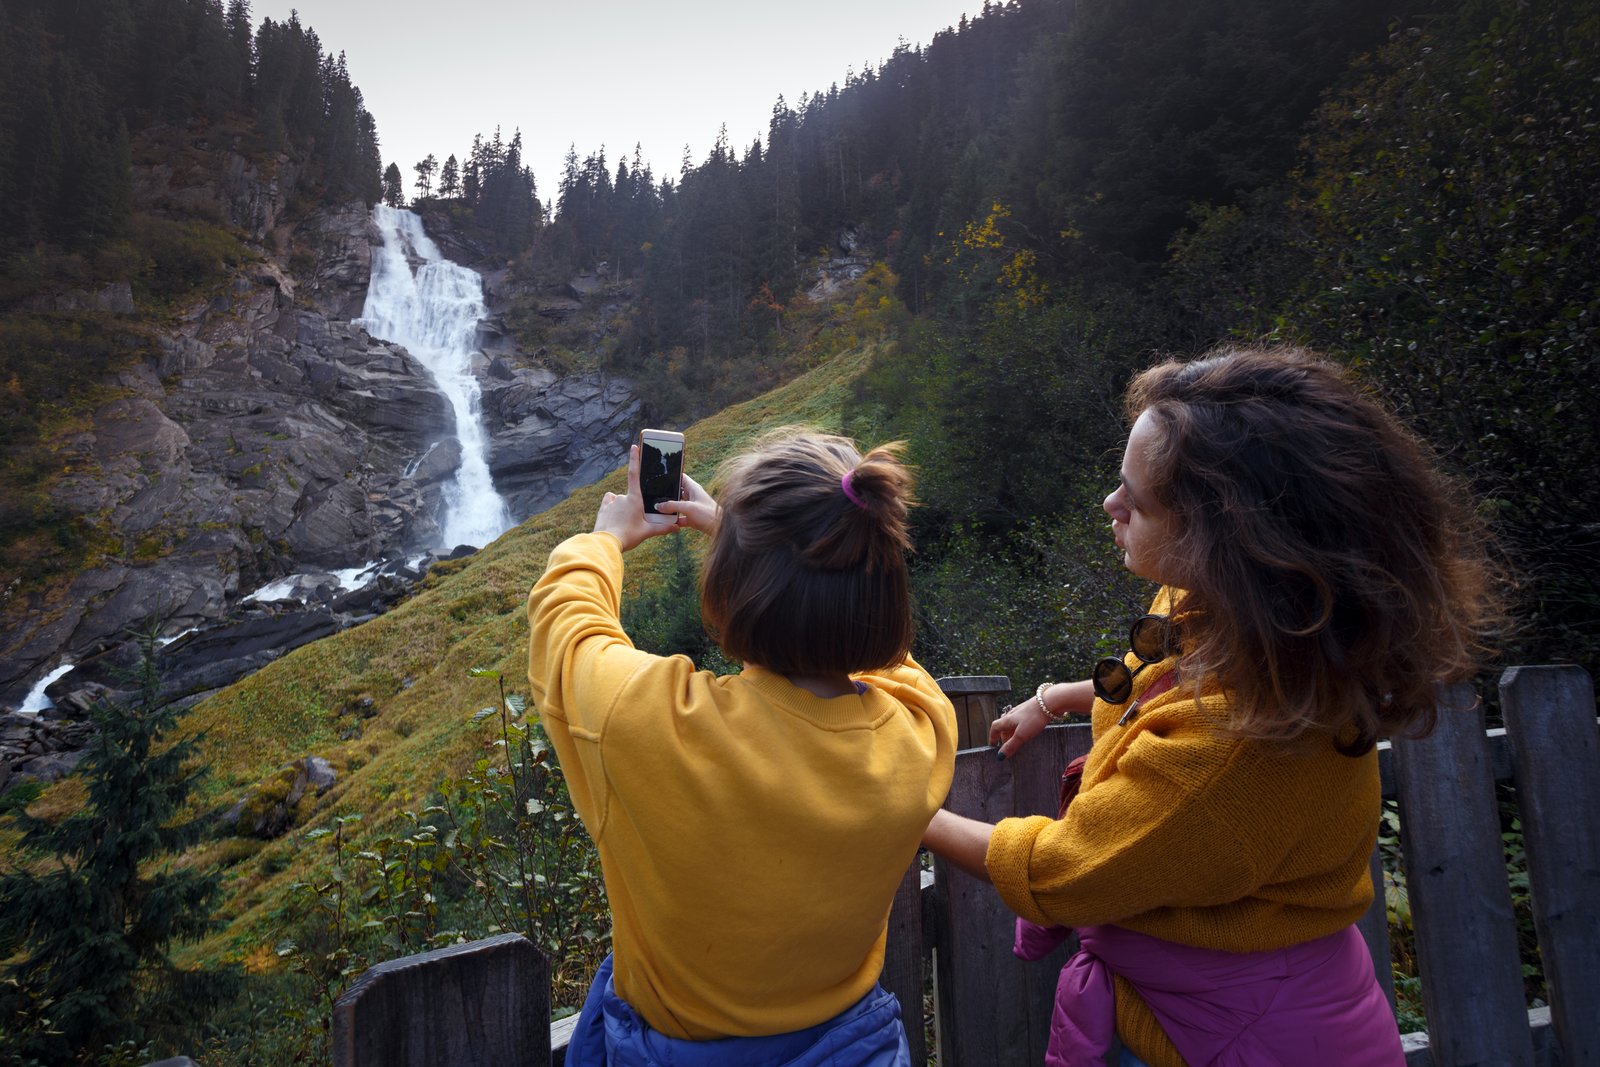
I’ve stood in a lot of cold water over the years. Knee-deep in snowmelt at five in the morning, boots soaked through, hat pulled low, wondering whether the light was actually going to do what I’d driven three hours to see. Most of the time, the photographers who struggle with waterfalls aren’t struggling with their gear. They’re struggling with their assumptions about what a waterfall photograph is supposed to look like, and they’re making those assumptions before they’ve spent five quiet minutes actually watching the water move.
The Problem Isn’t Your Shutter Speed
The silky waterfall shot is everywhere. It’s on calendars and coffee mugs and the walls of vacation rental cabins. Everyone knows you need a slow shutter speed to get that effect, so that’s what most people reach for first. They slap on a 10-stop ND filter, dial in a 2-second exposure, and then wonder why the result feels flat and a little lifeless.
The issue is usually one of two things, and often both at once. First, the light. A waterfall in direct midday sun is a contrast nightmare. The water blows out, the surrounding rock and moss go dark, and no amount of graduated filtering rescues the dynamic range. Second, the water itself is moving in ways the photographer hasn’t accounted for. Different falls have different characters. A wide, braided cascade behaves completely differently than a narrow plunge pool drop. If you treat them the same way, technically or compositionally, you’re working against the scene.
Reading the Water Before You Set Anything
Before I touch a dial, I watch. I want to understand the rhythm of the water. Some falls pulse. Some are steady. Some have a chaotic froth at the base that will turn into an indistinct blob if I go too long, and a sharp, almost frozen chaos if I go too short. Neither is inherently wrong, but they’re different photographs and they require different decisions.
For a narrow, high-volume drop into a plunge pool, I often start around 1/4 to 1/2 a second. That range renders movement without destroying all the texture in the water. For a wide, multi-tiered cascade over mossy rock, I might go to 1.5 or 2 seconds, because the layered texture of the rock itself provides visual contrast against the smoothed water, and that tension is the point.
I shoot manual exposure exclusively, always have. ISO 100, aperture somewhere between f/8 and f/11 for sharpness across the scene, and then I work the shutter speed from there. A 6-stop ND like the B+W 106 gets me into long-exposure territory in most overcast conditions without requiring the heavy stacking or focus-shift gymnastics that a 10-stop demands. I keep the 10-stop (I use the NiSi 100mm system) for bright conditions or when I want something closer to 4-6 seconds.
The Light Problem and How to Work Around It
Overcast days are not compromise days. They are ideal days for waterfall photography. I know that sounds obvious when I write it out, but I watch photographers leave locations the moment the clouds roll in, and they’re leaving exactly when I want to be there. A thin, even overcast acts like the world’s largest softbox. Shadow detail opens up. The water retains texture. Colors in the surrounding foliage, particularly greens and ochres in wet rock, become saturated and rich without any intervention.
If you’re working in a gorge or forest setting, you often have a workable window even on sunny days, that period in the morning or late afternoon when the canyon walls shade the scene. I use PhotoPills to check sun angle and shade coverage before I commit to a location on a given day. It’s 12 dollars and I consider it as essential as a good polarizer.
Speaking of polarizers: always. A circular polarizer cuts the glare off wet rock and pulls detail out of shallow water that would otherwise look blown and white. I rotate it slowly while looking through the viewfinder and stop when the reflections drop and the depth comes through. That’s a judgment call, not a formula, and it takes practice.
When Everything Goes Sideways
A few years ago I drove six hours to photograph a particular falls in the Columbia River Gorge during peak autumn color. I’d been planning the trip for weeks, had the exact light window mapped out, knew the angle I wanted. I arrived to heavy fog that didn’t lift for two days.
I almost packed up and left on the morning of day two. Instead, I stayed and worked the scene in front of me, which was not the scene I’d planned for. The fog had rolled into the gorge and was moving through the trees above the falls in slow drifts. I set up, metered carefully, used a 4-second exposure to smooth both the water and the mist together, and came home with a photograph that looked like nothing I’d planned. It’s now the best-selling print I’ve ever made.
I don’t tell that story to be romantic about failure. I tell it because the planning matters and so does letting go of the plan when the scene demands it. Flexibility isn’t the opposite of preparation. It’s what preparation makes possible.
One Thing to Check That Most People Miss
Before every waterfall shoot, I check the water level. Recent rain raises volume and changes the character of the falls dramatically. A gentle cascade can become a violent, chaotic pour that’s nearly impossible to photograph with any elegance. Your county’s USGS stream gauge data is public and free at waterdata.usgs.gov. I check it the night before and the morning of. Two minutes of data can save you a wasted day.
The photograph you imagine in the parking lot is rarely the photograph you make at the water’s edge. Get there, slow down, watch what’s actually happening in front of you, and then let your technical decisions follow from that observation rather than precede it.
Comments
Leave a Comment