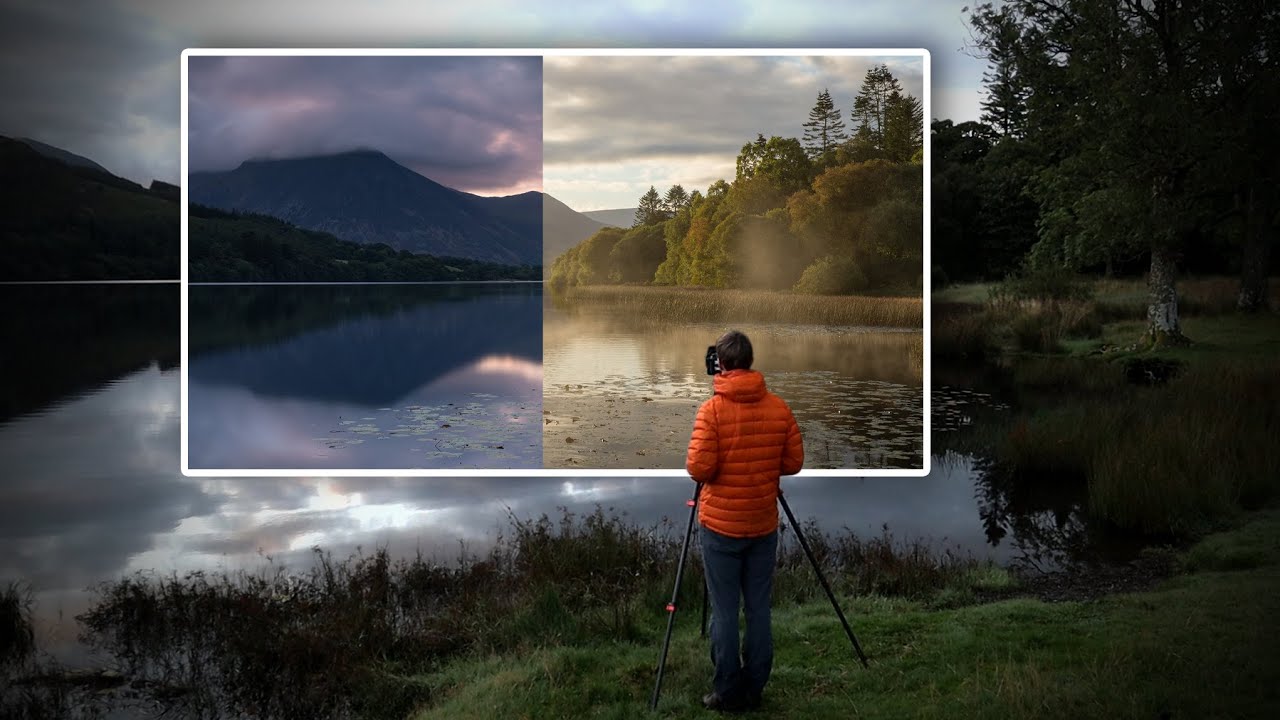
There’s a version of landscape photography where you arrive, the light cooperates, and everything goes according to plan. I’ve been doing this for twenty years and I can count those mornings on one hand. Most shoots look a lot more like what Thomas Heaton captures in this tutorial: a murky arrival, a sprint across wet grass, a composition abandoned, and then — if you stay present — a scene that transforms right in front of your lens into something you couldn’t have scripted. Watch the full tutorial on YouTube
The specific problem this video solves for me is the mental one: what do you actually do in that chaotic window between first light and sunrise? Most of my workshop students either freeze up or start chimping every shot, and they miss the moment entirely. Heaton’s approach here is a masterclass in fluid decision-making — moving, reconsidering, settling, and then working the technical side without losing the thread of what made the scene worth shooting in the first place.
What strikes me most is that this whole sequence unfolds in under an hour at a lake in what looks like the English Lake District. No exotic location, no perfect forecast. Just a photographer who knows how to read a scene as it changes and has the technical toolkit ready when the light finally breaks. That’s the whole job, really.
Step 1: Arrive Before You Think You Need To
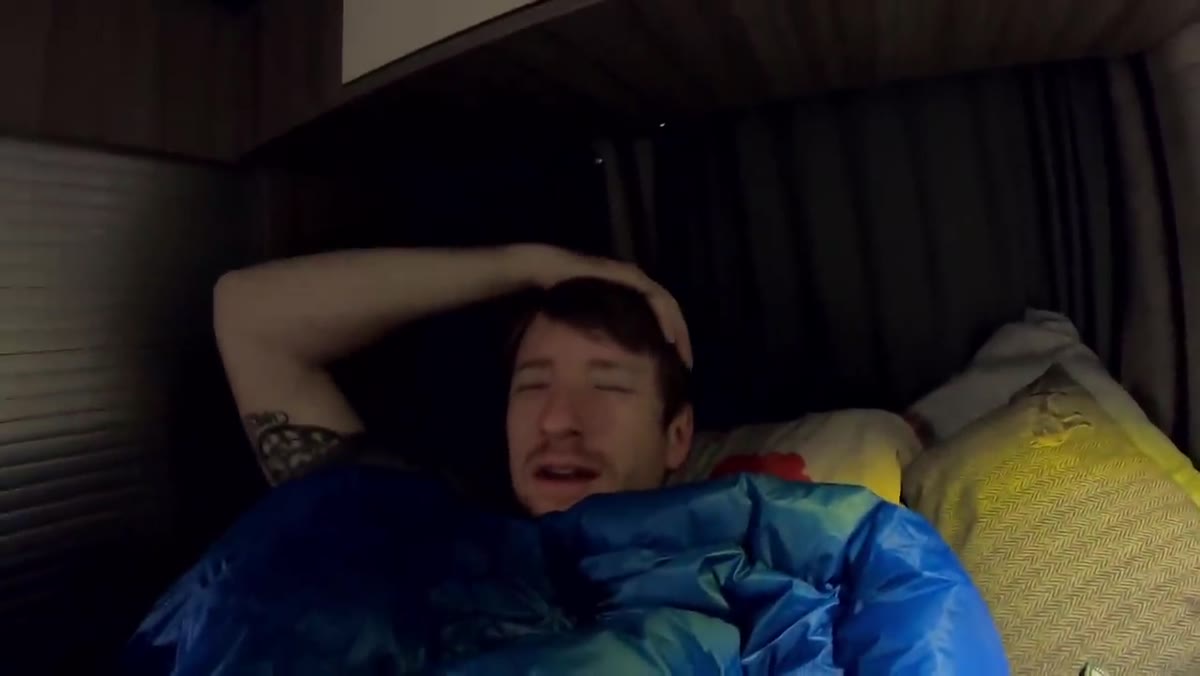 Thomas speaking to camera in dim pre-dawn light at lakeside
Heaton is out at 5:30 a.m., camped in his van on the opposite shore. That detail matters. When you’re already at the location before light arrives, you’re not scrambling to set up while the sky does something interesting. You’re watching. You’re learning where the mist sits, which direction has color, where the wind is pulling the water’s surface. I’ve trained myself to wake up without an alarm at 4 a.m. after years of getting burned by hitting snooze. Being an hour early feels excessive until the morning it saves your best shot.
Thomas speaking to camera in dim pre-dawn light at lakeside
Heaton is out at 5:30 a.m., camped in his van on the opposite shore. That detail matters. When you’re already at the location before light arrives, you’re not scrambling to set up while the sky does something interesting. You’re watching. You’re learning where the mist sits, which direction has color, where the wind is pulling the water’s surface. I’ve trained myself to wake up without an alarm at 4 a.m. after years of getting burned by hitting snooze. Being an hour early feels excessive until the morning it saves your best shot.
The payoff here is that Heaton notices the mist has pooled at one end of the lake rather than where he expected. That observation only happens if you arrive with enough time to simply look around before committing to a composition.
Step 2: Scout Quickly, Then Commit
 Heaton walking along lakeside edge through tall grass and nettles
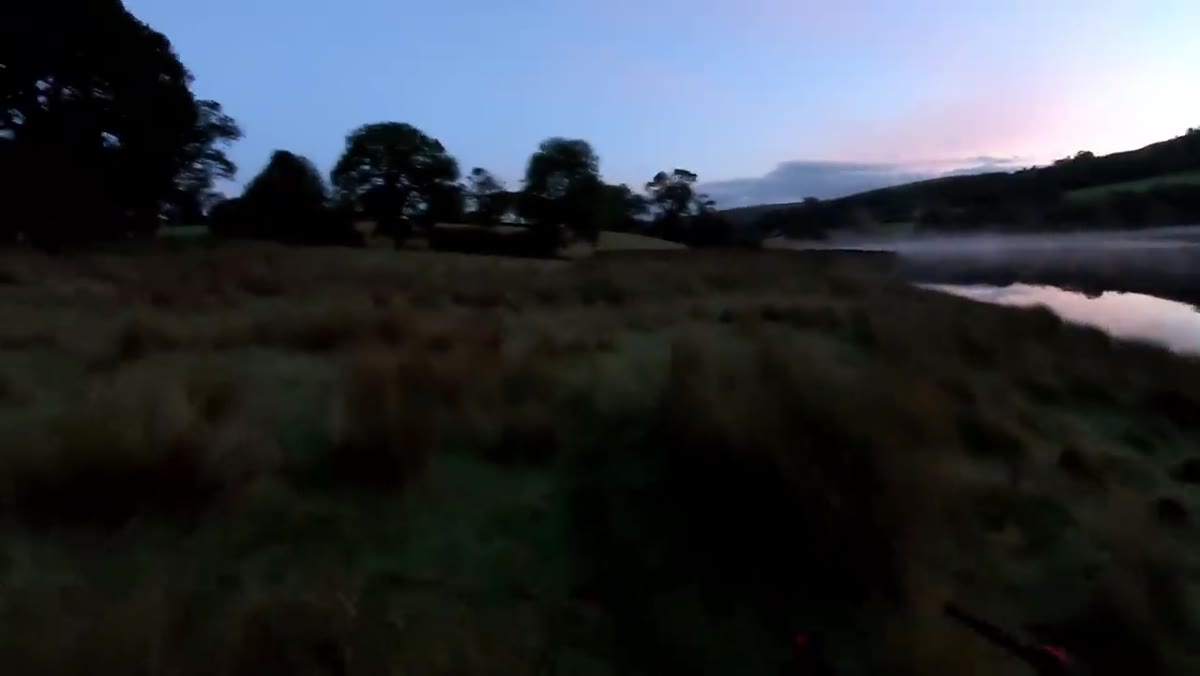
Heaton spots a stone wall and an interesting sightline down the lake’s edge and goes after it. The path is blocked by nettles. It doesn’t pan out. He turns around and returns to his original composition in under two minutes. This is not failure — it’s efficient scouting. The mistake most photographers make is either skipping the explore entirely or spending so long on a dead end that they miss the light altogether.
Heaton walking along lakeside edge through tall grass and nettles
Heaton spots a stone wall and an interesting sightline down the lake’s edge and goes after it. The path is blocked by nettles. It doesn’t pan out. He turns around and returns to his original composition in under two minutes. This is not failure — it’s efficient scouting. The mistake most photographers make is either skipping the explore entirely or spending so long on a dead end that they miss the light altogether.
Set yourself a rule: give a new composition three minutes. If you can’t get your tripod into a workable position and see a clear path through the frame in three minutes, walk away. The light doesn’t wait while you negotiate with a thorn bush.
Step 3: Build Your Composition Around a Foreground Anchor
 Camera framing of lily pads on water surface with mountains behind
Once Heaton is back at his primary position, he breaks down exactly why the scene is working compositionally. The water lilies floating on the lake’s surface serve as foreground interest, filling what would otherwise be a dead, flat zone of open water. Behind them, trees frame the right edge, long grasses anchor the waterline, and mountains dominate the left. The layered depth pulls the eye through the frame rather than dumping it straight at the horizon.
Camera framing of lily pads on water surface with mountains behind
Once Heaton is back at his primary position, he breaks down exactly why the scene is working compositionally. The water lilies floating on the lake’s surface serve as foreground interest, filling what would otherwise be a dead, flat zone of open water. Behind them, trees frame the right edge, long grasses anchor the waterline, and mountains dominate the left. The layered depth pulls the eye through the frame rather than dumping it straight at the horizon.
When I’m setting up a lakeside or river shot, I look for foreground elements at three distances: something within two meters of the lens, something at mid-ground, and something at the horizon or beyond. If I can find all three, the composition almost always holds up. Lily pads, rocks, reeds, submerged logs — anything with texture that sits in the lower third of the frame is worth building around.
Step 4: Manage a High-Contrast Scene with Filters, Not Just Post-Processing
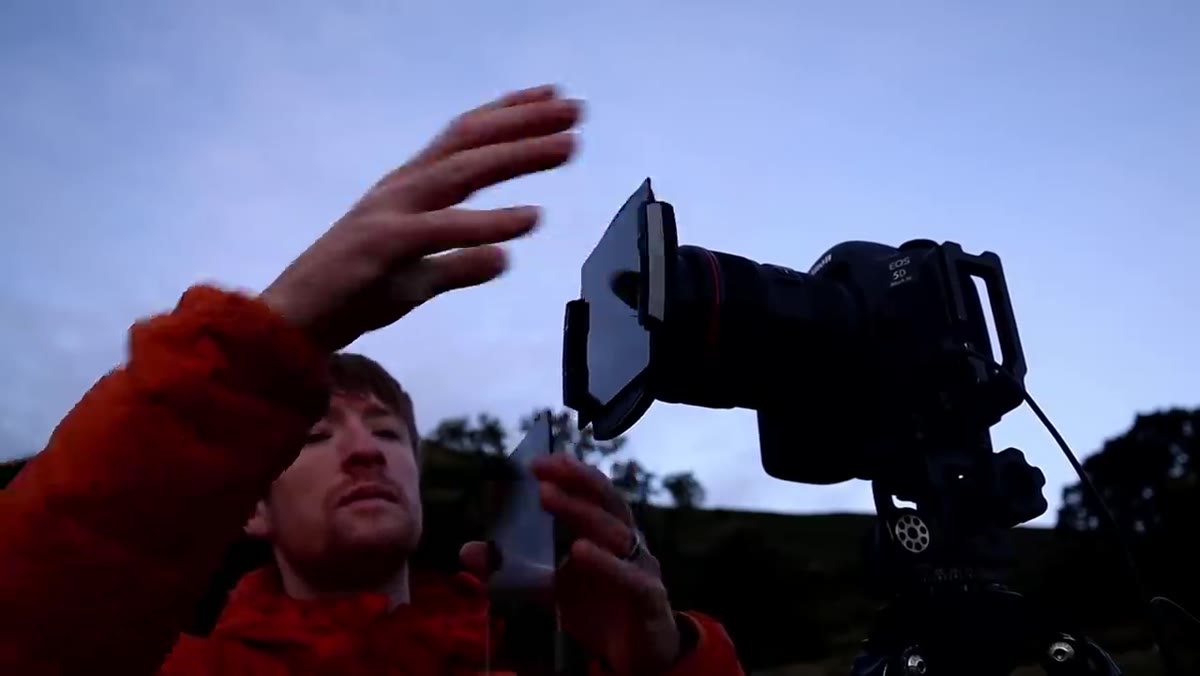 Heaton attaching ND filter to lens, adjusting camera settings
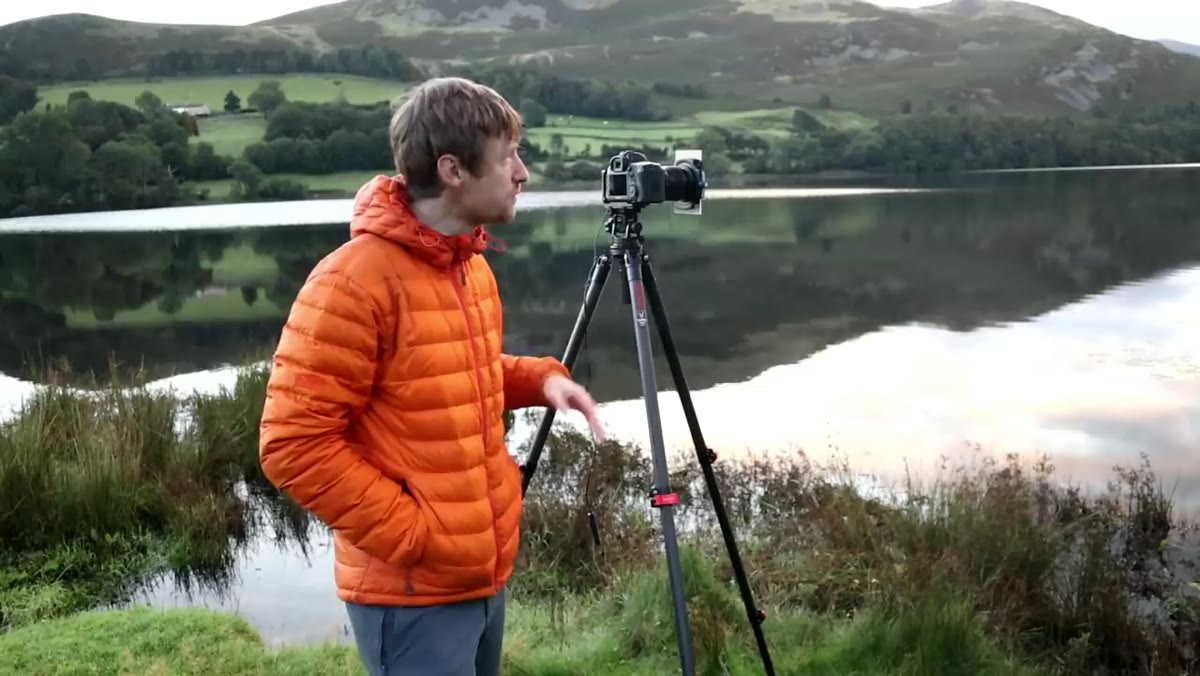
This is where Heaton’s technical approach is worth slowing down to understand. He’s shooting into a scene with bright sky, dark mountain shadows, and the added complication of reflections on the water — a brutal dynamic range challenge. His solution is to stack filters: a six-stop ND to extend the exposure to ten seconds and smooth the water surface, combined with a two-stop soft-edge graduated ND to pull back the sky’s brightness.
Heaton attaching ND filter to lens, adjusting camera settings
This is where Heaton’s technical approach is worth slowing down to understand. He’s shooting into a scene with bright sky, dark mountain shadows, and the added complication of reflections on the water — a brutal dynamic range challenge. His solution is to stack filters: a six-stop ND to extend the exposure to ten seconds and smooth the water surface, combined with a two-stop soft-edge graduated ND to pull back the sky’s brightness.
The settings: f/11, ten-second exposure. The grad filter is soft-edged, which matters here because the mountain horizon is irregular. A hard-edge grad would create a visible line across the mountains. At f/11, you get enough depth of field to keep foreground lilies and background peaks both sharp without pushing into diffraction territory. If your kit only has one of these filters, prioritize the graduated ND. Blown-out skies are harder to rescue in post than a slightly brighter foreground.
Step 5: Bracket When the Sun Breaks
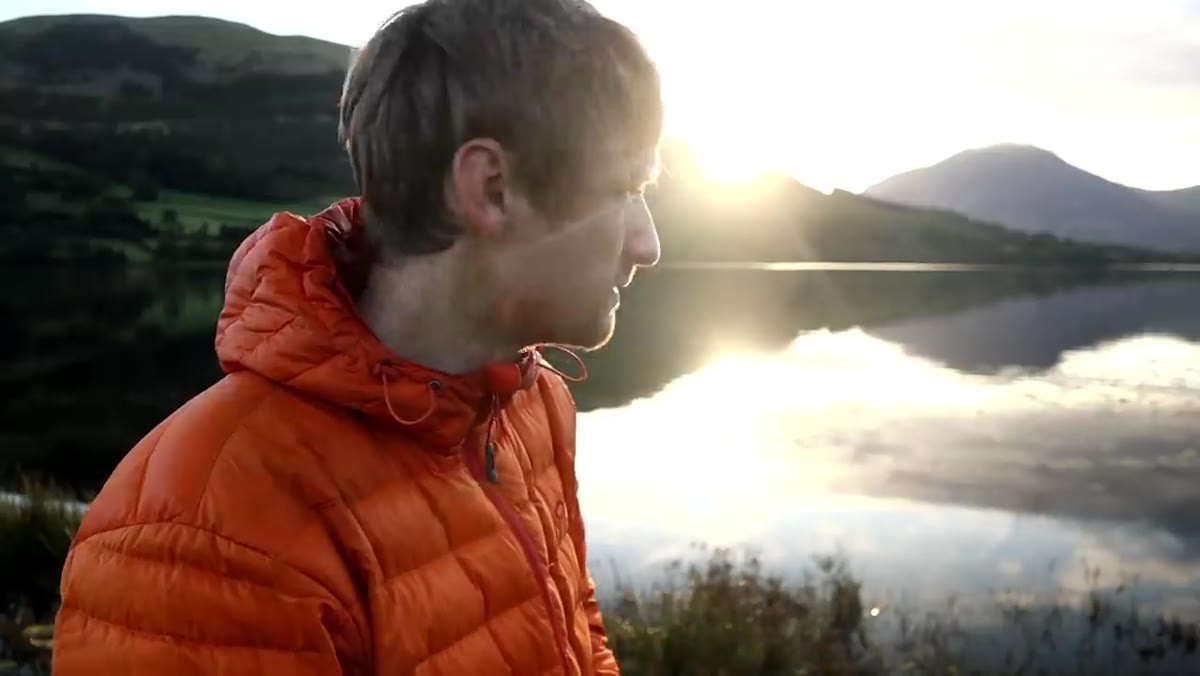 Sun appearing over valley, Heaton adjusting camera for new light conditions
The shoot isn’t over when Heaton gets his first frame. The sun pushes through the valley and the scene shifts again. Rather than packing up, he brackets — one exposure biased for the highlights, one for the shadows — giving himself material to blend in post if needed. Shooting directly toward a rising sun creates flare risk and pushes dynamic range to its limit, but it also creates a quality of light that no amount of editing can fabricate.
Sun appearing over valley, Heaton adjusting camera for new light conditions
The shoot isn’t over when Heaton gets his first frame. The sun pushes through the valley and the scene shifts again. Rather than packing up, he brackets — one exposure biased for the highlights, one for the shadows — giving himself material to blend in post if needed. Shooting directly toward a rising sun creates flare risk and pushes dynamic range to its limit, but it also creates a quality of light that no amount of editing can fabricate.
His instinct is right: the sun lifts the scene even if it complicates the exposure. When a dramatic new element enters your frame, bracket aggressively. Three exposures minimum — one stop over, one at metered, one stop under. You can always choose in Lightroom. You can’t go back to 5:47 a.m.
What I’d Add From My Own Shoots
One thing Heaton doesn’t mention explicitly but demonstrates throughout: he keeps moving his eye between the scene and the water’s reflection. The reflection at this location reads darker and more dramatic than the actual sky. That’s not an accident of physics you can ignore. I’ve learned to check the reflection independently as a compositional element. Sometimes the reflection tells a completely different weather story than what’s happening overhead, and that tension is worth building the whole frame around.
Also: wet grass and nettles are going to soak your trousers. Gaiters are not optional equipment. Heaton mentions this himself, and I’ll second it from personal experience standing in a high Sierra meadow at 4 a.m. in shorts because I thought it would be warm enough. It was not warm enough.
The single biggest thing I take from this tutorial is the reminder that the forty-five minutes around civil twilight are genuinely unpredictable — and that unpredictability is the whole point. The scene Heaton ends up with looks nothing like what he planned when he stepped out of the van. His mentor-level skill isn’t in predicting the light. It’s in staying ready, staying flexible, and having the filter stack and the compositional instincts locked in so that when the scene hands him something unexpected, he can take it.
Watch the full tutorial on YouTube and pay particular attention to the moment the sky goes dark and dramatic around the six-minute mark. That shift happens in seconds. The photographer who’s already set up and thinking compositionally gets the shot. The one still fussing with the tripod head doesn’t.
Comments
Leave a Comment