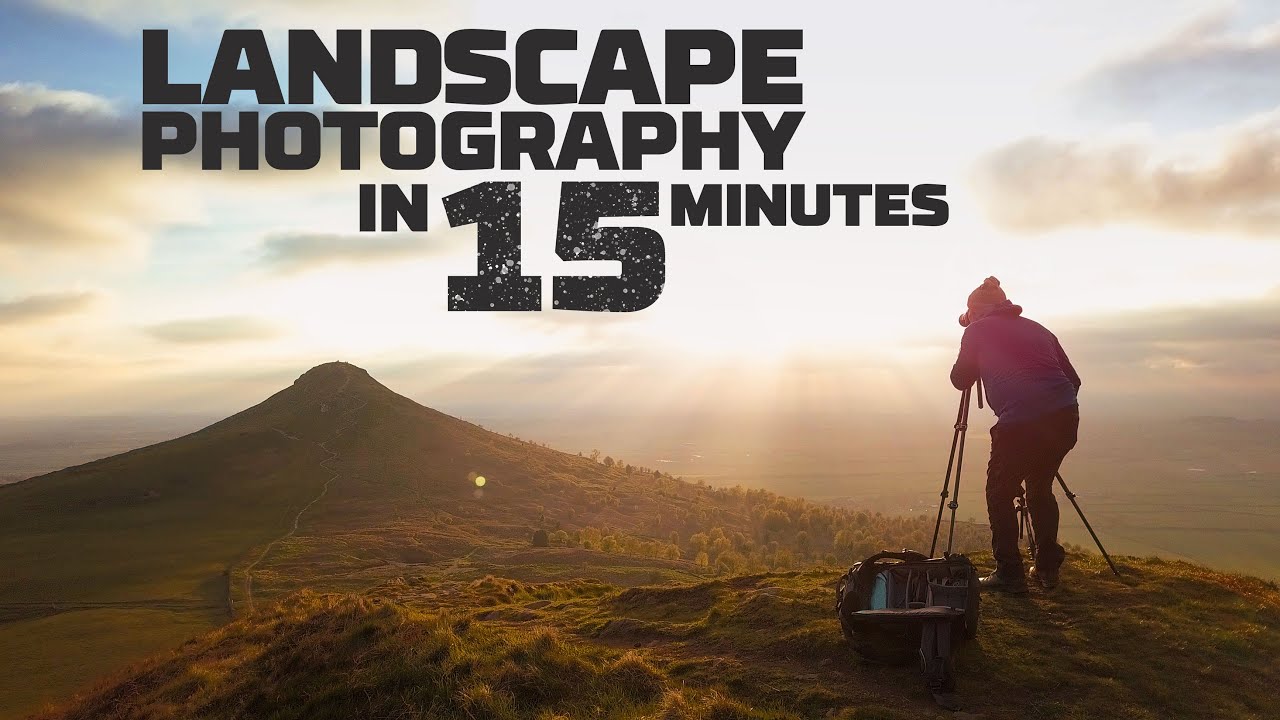
There’s a particular kind of rut that sneaks up on you slowly. You stop noticing the light the way you used to. You drive to a location on autopilot, set up in the same spot, and wonder why the images feel flat. It happened to me earlier this spring, somewhere between my fourth consecutive grey morning at Smith Rock and a hard drive full of shots I didn’t feel like editing. When that happens, the instinct is to tinker - new lens, new preset, new location. But the real fix is almost always humbler than that.
So when Adam over at First Man Photography posted a video called “5 Photography Essentials in 15 Minutes: Landscape Edition,” I watched it the same morning I found it. Not because I expected a revelation, but because sometimes you need to hear the fundamentals said plainly by someone who actually goes out and shoots them. Watch the full tutorial on YouTube - it’s worth the fifteen minutes even if you’ve been doing this for years.
What I found was a quiet, practical walkthrough filmed in a bluebell wood that reminded me why I got into this work in the first place. Adam isn’t chasing clicks. He’s thinking out loud in the field, and that honesty is the whole value of the video. Here’s how the five essentials break down, with what I’d add from my own years in front of a tripod.
Step 1: Stop Worrying About Gear
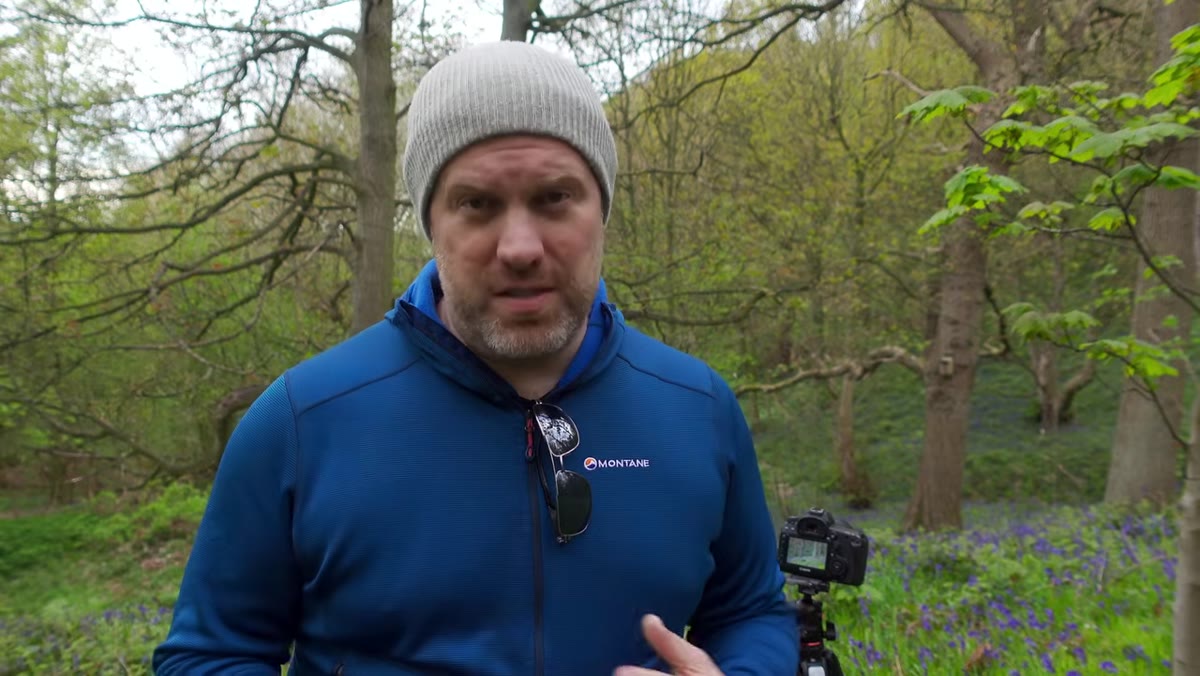 Adam addressing camera about gear and intimidation for beginners
The first thing Adam addresses is the gear conversation, and he dispatches it quickly. Any interchangeable lens camera is going to serve you well. He’s still using a Canon 5D Mark IV that’s five years old, paired with three workhorses: a 16-35mm, a 24-70mm, and a 70-200mm. No exotic glass. No mirrorless upgrade for the sake of it.
Adam addressing camera about gear and intimidation for beginners
The first thing Adam addresses is the gear conversation, and he dispatches it quickly. Any interchangeable lens camera is going to serve you well. He’s still using a Canon 5D Mark IV that’s five years old, paired with three workhorses: a 16-35mm, a 24-70mm, and a 70-200mm. No exotic glass. No mirrorless upgrade for the sake of it.
This matters more than beginners realize, because the intimidation of gear lists is genuinely one of the things that keeps people from going out and shooting. A phone will take you somewhere. A decent entry-level DSLR or mirrorless body will take you further. The glass matters more than the body. And experience matters more than either.
Step 2: Learn Manual Mode Before Anything Else
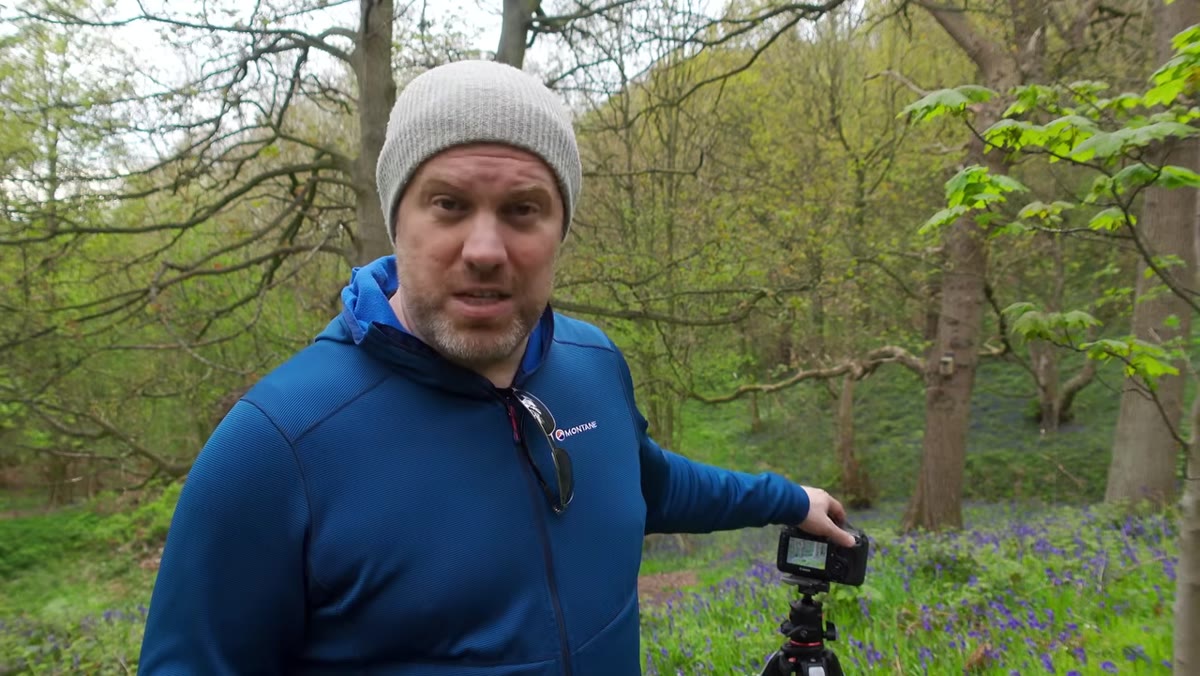 Adam adjusting camera settings on Canon 5D in the field
Adam is direct here: learn manual. Not because auto modes can’t produce a usable exposure, but because understanding what your camera is doing gives you control over creative decisions that auto will never make for you.
Adam adjusting camera settings on Canon 5D in the field
Adam is direct here: learn manual. Not because auto modes can’t produce a usable exposure, but because understanding what your camera is doing gives you control over creative decisions that auto will never make for you.
His personal baseline for landscape work is f/11, ISO 100, and then he adjusts shutter speed to match the light. That’s a solid starting point and one I’ve landed on myself over the years. Stopped-down aperture for depth of field, base ISO to keep noise out of shadow gradients, and shutter speed as the variable that responds to changing conditions. Simple, repeatable, and fast to adjust when the light shifts suddenly - which it always does.
Step 3: Adjust Aperture for What’s Actually in Front of You
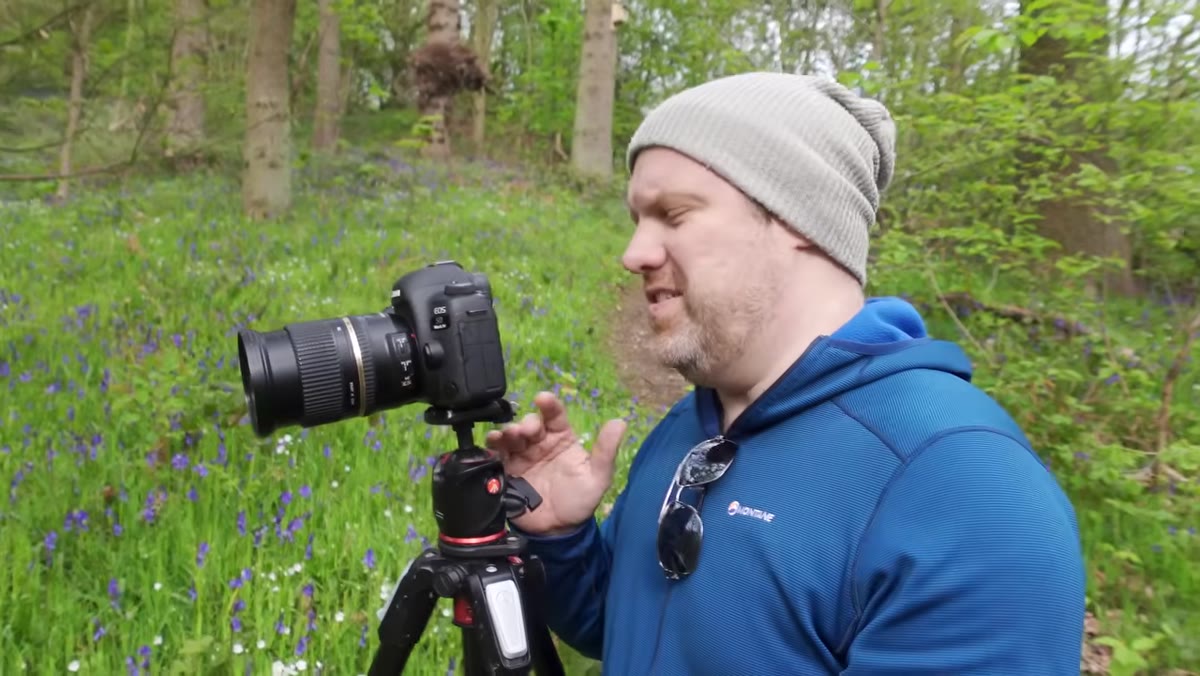 Camera positioned low among bluebells, Adam demonstrating f/16 setting
Here’s where Adam moves from baseline to judgment. For the bluebell wood shot, he’s working at f/16 rather than his usual f/11. The reason is the foreground. He’s positioned the camera low, close to the flowers, and at f/11 the nearest elements might fall outside the depth of field. Bumping to f/16 pulls more of the scene into focus without introducing significant diffraction at this focal length.
Camera positioned low among bluebells, Adam demonstrating f/16 setting
Here’s where Adam moves from baseline to judgment. For the bluebell wood shot, he’s working at f/16 rather than his usual f/11. The reason is the foreground. He’s positioned the camera low, close to the flowers, and at f/11 the nearest elements might fall outside the depth of field. Bumping to f/16 pulls more of the scene into focus without introducing significant diffraction at this focal length.
This is the kind of micro-decision that separates technically solid landscape photography from images that almost work. The setting on the dial follows the scene in front of you - not the other way around. Getting low with the camera also changes the relationship between foreground and background entirely, which is worth experimenting with any time you’re working with ground-level subjects.
Step 4: Wait for the Right Moment, Then Use a Tripod
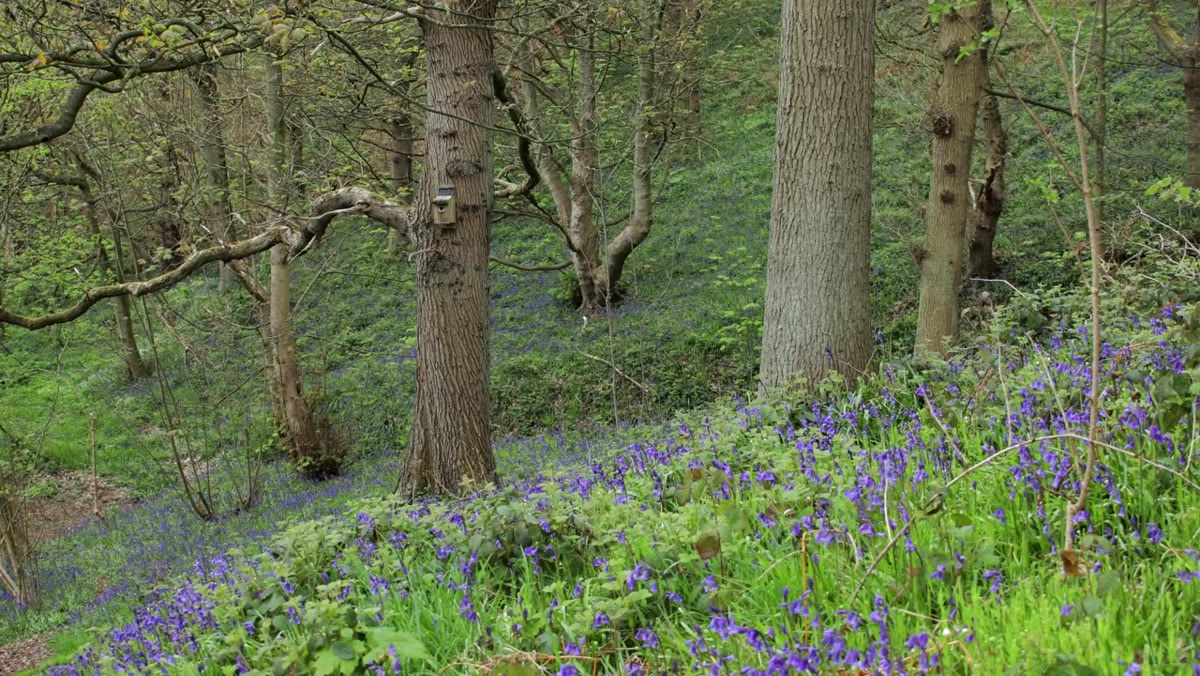 Adam on tripod waiting for sunlight, bluebells in frame
Adam is running a ten-second shutter at some points here while waiting for the sun to break through the canopy at the right angle. This is only possible because he’s on a tripod, and it’s also only possible because he’s willing to wait. He wants the light when it’s halfway in, not full sun, not flat shade.
Adam on tripod waiting for sunlight, bluebells in frame
Adam is running a ten-second shutter at some points here while waiting for the sun to break through the canopy at the right angle. This is only possible because he’s on a tripod, and it’s also only possible because he’s willing to wait. He wants the light when it’s halfway in, not full sun, not flat shade.
I’ve stood in colder places for longer with less certainty about what I was waiting for. My mentor once told me the mountain doesn’t care about your schedule, and that’s been true every single time I’ve forgotten it. The tripod is the tool. The patience is the practice. Both are non-negotiable for this kind of work.
Step 5: Know Your Purpose for Being Out There
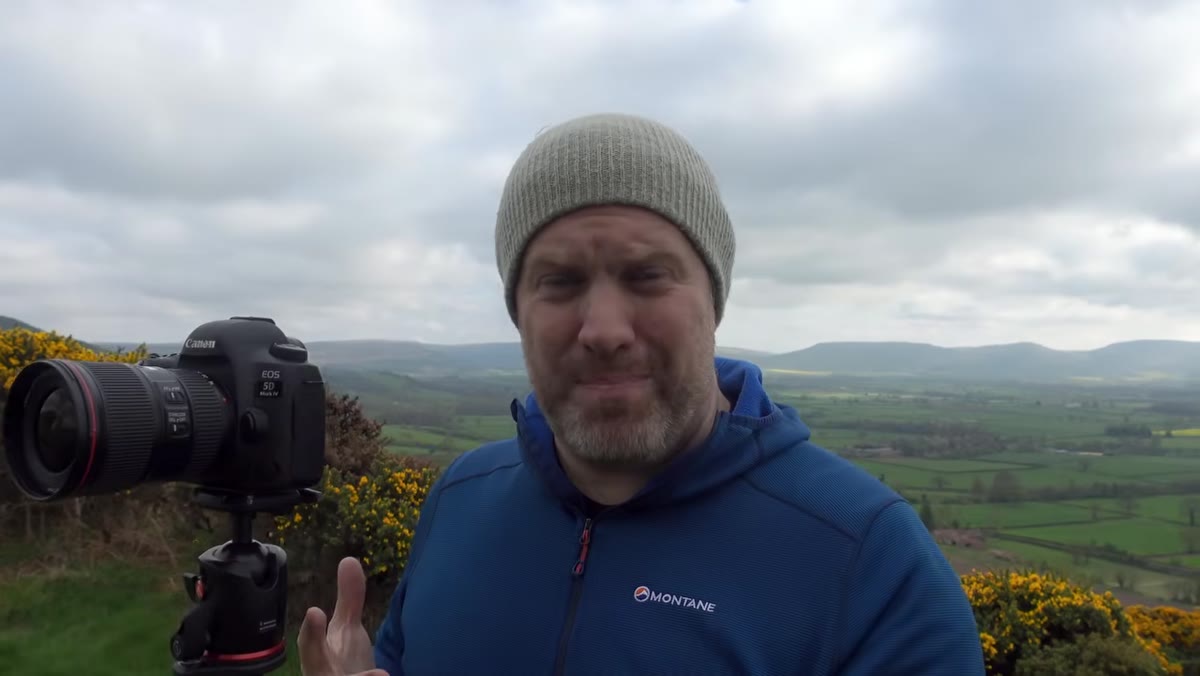 Adam walking through woodland, speaking to camera about photography philosophy
This is the one that catches people off guard in what they assumed was a technical video. Adam asks a genuine question: why are you doing landscape photography? Not in a motivational-poster way. In a practical, self-awareness way.
Adam walking through woodland, speaking to camera about photography philosophy
This is the one that catches people off guard in what they assumed was a technical video. Adam asks a genuine question: why are you doing landscape photography? Not in a motivational-poster way. In a practical, self-awareness way.
It could be exercise, mental clarity, community, or the desire to show people how extraordinary ordinary landscapes are. For me it’s always been that last one - the need to point at something and say, look at this, really look. Knowing your purpose keeps you from drifting into mimicking whatever’s performing well on Instagram this week. It keeps your work yours. And that specificity, over time, is what makes your images recognizable.
What I’d Add: The Discipline of Fewer Shots
Twenty years in, the habit that’s improved my hit rate more than any setting or composition rule is shooting less. I still use film occasionally - not for nostalgia, but because it forces deliberate decisions. When you’ve got twelve frames on a roll, you don’t fire off thirty variations of the same composition hoping one lands. You read the scene, you commit, you press the shutter.
You don’t need film to develop that discipline. Before you take a shot, ask yourself whether you’ve actually looked at the image in front of you or just reacted to it. The pause costs you nothing. The shot you skip because you were quiet enough to realize it wasn’t right - that’s time reclaimed for the one that is.
The single most important idea in Adam’s video is also the simplest: get the fundamentals solid, and then get out of your own way. Settings, gear, and technical knowledge are the floor you stand on, not the ceiling you’re working toward. Once you can handle the mechanics without thinking, the real work begins.
Watch the full tutorial on YouTube and spend time with the bluebell wood section in particular. It’s fifteen minutes that will send you back outside with cleaner eyes.
Comments
Leave a Comment